Waves for Days: How to Use a Hair Waver Tool on Short Hair
Dreaming of effortless, beachy waves but struggling with stick-straight, fine hair? I’ve been there! If you’re ready to transform your look, I’ll show you how to use a hair waver to create perfect, natural-looking waves—even on short hair
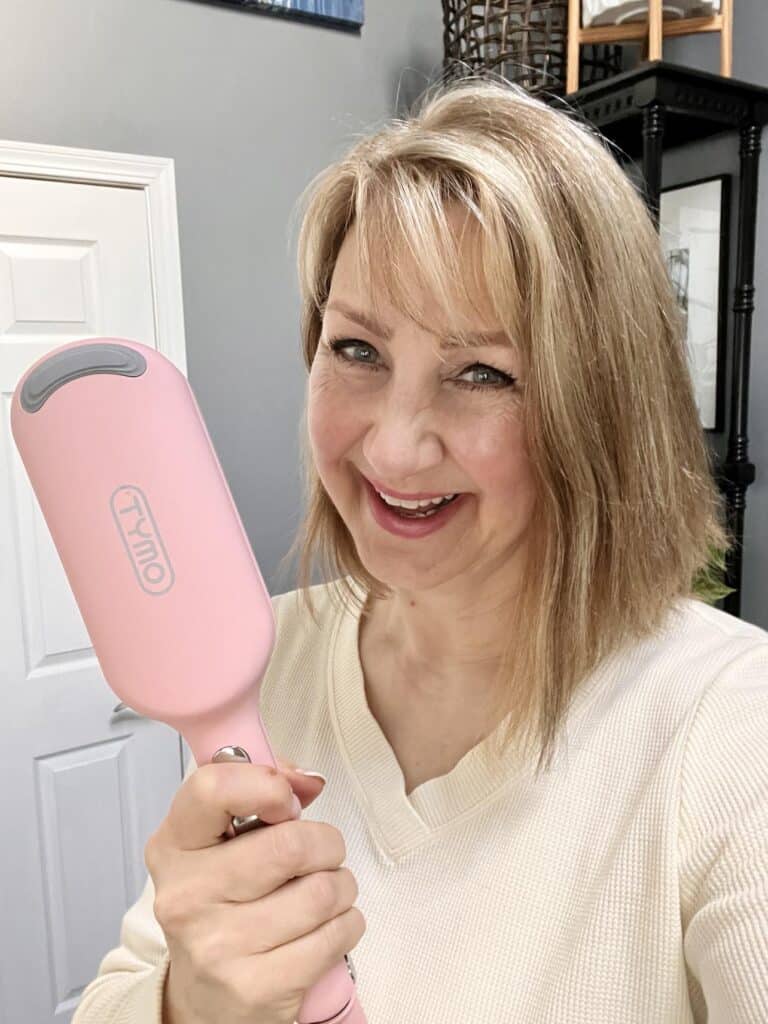
This blog contains affiliate links. This means a small commission is earned if you make a purchase by using this link. The price you pay will be the same whether you use the affiliate link or go directly to the vendor’s website using a non-affiliate link. As an Amazon Influencer, I earn from qualifying purchases.
Do you remember those home perms in the ‘80s?
I do.
My mother was a DIY stylist, armed with a box of perm rods and the ability to give my wispy hair curls so tight I could star in the musical “Annie!”.
Unfortunately, I didn’t end up with Andie McDowell’s lush, wavy hair (Her curls are iconic!) but more of a “poodle who played in the rain” look.
As a person with stick-straight, fine hair, I’ve been chasing those easy, breezy, natural-looking waves ever since.
Over the years, I’ve tried it all: traditional curling irons, hot rollers, and yes, even crimping irons back in the 80’s.
Finally, I pretty much gave up and went with straight hair.
But friends, let me tell you—nothing has been as life-changing as discovering a hair waver tool! If you’ve got short hair like me, don’t worry—I’m about to spill the tea on how to use this magical mermaid hair waver for those perfect beachy waves.
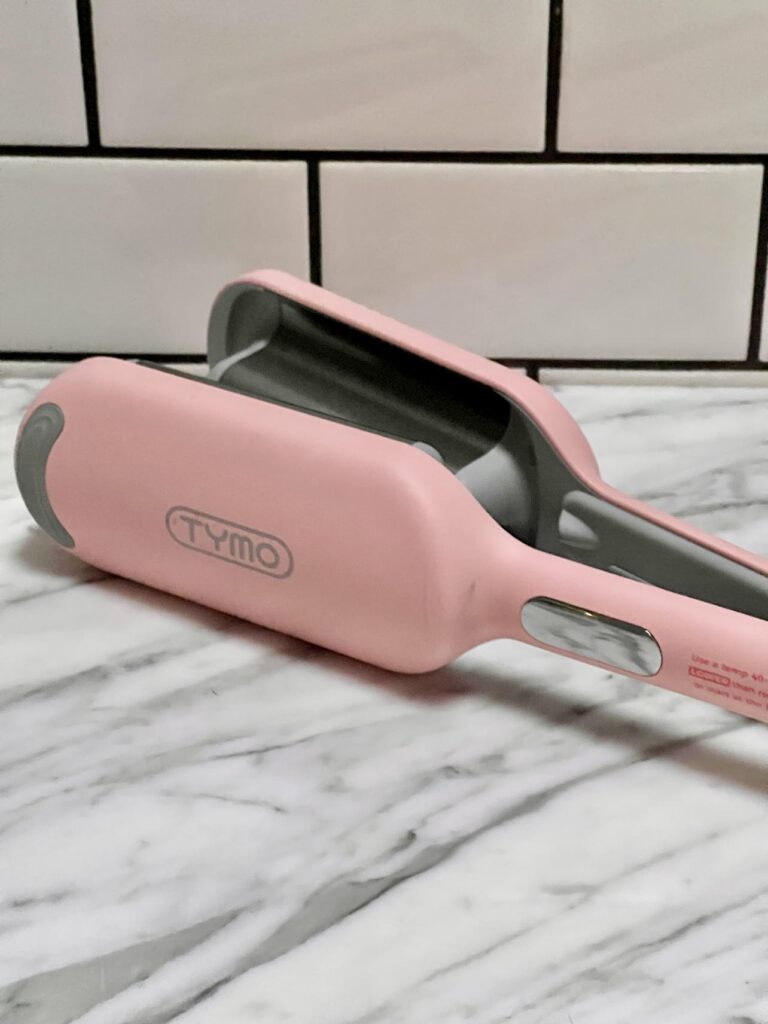
The Easiest Way to Get Perfect Waves on Short Hair
Whether you’re rocking a chic bob or a sassy lob, achieving wavy hair is possible with the right tools and techniques. Here’s how to make those beach waves happen:
1. Start With Clean, Dry Hair
The golden rule of heat tools: never use them on wet hair unless you’re in the mood for fried, crispy strands. Wash and blow-dry your hair (or air-dry if you’re a patient saint) before reaching for any barrel waver.
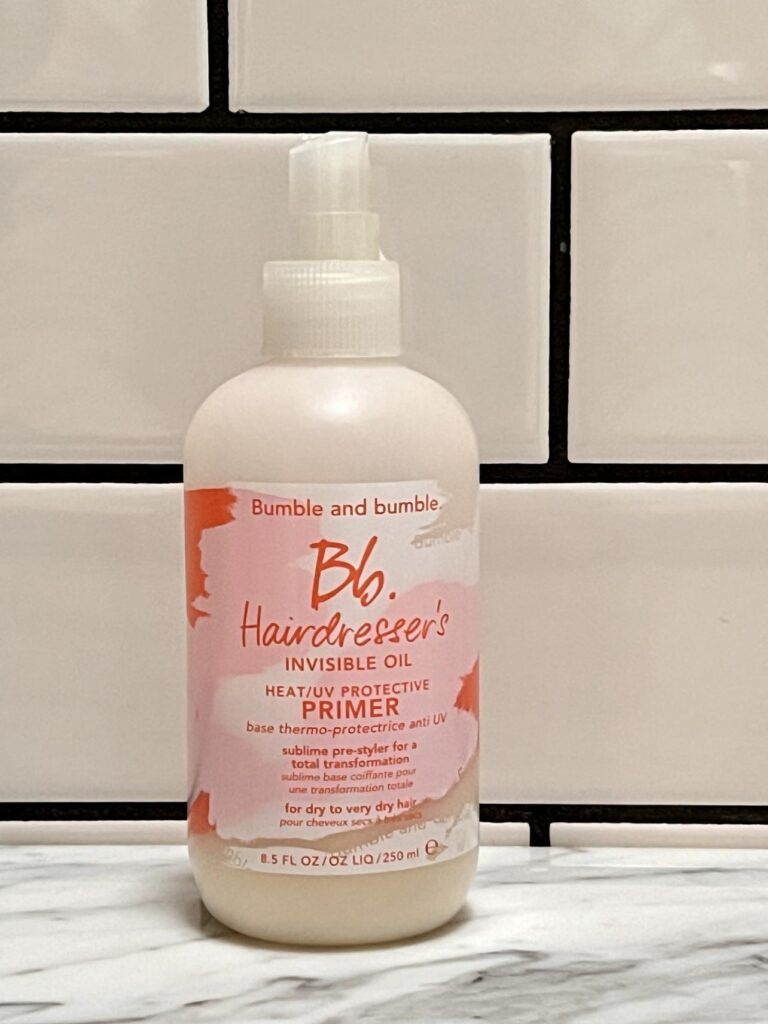
2. Prep With Heat Protectant Spray
Before you even think about grabbing that hair-waving tool, spritz your strands with your favorite heat protectant. This step is non-negotiable.
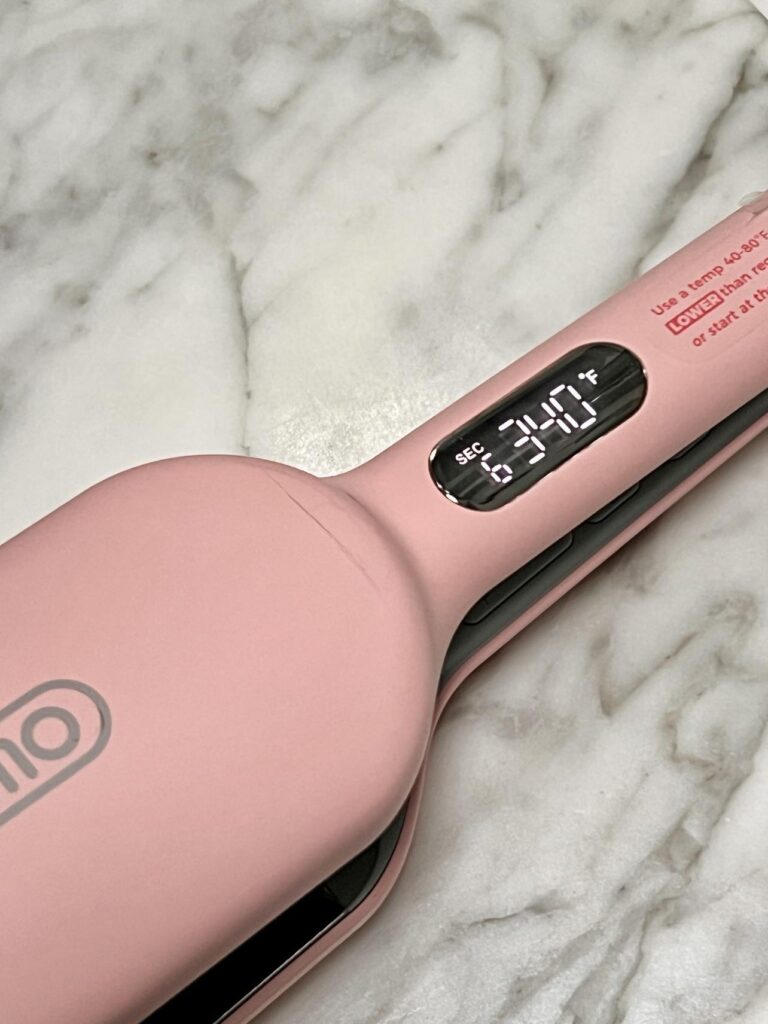
Set your heat settings wisely. (My stylist always says, “Don’t burn the cookies!”)
For fine hair like mine, I keep the temperature at 350 degrees or under. (340 degrees is my sweet spot!) For thicker hair, you might need a higher heat setting.
3. Section Your Hair Like a Pro
Divide and conquer! Clip the top of your head out of the way and work in small sections of hair for the best results. Smaller sections mean more control and tighter waves, which are perfect for short hair.
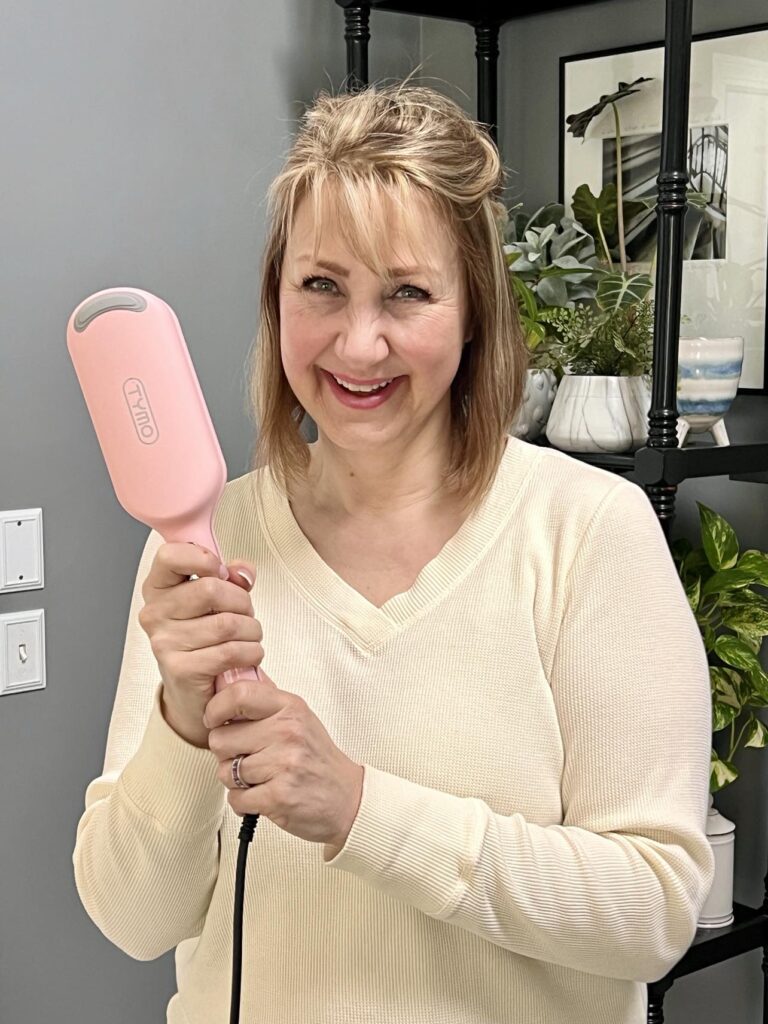
4. Grab Your Waver Tool and Go!
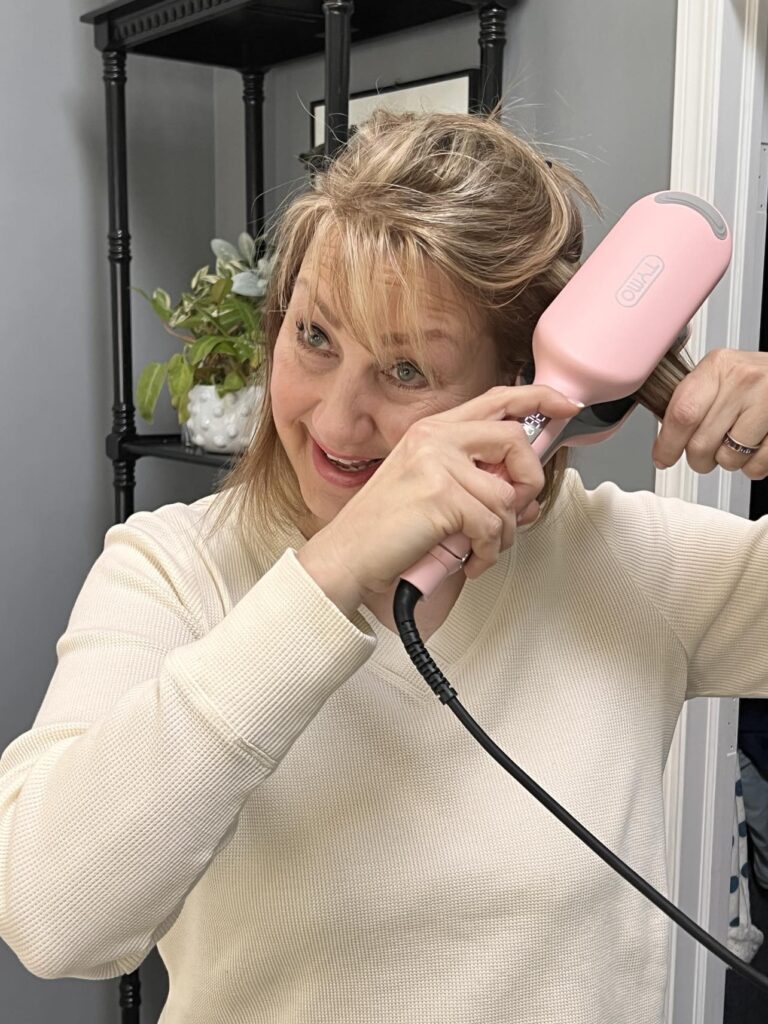
Here’s the fun part! My Tymo Rovy Beach Waver features one single clamp (instead of ceramic barrels) that uses negative ions to smooth the hair cuticle and create seamless waves.
- Clamp the waver on your first section of hair, starting about an inch from your roots.
- Hold it for 4-8 seconds, depending on your hair texture (less time for fine hair, more for thick hair). My waving tool has a beeping timer which helps me avoid burning my hair.
- Move the waver down the length of the strand, overlapping slightly to create a continuous wave.
- Repeat this process on the rest of your hair, section by section.
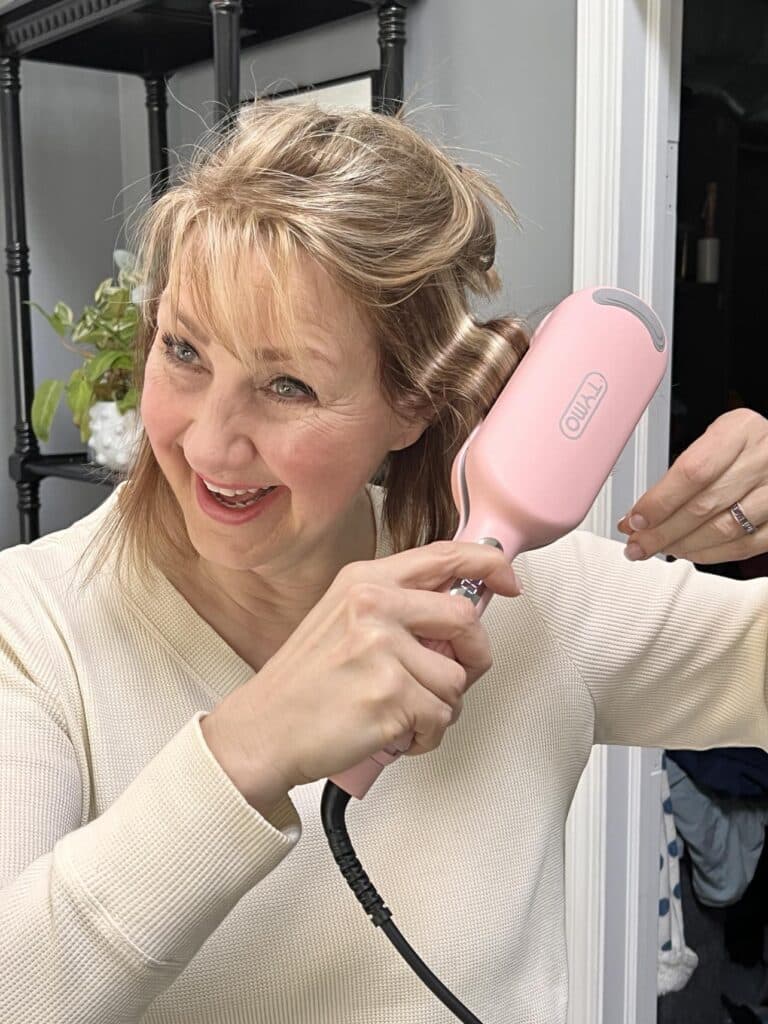
5. Adjust for the Type of Curl You Want
- For looser waves, use larger sections of hair and reduce the heat.
- For big bouncy waves, grab slightly smaller sections and increase the temperature (if your hair type allows it).
- For that beachy look, try alternating the direction of the waves for a more natural vibe.
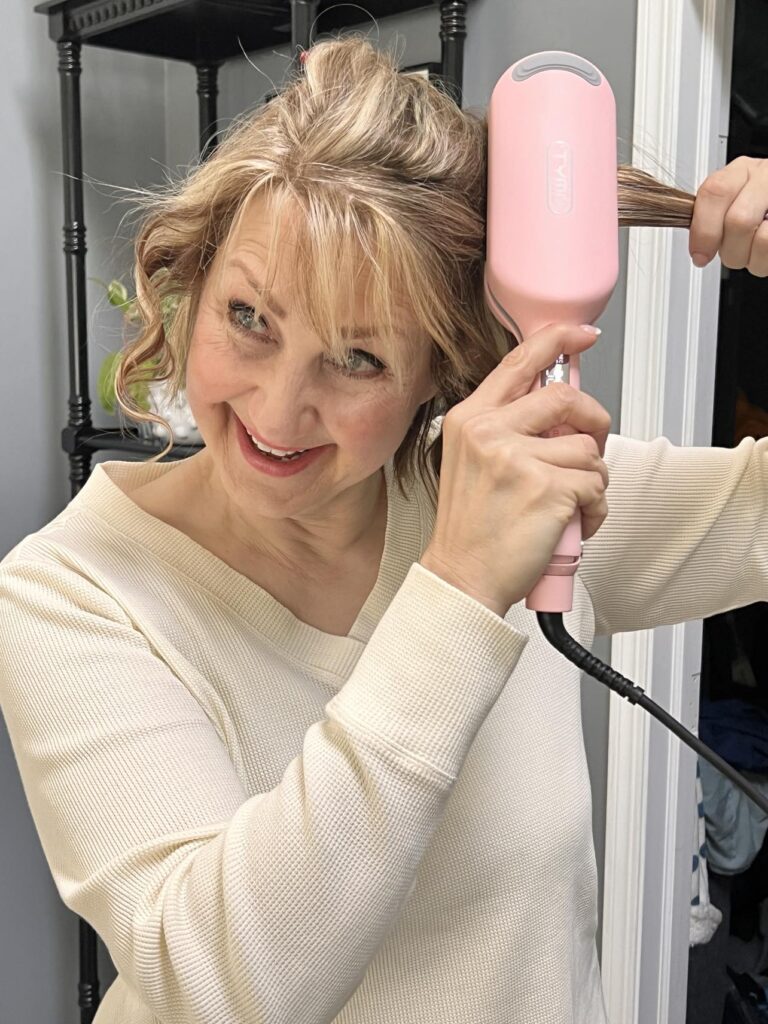
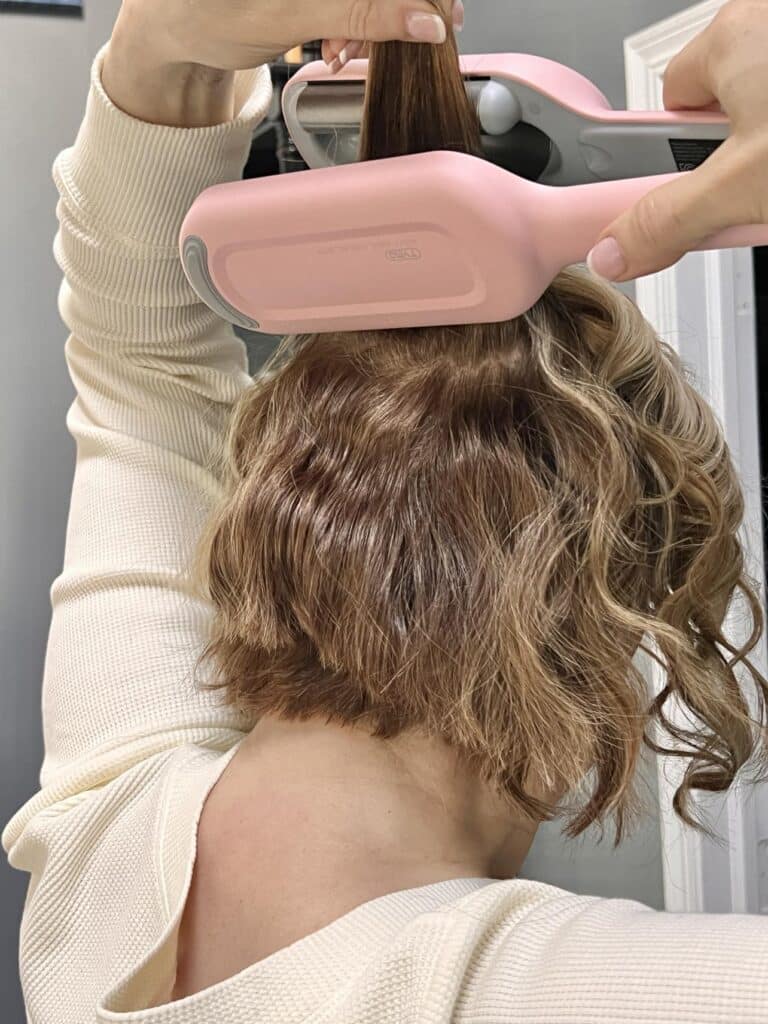
6. Comb and Set
Once your whole head is done, let the curls cool before running your fingers through your hair for that effortless, natural-looking wave. You can also use a wide-tooth comb but I found that it loosens the curl too much for my liking.
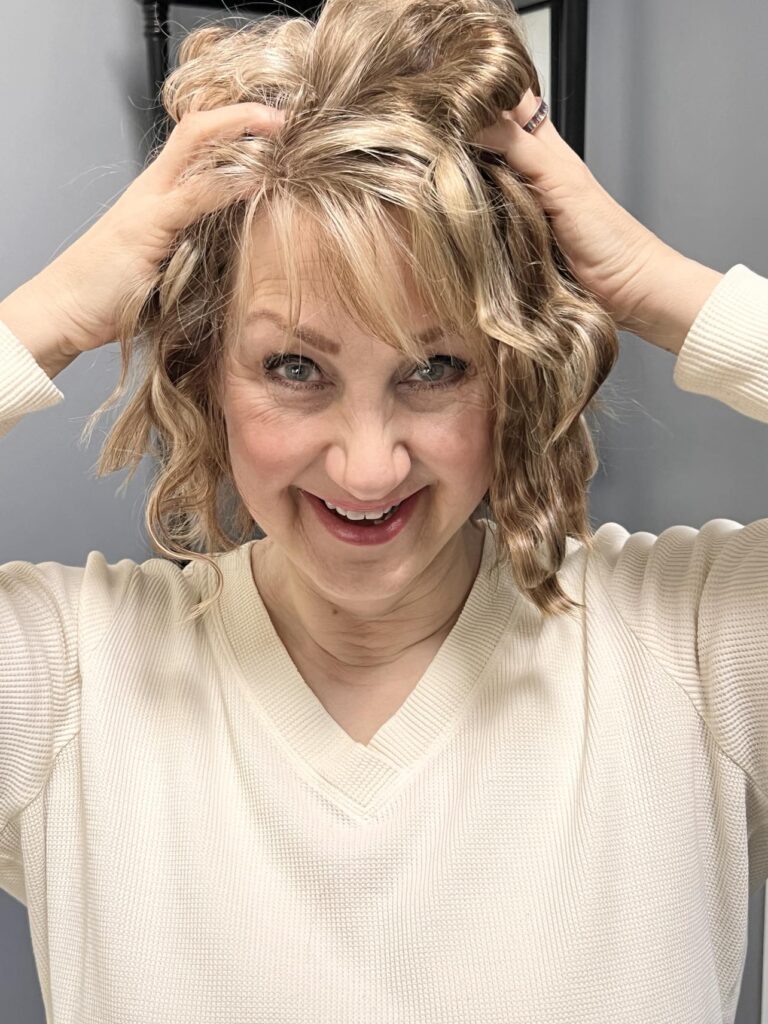
7. Finish With Style
Add a light mist of texturizing spray or hairspray to lock in your perfect beach waves. Don’t go overboard; we’re aiming for mermaid waves, not crunchy ‘90s prom hair!
What to Look for in a Hair Waver
Not all heat tools are created equal. I’ve tried a few and my favorite is the Tymo Rovy Beach Waves Curling Wand. Instead of ceramic barrels, it has on big curvy wave that clamps onto your hair.
It ensures even heat distribution, and the adjustable temperature settings make it perfect for all hair types and hair lengths.
Tips for First-Time Users
- Practice on a lower heat setting. It’s better to take your time than to overdo it the first time and risk damage.
- Know your hair texture. Fine, short hair? Stick to lower heat settings. Got thicker hair or longer hair? You may need more heat or longer hold times.
- Don’t skip heat protection! Trust me, your hair will thank you!
Final Thoughts
So, here’s the deal: the easiest way to achieve perfect beachy waves is with a great waver tool, some patience, and a little know-how. Whether you’re after soft, natural waves or big bouncy waves, your stick-straight hair is going to love its new beachy waves!
And guess what? You don’t need to spend hours or have a glam squad to pull this off.

In less than 20 minutes, you can go from flat and fine to fabulous and wavy. So, even with short hair, you can now fully embrace your beachy waves! Happy waving!
Cheers!

A Little About Me
Hi! I’m missy. So happy to meet you!
“Decorate with Joy! Live with Happiness”
I truly believe that your home should be a reflection of your personality, a space where you feel free to express yourself and create a sanctuary that feels uniquely yours.
I love creating mood boards, hunting down unique home décor treasures, tackling easy DIY projects, and gathering with family and friends for a delicioHomes are meant to be enjoyed, filled with laughter, and shared with the people you love!
– cheers –
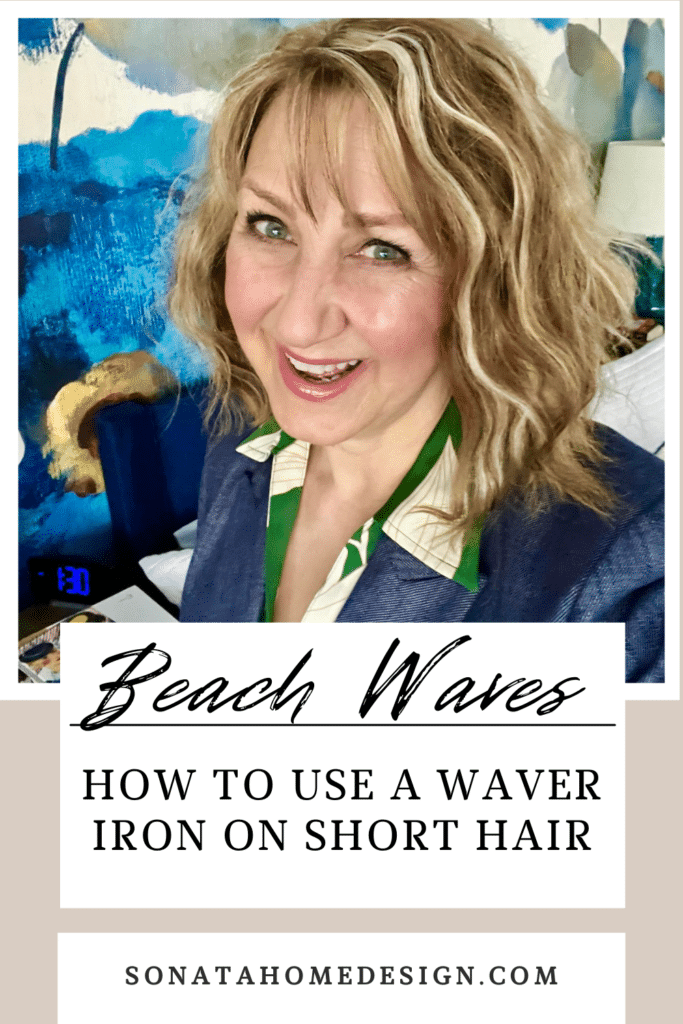
Don’t Forget to Pin It!
Pin the image below to your boards on Pinterest (just click the Pin button in the top left corner). You can also follow along with me on Pinterest!



LOVE!! This is now on my Christmas list 🙂
It has changed my world!