The Best Way to Make an Easy DIY Faux Olive Topiary
Learn how to make your own stylish DIY faux olive topiary for any tabletop in your home with these easy how-to instructions.
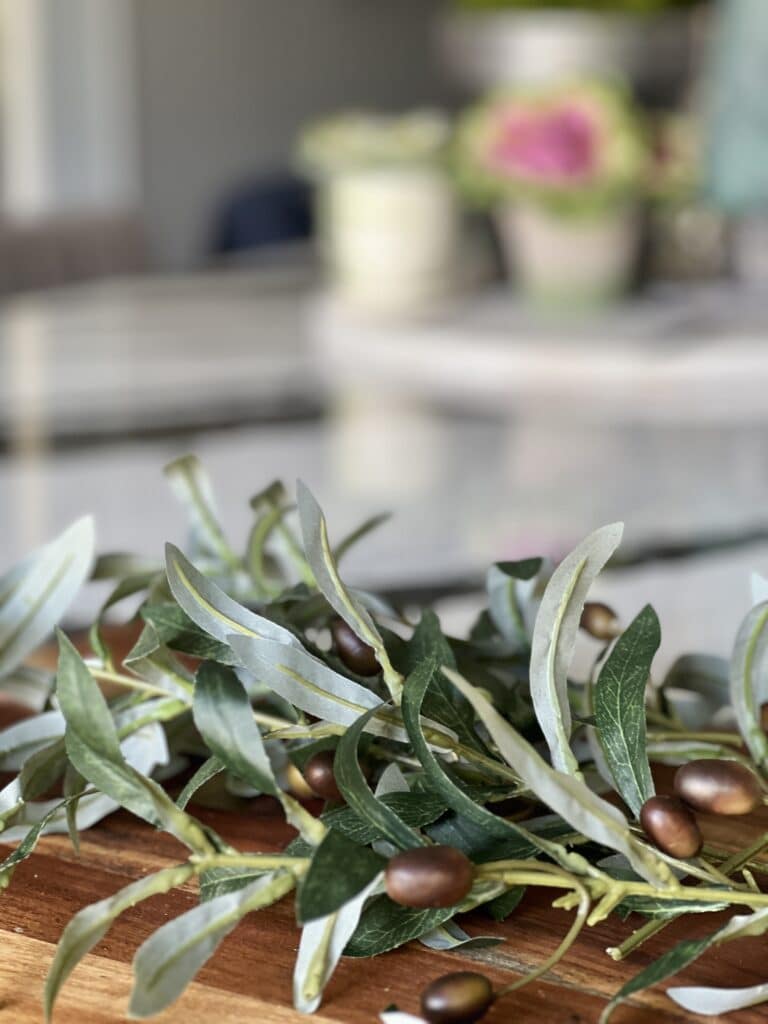
Do you want to spruce up your home decor without the time and effort of keeping an actual olive tree alive? Look no further than this easy DIY faux olive topiary tutorial! With just a few basic supplies and some floral arranging flair, you’ll be able to create a stunning replica that looks like it came straight out of a magazine.
This blog contains affiliate links. This means a small commission is earned if you make a purchase by using this link. The price you pay will be the same whether you use the affiliate link or go directly to the vendor’s website using a non-affiliate link.
I have some history with real and faux decorative trees.
First, it was the faux ficus tree. I won it at a home and garden show and thought it looked so fancy in my one-bedroom apartment!
Then it was the fiddle leaf fig tree. I bought one for staging homes and it got pretty beaten up getting moved from home to home.
Hold on! The Monstera is the must-have! (This one was pretty much a faux disaster…it totally looked fake!)
Hold. The. Phone! Make way for the Olive Tree, a symbol of friendship, healing, and reconciliation. You can learn more about the symbolism of olive trees HERE.
But whoa! Check the price tag…how much?
Too much for my budget!
As much as I would love to buy a 7′ faux olive tree, I don’t want to spend the money.
My friend, Donna at An Organized Home, gave me the solution…make my own DIY olive topiary! Her tabletop faux olive tree turned out amazing so I had to give it a try!
This project will be a charming 3-foot-tall topiary so I can move her anywhere I want in the house.
Making a “tree” seems a little daunting but it all starts with…
…a stick!
Well, you do need a few more extra materials. Here is the list.
Supply List
- straight stick or branch (take a long walk and keep your eyes open!)
- pot
- faux olive branch stems
- styrofoam blocks or floral foam
- styrofoam cone (green if possible)
- serrated knife
- metal straw or poker
- wire cutters or scissors
- hot glue gun
- hot glue sticks
- green moss
Optional Supplies
- Paint for your pot
- green spray paint if your styrofoam is white
How to Make a DIY Faux Olive Topiary
Keep your eyes open the next time you are out walking and look for real branches that are straight and 2-3 ft. long. Then, pick up some faux olive branch stems at your local craft store. Watch for sales and you can get a great deal!
Prep the Pot
If you have a flower pot, you are good to go. I took an old terra cotta that has been painted a couple of times already and gave it a coat of black spray paint followed by a light spray of hammered grey.
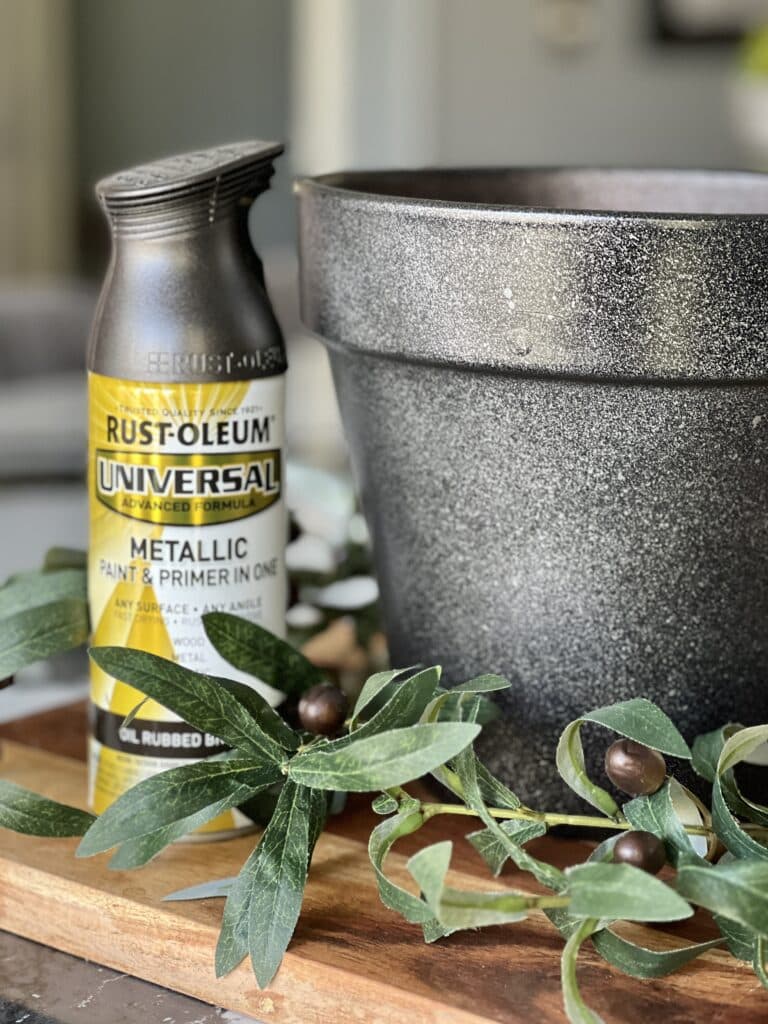
Take a small styrofoam cone (about 3-6″ and available at dollar stores and craft stores) and paint it a light green color. If you can find one that is already green, you are a step ahead!
Make the Olive Tree “Trunk”
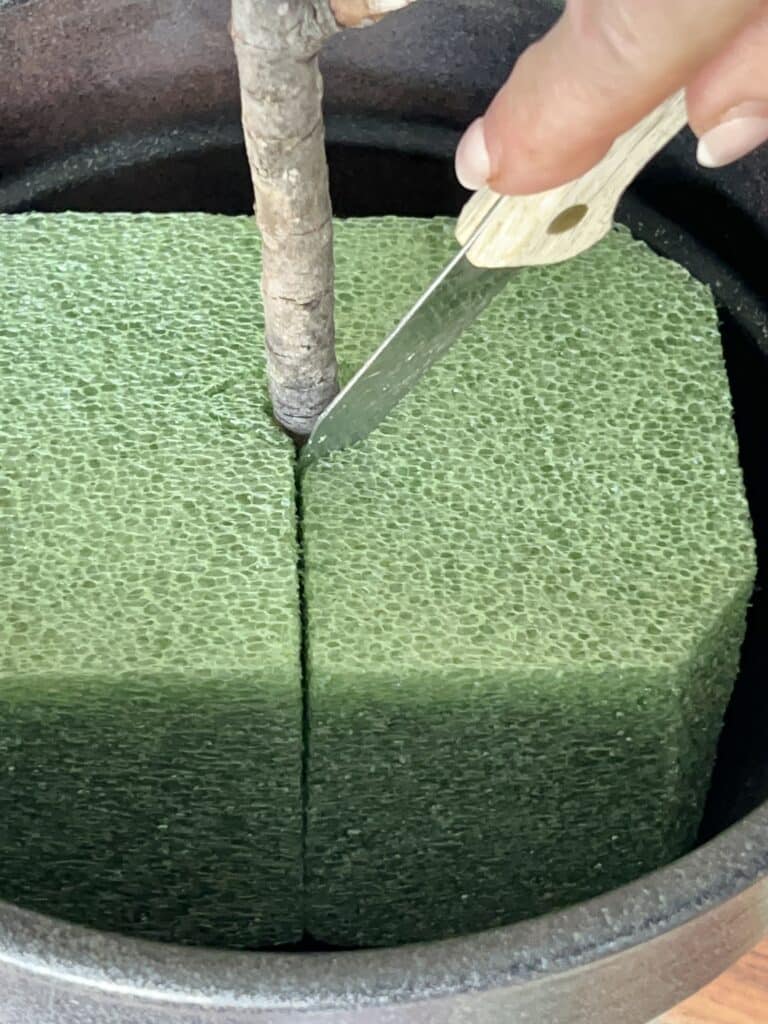
Speaking of styrofoam, take two styrofoam blocks or floral foam and fit them into your pot.
If it doesn’t fit easily, the best way to trim it is with a serrated so the blocks fit snugly in the pot.
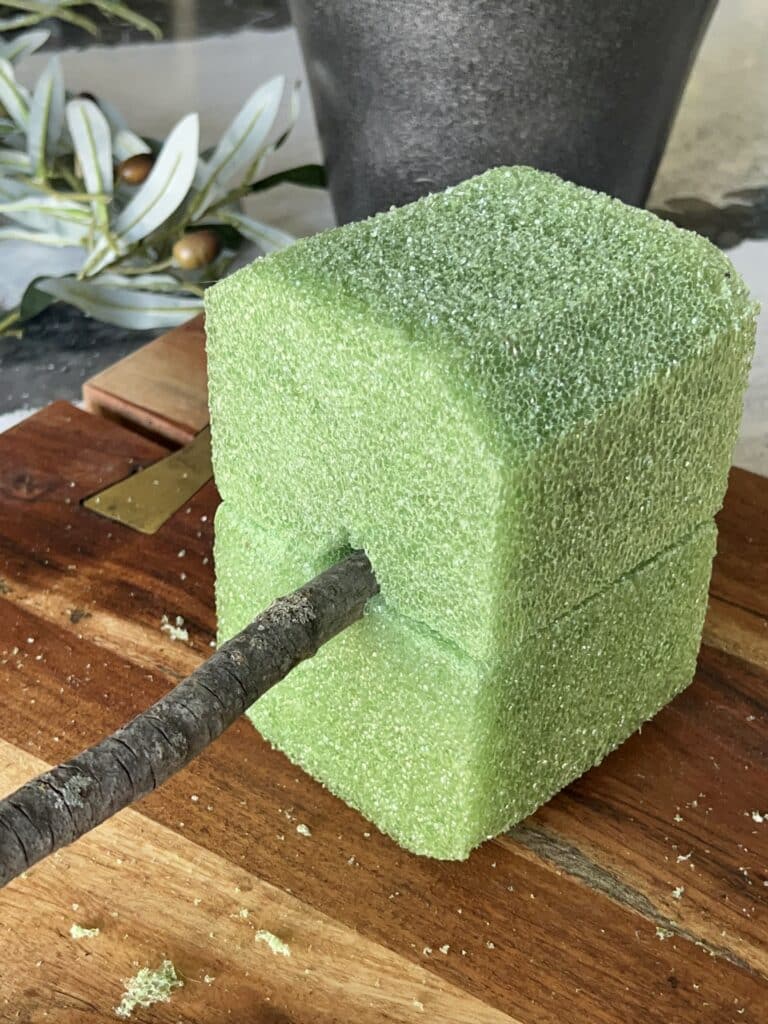
Place the bottom of your foraged stick on top of the two styrofoam blocks and mark or score the diameter of the stick in the center of the blocks.
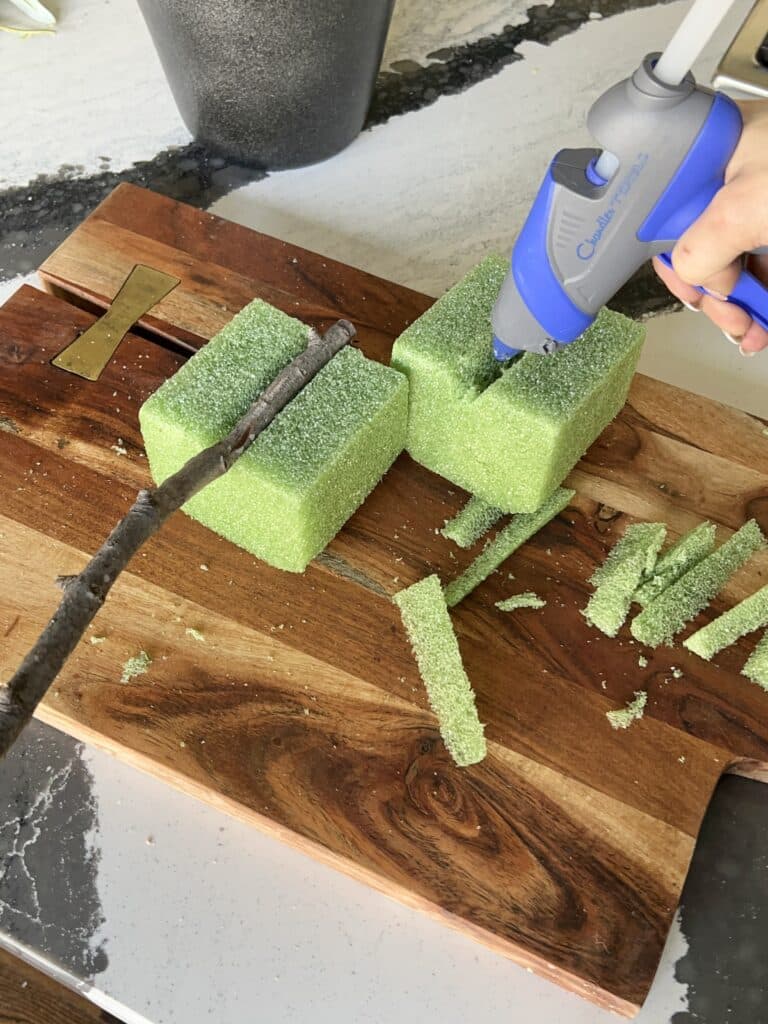
Then, take each individual styrofoam block and cut a trough that is roughly the width of the stick. Put some hot glue on the bottom of the stick and set it into the trough of one block. Press the other block on top with the cut-out trough covering the stick. Press and hold until the glue dries. Place in the bottom of the container and fill in any other empty spaces with additional styrofoam.
Create the Top of the Olive Topiary
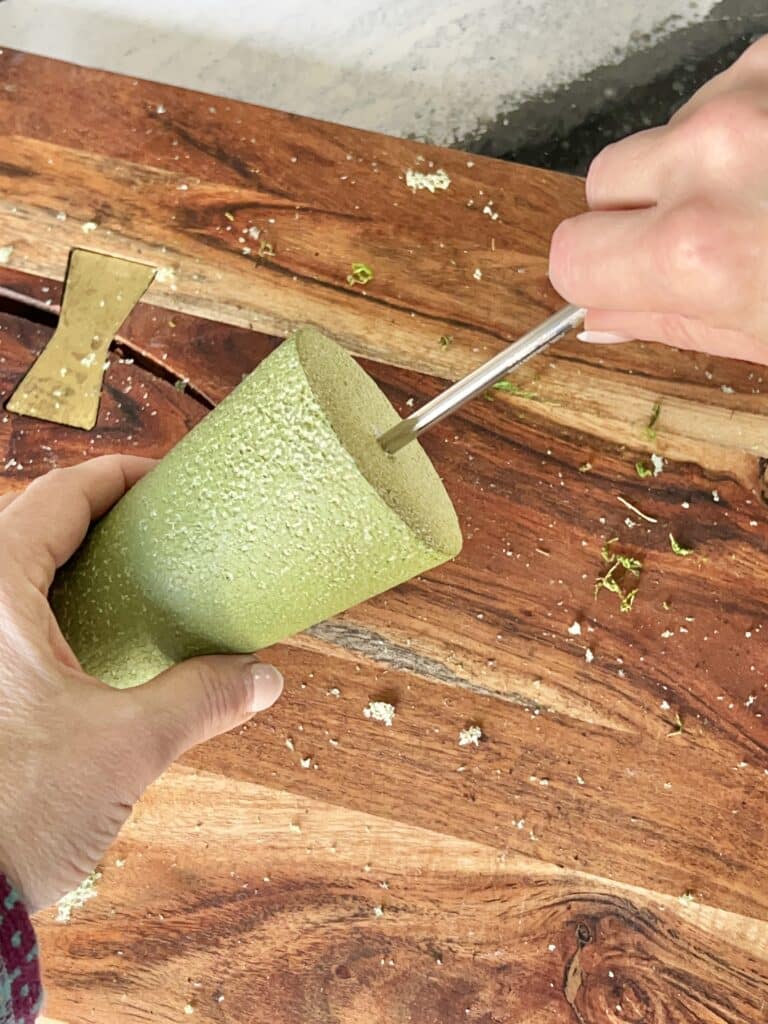
Take a metal straw or other strong poker and poke a hole in the cone, starting at the bottom and pushing through just until you get to the top. Remove the straw and, if you need to (I needed to) give the cone another little spritz of spray paint to cover any white parts.
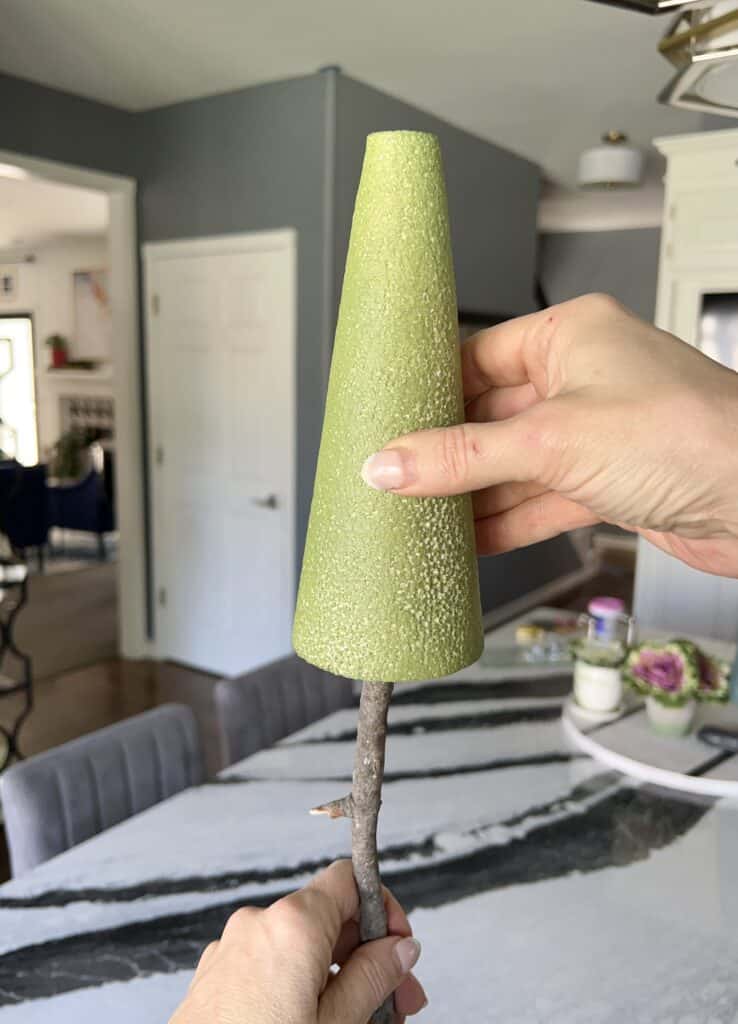
Now let’s pay attention to the top of the stick. Put some hot glue on the top of the stick and slide the styrofoam cone onto the stick through the hole that you created with the straw. The widest part of the cone should face downward.
Time for Your Olive Tree to Sprout
Take all of your olive branches and cut off each individual stem, leaving about an inch on the end.
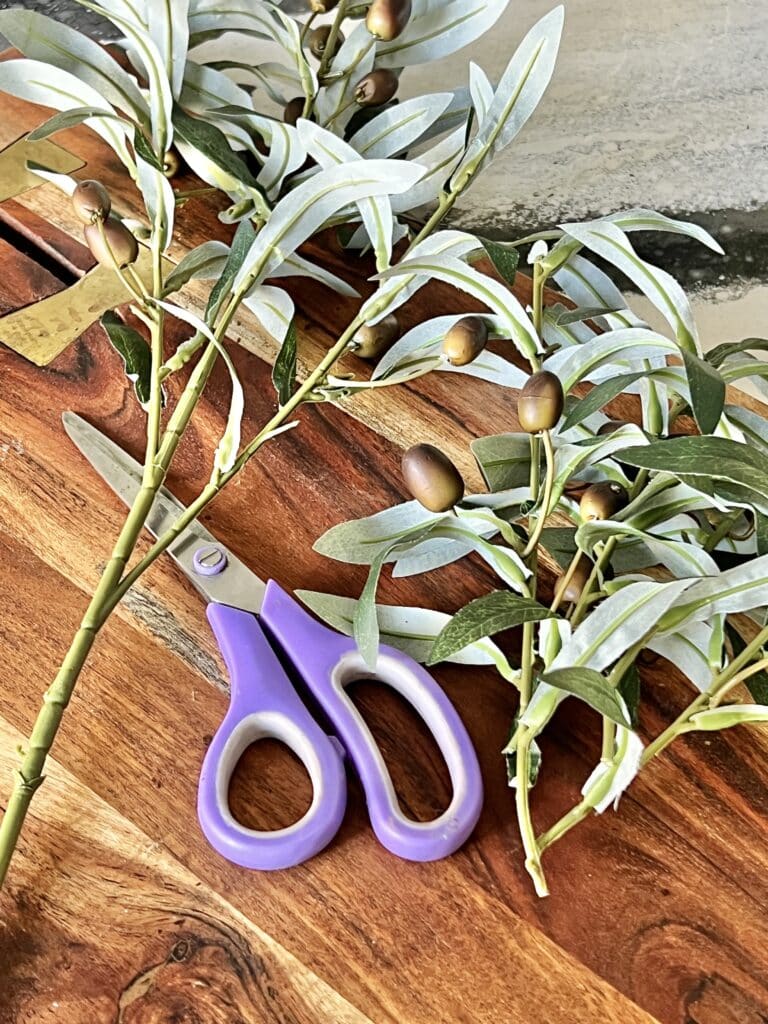
Poke the stem sideways into the center of the foam. Depending on the thickness of your styrofoam, you may need to create a starter hole first with a screwdriver. Poke the stem sideways into the pilot hole you created in the cone until you reach the first leaf on the stem. If needed, add a little hot glue to the end of the stem to secure it.
Now, where the leaf meets the base of the cone, Place a bead of hot glue onto the back of that leaf and press it upwards onto the cone. Hold until it dries. This is the perfect way to disguise the styrofoam cone!
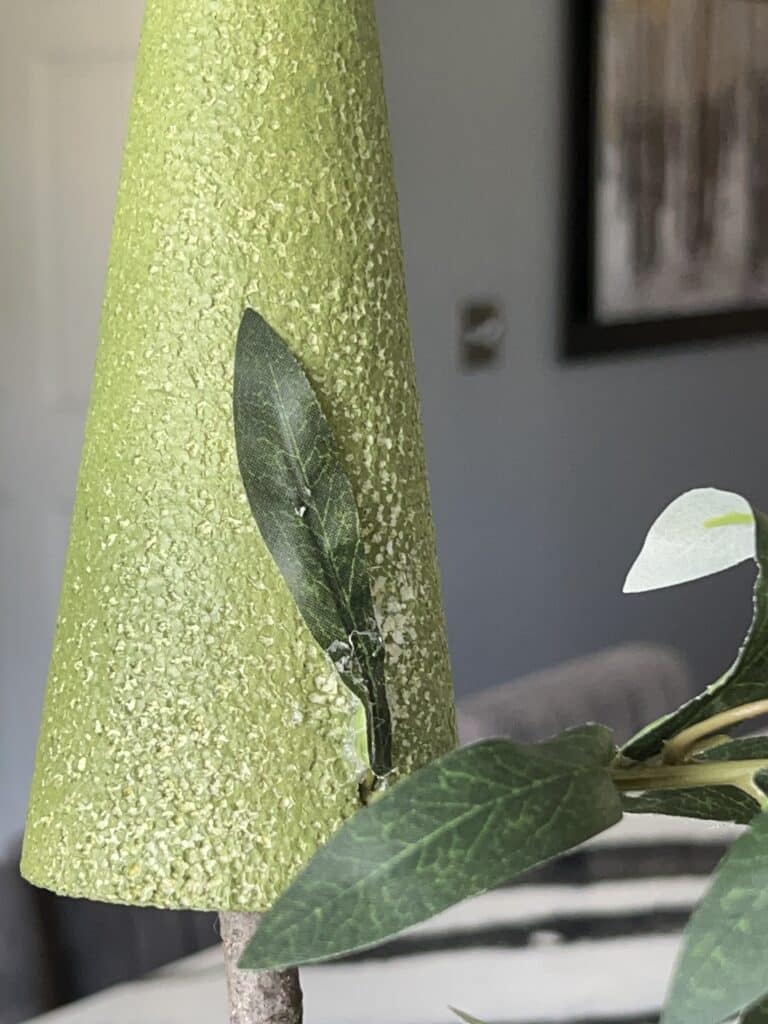
Continue to stick stems into the cone with a little bit of hot glue to secure them. Press each stem in until you get to the leaf. Put some hot glue on the back of the leaf and glue it to the cone.
If any leaves fall off of a stem, don’t throw them away! Glue the bottom half of the leaf to the cone and let the other half curl out.
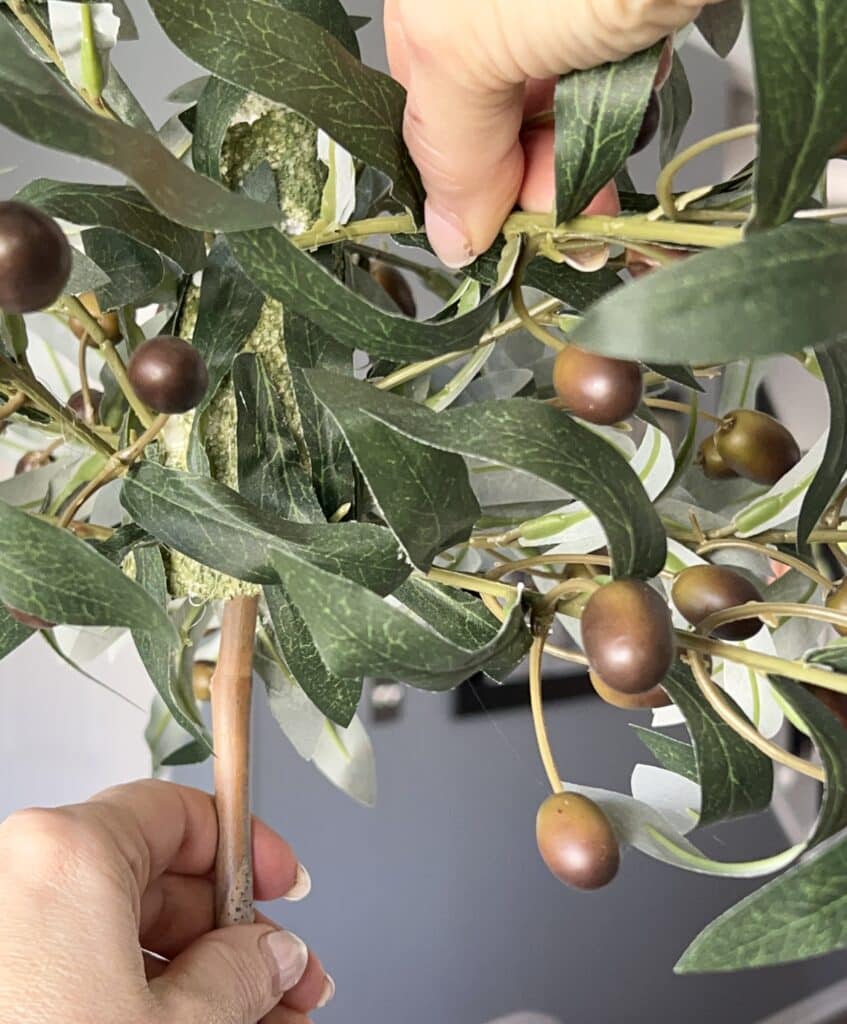
Add a little bit of green or Spanish moss around the base of the topiary and spread it to the edge of the pot.
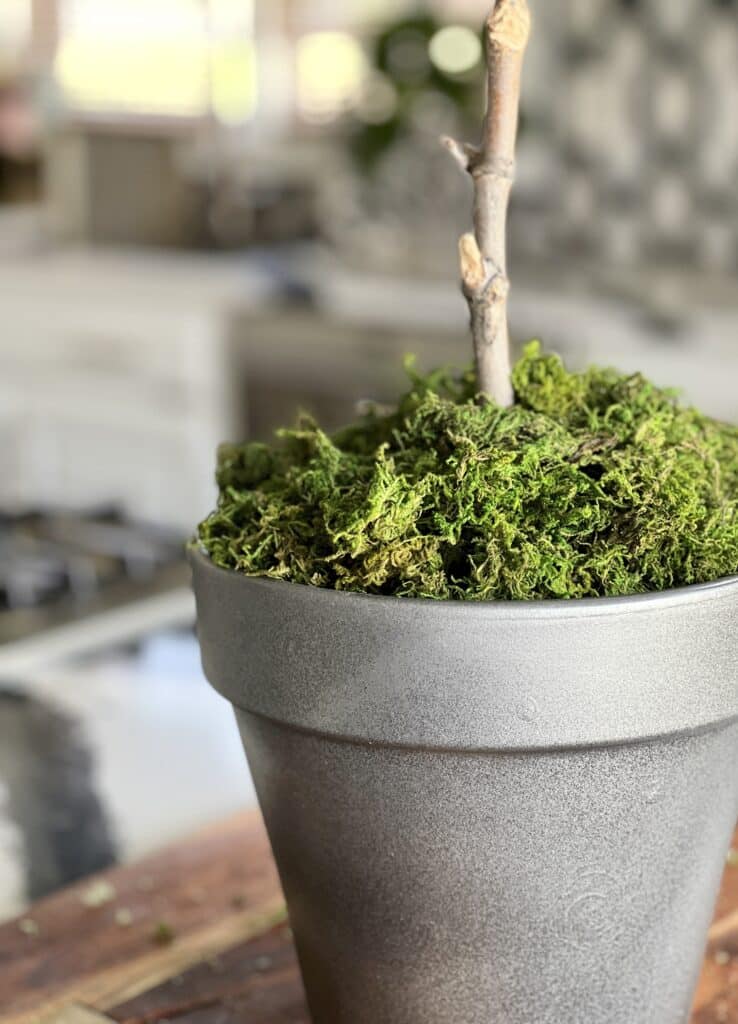
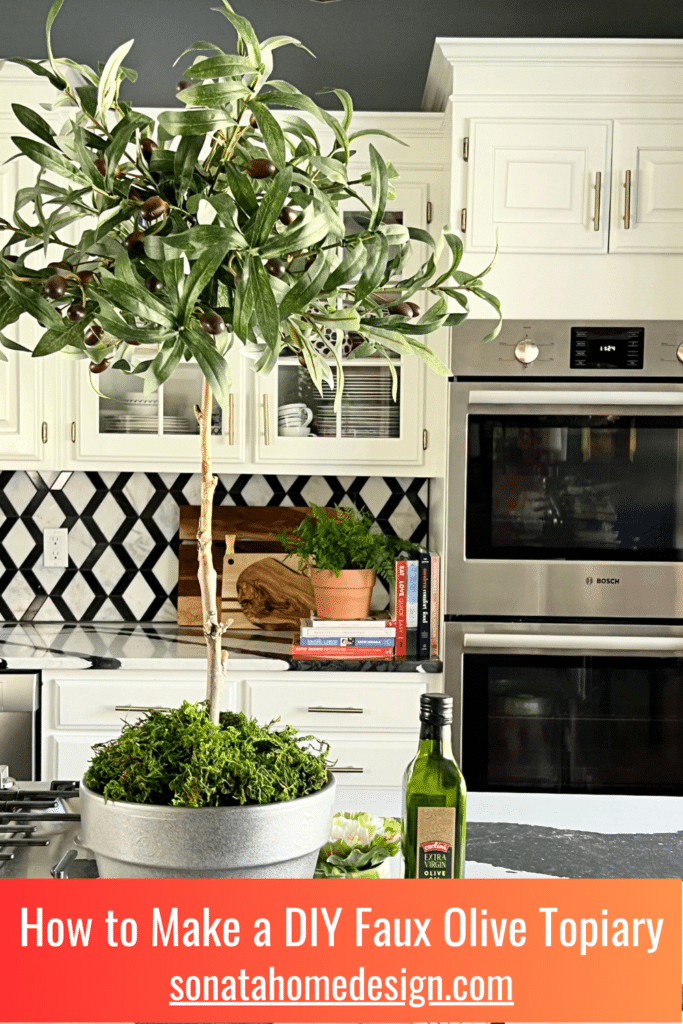
I love how this olive topiary tree turned out!
So easy to make and a whole lot cheaper than buying one!
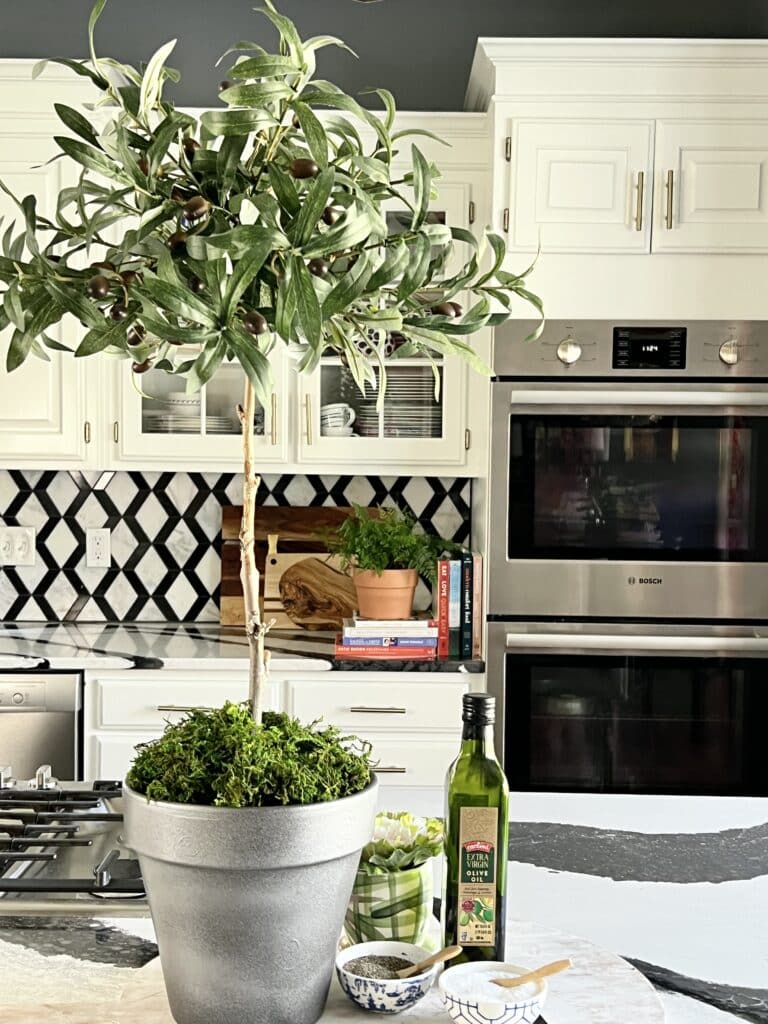
How to Style Your Faux Olive Tree Topiary
Olive trees and topiary are ideal home decor pieces because they bring a natural element to a room without being heavy and overwhelming. I especially love adding the natural element when using colorful home decor. Plus, this can fit into tight spaces just like real plants.
In the kitchen
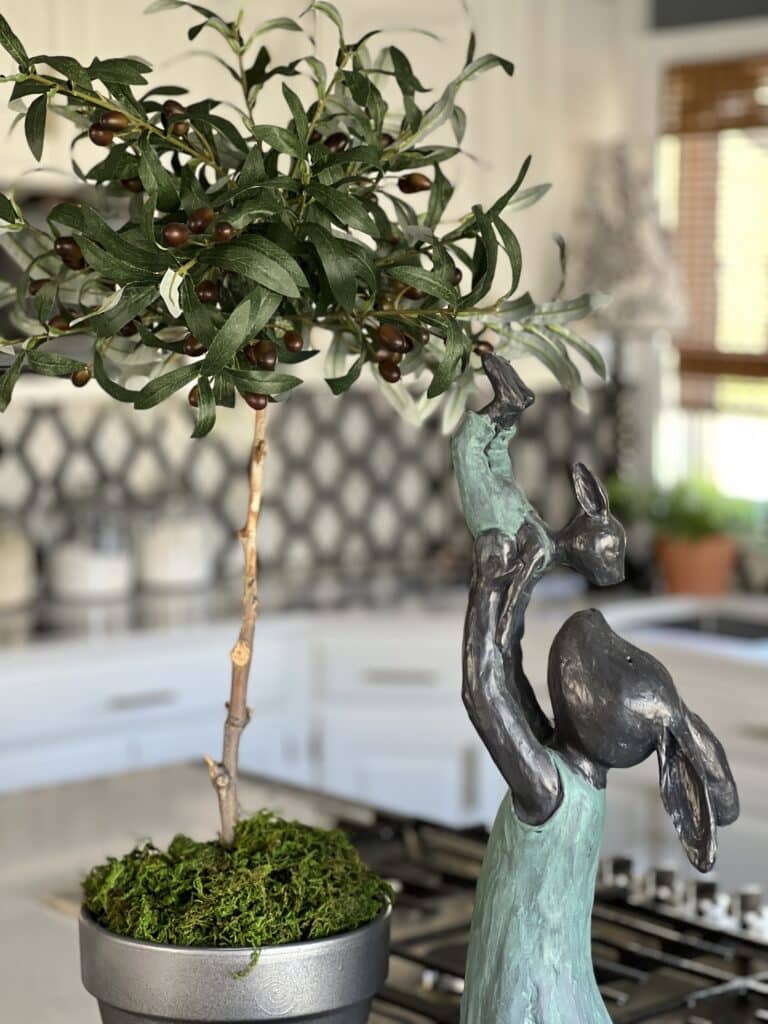
I’m always looking for unique ways to accessorize the island in our kitchen. The olive topiary is a tall and dramatic focal point for the counter seating area but airy enough to not obscure sight lines for those seated.
Translation? We can still see each other even though the topiary is large!
In the living room
A faux olive topiary can add a touch of elegance to your living room. Place it on a side table, on the fireplace mantel, or in a corner near a window for a bit of extra greenery.
In the dining room
A faux olive topiary can also be a great addition to your dining room. Place it on a sideboard as part of a buffet display or as part of your everyday home decor.
In the bedroom
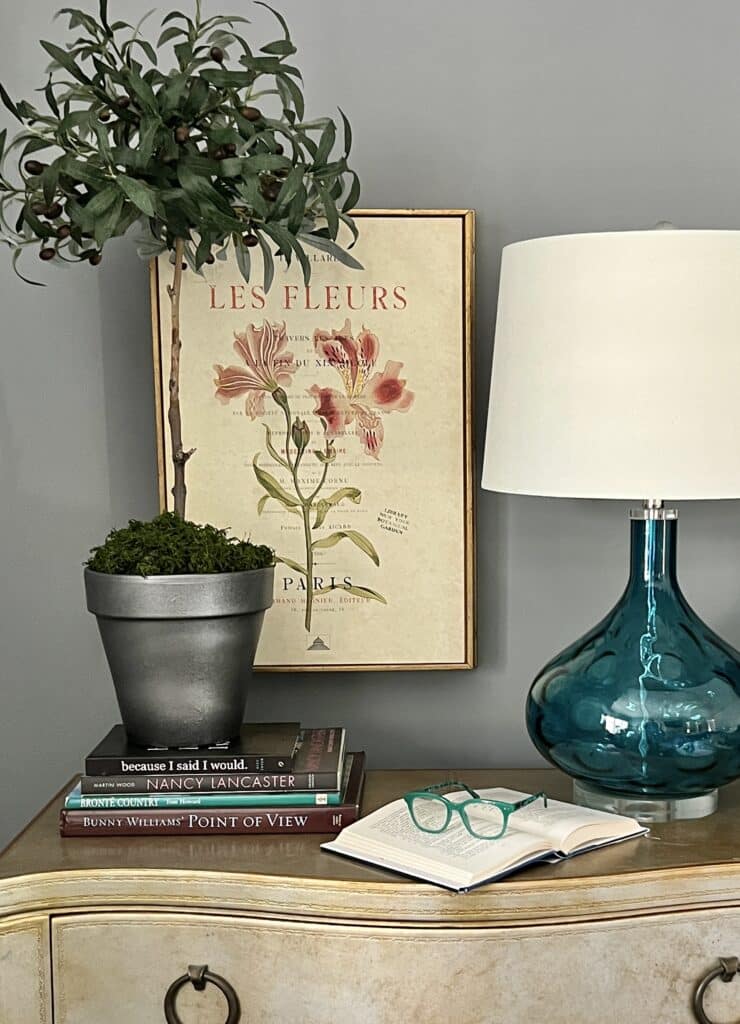
Style your olive topiary on a bedroom nightstand with a stack of books and a small basket to hold hand lotion, reading glasses, and a sleep mask.
In the bathroom
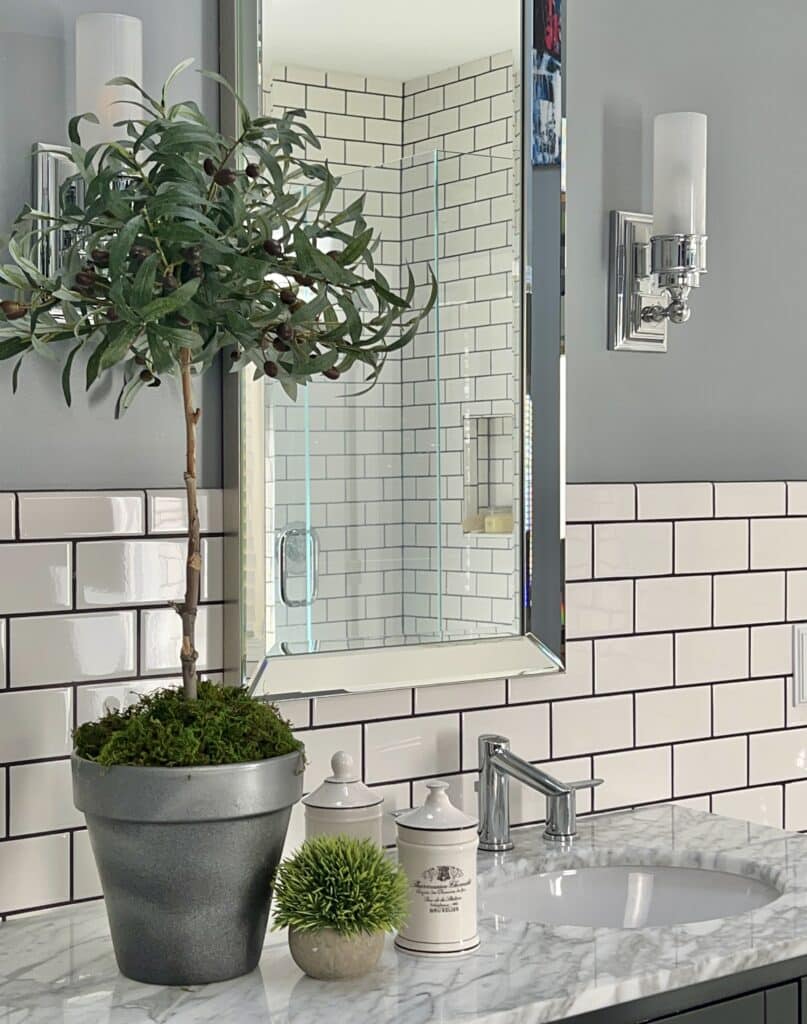
Faux olive trees can also work well in bathrooms. Place one near the sink or in the shower for a bit of Mediterranean-inspired decoration.
For anyone wanting an easy and inexpensive way to instantly spruce up their home décor, this DIY faux olive topiary is a great way to go!
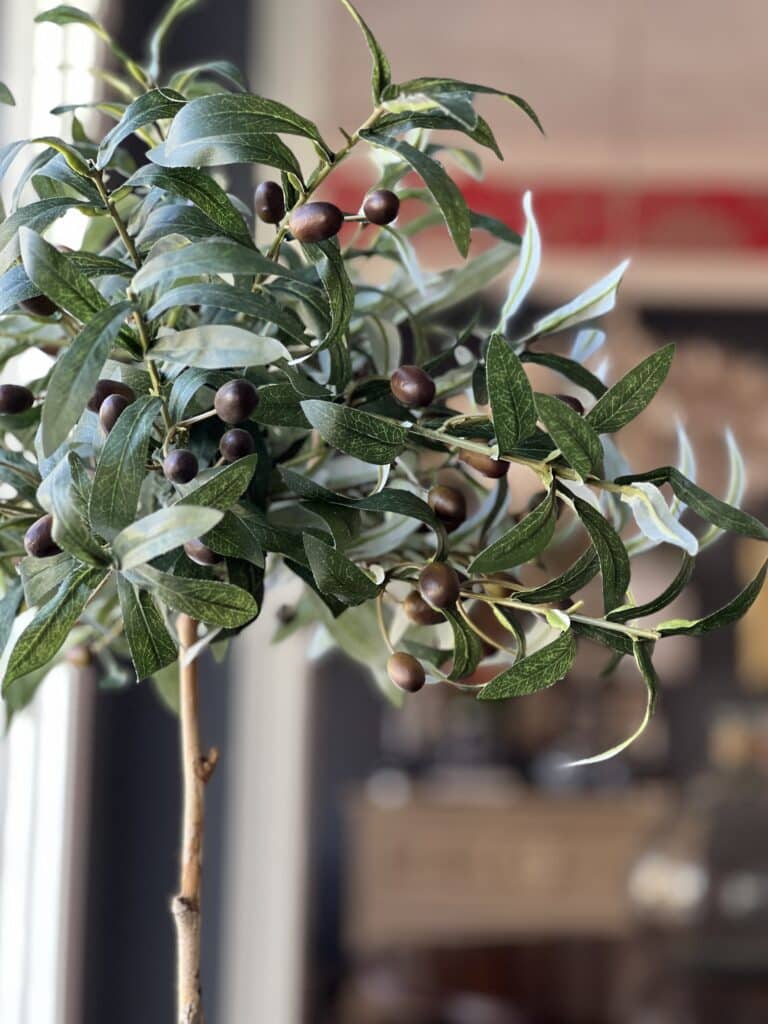
Although it’s surprisingly simple to make one of these incredibly stylish faux topiaries yourself, the quality might just fool people into thinking you bought it from your nearest luxury retailer.
The best part? You get to enjoy all the beauty at a fraction of the cost! So what are you waiting for? Make your own faux olive topiary and give your house some chic flair without breaking the bank!
Cheers!

Not In a DIY Mood?
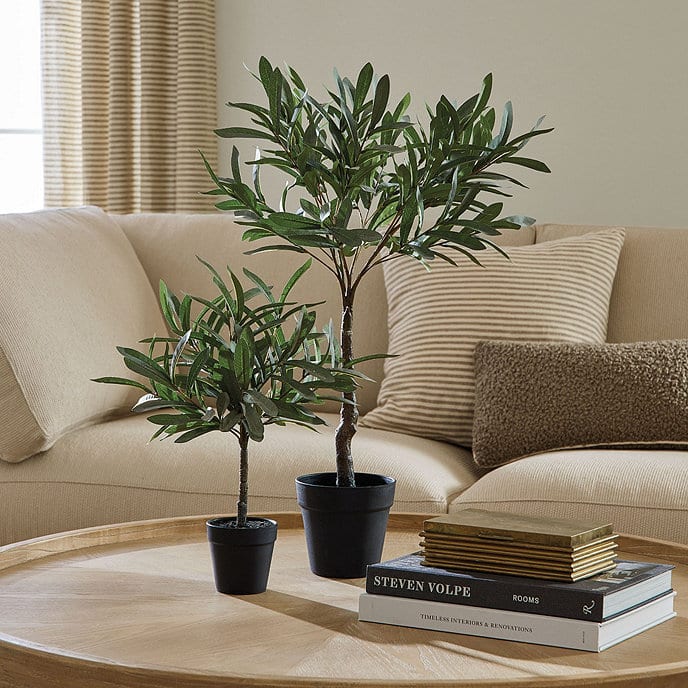
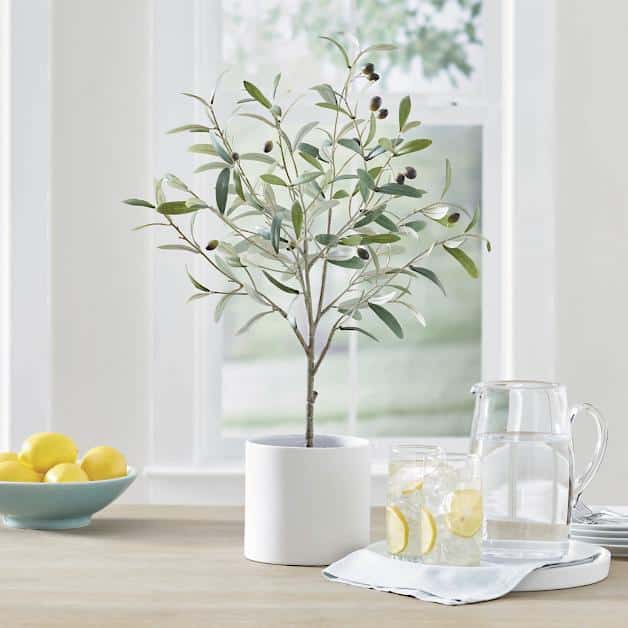
There are beautiful faux olive topiaries that you can purchase ready-made. I think these are the best ones for purchase.
Like this one from Ballard Designs…
Or this one from Pottery Barn.
Don’t Forget to Pin It!
Pin the image below to your boards on Pinterest (just click the Pin button in the top left corner). You can also follow along with me on Pinterest!
More Craft Projects You Will Love
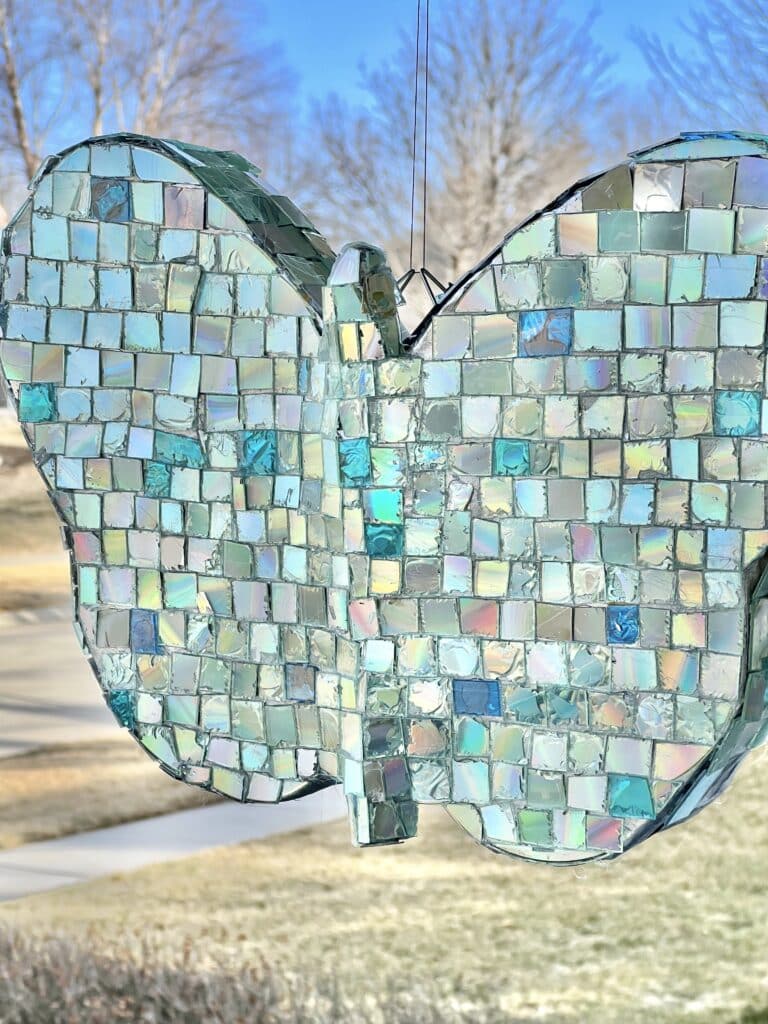
Dazzling Mirrored Outdoor Hanging Butterfly




You’ve inspired me once again, Missy! What a clever idea! Thanks for all of the inspiration. 😊
Hi Stacey! Thanks so much! I’m glad you like it. You might have to wait until your new grandbaby arrives! =)
How fun! I think this would be constantly moving around in my home! Love when they fit everywhere!
Hi Leslie! You are so right! I have displayed this in 4 places already! Thanks for reading!
Hi Missy. Hope you’re having a fabulous Spring! Your Faux Olive Tree turned out amazing! I can’t decide which place in your home I like best, it looks so good everywhere! Thanks for the share! Blessings, Donna
You are my inspiration, Donna! Thank you so much for the fun idea!
I LOVE this, Missy!! Your faux olive tree turned out amazing! It looks good placed in any room of your home, too. Pinned!!
Oh thank you, Rachel! I think I have tried it in just about every room in the house. Right now, I am loving it in the kitchen! Thanks so much for your sweet comments!