Simple and Easy DIY Orchid Planter Ideas for Your Home
Do you find yourself drawn to the beautiful, unique look of orchids? If so, why not take matters into your own hands and create a DIY orchid planter that will bring a touch of charm and personality to your home decor?
With just a few inexpensive supplies and some creative thinking, you can design a custom-made orchid planter for any room in your home!
This blog contains affiliate links. This means a small commission is earned if you make a purchase by using this link. The price you pay will be the same whether you use the affiliate link or go directly to the vendor’s website using a non-affiliate link.
I used to think that orchids were not for me.
Correction…I used to think that they were too “fussy” about how you care for them.
But they are so pretty! I love the look of the on a living room coffee table, the dining room table, on top of the piano, or on a kitchen island.
Then one day, I took a bold step and bought my first orchid at Trader Joe’s…and kept it alive with very little care from me.
I was hooked!
Now I am always on the lookout for decorative pots and ways to create my own DIY orchid containers.
Let’s Display Orchids!
But before we start talking about creating a gorgeous orchid arrangement, we should talk briefly about some requirements for healthy orchid blooms in your floral arrangements.
What is the Best Potting Soil for Orchids
When it comes to planting orchids like a pro, choosing the best soil is key to their success. Orchids have unique needs (aka, they don’t like to “get their feet wet!”) and that’s why they require a special type of soil.
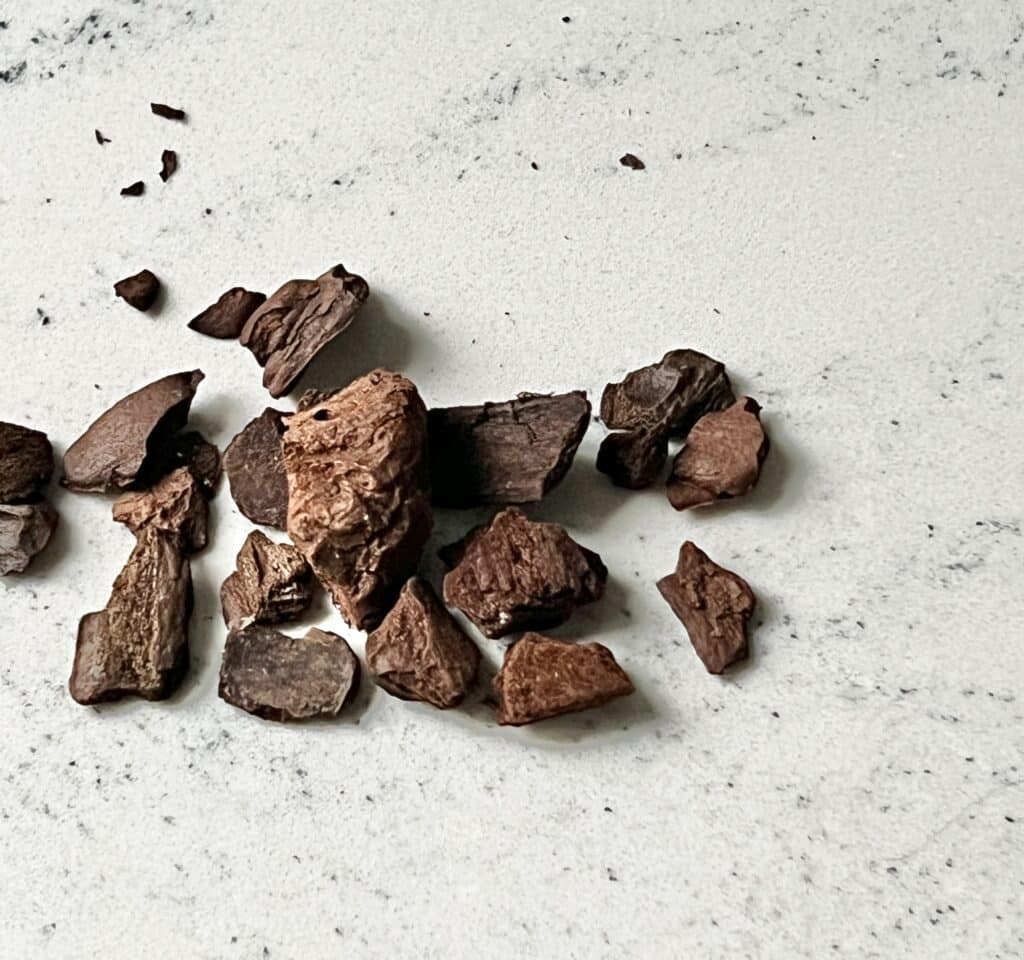
If you are like me and purchase orchids at the grocery store, your orchids will already be planted in the correct orchid media.
If you are purchasing your own orchid soil, you’ll want to go for a well-draining orchid bark mix that’s specifically formulated for these beauties. Look for a mix that contains ingredients like bark, sphagnum moss, or perlite, as they allow water to flow freely, preventing those dreaded waterlogged roots. Orchids are epiphytes, meaning they naturally grow on trees, so they thrive in airy and well-ventilated environments. This special mix provides them with the perfect balance of moisture and airflow for growing orchid roots.
Orchid Containers
When it comes to growing orchids like a pro, clear plastic orchid pots with decorative outer pots are our secret weapon. Let me tell you why they’re absolute winners!
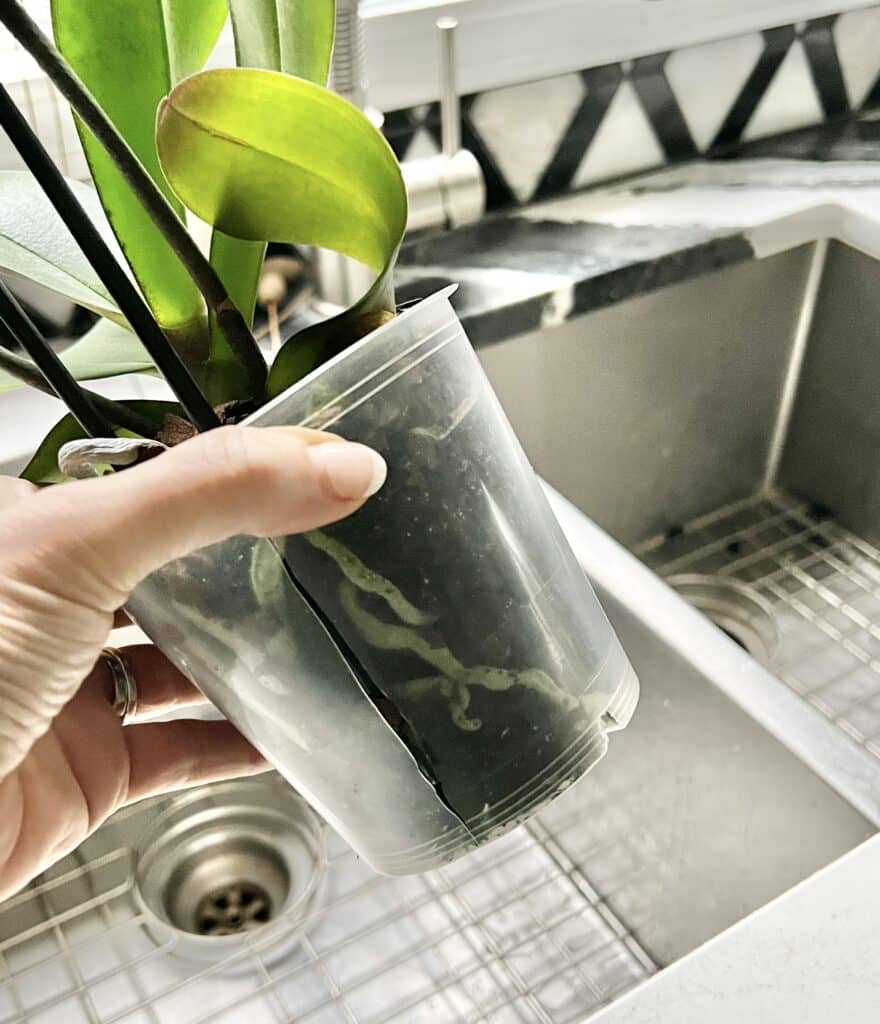
With a transparent plastic orchid pot, we’re giving our orchids the VIP treatment they deserve. Extra drainage holes in the bottom and sides allow the roots to soak up all the goodness from light and air, which is a total game-changer for our epiphyte friends. You see, orchids need that extra dose of oxygen and light for respiration and photosynthesis – they’re like the rockstars of the plant world!
Keeping an orchid in its clear plastic original pot is ideal. But that doesn’t mean we can’t put that clear pot into a decorative container! As long as there is space for the roots to breathe, you are good to go with keeping your orchid in its original container and placing it in another larger pot.
DIY Orchid Planter Ideas
Now that your orchids are nestled in their clear plastic pots with orchid bark, we can come up with all sorts of ways to create the perfect centerpiece with a pretty DIY orchid planter!
Porcelain or Ceramic Planter
This is a great way to create orchid planters as well as the easiest way to display your orchids.
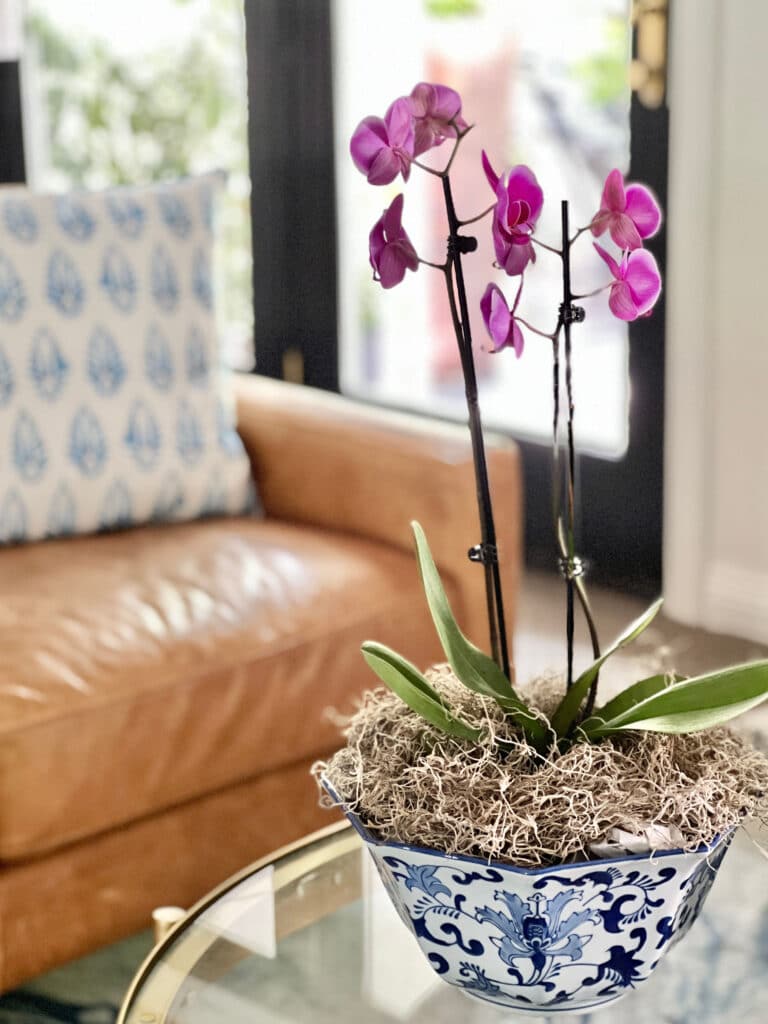
You might choose a ceramic pot, an old vase, or even various wicker baskets. Just make sure that you choose deep pots with at least a few inches of space between the orchid and the sides of the pot.
Place some small rocks or stones in the bottom of the pot and place the orchid on top. Fill in the pot with some sphagnum moss as well as around the base of the orchid.
Glass Apothecary Orchid Planter
Using a glass container like an apothecary jar is a great way to create a simple orchid planter that is beautiful and elegant.
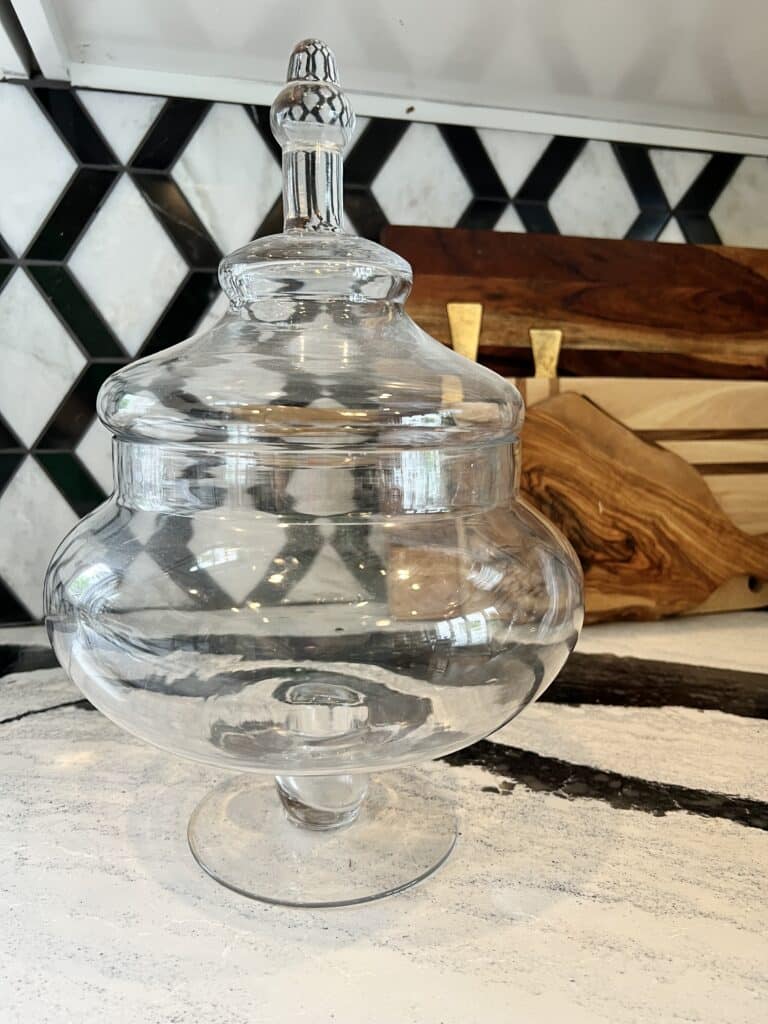
First, find a beautiful apothecary jar that measures fairly wide, speaks to your style, and complements your decor. Make sure it’s large enough to accommodate your orchid’s pot and roots comfortably.
Add a layer of small rocks or pebbles at the bottom of the jar to promote good drainage for your orchid.
Next, place your orchid (still in its transparent pot) in the center of the jar.
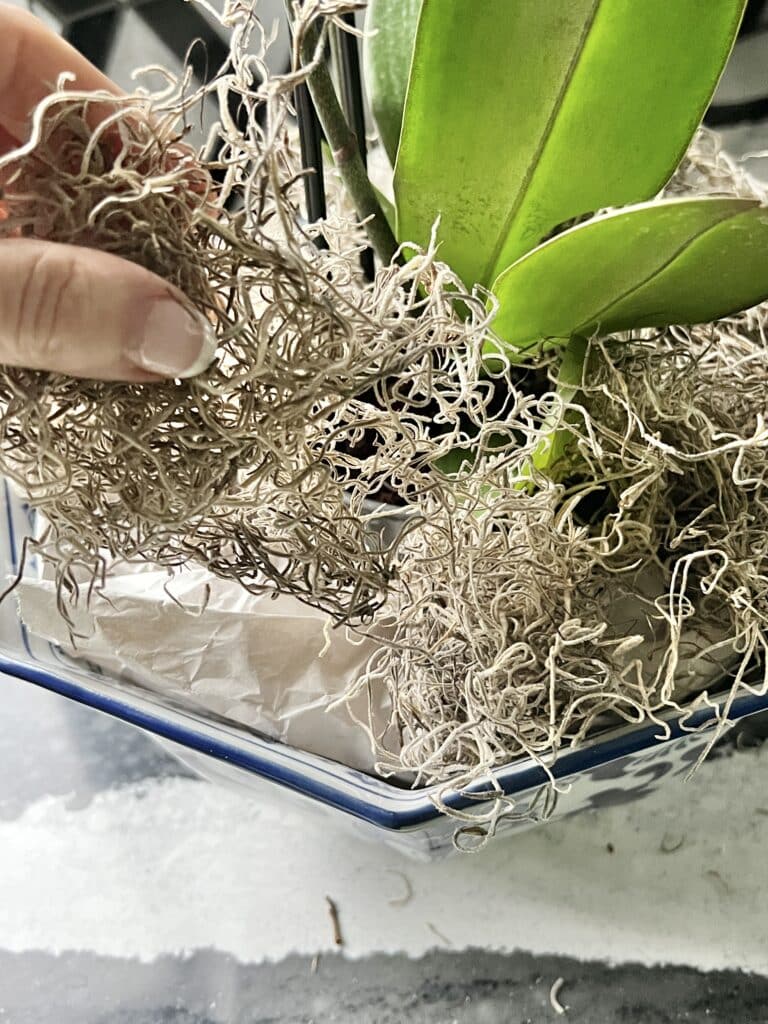
Next add a light layer of Spanish moss around the orchid, continuing to fill in empty spots as you go. Avoid packing the moss too tightly as there needs to be good air circulation for your orchid. You can, however, add a little moss to the top of the pot so you are covering the soil at the base of the plant.
Finally, place your apothecary jar orchid planter in a well-lit spot with indirect light, and watch your orchid bloom in style. It’s a lovely way to display your orchids while adding a touch of elegance to your space.
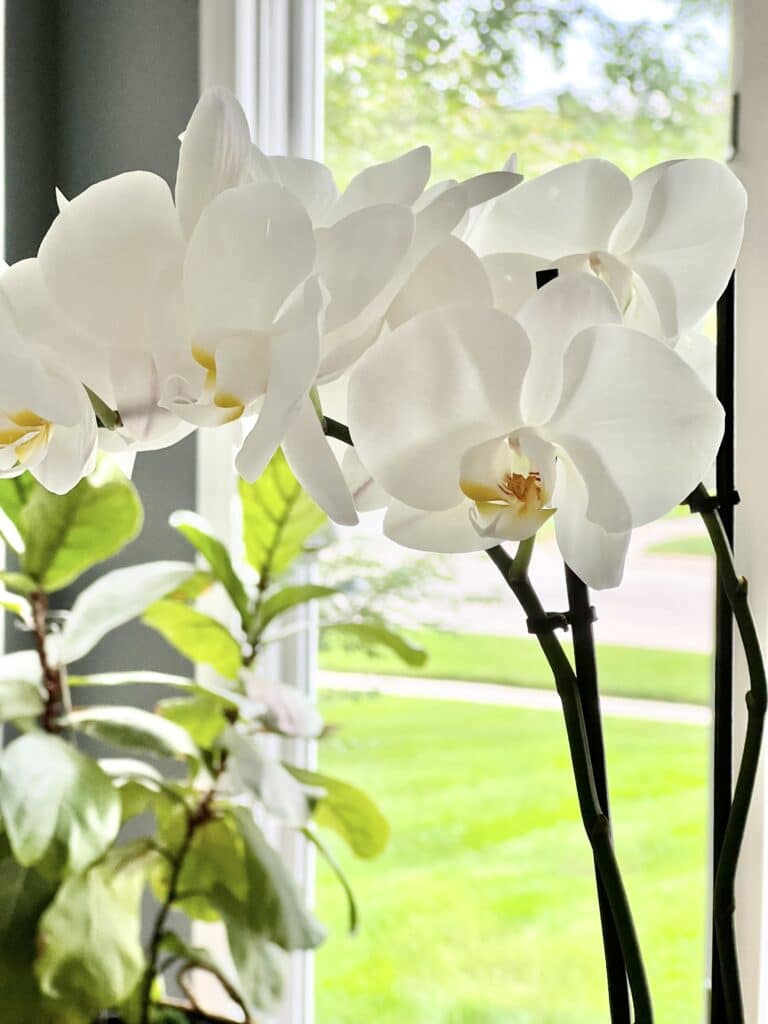
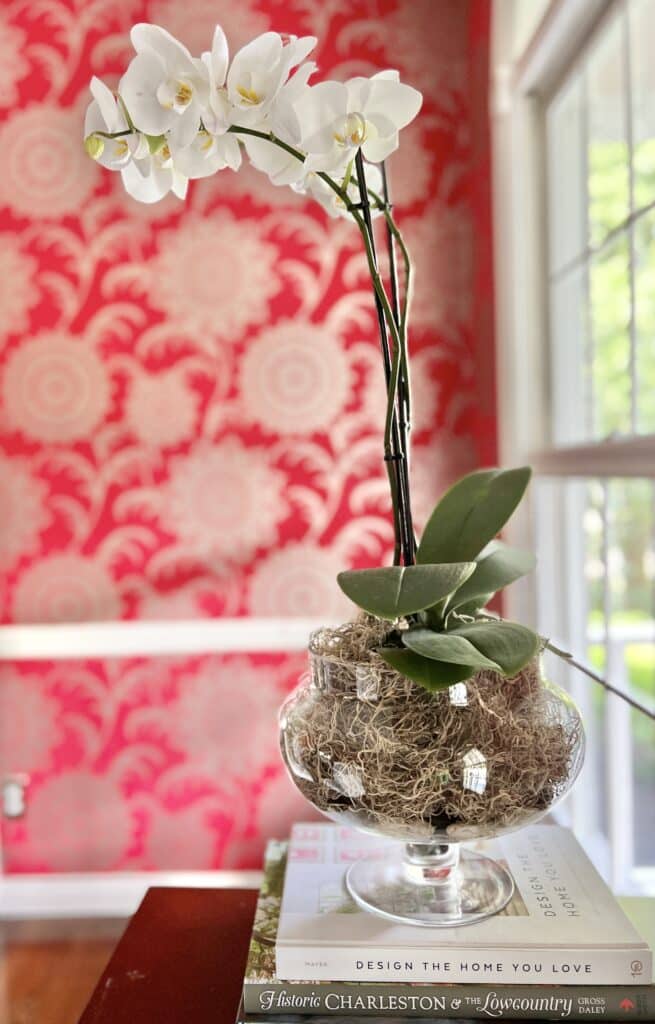
This white orchid is the star of our dining room!
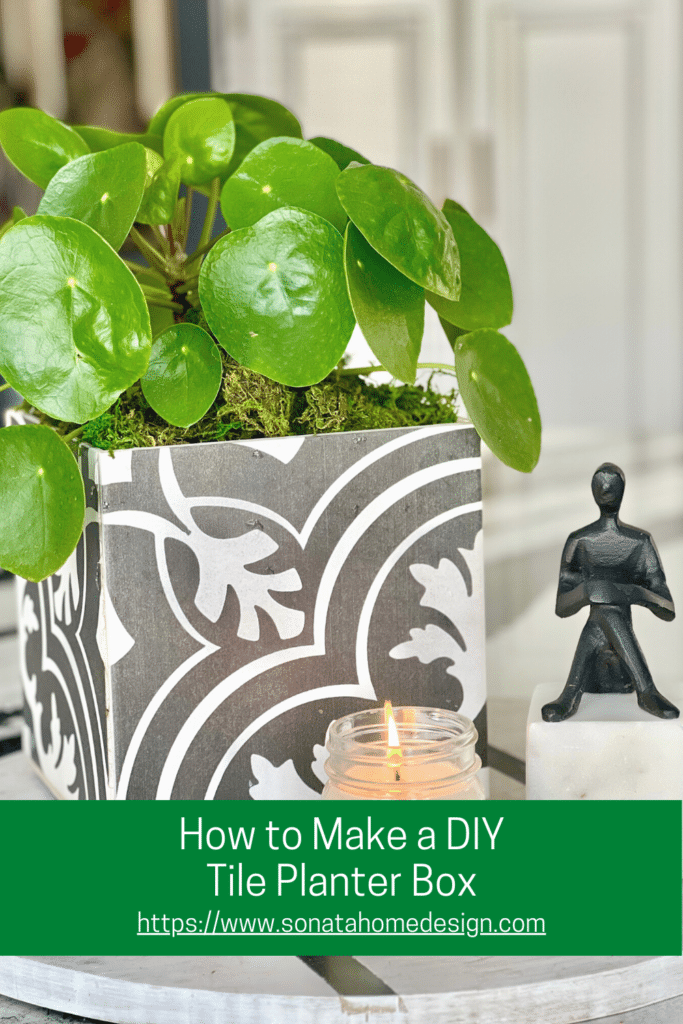
DIY Tile Orchid Planter Box
Do you have leftover floor or wall tiles from a home project? Put them to use with this fun and easy Tile Planter Box project!
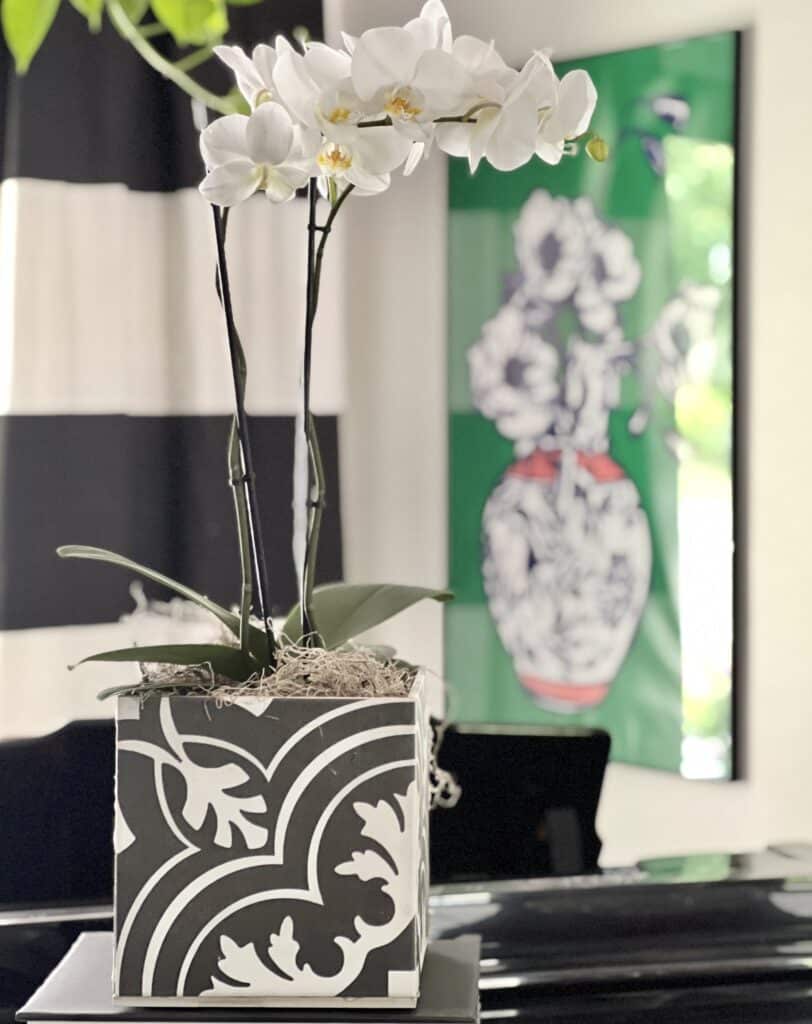
All you need are 5 square tiles and some very strong glue. Perfect for orchids, these tile boxes are also fantastic for other plants!
You can see a full tutorial with step-by-step instructions HERE!
Repurposed Candle Jars
As a candle addict, I have a large inventory of candle jars that once burned brightly with my favorite scents. Once the candle has burned down to the bottom of the jar or bowl, remove the wax and re-use the container!
With so many large-scale candles on the market, there are so many potential orchid planters available!
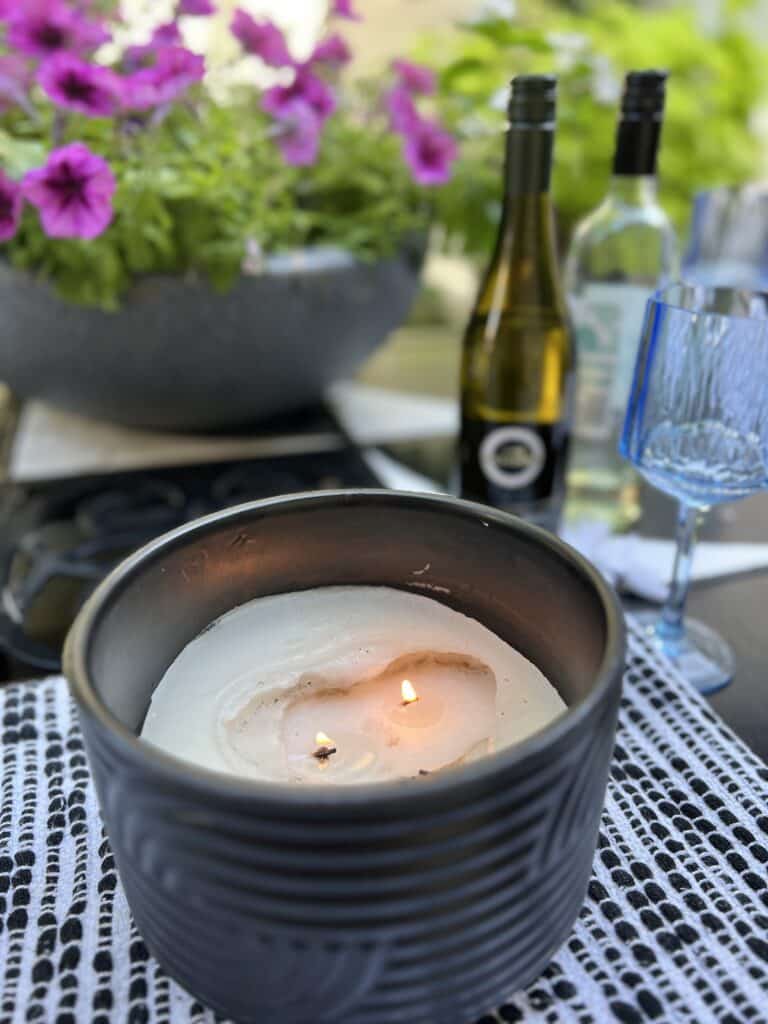
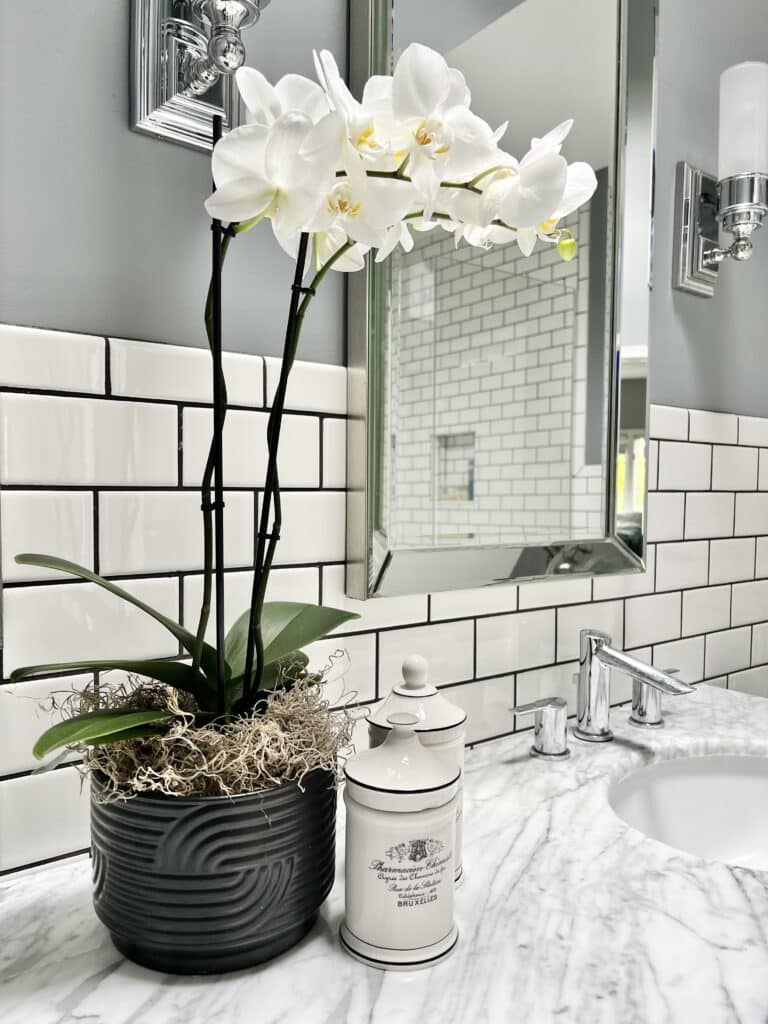
This citronella candle finally burned itself out…
…and makes a lovely DIY orchid planter!
Pressed Flower Orchid Vase
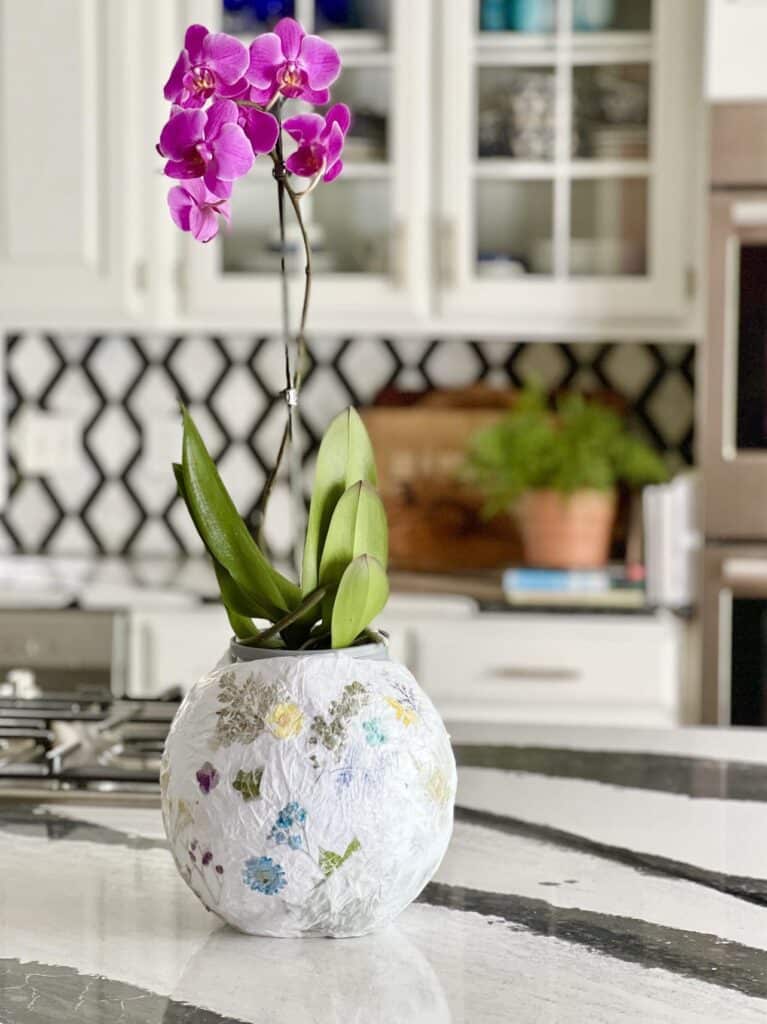
This pressed flower vase idea is such a sweet and creative way to show off your orchid!
The pretty pressed flowers add a nice touch of nature and color, making your orchid look even more beautiful.
]Making a pressed flower vase is a fun DIY project that lets you add your own personal style to your orchid’s display. Tap HERE for the project tutorial!
Make One of These Wooden Orchid Baskets!
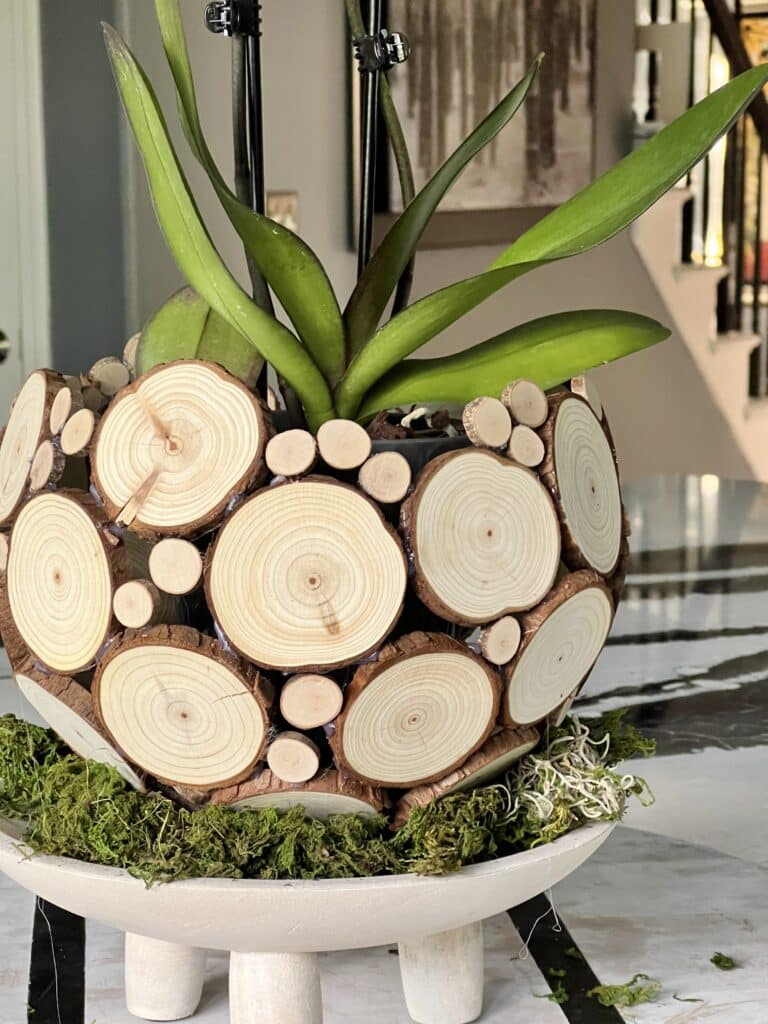
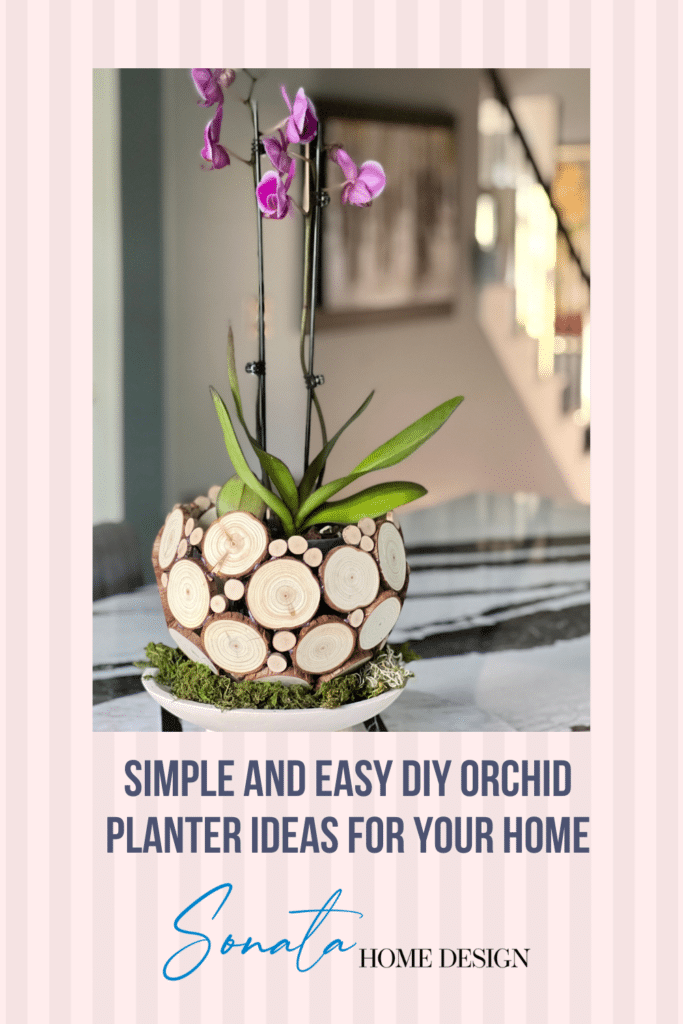
I love all the fun crafting uses for wood slices that can be found online or at local craft stores. These little beauties became part of this DIY orchid planter idea. Here is a simple tutorial and the supplies you will need:
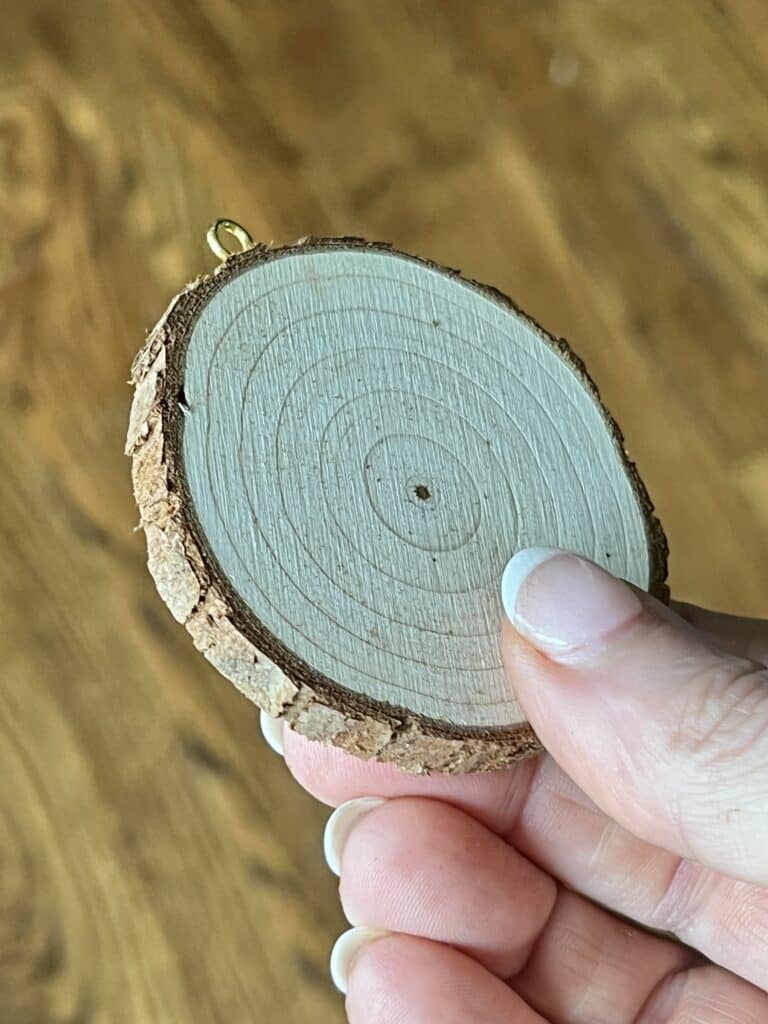
Supplies
- wood slices in large and small sizes (My wood slices had tiny screws on the top. I removed them by simply screwing them out with some pliers.)
- a balloon, blown up and tied off
- low-temp glue gun, and glue sticks
Set your blown-up balloon in a bowl for stability. Take two wood slices and glue the sides together using a low-temp glue gun. Place them on top of the balloon while the glue cools. Let the disks bend slightly so they follow the curve of the balloon.
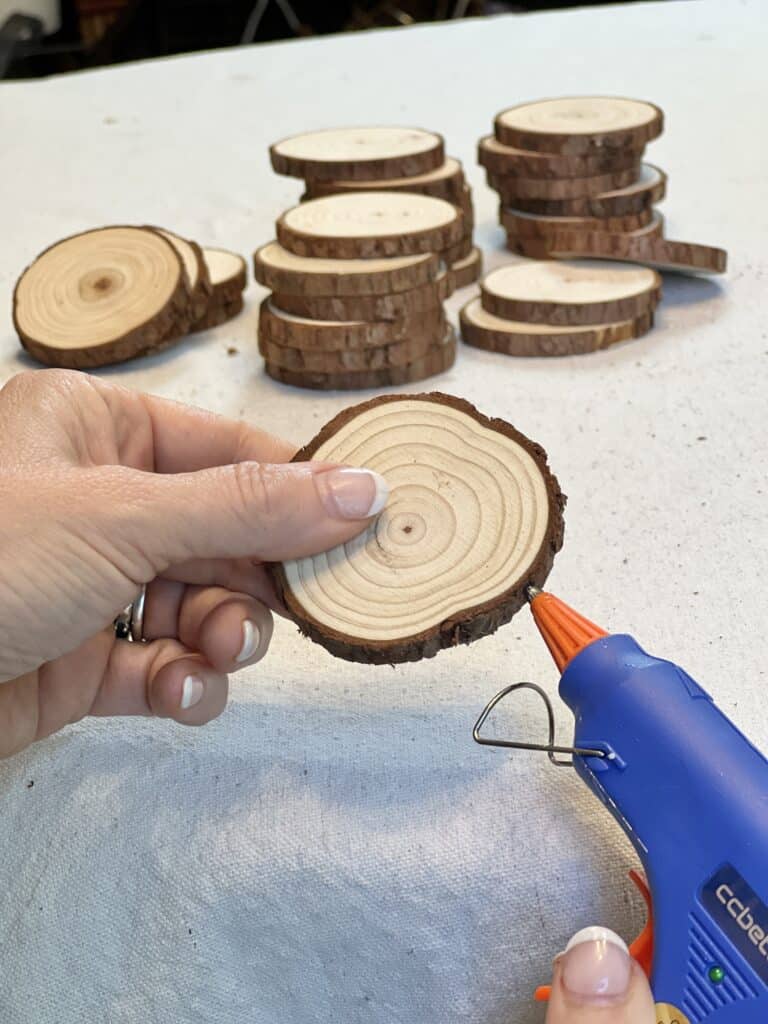
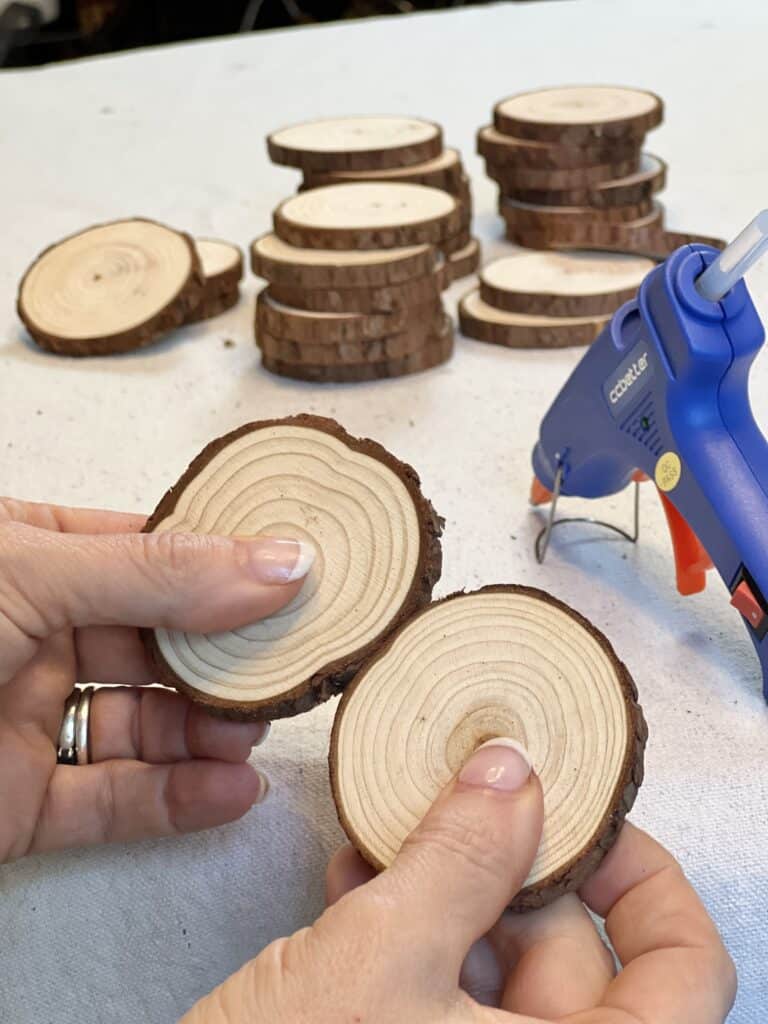
Continue to glue wood slices by applying glue at the touchpoint between the slices. You are not gluing the slices directly to the balloon but rather using the balloon as a rounded guide for shaping a curve. Be sure to let the glue completely cool and dry before you add the next slice. This will ensure the strength of the connection points.
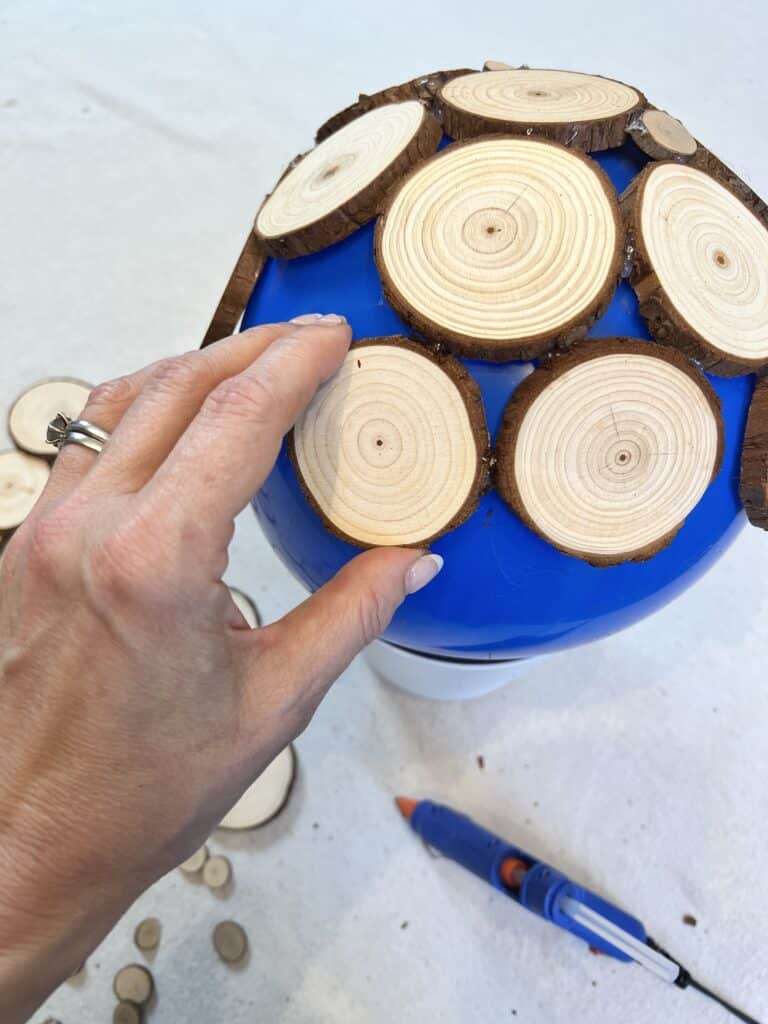
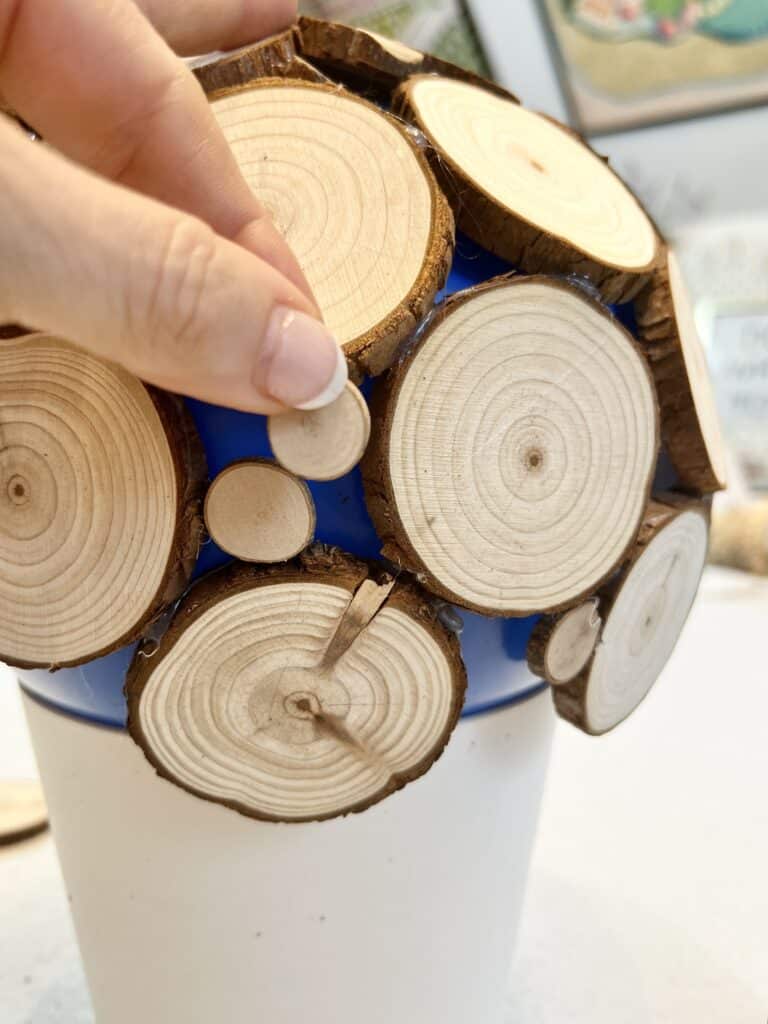
Don’t worry…the low-temp glue sticks will not pop the balloon! (I tested it!)
Continue to glue wood slices to create a dome over the balloons. You will find that larger spaces will occur when the wood slices don’t fit perfectly. To fill in these spaces, glue smaller-sized disks into those spaces. Continue to cover the balloon with the disks. As you reach the underside of the balloon, flip the balloon over and add some smaller-sized slices along the top edge of the dome.
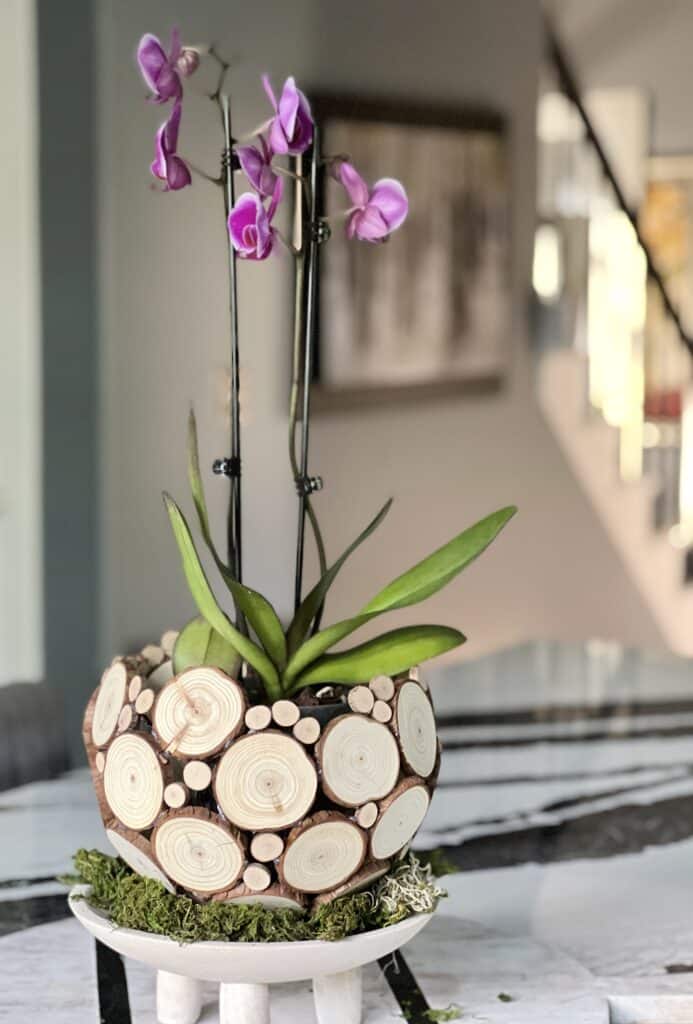
Now for the best part! Once you have all the disks where you want them and the glue has set, pop the balloon!
I styled my new wood slice bowl by laying some moss on a tray and nestling the wood slice bowl on top. Then I added a beautiful pink orchid for a stylish kitchen display.
ORCHID FAQS
What Kind of Light Do Indoor Orchids Need?
Orchids do like a good dose of light each day but don’t do well in direct sunlight. They will love the bright indirect light of a window sill but might need a little shade from the late afternoon sun.
The best way to tell if your orchid is getting the right amount of light is to look at the leaves. If your orchid display continues to have bright green, glossy leaves, you have found the perfect location!
How Much Water Does An Orchid Need?
I used to use the ice cube method and had relatively good results. However, after some research and good advice, I now make sure my orchids have the right amount of water by using the “plunge method.”
Once a week, I remove the orchid (in its plastic orchid pot) and plunge it into a bowl of water. Lift the orchid out of the water and let the excess water drain away.
Then it is back to bed it goes as I tuck the orchid back into its decorative orchid planter for the week!
When Should I Fertilize My Orchids?
During the peak growing season (spring and summer), you will want to fertilize your orchids about every two weeks. During the winter months of dormancy, you can fertilize just once a month.
What is the Best Fertilizer for Orchids?
Organic, liquid fertilizers specifically for orchids can be purchased online or at local garden centers.
However, there are several ways to fertilize orchids with homemade fertilizers.
- Crushed egg shells (grind them as small as possible)
- Crushed dried chicken bones (again, grind them as small as you can)
- Used tea bags (open the used bag and sprinkle the tea around the orchid.)
- Use coffee grounds.
- Water that brown rice has been boiled in.
Growing orchids doesn’t need to be intimidating; by following a few simple steps, you too can keep an orchid alive and blooming. Experiment with different materials and designs when it comes to creating your own DIY orchid planters.
And don’t forget: with the right care, your indoor oasis can continue blooming for years! So don’t be afraid of growing orchids in your home – display them proudly in beautiful DIY orchid planters and know that you are taking care of a beautiful, living thing!
Cheers!

Don’t Forget to Pin It!
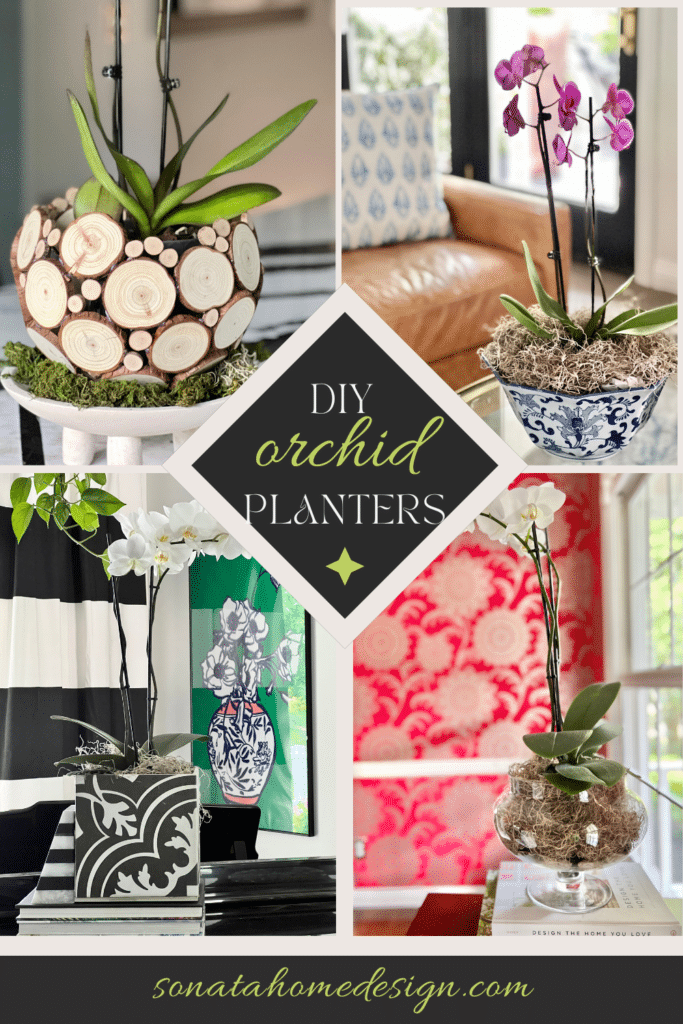
Pin the image below to your boards on Pinterest (just click the Pin button in the top left corner). You can also follow along with me on Pinterest!
If You Love Plants and DIYs…
How to Make a DIY Tile Planter Box
How to Make a Mini Tabletop Greenhouse

How to Easily Transplant Plants Without Killing Them
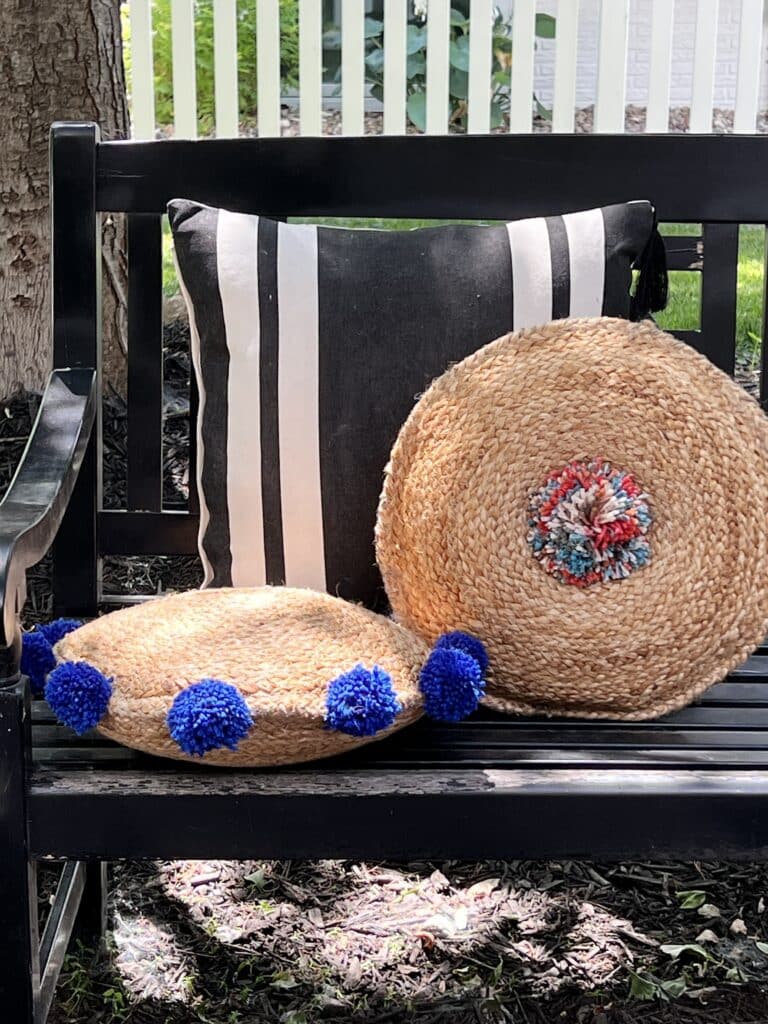
How to Make An Easy DIY Boho Pom Pom Throw Pillow



I love orchids, and the great vessels you used to make them look fantastic in your home.
Thank you, Wendy! So sweet of you!
LOVE these ideas, Missy, and the wood round planter is GORGEOUS!
Don’t forget to join us over at the Creative Crafts Linky Party every Wednesday through Sunday
https://creativelybeth.com/team-creative-crafts-linky-party/
Followed and Pinned!
Creatively, Beth
Thank you, Beth! I really appreciate it! I have been loving your Wednesday link party so much! Thank you for hosting!
Wow!!! That’s SO COOL!! I have like…5 orchids in my day and they have all bit the dust. Maybe I will give it a go again in the Fall with these tips! Super helpful, Missy!
Hi Rachel, I too have “lost” orchids. Thank goodness for Trader Joe’s! LOL
Beautiful! I love all these ideas, but the balloon-wood one is my favorite. Visiting from Dare to Share. Pinning. 🙂
Thank you so much, Jennifer! I think the wood planter might be my favorite as well. (For now…I always change my mind!) Thank you so much for reading and commenting!
I love all of your creative ideas on how to display orchids, Missy!
Thank you so much, Kristy! Orchids are so fun to decorate with!
Beautiful!
Thank you so much! I appreciate it!
I love this Missy! I have orchids too & love them. You have some great ideas and info here. Thanks for sharing at the Home imagined link party. XO- MaryJo
Thank you so much, MaryJo! I really appreciate it! Thank you for hosting a great link party!
Thank you for sharing this wonderful idea and it is really amazing. Thank you so much. Looking forward for more such creative stuff.
You are so thoughtful! Thank you so much! It was a really fun project and I love sharing it! Have a great day!
Missy, this is beautiful. You do such lovely work. I appreciate you sharing this diy.
Visiting today from Unlimited Linky #122
#6&7
Hi Paula! Thank you so much! I’m so glad you like it1 Thank you for stopping by!
Hi Missy! Popping back in to let you know you will be featured at tomorrow’s Home Imagined link Party. Hope to see you there. XO- MaryJo
Thank you so much, MaryJo! What a thrill! Love your link party!
I really loved the idea and appreciate the efforts made by you.
Thank you so much! I’m so glad you like the idea!
Hi Missy – You have some great ideas for containers for orchids! I love the wooden discs that you glued together. Super creative. Thanks for all the advice on growing orchids. It’s a little intimidating trying to grow an orchid – but now I feel inspired. Thanks for sharing this post on the Home Imagined Link party.
Oh my Missy, I am in love with the wood planter! So cute, and a great idea. Now, I thought orchids were high maintenance too. It’s ok though since I am doing well keeping my succulents kicking. Maybe one of these days I will graduate and can move on to an orchid. I think they are beautiful!
Would you believe that I struggle a little with succulents? I think orchids are much easier! LOL! Thanks for stopping by, Cara!
Hi Missy, We will be featuring you starting Wednesday at the Creative Crafts Linky Party! Pinned and shared!
Creatively, Beth
Thank you so much, Beth! How thrilling! Thanks for hosting a fabulous link party!
Your article has left a lasting impression on me, and I am grateful for the opportunity to learn from your work. Kesehatan & Kebugaran
The vase made with the baloon is wonderful! You’re amazing! Thanks for share your idea.
Can I ask you some questions pls?
Approximately
1. how many large wood circles have you used?
2 how many small wood circles have you used?
3. what size of balloon
Thank you very much!
XOXO Lorella
Hi Lorella! I’m so glad you like this project. Is was SO much fun to make! I would say I used 30 large wood circles (I know this number because that is how many were in the package!)and about 50 small. (I used about half of what was in the package.) The balloon was a basic dollar store balloon . I blew it up large enough to create a nice dome shape on the bottom but not big enough to pop!
I’m include links here (affiliate) if that is helpful to you.
https://amzn.to/4flYe6M
https://amzn.to/3AQXesh
Let me know if you make the project! I would love see photos! Have fun, Lorella! Hugs! ~Missy
Thank you so much for your answer, you are very kind! I must admit I am very worried about the glue, I read you suggest the low-temp glue sticks, I do hope it works for me! Pls, can I make you another question? The height of the wood slices: height approx. 0.2 inches and height approx. 0.4 inches.
Which is the best choice? Or are they both good?
Thank you very much, Lorella
Hi Lorella, I think you could probably use a regular high-temp glue gun. I just didn’t want to pop my balloon as I worked! As for the height of the slices, do you mean the thickness of the slice? If so, the ones I used are 1/4″ thick. I hope this helps. If not, keep the questions coming!
Nice
Thank you!