Painted Wicker Baskets
You will love these painted wicker baskets that were given a new lease on life with paint. Easy to do with these easy instructions!
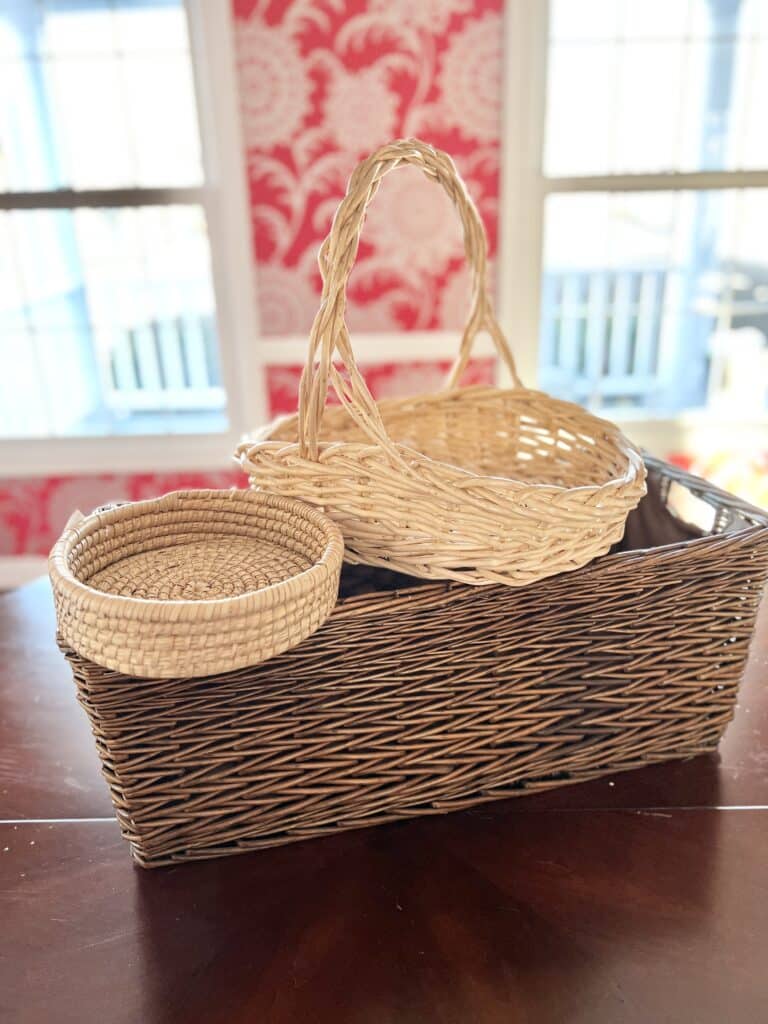
If you’ve ever been to a secondhand store or a thrift shop, chances are you have noticed the abundance of wicker baskets lining the shelves. The range of sizes, shapes and colours makes these baskets perfect candidates for an easy home decor makeover! Today we’ll be taking them from drab to fab with just a little paint!
This blog contains affiliate links. This means a small commission is earned if you make a purchase by using this link. The price you pay will be the same whether you use the affiliate link or go directly to the vendor’s website using a non-affiliate link. Sonata Home Design is a participant in the Amazon Services LLC Associates Program, an affiliate advertising program designed to provide a means for us to earn fees by linking to Amazon.com and affiliated sites.
I used to just walk by them.
They were thrift store shelf fillers that did not interest me as I searched for special, unique finds.
Dare I say it?
I was a basket snob.
Oh, I have purchased many baskets over the years that I love.
I’ve organized my office with them...
Given my folded clothes a designated space with them…
And found a home for my beloved fiddle-leaf fig plant with one!
But I am always looking for a unique shape with a gorgeous designer finish that is the perfect combination of form and function.
However, I don’t always like the price.
And when I don’t like the price, I start to get resourceful!
The result…beautiful painted wicker baskets that cost me just a few dollars each!
Supply List for Painted Wicker Baskets
You may have some baskets around your house that could use a fresh update!
Or, make a trip to a thrift store and pick up some inexpensive wicker baskets.
Open your eyes and mind!
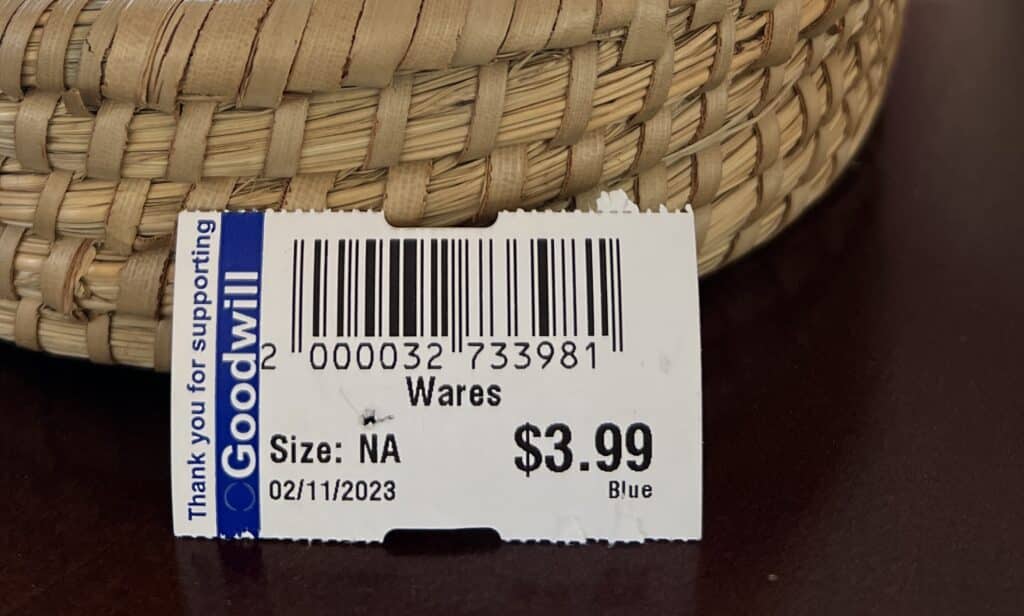
Don’t worry about the color or finish on the basket but rather look for interesting and functional shapes.
Think of it like a chair that needs re-upholstering…look for “good bones” even if the color of the basket is off.
$3.99…I’ll take it!
How to Paint Wicker Baskets
There are lots of different ways to paint wicker baskets. I’m going to show you two ways based on the color of the basket.
Nervous about painting? Don’t worry! This is a no-fail, no-stress process…You Can Do It!
Painting a Dark Finish Wicker Basket
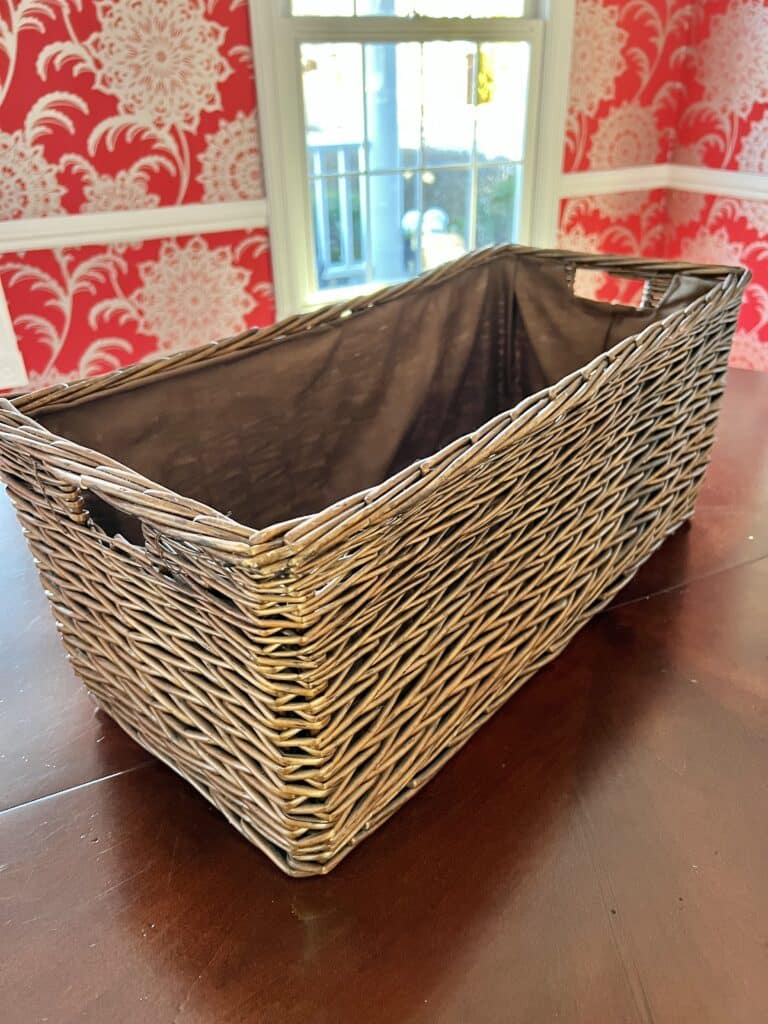
Dark brown wicker baskets are not a bad thing.
In fact, this basket (with all of its glorious storage potential) could easily be incorporated into any home.
But I would like a lighter, multi-dimensional finish…here is how!
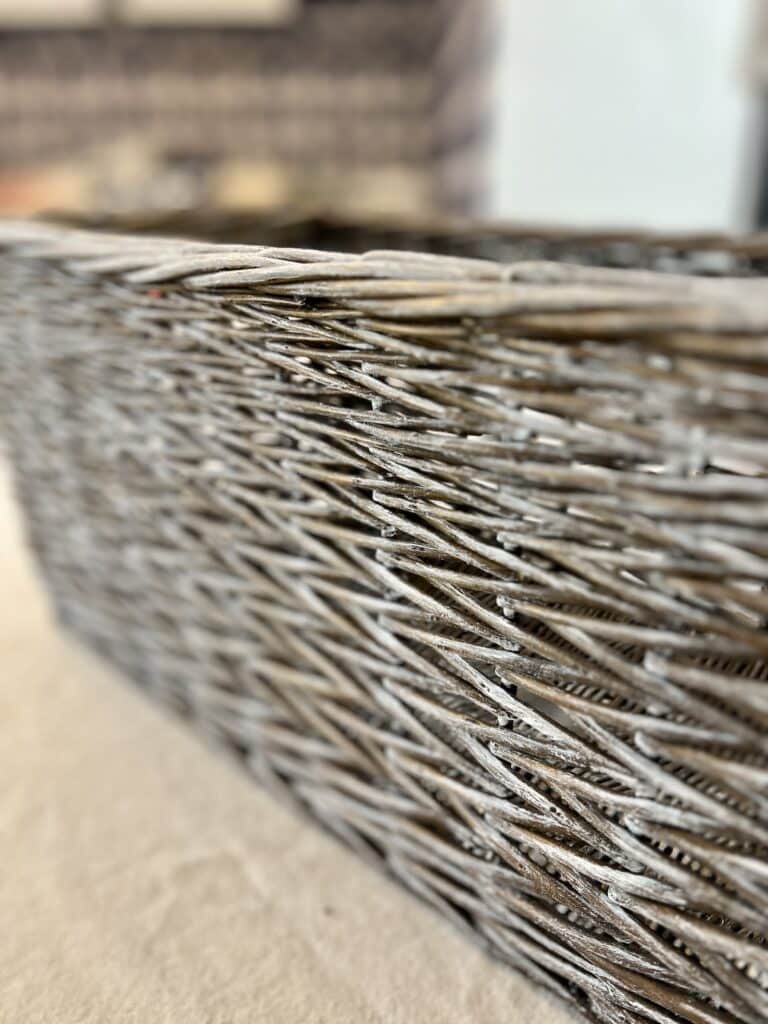
Dip a paintbrush into white paint…just a little!
Remember the bed makeover I did with Black Dog Salvage paint? I love their paint! And, I love using their “Clean Canvas” furniture paint color…perfect for this basket project. It is a beautiful fresh white paint color that does not yellow over time!
Next… “Pounce” or repeatedly press the loaded brush onto a paper plate to remove some of the paint. Basically, you are removing most of the paint that you have just put on.
Take the brush and lightly brush the paint onto the basket in the main direction of the basketweave.
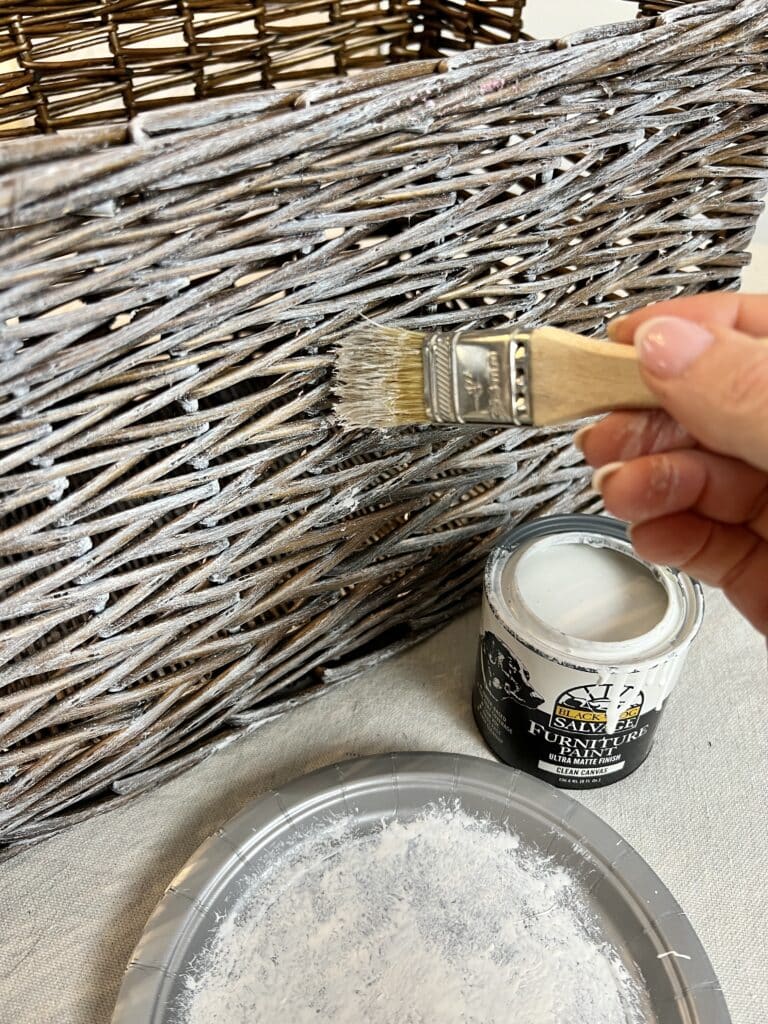
Don’t press heavily on the brush but rather whisk it lightly against the side of the basket.
Also, don’t brush paint deep into the crevices of the basket. Instead, let the paint lightly skim the top. Brushing light layers is the key!
At first, it might seem that you are not making any changes to the basket surface.
However, as you continue to add layers using this dry brush technique, you will notice a change in color and it will even appear to take on a whitewashed, beachy appearance!
Painting a Light Finish Wicker Basket
Now, let’s take a wicker basket with a very light finish.
This basket cost me only $2 at a second hand store!
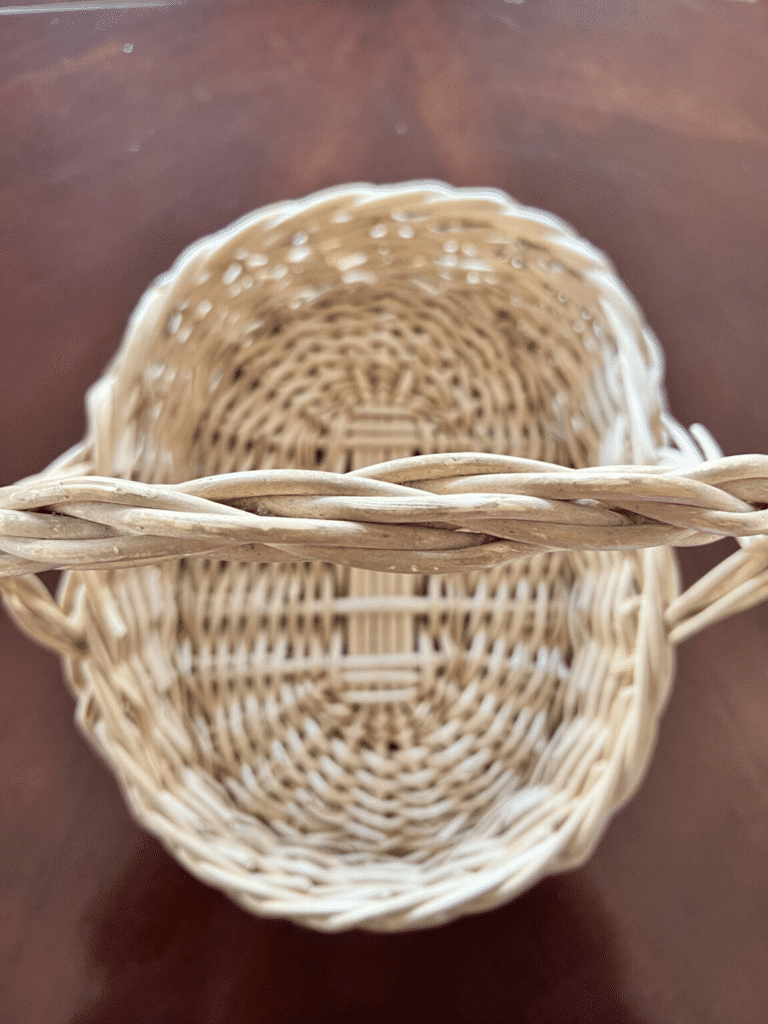
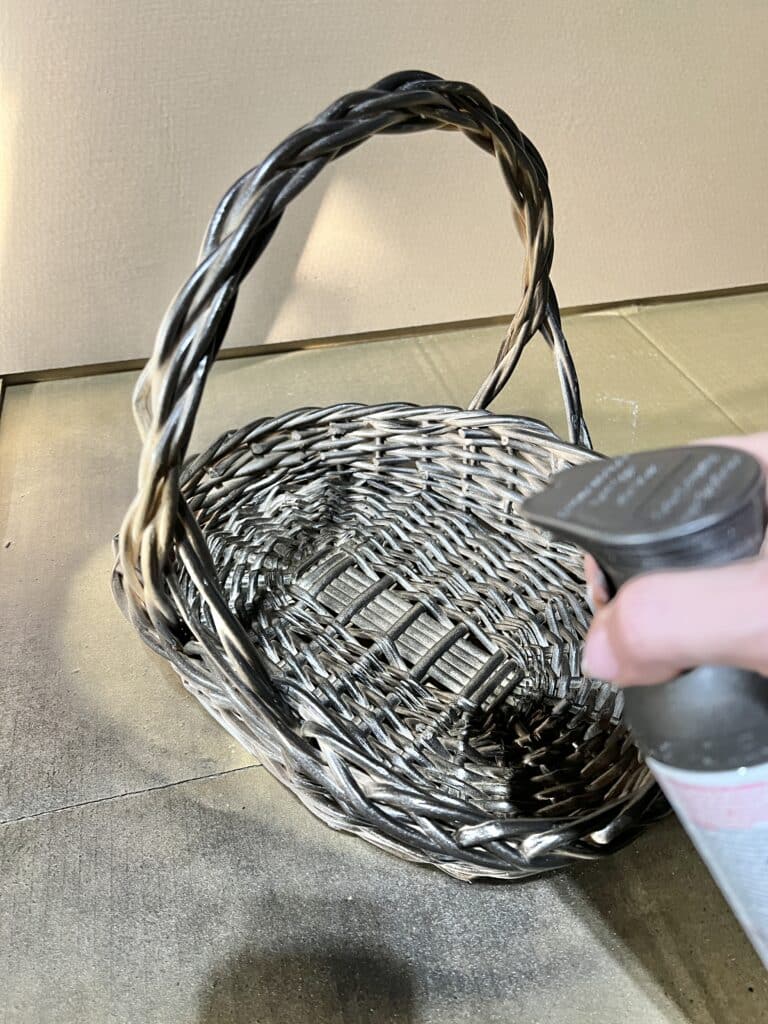
Spray paint the basket in light layers with a dark spray paint color.
I like to use a Rust-Oleum oil-rubbed bronze metallic spray paint as the color gives the basket a beautiful dark base without turning it into a black hole.
You do want to cover all surfaces, nooks, and crannies of the basket with the spray paint.
Let the basket dry completely between light layers for the best coverage. This will actually strengthen the basket as well!
Once again, using a dry brush method, load a paintbrush with a little white paint and pounce the brush repeatedly on a paper plate to remove most of the wet paint.
Using a couple of different plates is a good way to make sure you have the amount removed that you want.
Brush the sides of the basket with the paintbrush in a light, whisking motion. Remember to use light layers!
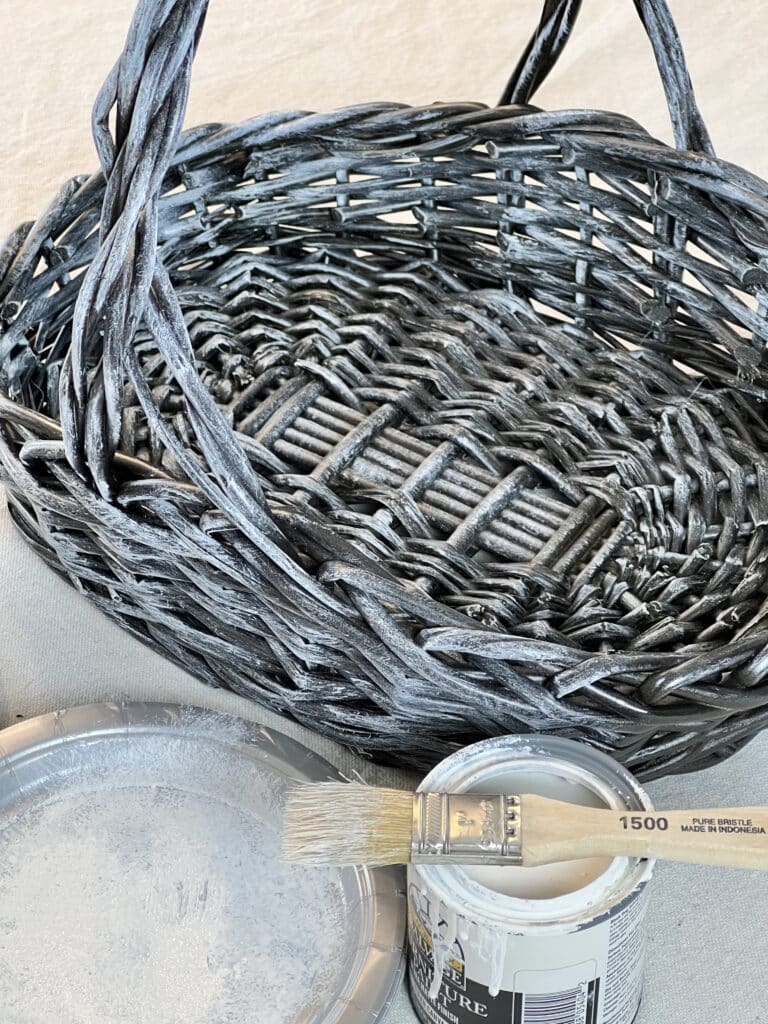
You will notice that the paint dries very fast between layers because there is so little paint actually used.
I don’t even recognize this basket! It doesn’t look anything like it’s humble beginning…in a really great way!
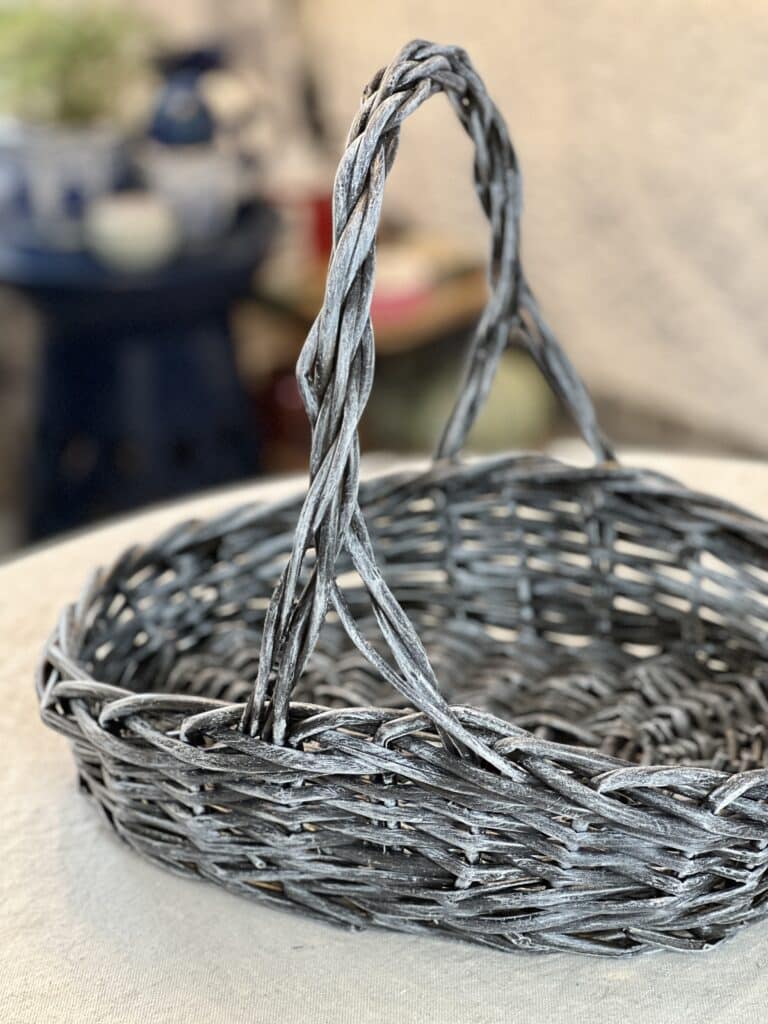
It is clear to see that something as simple as a basket can be taken from drab to fab with paint!
And for just a few dollars!
If you’re looking for an easy refresh to help bring some excitement into your home, this DIY project is perfect for you!
So don’t be afraid to buy thrifted baskets and give them a fresh update with paint- trust me when I say it will make a world of difference in any room!
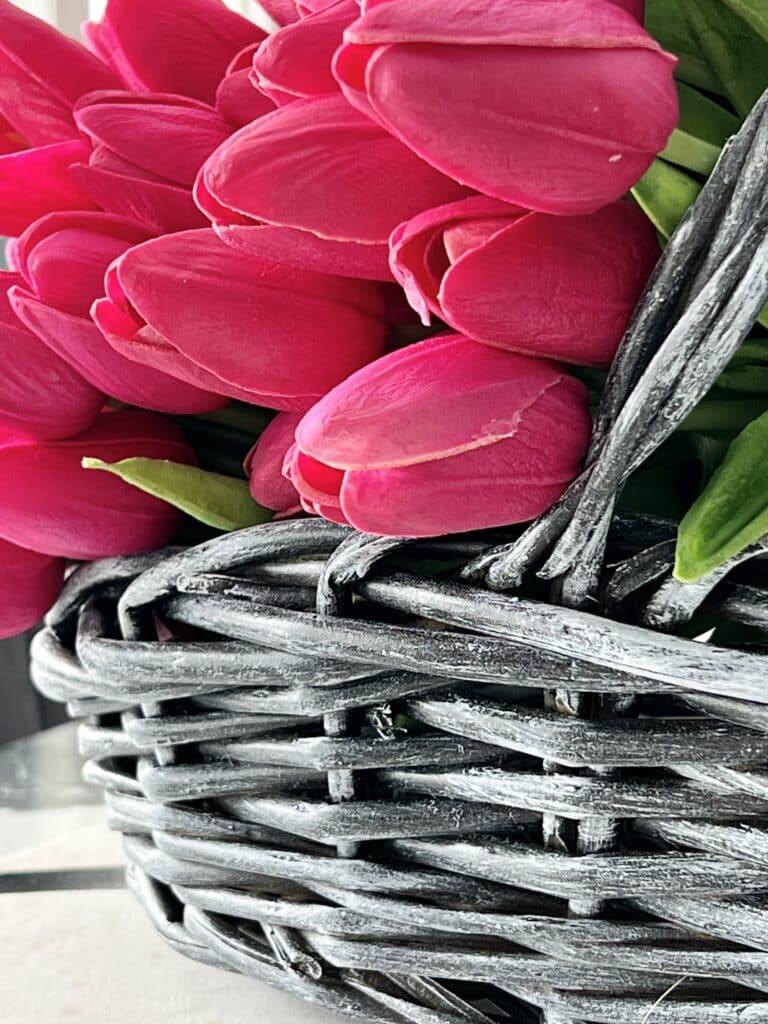
Plus, you’ll get the satisfaction that comes along with completing a small, but successful project.
Go ahead and give an inexpensive basket a makeover with paint today, and thank yourself later!
Cheers!

Don’t Forget to Pin It!
Pin the image below to your boards on Pinterest (just click the Pin button in the top left corner). You can also follow along with me on Pinterest!
Some of My Favs
Of course, there are so many beautiful baskets to buy! If you are not wanting to paint, take a look at some of my favorites!


This is beautiful! I used these baskets as a background on recipe images and it looks great. Also keeping dry lavender flowers all over the house in them. Now we know how to paint them 🙂
I love your ideas! Now I’m on a mission to dry lavender! Thank you so much!
I love how you gave such plain baskets a whole new look! Paint is so transformative! Now they look new and completely updated!
Thanks, Donna! The power of paint is pretty amazing, isn’t it?
Great ideas!
Thank you so much, Kim!
I am a basket lover myself, but I finally painted my first basket last year. It was quite an experience because I kept trying different ways to paint it. I love the way your baskets turned out, they look lovely. Mine was ok… maybe I will try something new on it to see if it looks better. Thank you for sharing with Whimsy Home Wednesday.
Thanks so much, Cara! There are lots of ways to paint baskets. I guess part of the fun is figuring out which way you like best!