Mirror, Mirror, On The Wall…How to Decoupage with Paper Napkins
Are you looking for a new project to decoupage? How about trying decoupage with paper napkins!
I was looking for a project. Something useful, fun, creative, easy, and inexpensive.
This is often my mid-winter wish list for a project.
Nothing was popping into my head.
Then I remembered a mirror hanging in a guest room.
Yes! Let’s Go!
I gave this ho-hum mirror a HUGE makeover by decoupaging with paper napkins!
Decoupage is one of the fastest and easiest DIY craft projects out there. And, there is an unlimited number of fantastic paper napkin patterns to choose from.
You know how I like my craft projects…quick and easy!
I also like them to have impact and give me a “WOW!” moment when finished.
This one did that for me. (Be sure read to the end. There is a “WOW!” moment!)
Not at first…just being honest.
This was one of those projects that I thought might be headed for the dumpster.
Not because of the decoupage. And, not because of the paper napkins. (I could not love the color and pattern on these gems any more!)
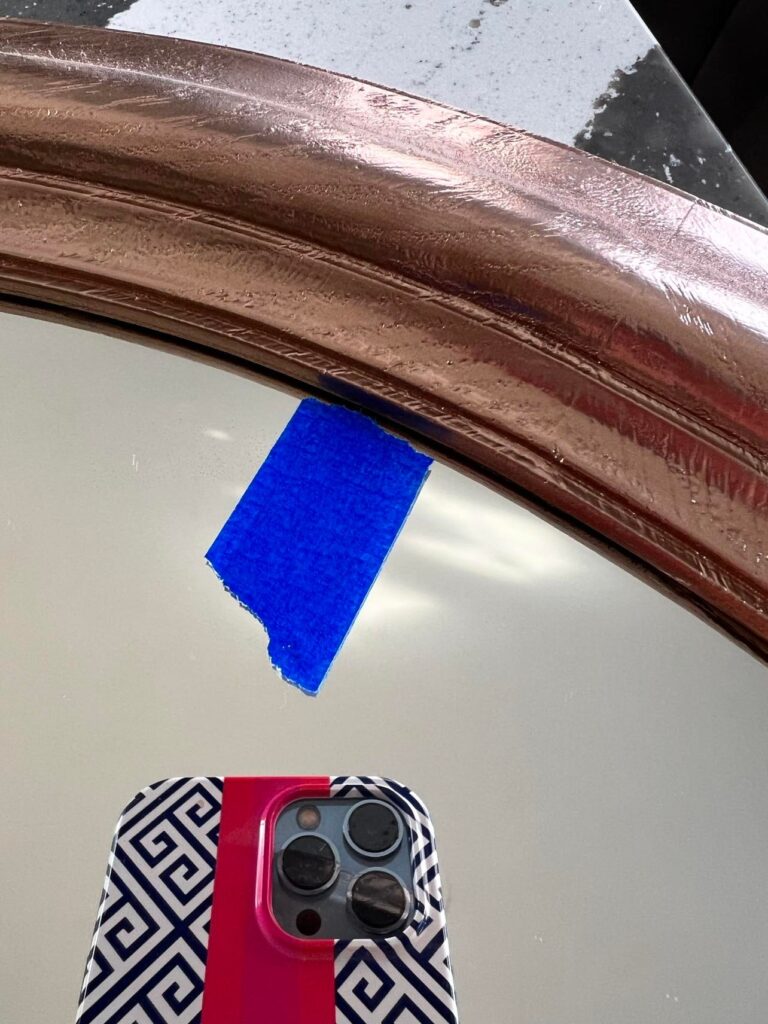
My near-fail project was because I decided to decoupage a mirror with lots of curves and a teeny tiny inside lip that was a challenge for my (evidently too large) fingers!
Here is a before photo of the mirror.
Nice. Classic. And a little boring!
But I kept on…and I learned a lot. So much that I have lots to share with you about decoupage with paper napkins.
First…the Supplies for Decoupage with Paper Napkins
You don’t need much, my friend!
- Item to decoupage (In this case a classic but kind of boring round mirror.)
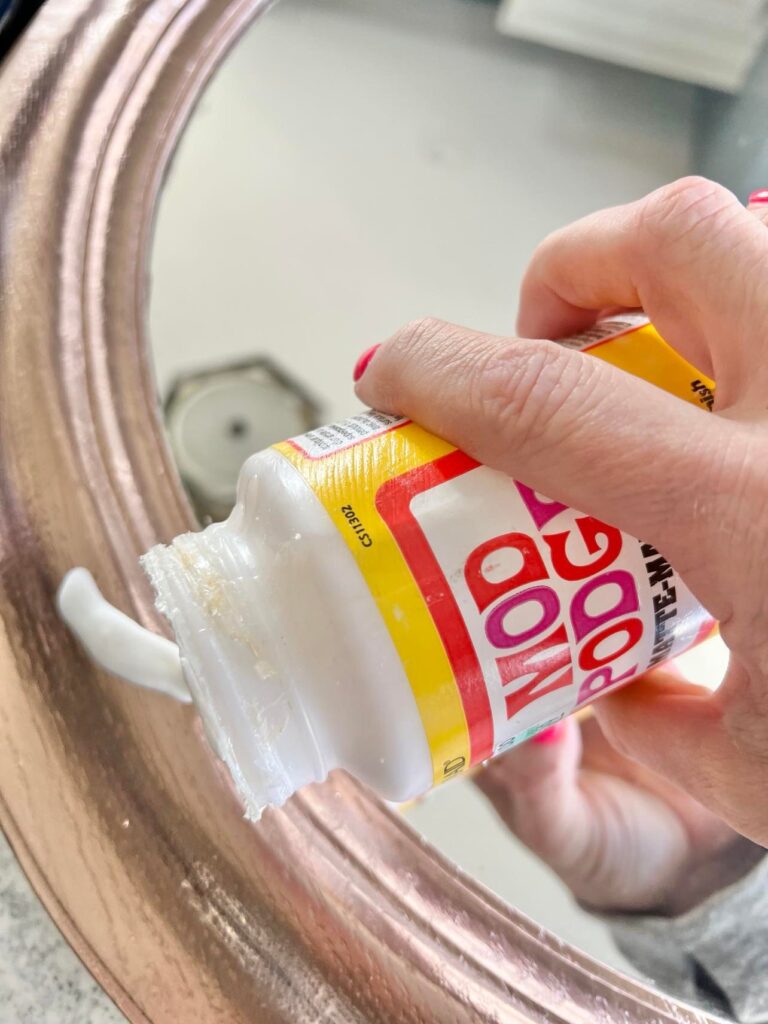
- Mod Podge
- Paintbrush
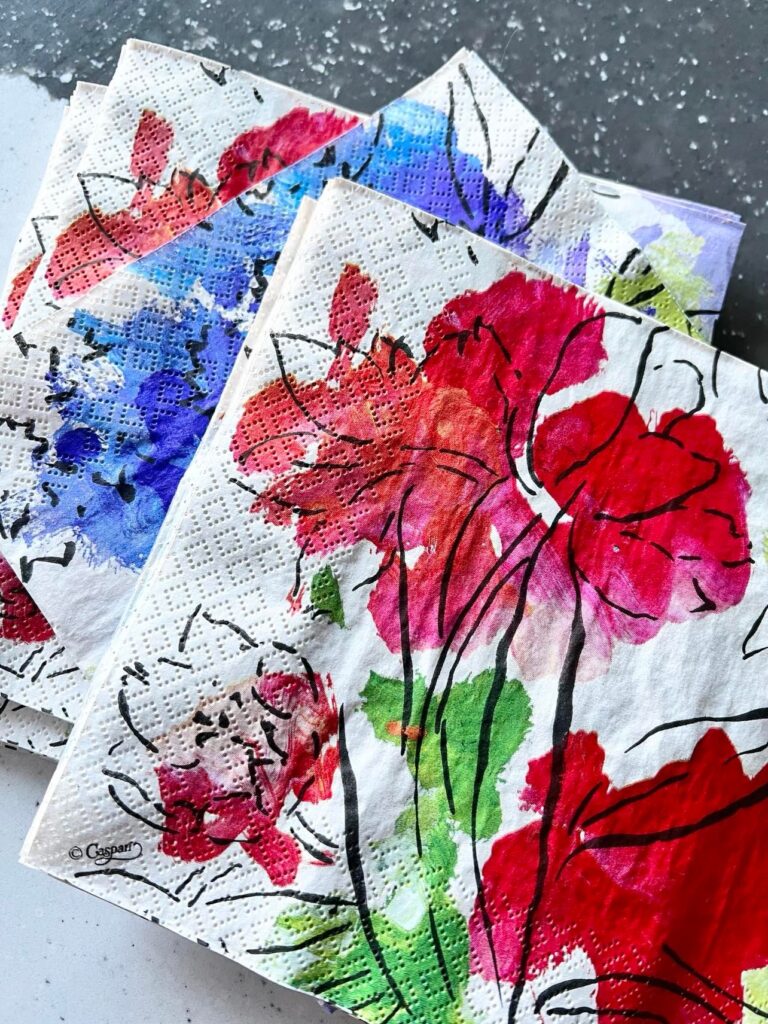
- Paper napkins (SO many wonderful prints from which to choose!)
- Scissors
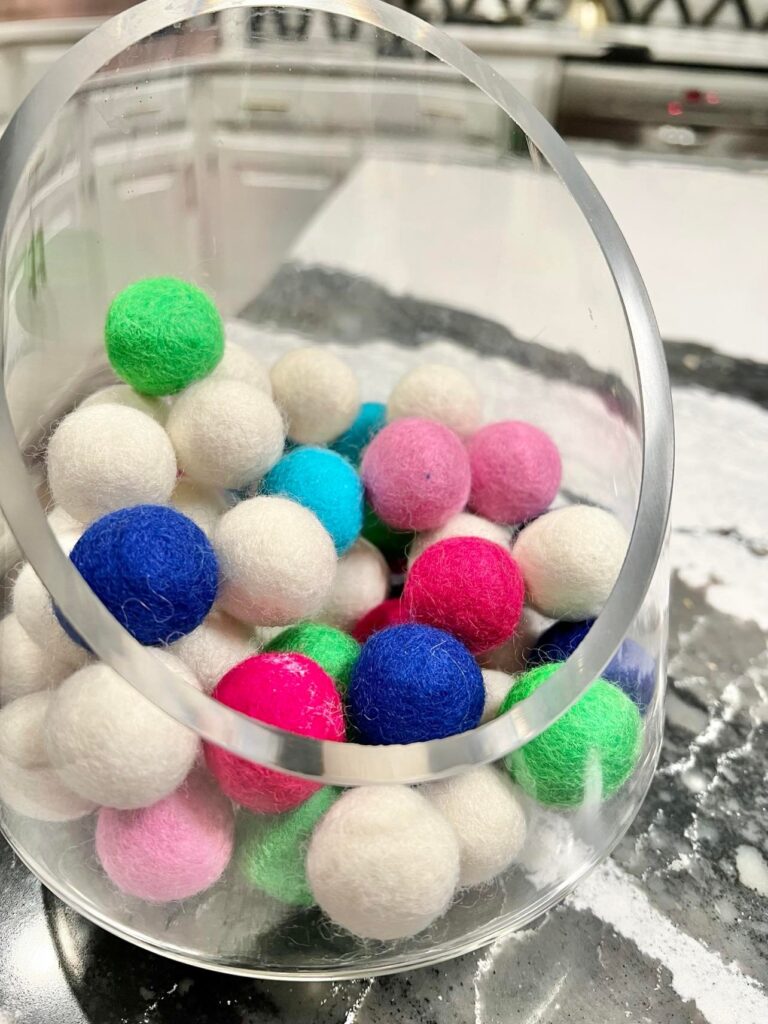
- Optional for this project: wool felt pom-poms and a glue gun
Before You Start Decoupaging…
A few tips before you even dip the brush!
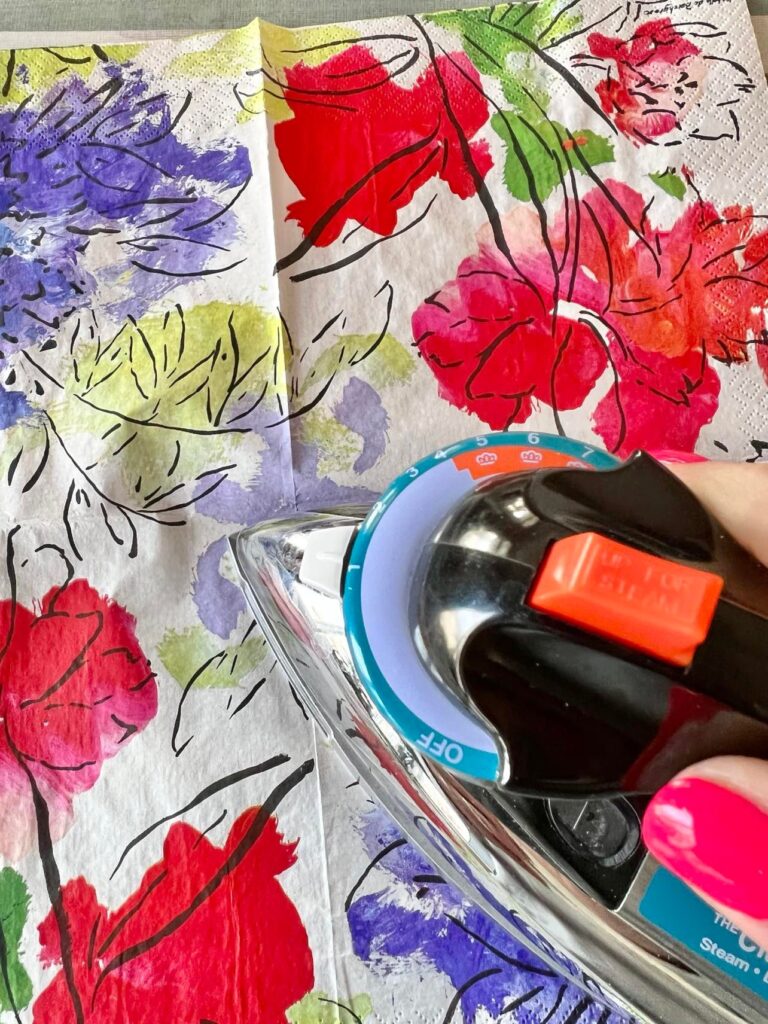
Iron the paper napkins on low heat with a dry iron. No steam or you will have paper pulp!
I fell in love with the pattern on these Caspari paper napkins. You can see them HERE!
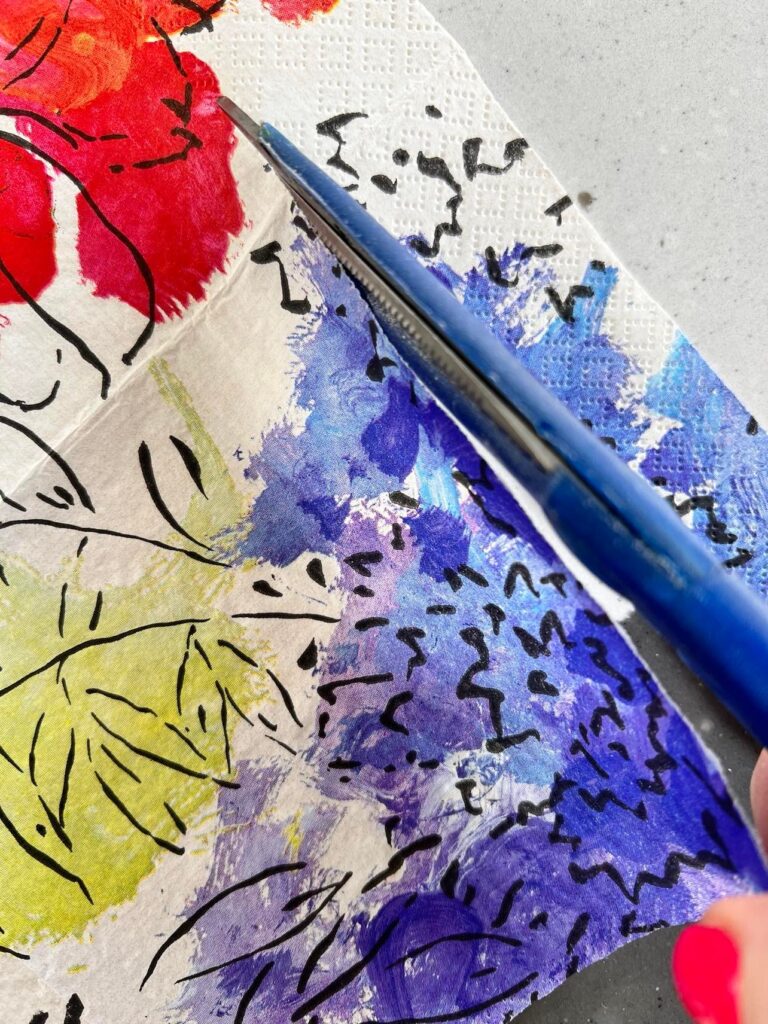
Most paper napkins have a textured border. If you don’t want this textured pattern showing, give each napkin a quick trim around the edges.
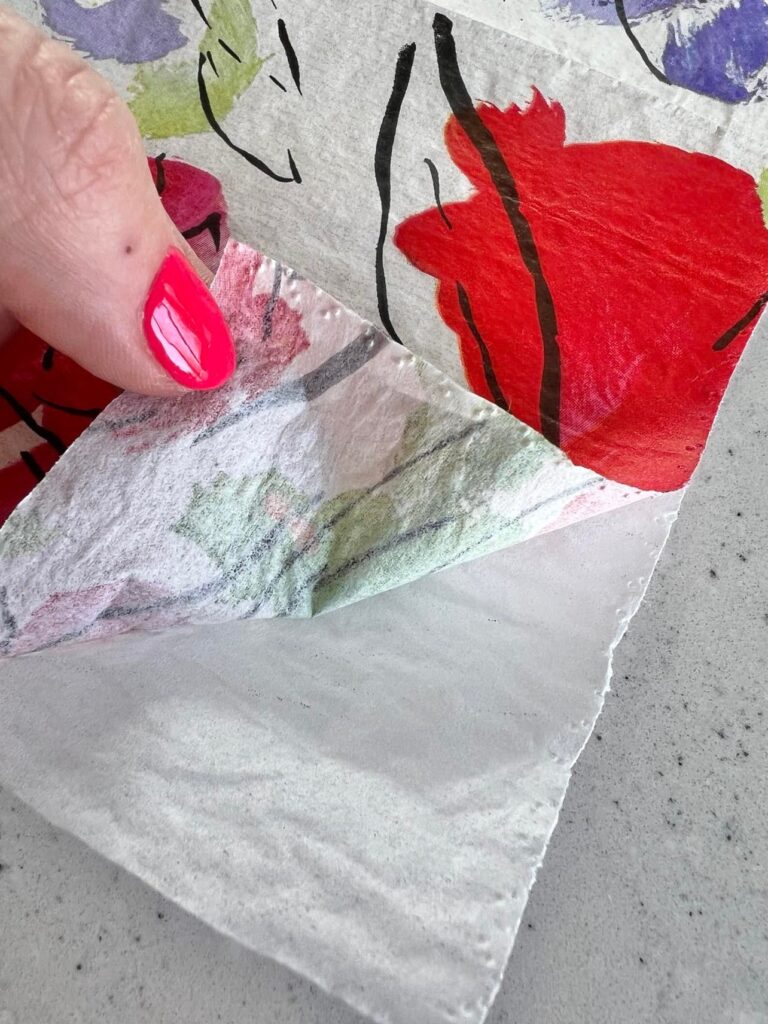
Peel the back layer away from the front. Depending on the ply of the paper napkin, you may have more than one layer to peel off.
Now, for the Glue!
I find that, when using the glue, it works best to decoupage in small sections. Pour a little of the Mod Podge glue onto your item…
…and brush it smooth.
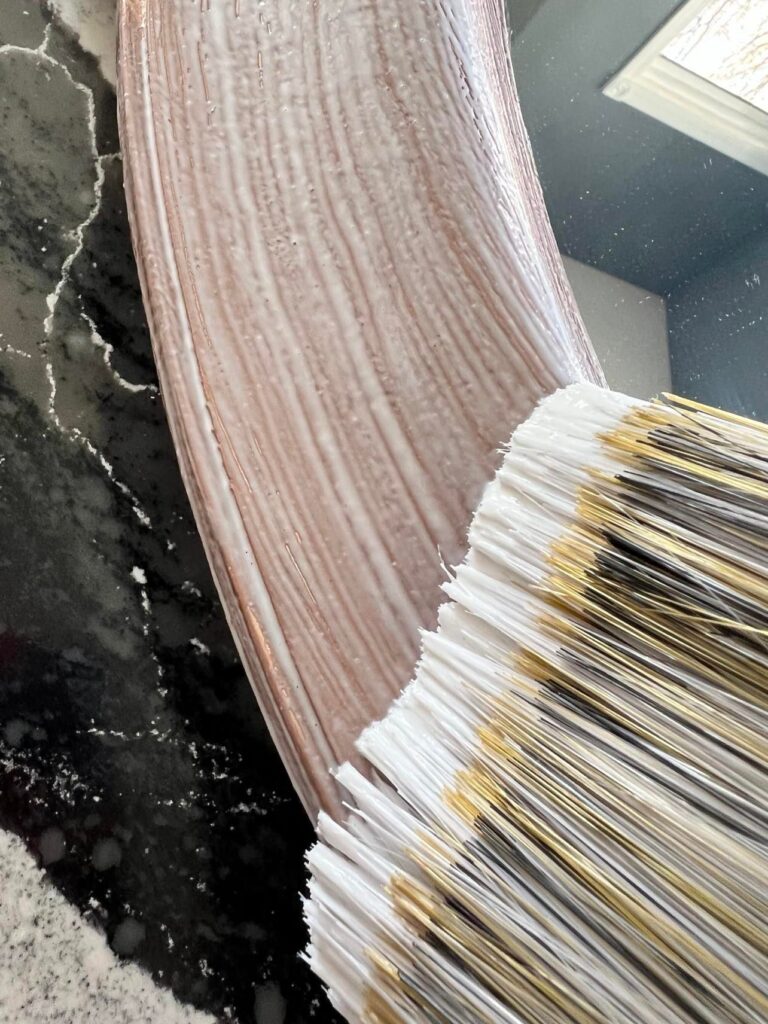
Place a small section of the paper napkin on the item. Using your fingers, press and smooth the paper.
This became tricky for me with the round mirror. For this project, the smaller the piece of paper, the more manageable it was.
I was also very grateful for the busy pattern of the paper as any spots that were hard to smooth became “texture” on the frame.
Texture is a good thing…right?
In this case, you bet!
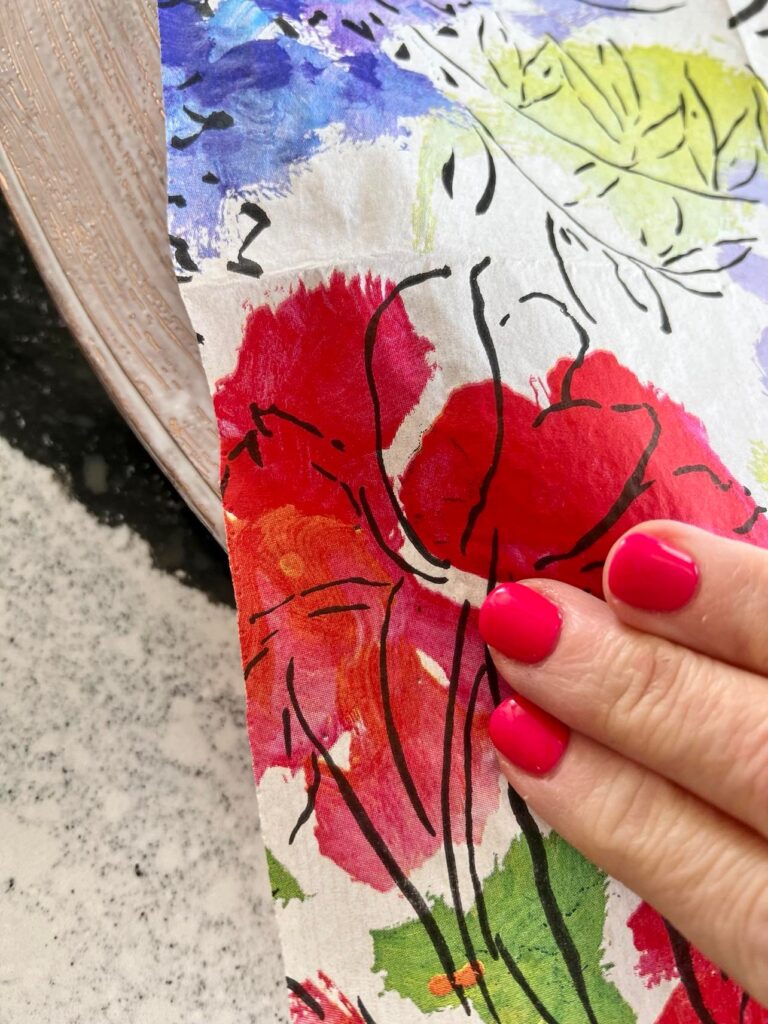
Let dry for a couple of hours and then apply another coat of Mod Podge over the top.
It was this point that the project started to look like something I liked!
And then this happened…
As I attempted to trim the inside edge of the frame with a razor blade, the paper was not sufficiently adhered to the teeny tiny inside lip.
My fault for not pressing enough when it was wet.
Mod Podge to the rescue! Just a little glue with a small brush was all I needed to save the project!
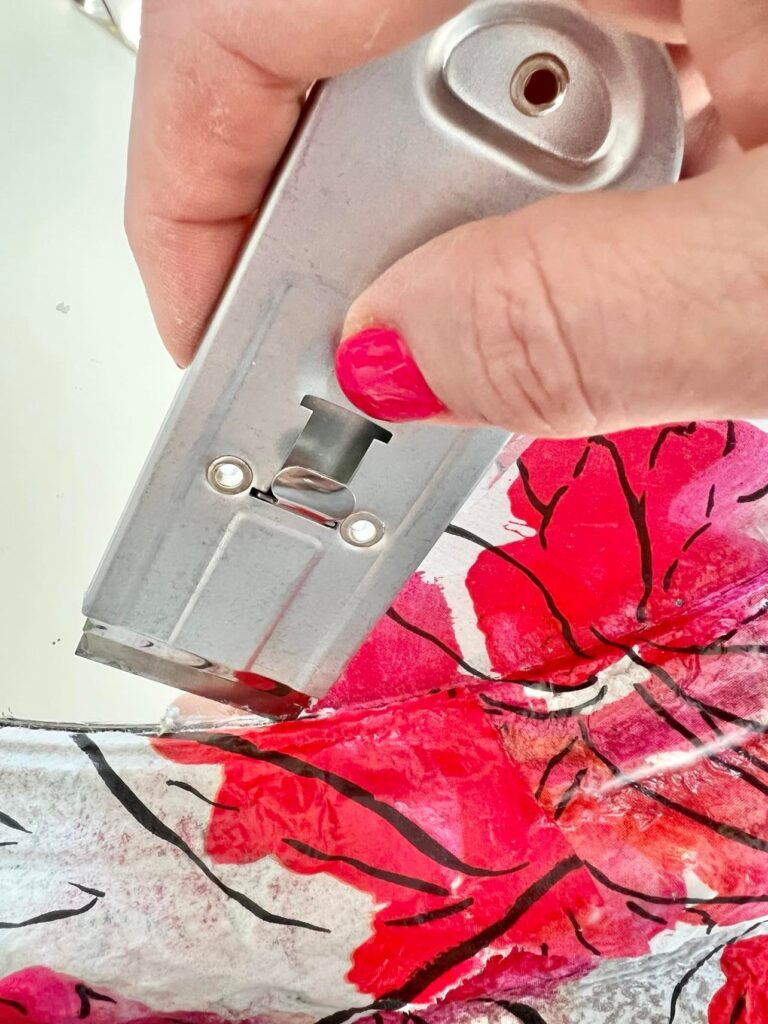
Then I had an idea!
Take It Over the Top
Why not take this project a step further (some might say over the top!) and add felt wool balls to the inside of the frame!
10 minutes with a glue gun was all it took!
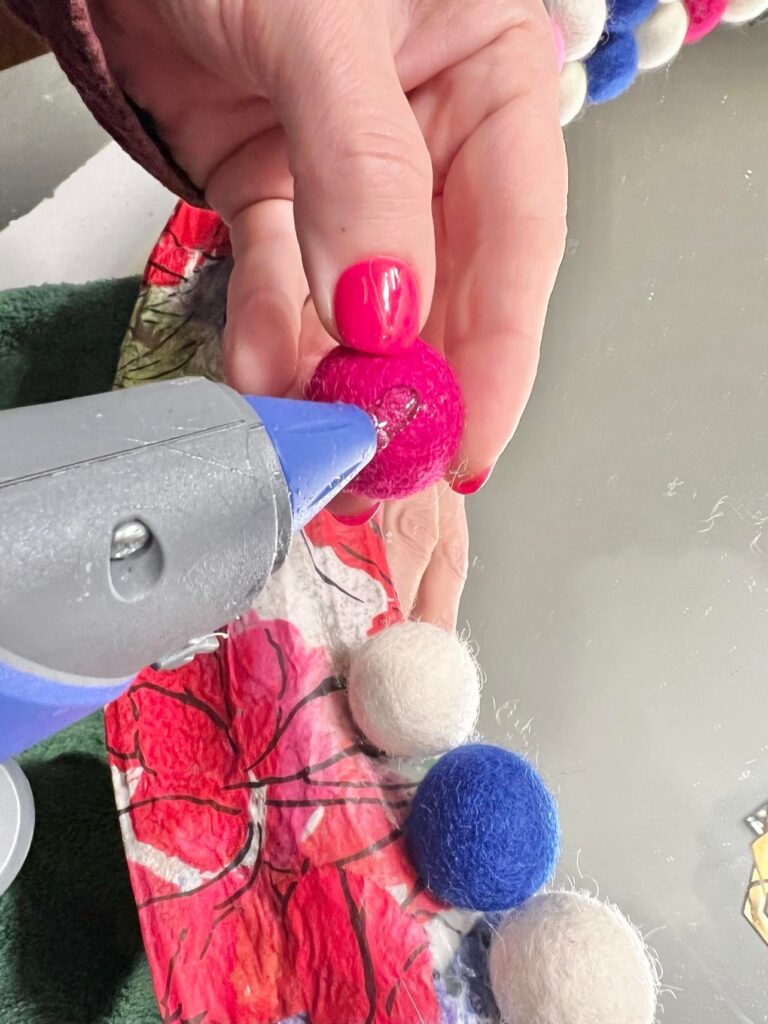
Talk about impact! Now the napkin pattern really popped!
Reflections in a pretty mirror are the best!
Double the beauty!
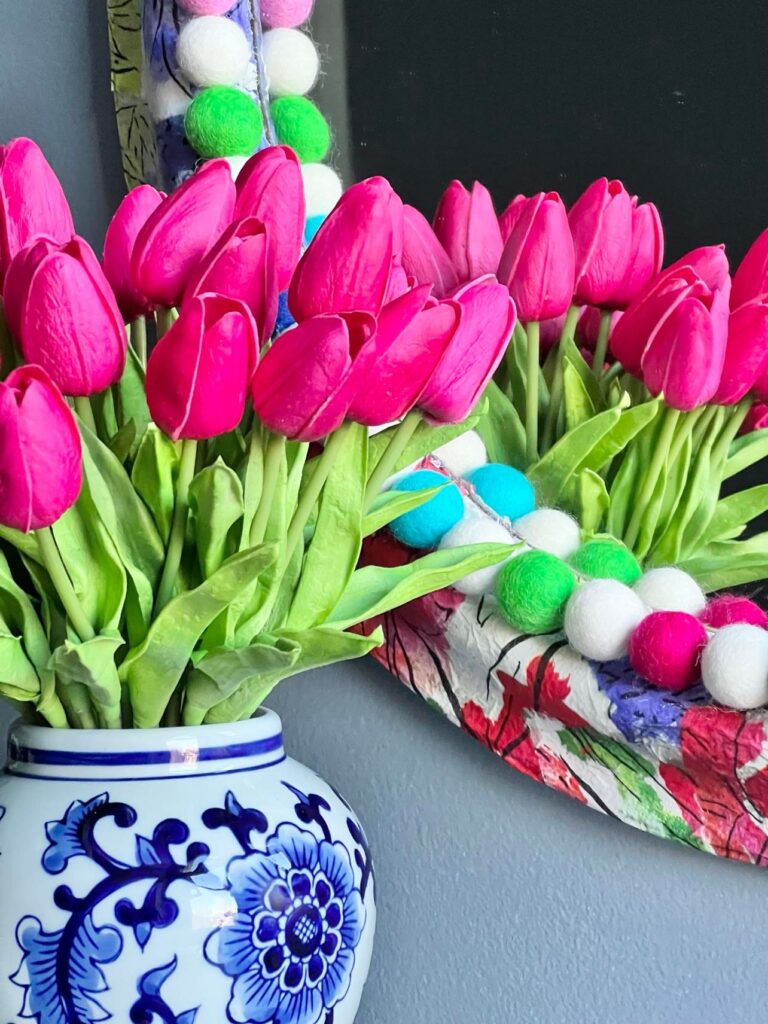
A mirror placed by a window reflects the outdoor light and can make a room look twice as big!
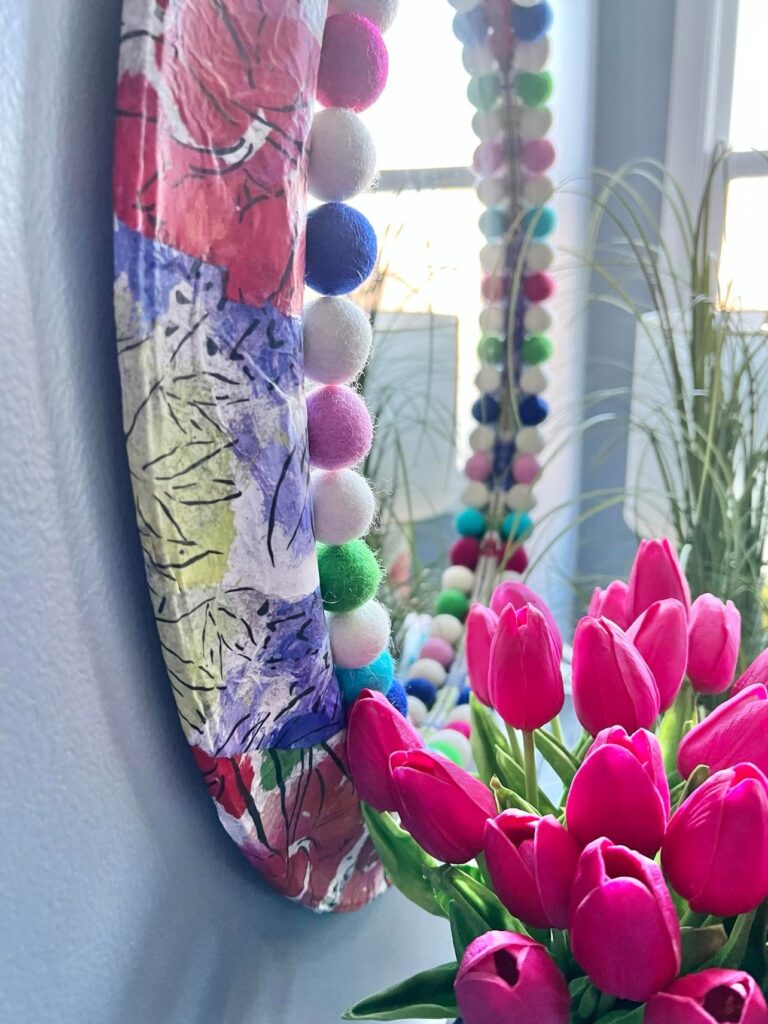
So glad that I had trouble with the inside of the mirror frame! The wool felt balls added to the paper napkin pattern is EVERYTHING!
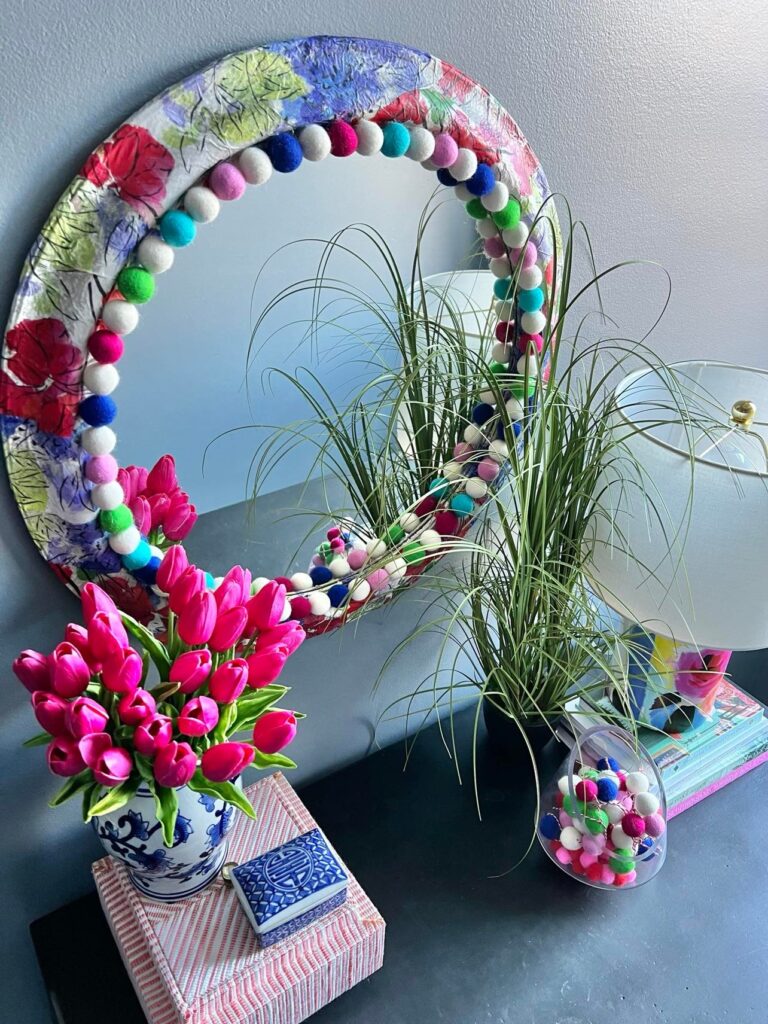
What started as a way to save a project turned into a workable detail that is whimsical and unique!
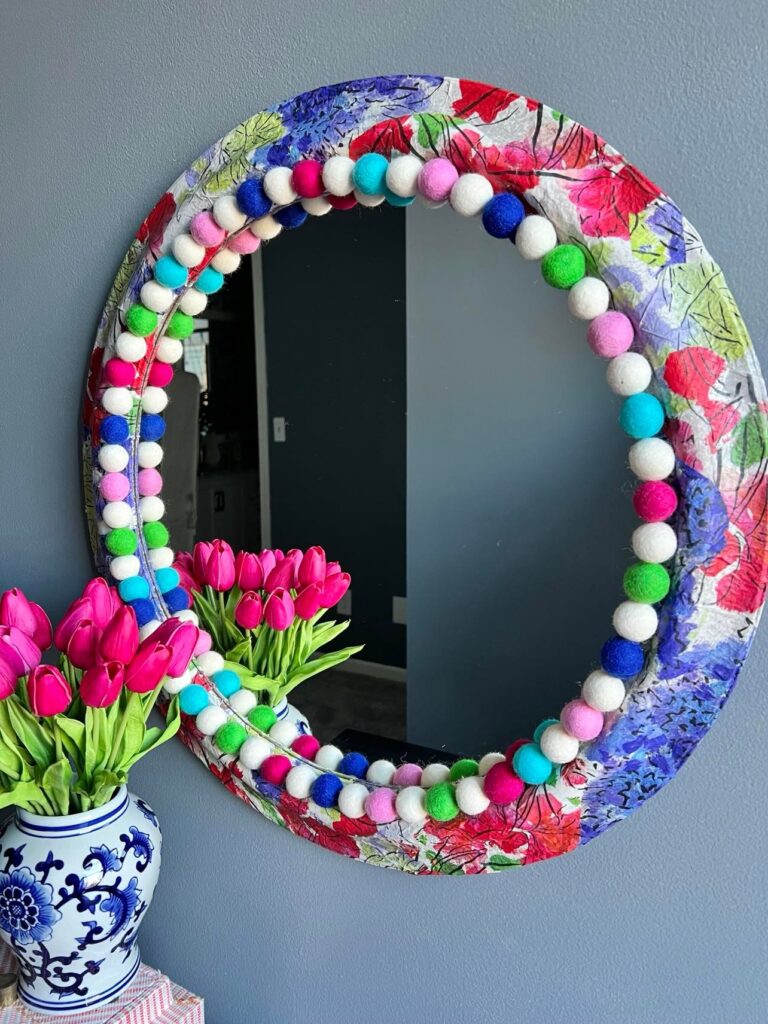
I call this a “WOW” moment!

Cheers!

I have other decoupage projects that you should check out!
How to Repurpose Glass Luncheon Plates
9 Steps from Candle Lid to Coaster
Sonata Home Design is a participant in the Amazon Services LLC Associates Program, an affiliate advertising program designed to provide a means for us to earn fees by linking to Amazon.com and affiliated sites. Additional affiliates links are also included for your convenience.


