

Jute & Leather DIY Lazy Susan: A Turntable Transformation
Transform a plain lazy Susan into a stunning centerpiece with this easy DIY project. Using jute and leather, you can create a unique and functional turntable that adds warmth and texture to your dining table!
This blog contains affiliate links. This means a small affiliate commission is earned if you make a purchase by using this link. The price you pay will be the same whether you use the affiliate link or go directly to the vendor’s website using a non-affiliate link. As an Amazon Influencer, I earn from qualifying purchases.
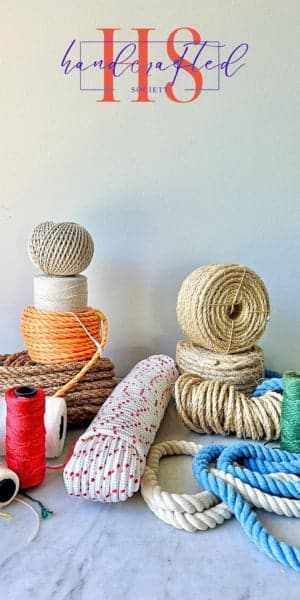
Handcrafting with Rope and Twine
It’s time once again for the Handcrafted Society to share this month’s creative project. The designated material this time is rope and/or twine. It’s so fun to see what everyone comes up with!
Be sure to read to the bottom of the post to see all of the handcrafted creativity!
For the Love of a Lazy Susan
I’m kind of obsessed with lazy Susans.
Okay, maybe that’s a slight exaggeration, but I really do love them! (Maybe because they are like a giant fidget spinner!)
They’re like the unsung heroes of my home organization.
You’ll find them spinning away in my kitchen corner cabinet, bathroom, and even my craft room.
It’s amazing how much they can streamline your life – from spices, snacks, and condiments to cotton swabs and nail polish, these little turntables have it covered.

But let’s face it, most of the time, they’re hidden away in cupboards, doing their job but not exactly winning any style awards.
That’s where this DIY project comes in. I wanted to create a lazy Susan that wasn’t just functional but also a piece of eye-catching decor.
Something that could take center stage on a coffee table or dining room table. And that’s how this jute and leather-wrapped beauty was born! Get ready to transform your boring turntable into a stunning conversation starter!
Why do they call it a lazy Susan?
Okay, so why on earth is it called a Lazy Susan?
Well, the truth is, nobody really knows for sure.
Some say it’s a nod to hardworking servants of the 1700’s, called “Susans,” who were “saved” from passing dishes by this rotating marvel.
Others claim it’s a tribute to Thomas Jefferson’s daughter, who was tired of being the last to get her food. As a third child, I can relate!
Personally, I like to think it’s a secret code for “ultimate organization hero.”
Either way, it’s a pretty catchy name for something that’s basically just a spinning tray.
Where to Buy a Lazy Susan
Finding the perfect lazy Susan to upcycle is easier than you think! You can find metal, wood, or plastic lazy Susans in various sizes at your local hardware store or craft store.
If you’re looking for something with a bit more character, check out the clearance section of your favorite home goods store or even your local thrift store. You might just find a hidden gem waiting to be transformed!
Creating a Decorative DIY Lazy Susan
As much as I love a good lazy Susan, they can look pretty utilitarian. So, I came up with this super simple project that you can use for pretty much any style lazy Susan you have. Here are the step-by-step instructions!
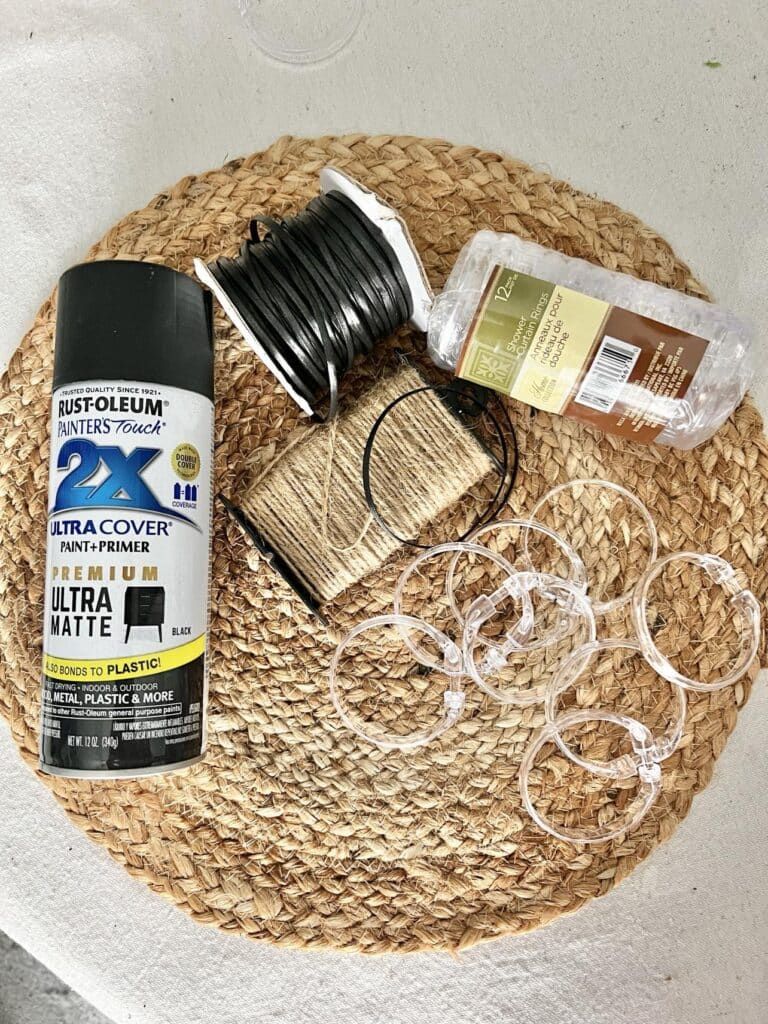
Supply List
You will need the following items for your own lazy Susan DIY.
- Wooden lazy Susan
- Woven round placemat
- Plastic shower curtain rings
- Jute twine
- Leather lacing
- Spray paint
- Hot glue gun/glue sticks (you can also use Super Glue or other strong adhesive)
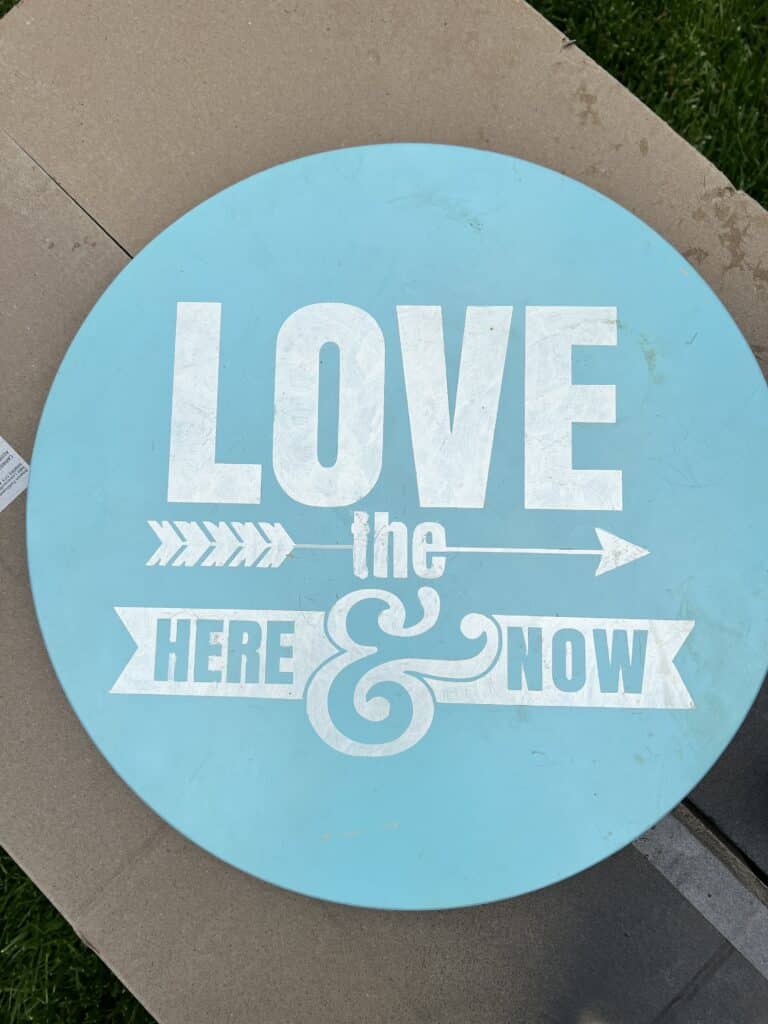
Check out any big box store for your lazy Susan. Wood works best for this project but a plastic lazy Susan can certainly be adapted.
I happened upon a wooden lazy Susan at a thrift store. The snazzy saying is notable but the color and style are not exactly my taste. So this is a perfect makeover moment for this wooden round!
Again, ANY style lazy Susan will work for this project!
Make a DIY Decorative Lazy Susan
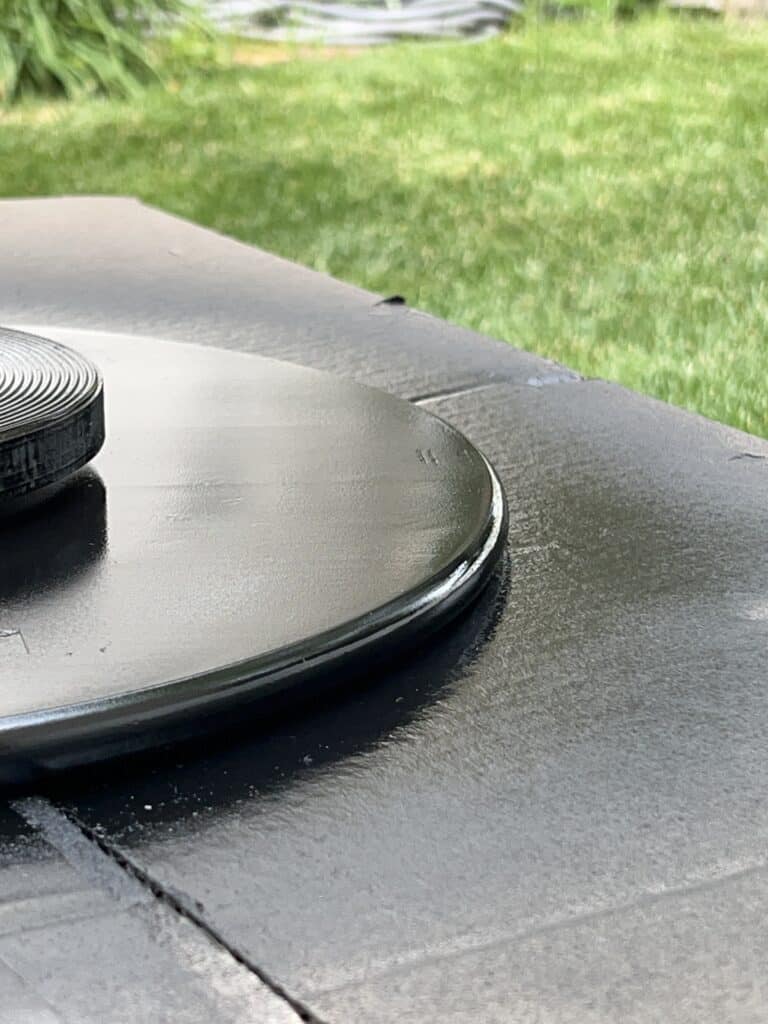
Whether metal, plastic, or wood, the first thing to do is give your lazy Susan a fresh coat of spray paint. Don’t forget the bottom of the Lazy Susan. I discovered some bare spots that I almost missed!
I chose black because it is natural and because it looks beautiful with woven materials. But you can choose any paint color you want!
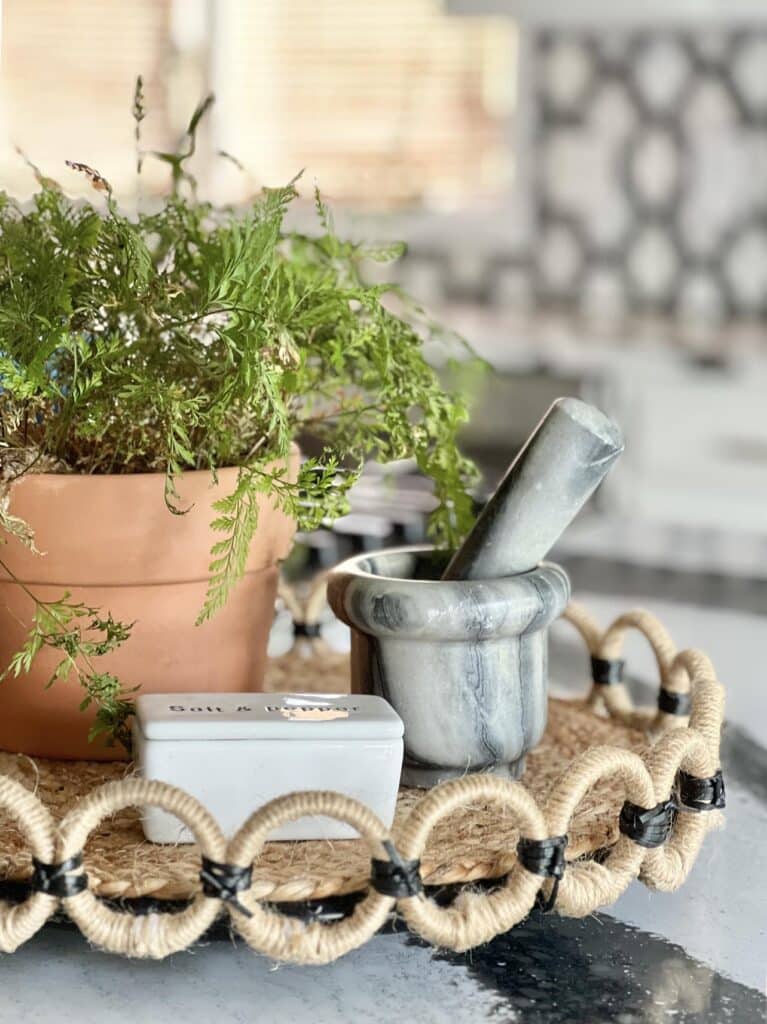
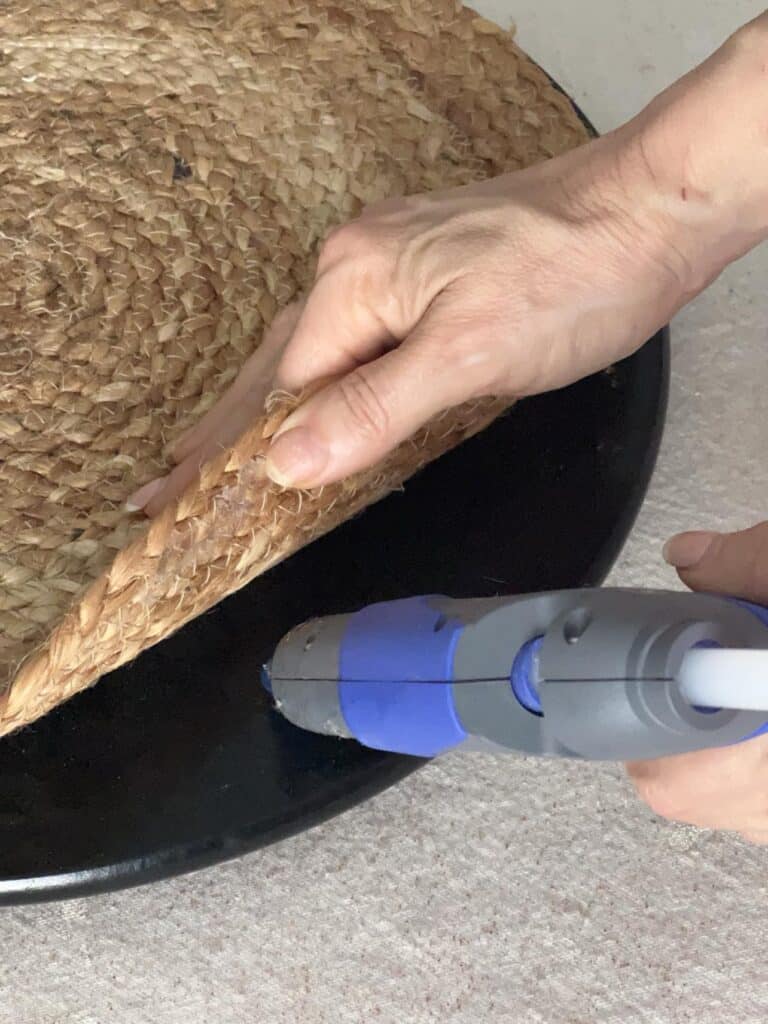
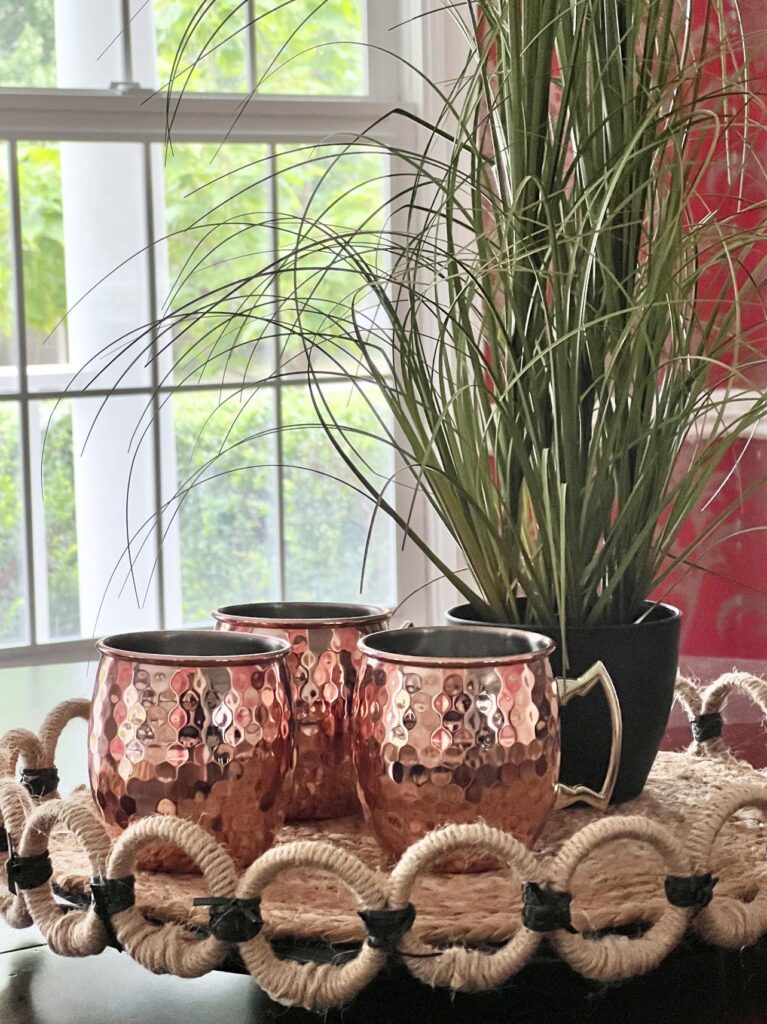
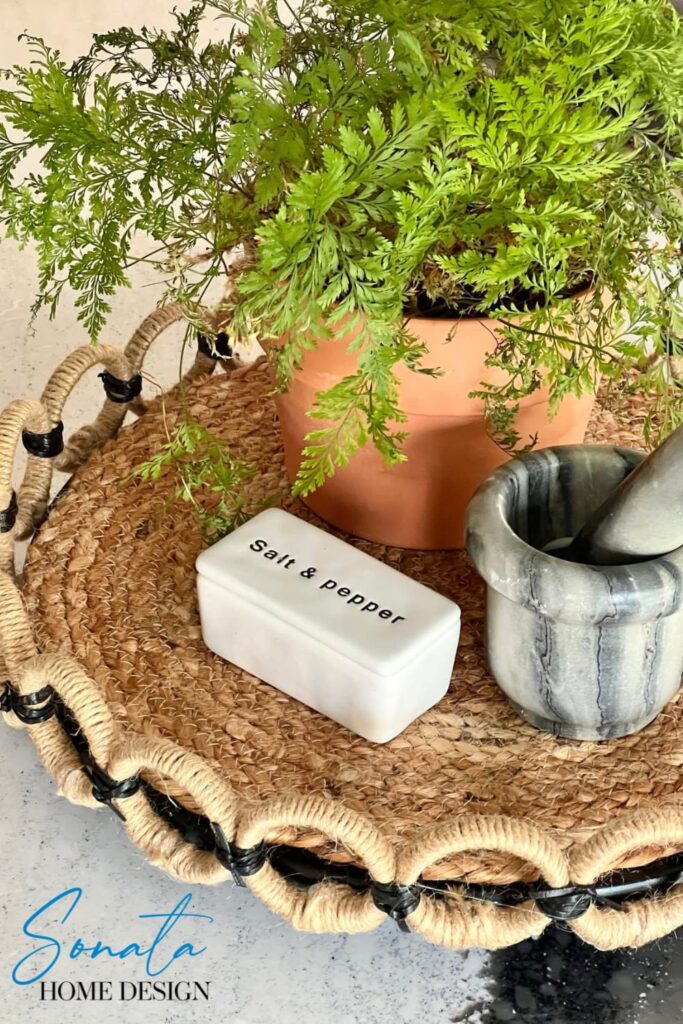
Speaking of woven…here is the hack for this project…cover the top of the lazy Susan with a purchased woven placemat. This is a quick way to add woven texture to the center of each board.
Fortunately, woven placemats come in different sizes so you should be able to find the perfect circle shape for your lazy Susan.
A little dab of hot glue dotted around the perimeter of the lazy Susan is all you need!
A Scalloped Edge
Scalloped edges are a huge trend right now in home decor. So this next step gives the top of your lazy Susan a nod to this stylish detail.
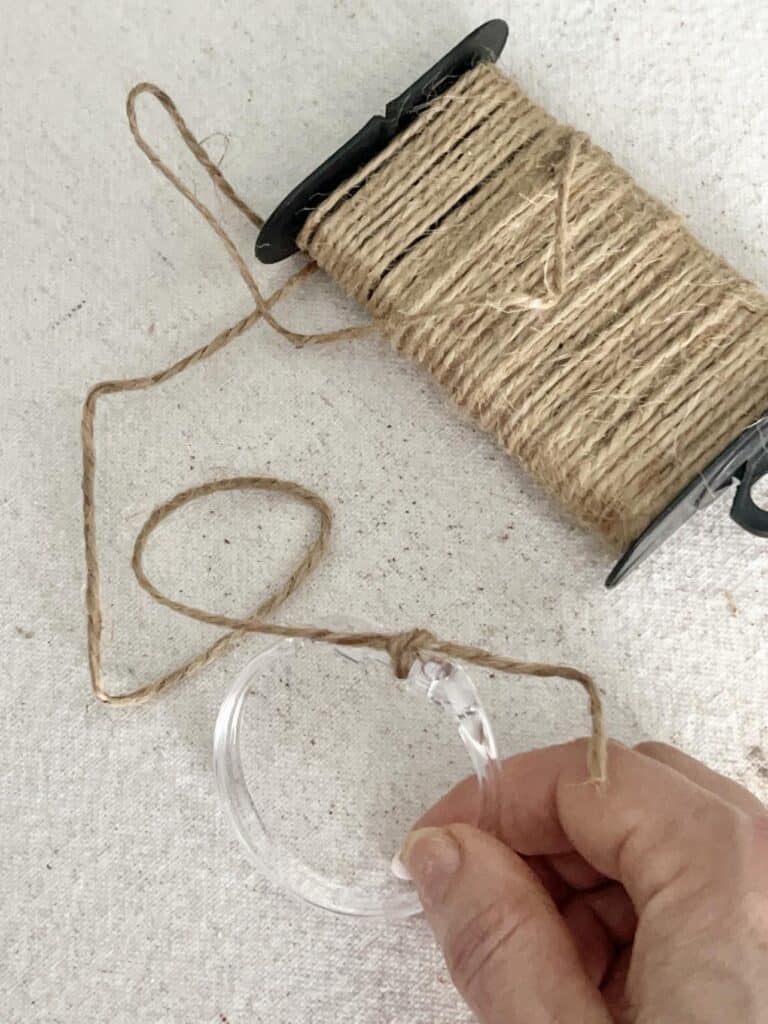
Cut some jute twine into lengths of about 90 inches.
Next, gather some basic plastic shower curtain rings and start to cover them with jute twine.
The easiest way is to take one of your pieces of jute twine and knot one end over the curtain ring connector. Double knot it for security.
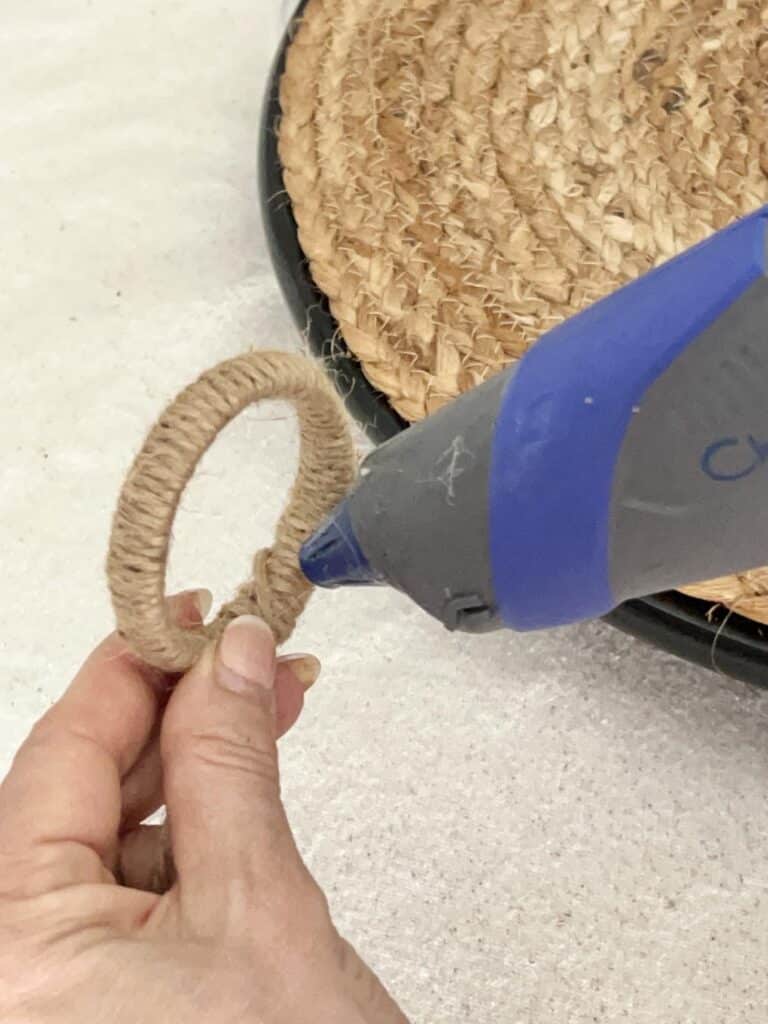
Then start to wind!
Round and round, keep on winding until the entire ring is covered. When you reach the end of the line (literally!), add a drop of glue to the inside of the ring to secure the end in place. All this winding might seem like a lot of work but I was done in no time by winding while I watched the Olympics!
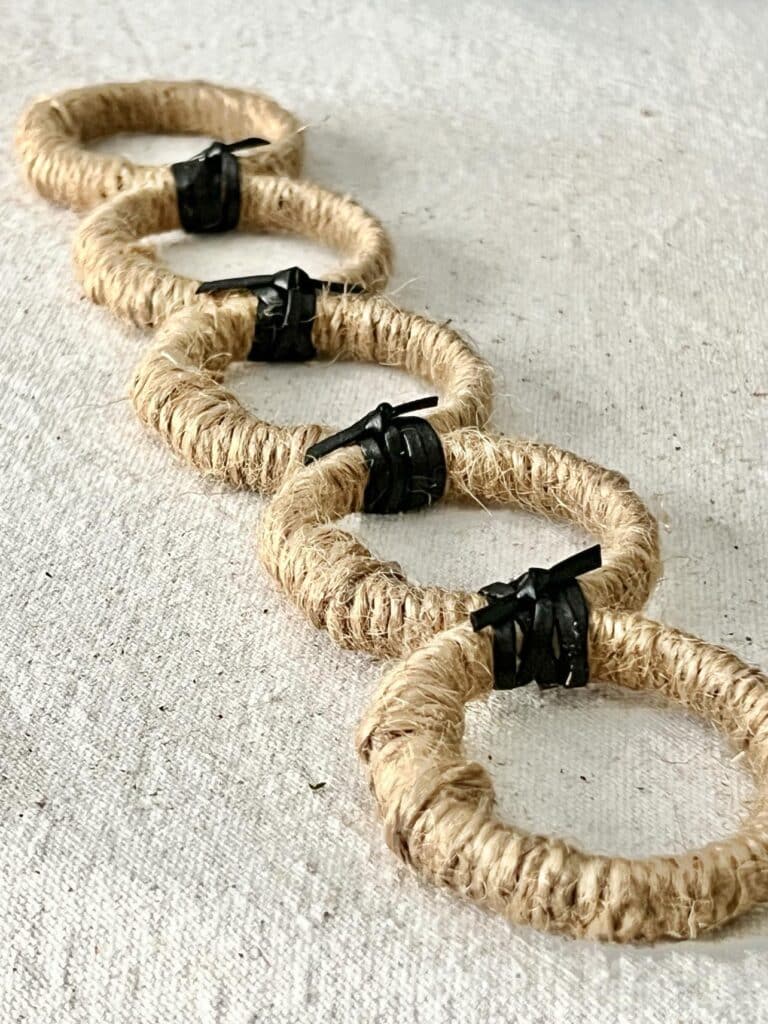
The next step is to connect all of these jute rings into a circle by tying them together side by side.
You can certainly continue to use the jute twine for this. However, I love the look of using black leather lacing.
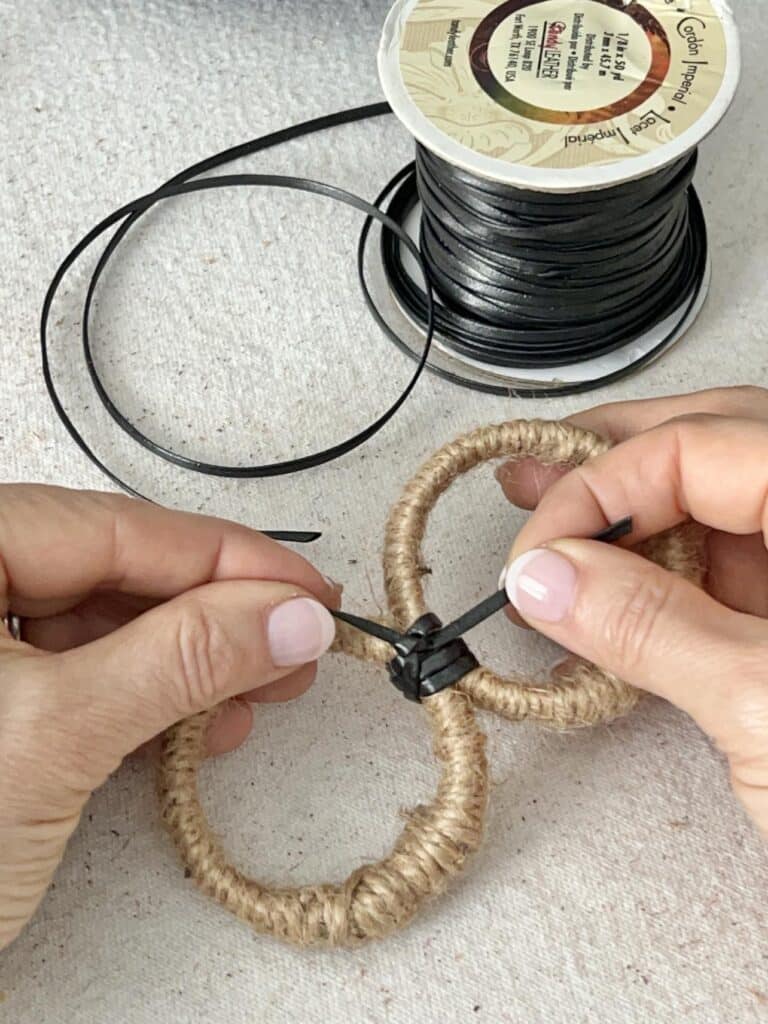
Loop the twine or lacing 3-4 time at the connecting points and then tie off in a knot. The lacing should be tight enough to hold the rings together but loose enough that the rings and move slightly or “bend” from side to side.
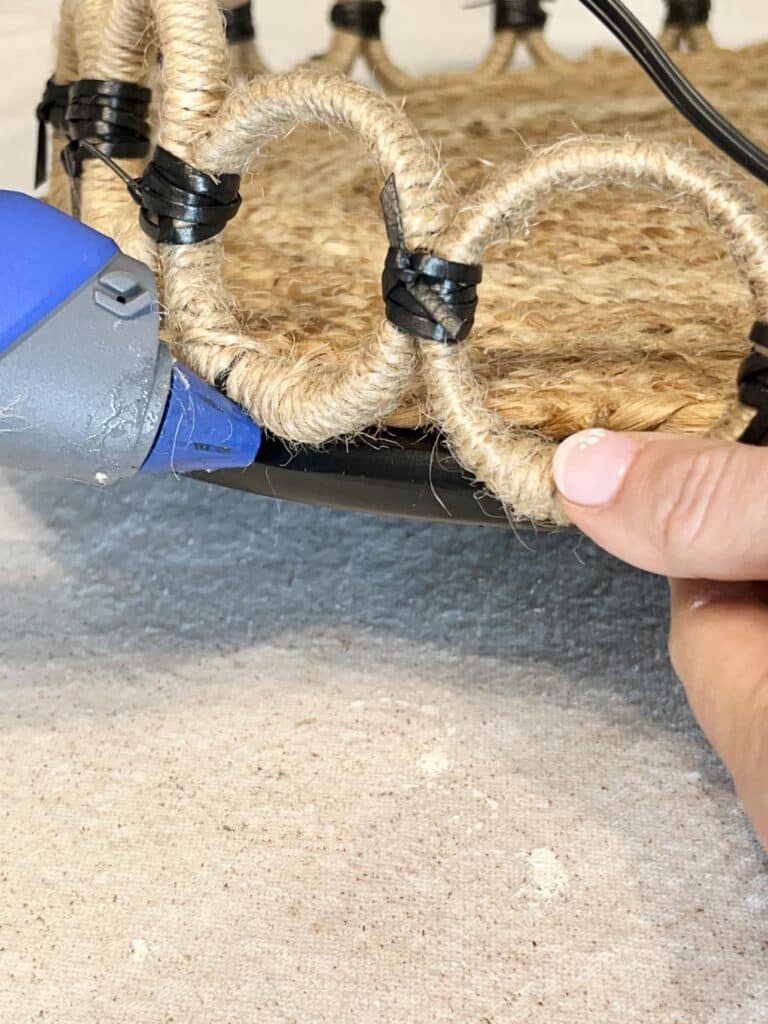
Once you get all of the rings connected, place the whole thing on top of the lazy Susan. Using a hot glue gun, place dots of glue on the edge of the board underneath each curtain ring scallop.

I’ll be honest, I had moments of doubt when I was winding twine as to whether this would look good or not.
I did a little dance when I finished because I loved the ending piece!
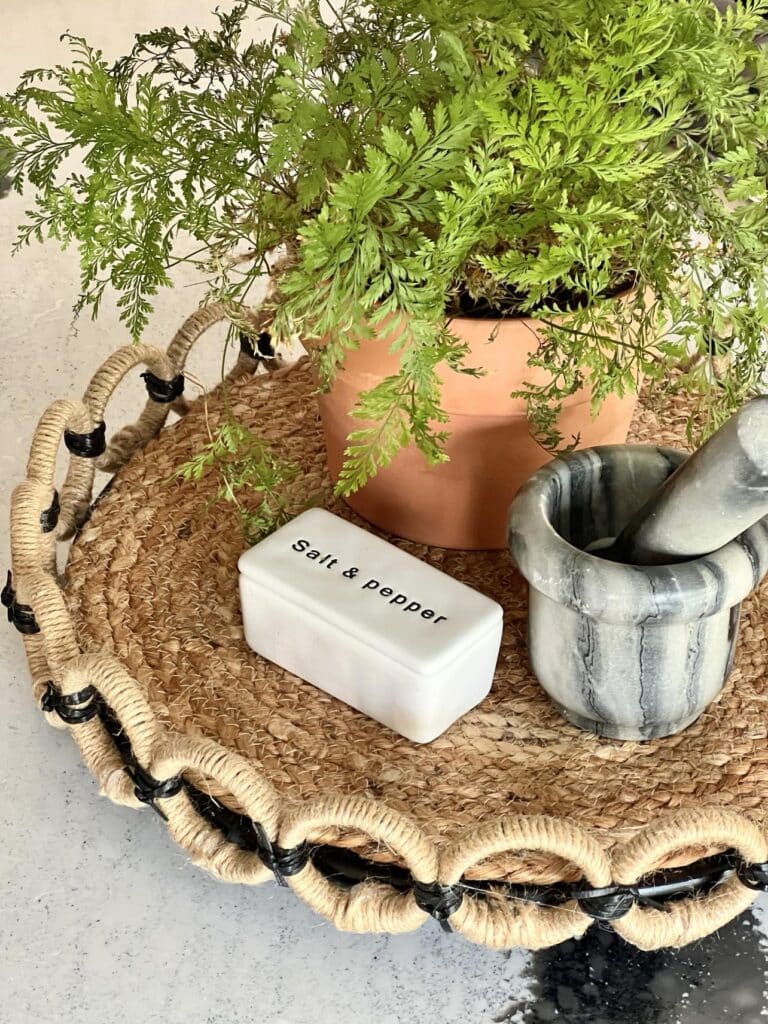
The kitchen counter is always my go-to place to test out new decor. Especially decor with a function. This little lazy Susan did not disappoint!
A plant and some stovetop seasonings are handily within reach whether I’m cooking or eating. Gotta love easy access!
Ways to Decorate with a Lazy Susan
There are many different ways you can use your new woven lazy Susan!
Spice up your kitchen: Organize your spices, oils, or other cooking essentials on a lazy Susan for easy access and a visually appealing countertop.
Serving tray extraordinaire: Elevate your serving game by using your lazy Susan as a stylish serving tray. Perfect for appetizers, desserts, or even a cheese and charcuterie spread.
Dinner table centerpiece: Create a stunning focal point for your dinner table by decorating your lazy Susan with flowers, candles, barware, or other decorative items. It’s an easy way to elevate your table setting for special occasions.
Organize your little things: Keep your nightstand, dresser, or bathroom counter clutter-free by using a lazy Susan to corral small items like jewelry, cosmetics, or stationery.
This is the easiest DIY lazy Susan project! Proof that even the simplest projects can yield amazing results.
You’ll be surprised at how easy it is to transform a boring turntable into a stunning piece of home decor. It’s super simple, but the results are beautiful!
Now check out the Handcrafted Society projects below. It is one great project after another!
Cheers!

Don’t Forget to Pin It!
Pin the image below to your boards on Pinterest (just click the Pin button in the top left corner). You can also follow along with me on Pinterest!
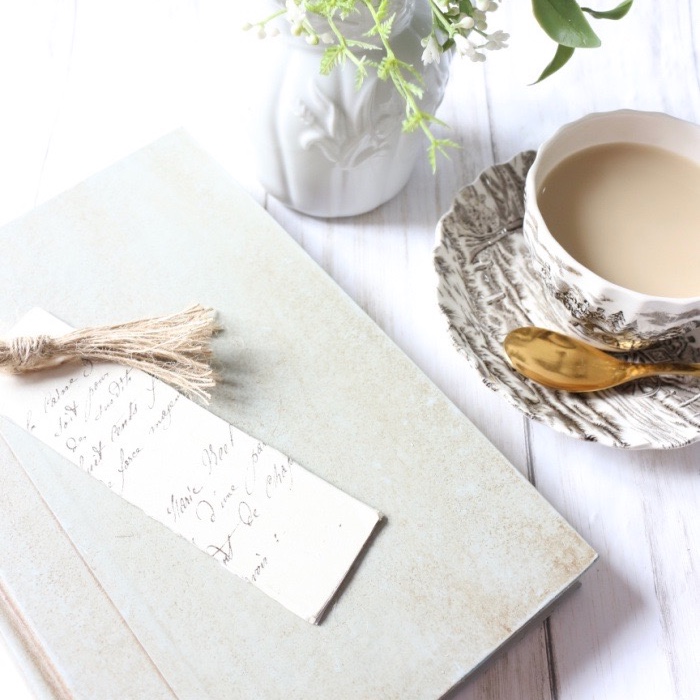
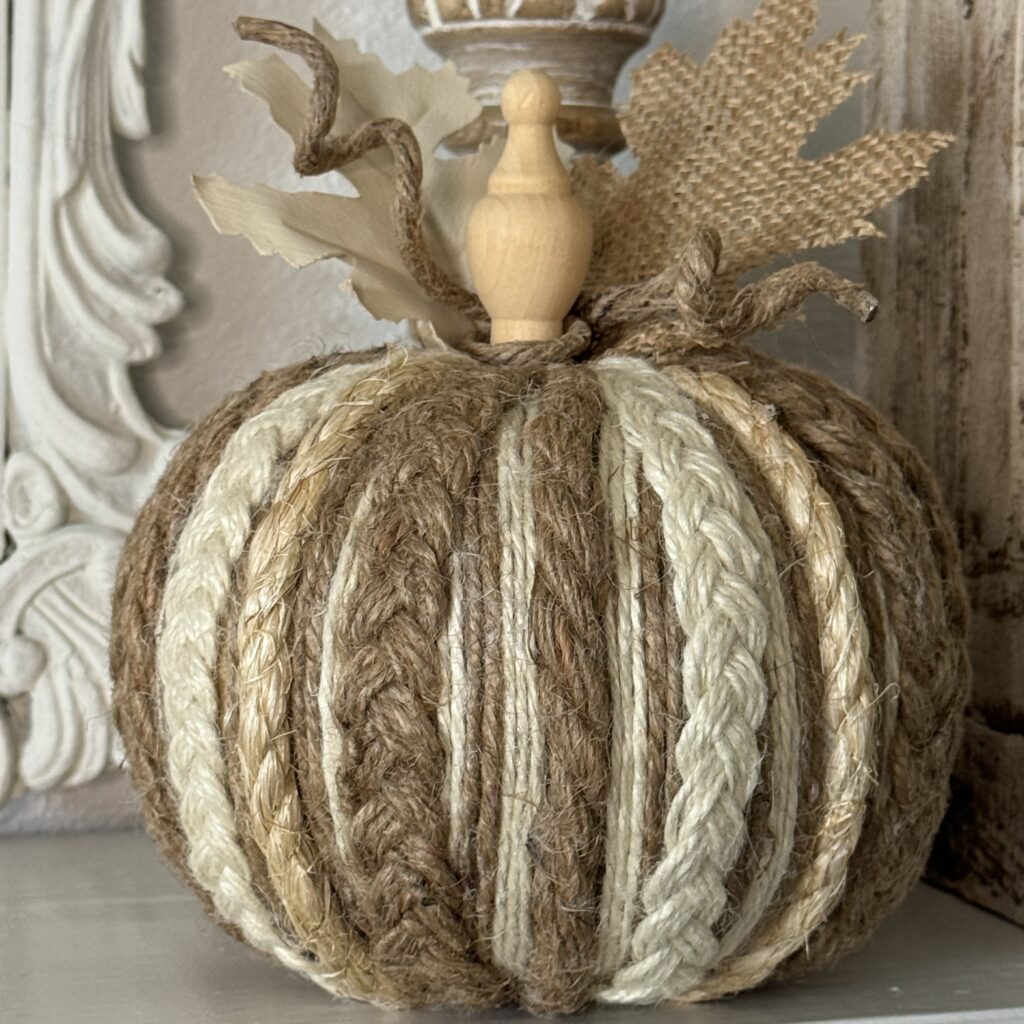
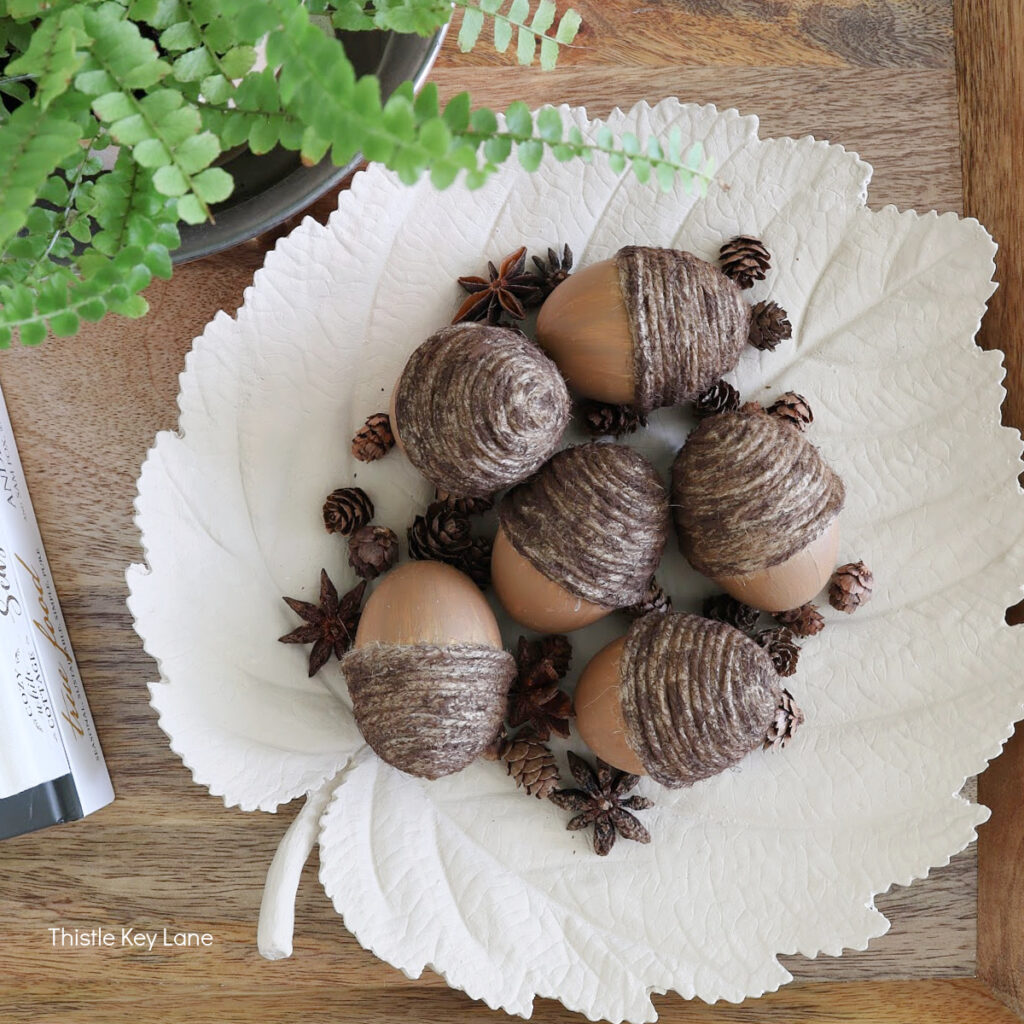
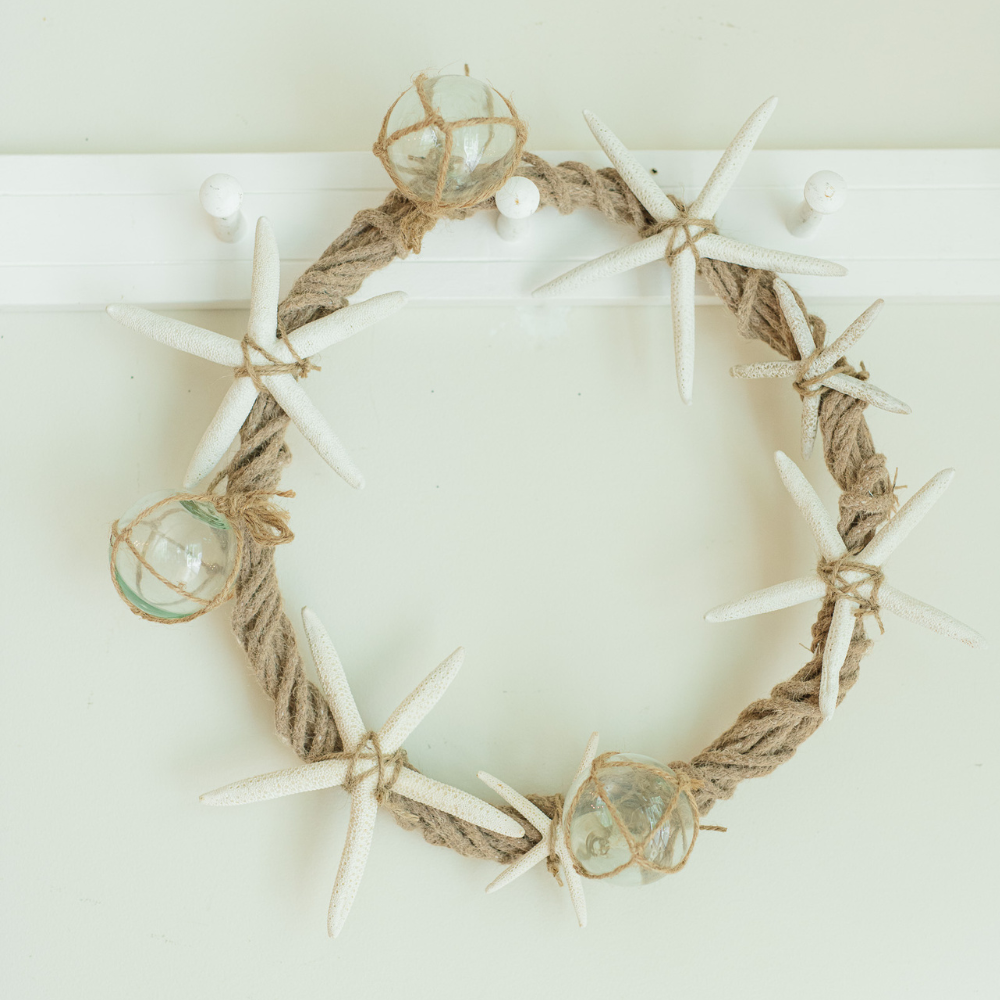
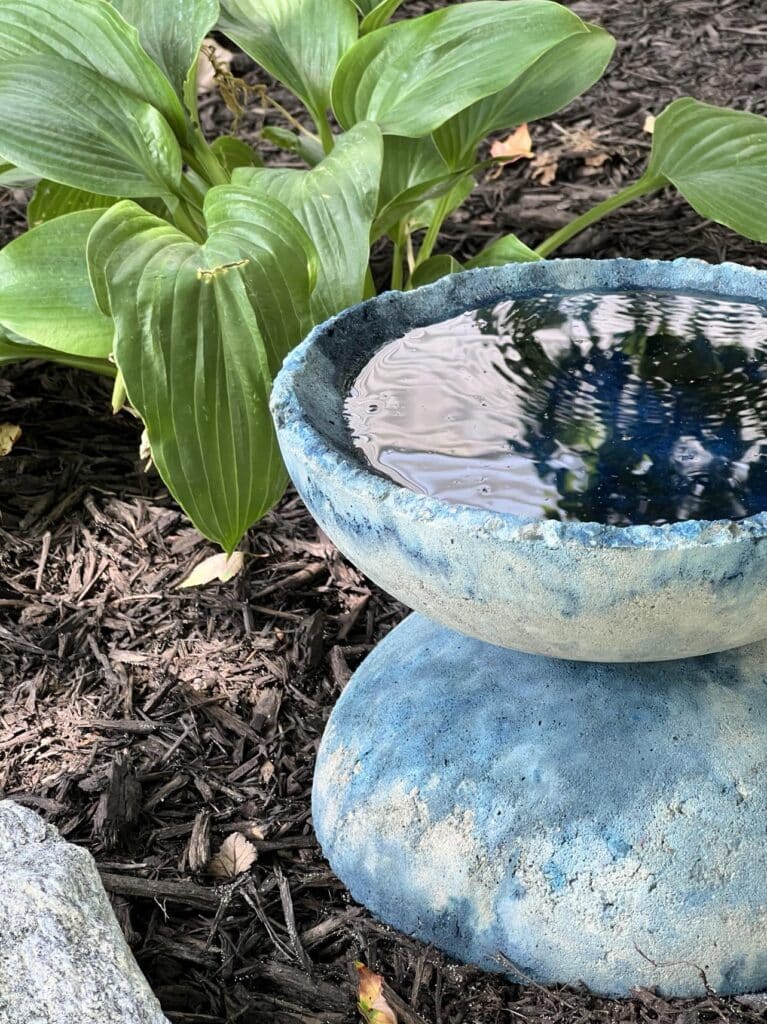
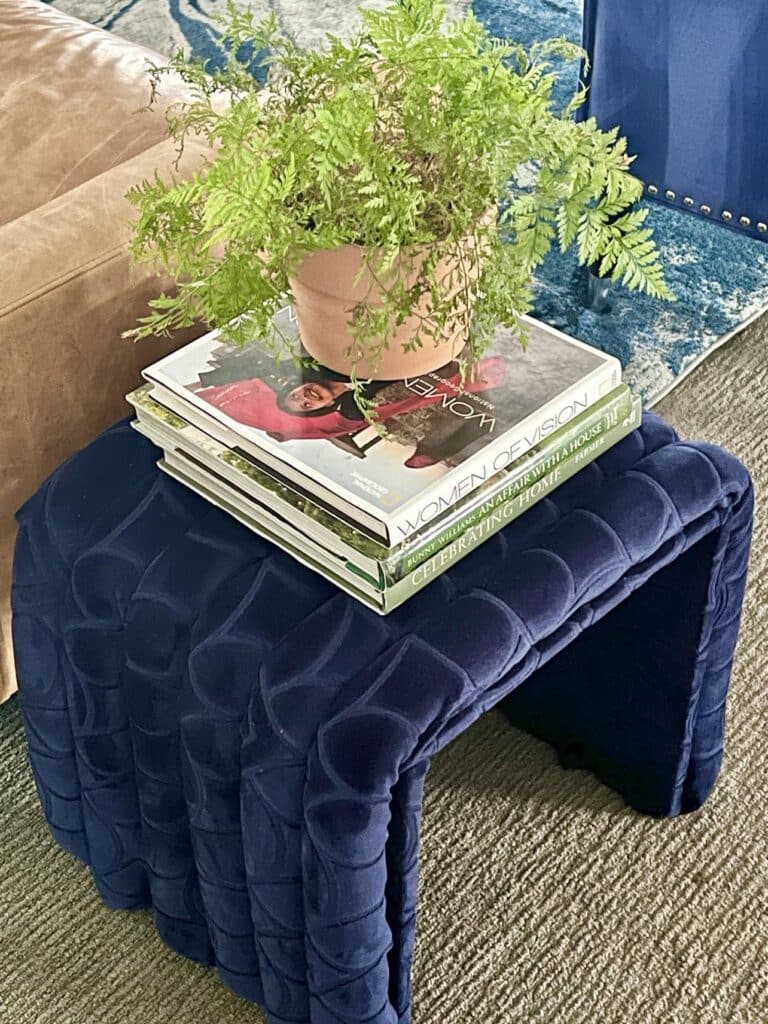
The Handcrafted Society Winds It Up!


SHD DIY Decor

This lazy Susan is so creative, Missy! I love the way you added the placemat and the jute covered rings. It gave the tray an instant layer of texture that is so pretty. We use them all the time as well but after seeing yours ours definitely need a glow up! Hugs, CoCo
Thank you, Coco! It has been fun to style for fall!
Looks great Missy. Fabulous up-cycle. XO- MaryJo
Thanks a bunch, MaryJo!
What a great way to upcycle a lazy Susan! I would not have thought to use a placemat to cover the top! I love the scallop trend, so adding the jute rings is perfection! Pinning now!
Thank you so much, Donna!
OMG Missy…I don’t know how you come up with these!! Your lazy Susan up-cycle is truly incredible and such a unique piece of decor…the leather really amps up the style!
Thank you, Rachel! The leather lacing has been floating around in my drawer for quite some time. I was gladd to find a use for it!
Missy, what a fabulously creative project! I love the idea of styling a lazy Susan, and you did it beautifully! The jute rings are the perfect touch!
Thank you so much, Kim!
This is such a clever project Missy! I love how your lazy Susan turned out, and it looks fantastic on your counter. Everyone will be asking where you bought it! 😊
Thank you so much, Michelle!
Missy, what a great project! I love how you created your lazy susan with the scalloped edges. I am obsessed with lazy susans too. There is one in the center of my table for all the good stuff.
You can never go wrong with a lazy Susan for organization or for decorating!
Hi Missy- I love the way your mind works! You have such a creative brain! I want to try this to make a lazy Susan for flower arranging. It’s so much easier to create a balanced arrangement if you can spin it around to different sides. Thanks for a great tutorial with good photos and instructions.
So clever and so pretty, Missy! Love the rustic and MMC style together! Thanks for sharing at Tuesday Turn About! I’m delighted to be featuring your post at this week’s party!
Thank you so much, Julie! I always love your link party!
This lazy Susan looks so elegant and expensive, Missy! Thanks for sharing! Creatively, Beth
Thank you so much, Beth!
What a unique upgrade for a plain lazy susan! Love the new rustic vibe!
Thank you, Donna! I appreciate it!