How to Make a Simple Paper Heart DIY for Valentine’s Day
Valentine’s Day is just around the corner, and it’s the perfect time to embrace all things heart-shaped! Instead of sticking to the usual cards and chocolates, why not make this paper heart DIY project for your Romeo or Juliet?
This festive way to celebrate love doubles as a thoughtful handmade gift and a charming decoration. Learn how to craft a paper cone Valentine heart that’s sure to fill your home with vibrant Valentine vibes!
This blog contains affiliate links. This means a small commission is earned if you make a purchase by using this link. The price you pay will be the same whether you use the affiliate link or go directly to the vendor’s website using a non-affiliate link. Sonata Home Design is a participant in the Amazon Services LLC Associates Program, an affiliate advertising program designed to provide a means for us to earn fees by linking to Amazon.com and affiliated sites.
Does anyone else feel like Valentine’s Day sneaks up on them every year? After the whirlwind of the holidays, it always takes me by surprise—like, “Here we go! Another reason to decorate!”
But honestly, it’s a nice surprise. It’s the perfect excuse to share a little extra love and brighten up the house with pops of cheerful color.
I used to love cutting out paper hearts to give to my school friends.
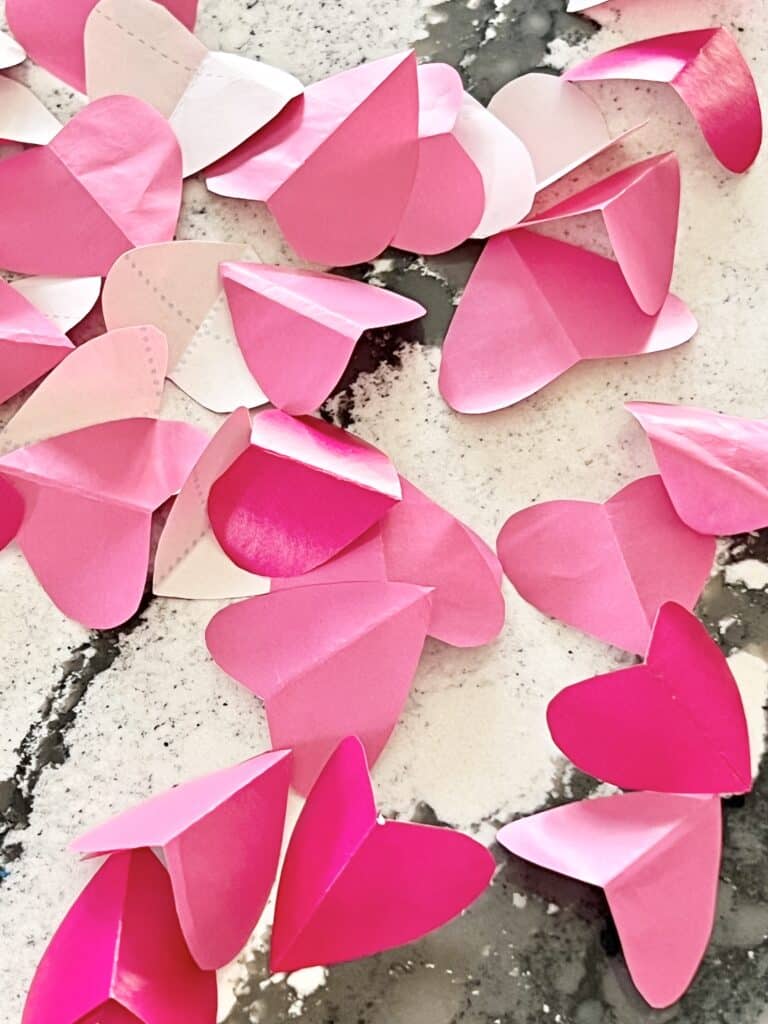
But now I have a paper heart DIY that is a little more sophisticated!
If you’re looking for a fun idea to make your Valentine’s Day even more special, I’ve got you covered with this simple craft project.
I promise, if you can make a paper cone (You know you can!), you’re already halfway to creating this adorable Valentine’s heart. Easy, right? Let’s dive in!
How to Make a Paper Cone Valentine Heart
The first step is to create your cardboard base.
Draw a heart shape on your piece of cardboard and cut it out using sharp scissors
You can free-hand this but I always prefer to use a felt heart from the dollar store when drawing a heart.
Without a template, my hearts tend to look like they need some pick-me-up surgery!
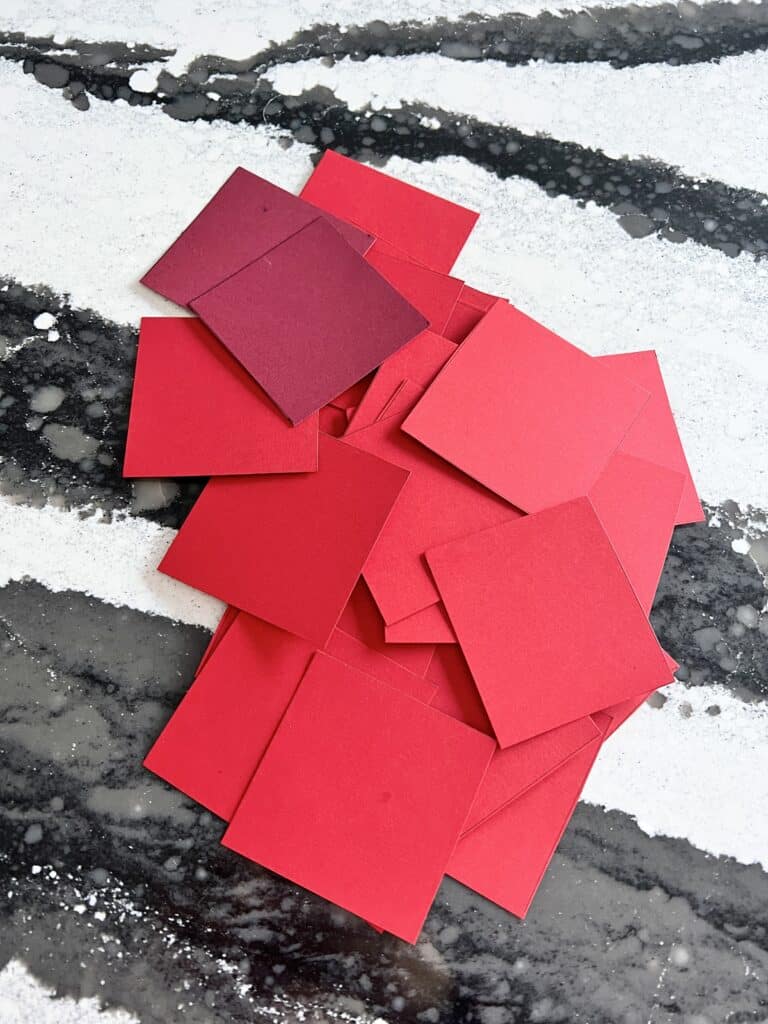
Next, cut (lots) 3′ x 3″ hearts from your cardstock.
I’m going for shades of red!
Making the Paper Cones
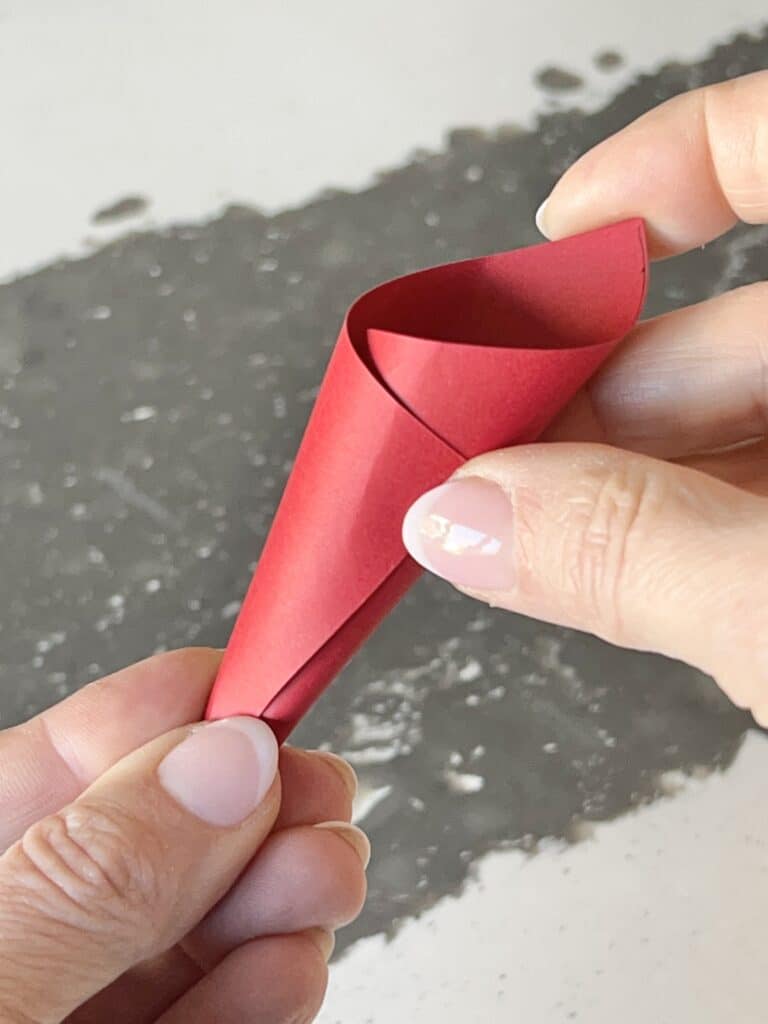
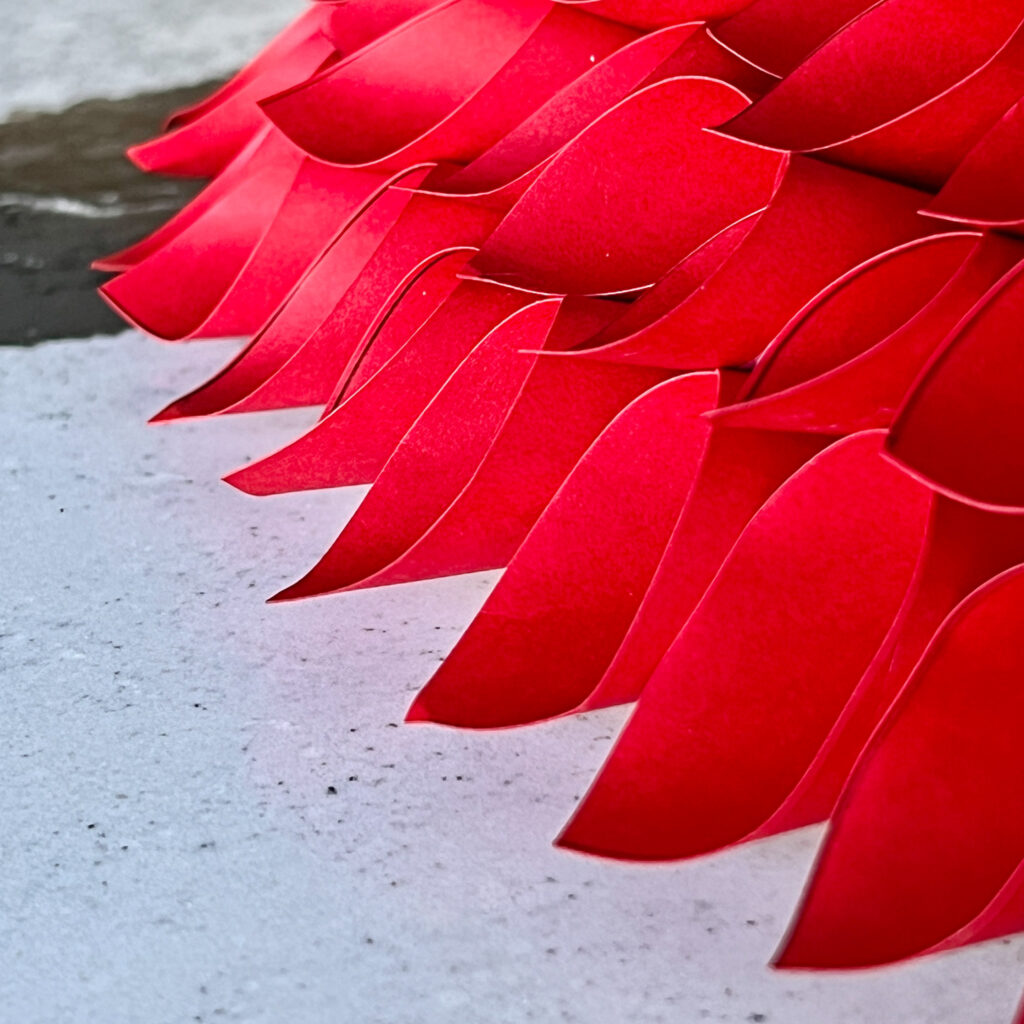
Take one square piece of paper and twist it into a cone.
This took me a few tries to get the cone shape that I wanted… tight tip at the bottom and a rounded opening at the top.
Once I got the hang of it, I was a paper-twisting machine! (I watched “Emily in Paris” while twisting!)
Add a touch of hot glue to seal the cone. I tried scotch tape but they kept popping open. Just go for the glue!
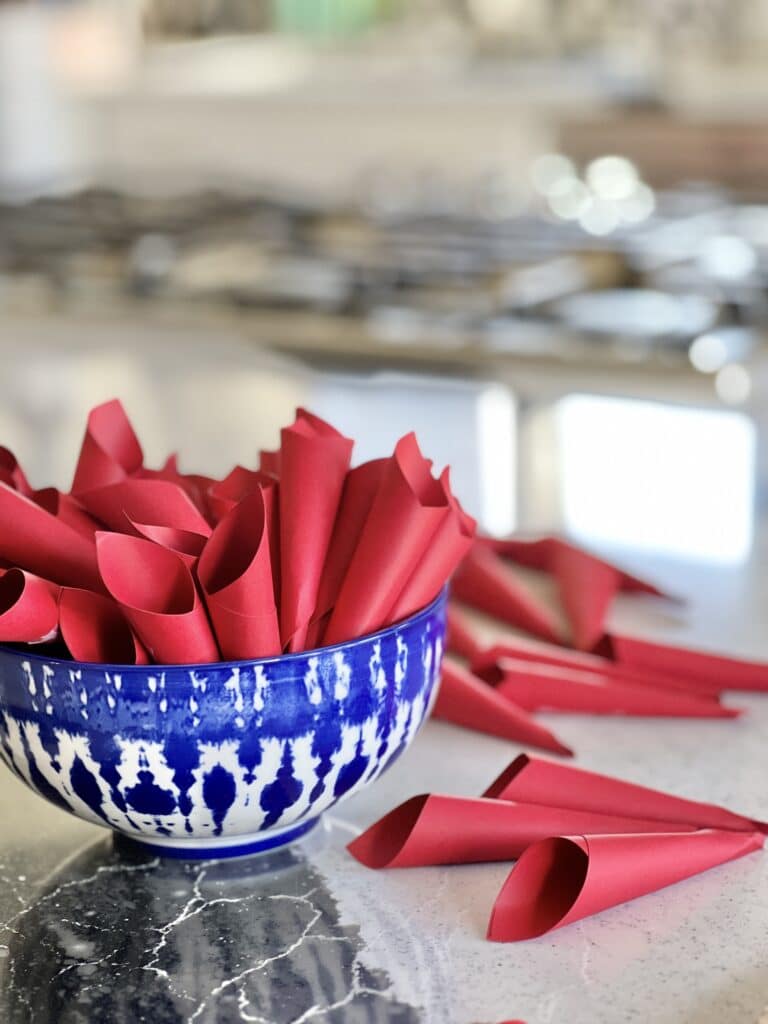
Twist LOTS of cones!
The number of cones that you need depends on the size of your cardboard heart. So if you have a larger heart, you need lots of cones!
I loved seeing my pile of red cones grow as I twisted them!
Creating the Paper Cone Heart
Starting at the bottom of the cardboard heart, glue each cone with the tip toward the middle and the opening facing out. Continue to glue the cones around the perimeter of the heart.
Angle them as needed so the cone openings face out and create a border around the cardboard. Don’t worry about spacing between the bottoms of the cones…they will eventually be covered.
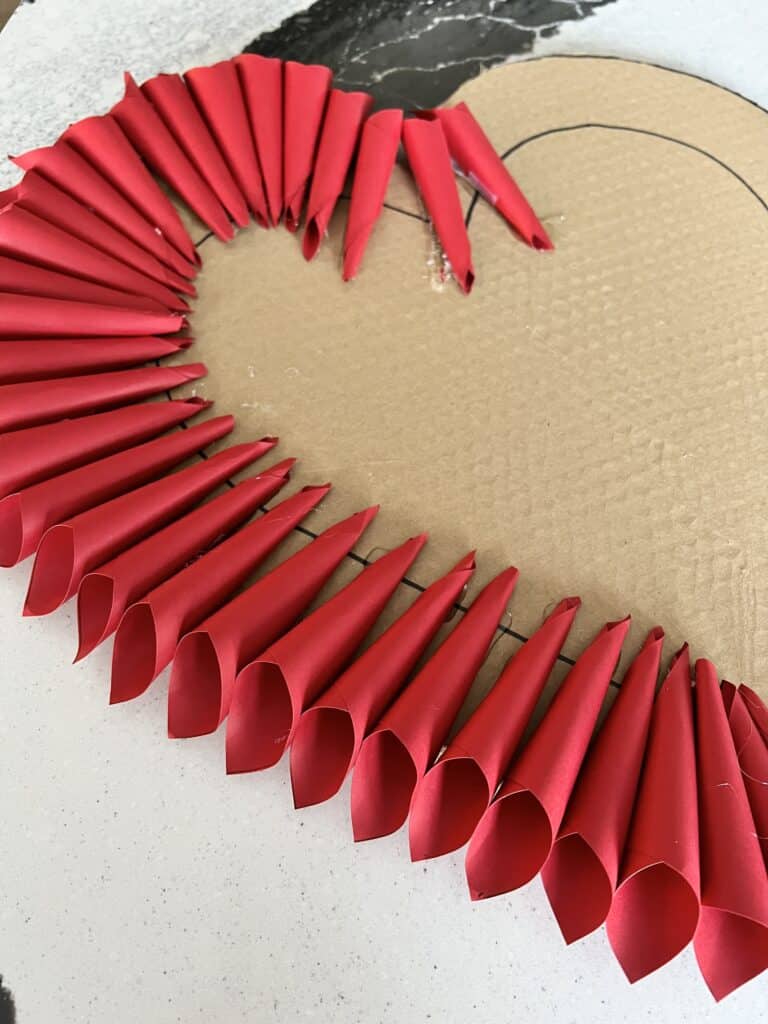
Once you get the first layer completed, add another!
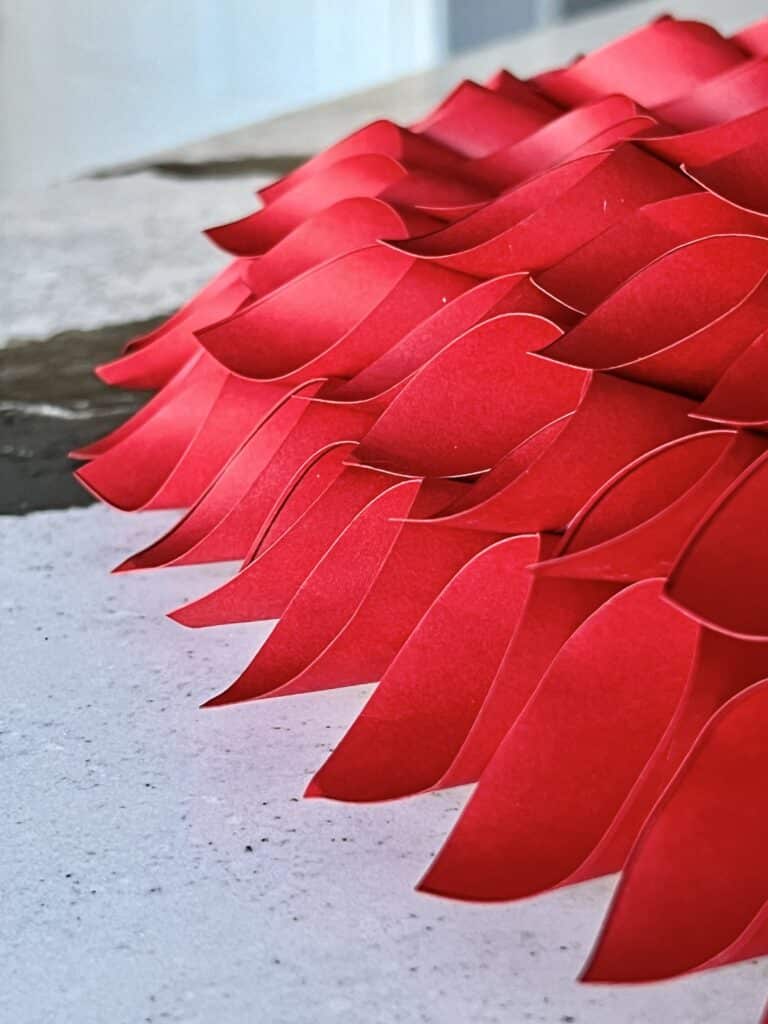
For the secondary layers, pull the cones back slightly so there is an angled “stack” of cones.
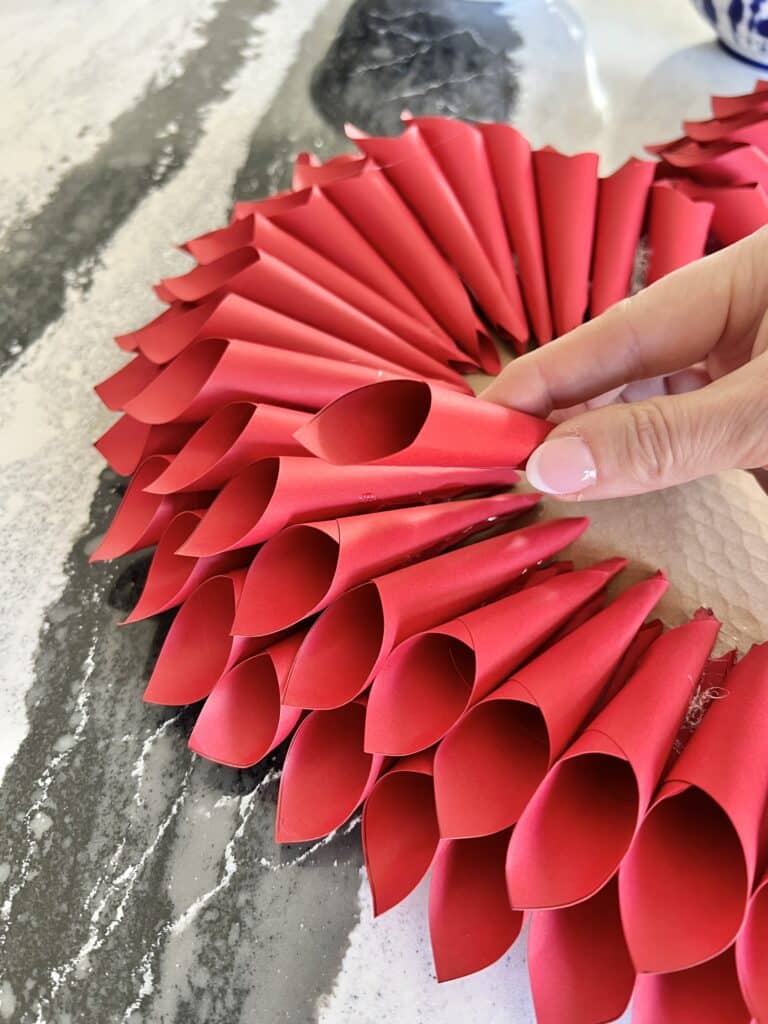
Keep layering!
I decided to change the shade of red on the fourth layer to a burgundy red.
As you add layers and try to fit them all in, you will find that you need to glue the cones in a more upright position…and then the cones are too long!
Just bend the bottom or cut the tip of it off.
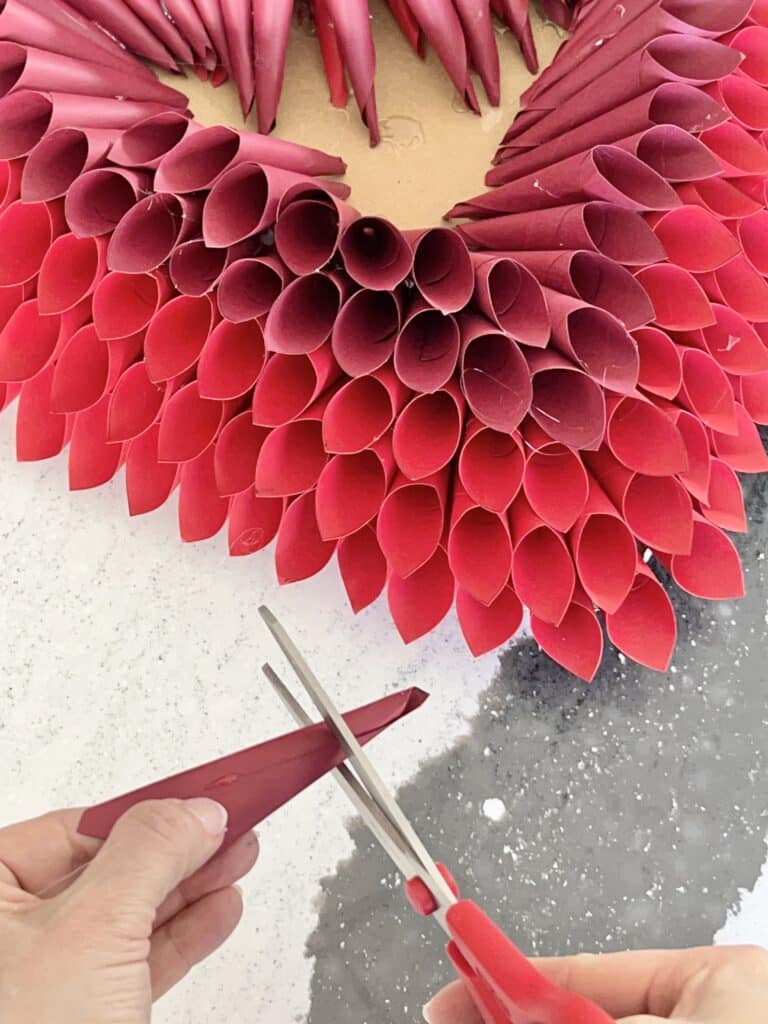
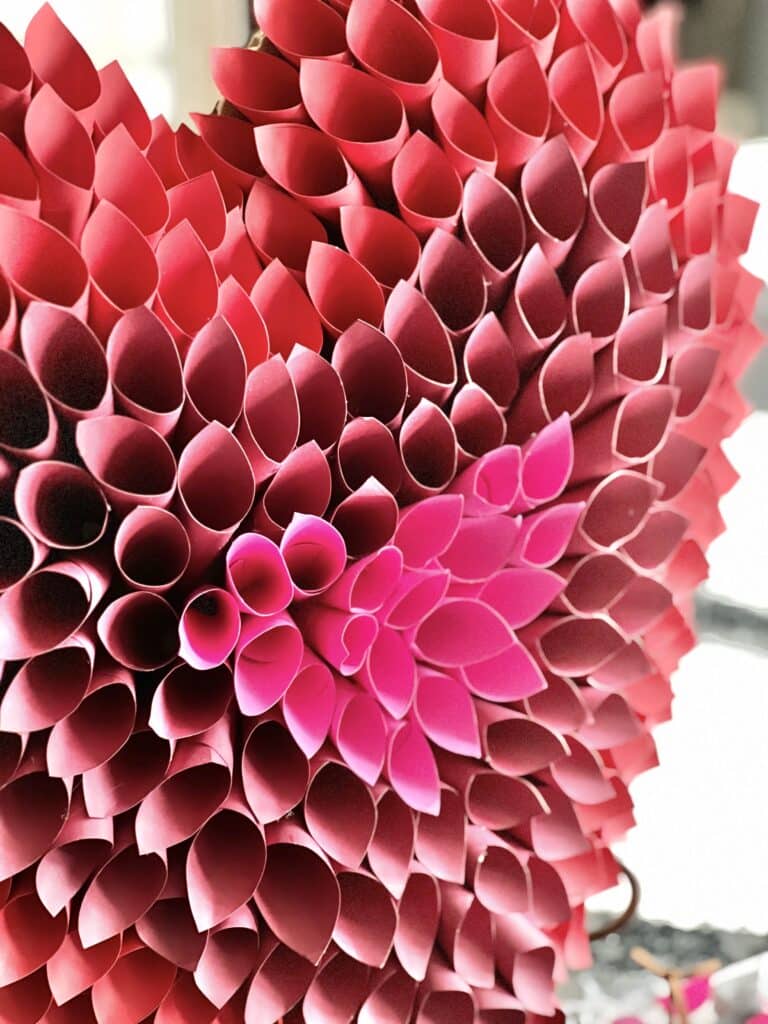
How about some shocking pink for the center?
Yes, please!
I love how sculptural this turned out!
It reminds me of a museum sculpture, a bee’s honeycomb, and a box of chocolate…all in one paper cone heart!
Display Ideas for Your Paper Heart DIY
You could…
- Hang from a door.
- Set on a coffee table beside a book of poetry.
- Prop on a fireplace mantel.
- Leave it on the doorstep of someone special.
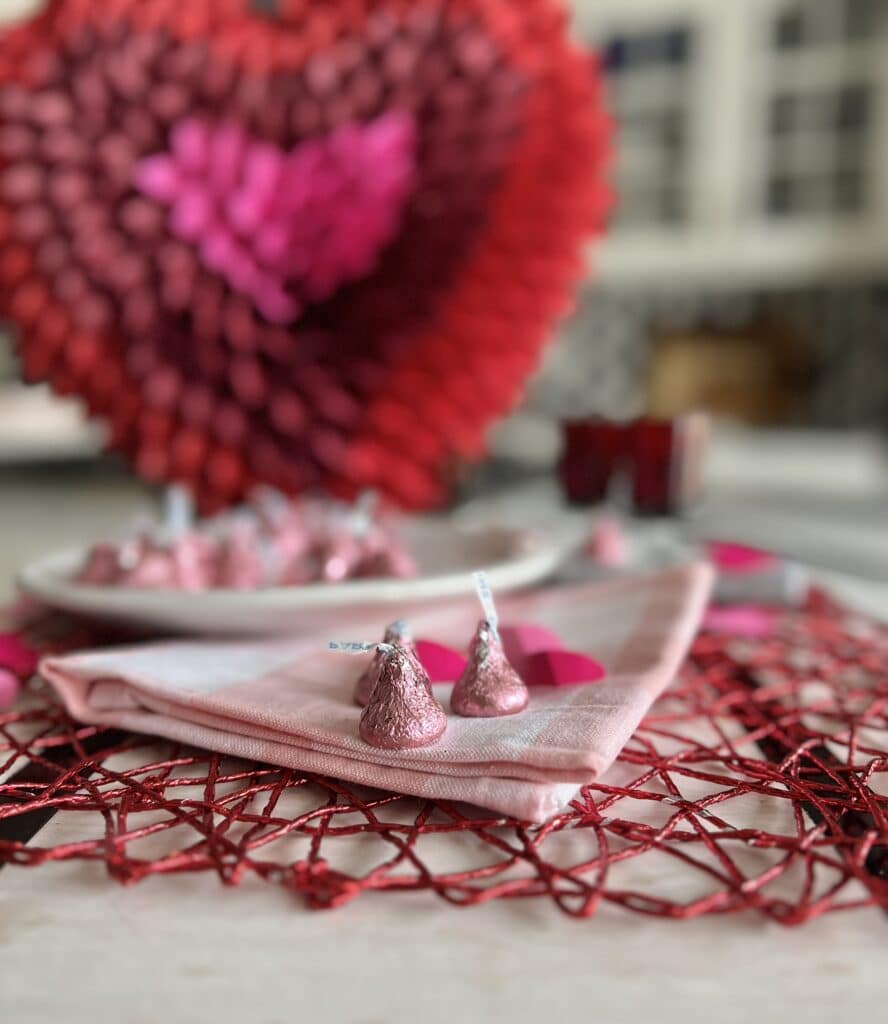
- Use as a table centerpiece flanked with, of course…chocolate kisses!
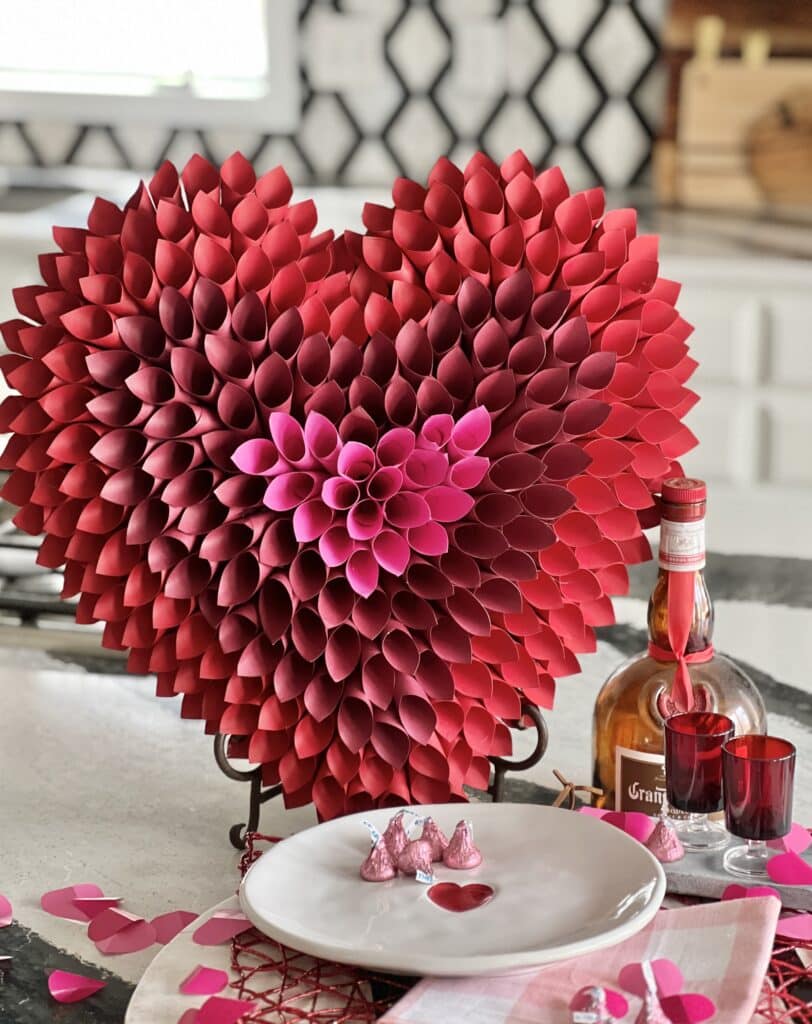
I styled it as a centerpiece on our kitchen island.
Chocolate kisses and Gran Marnier are ready to go for Valentine’s Day!
If you want to make someone feel special this Valentine’s Day, try making them this paper heart DIY. You can make handmade gifts that will put a smile on anyone’s face!
Now get out there and start spreading the love!
Cheers and Happy Valentine’s Day!

A Little About Me
Hi! I’m missy. So happy to meet you!
“Decorate with Joy! Live with Happiness”
I truly believe that your home should be a reflection of your personality, a space where you feel free to express yourself and create a sanctuary that feels uniquely yours.
I love creating mood boards, hunting down unique home décor treasures, tackling easy DIY projects, and gathering with family and friends. Homes are meant to be enjoyed, filled with laughter, and shared with the people you love!
– cheers –
Don’t Forget to Pin It!
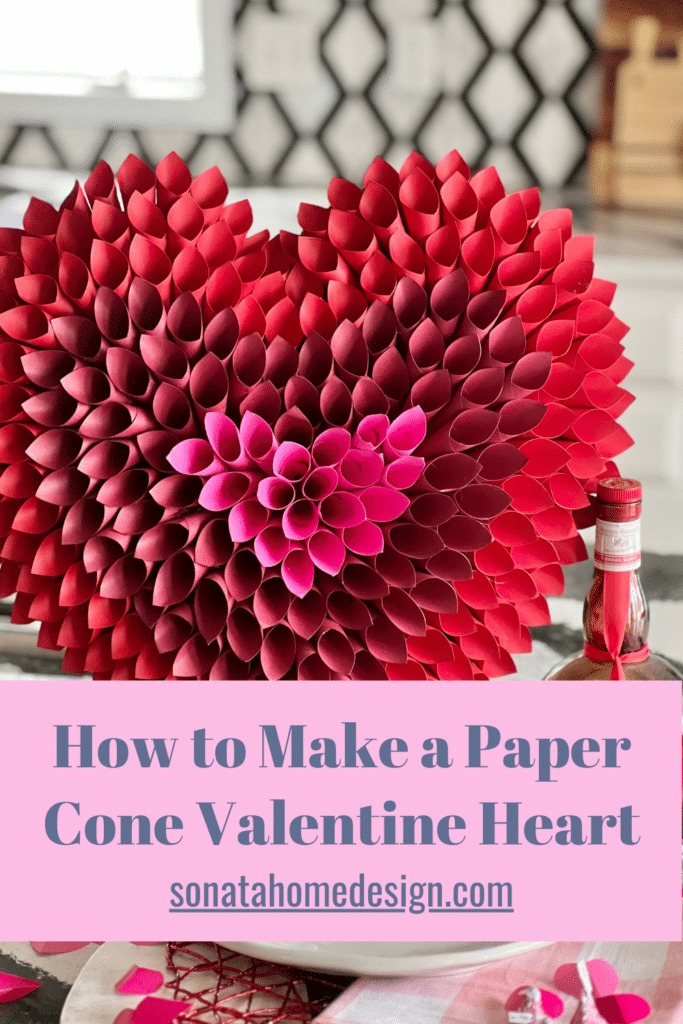
Pin the image below to your boards on Pinterest (just click the Pin button in the top left corner). You can also follow along with me on Pinterest!
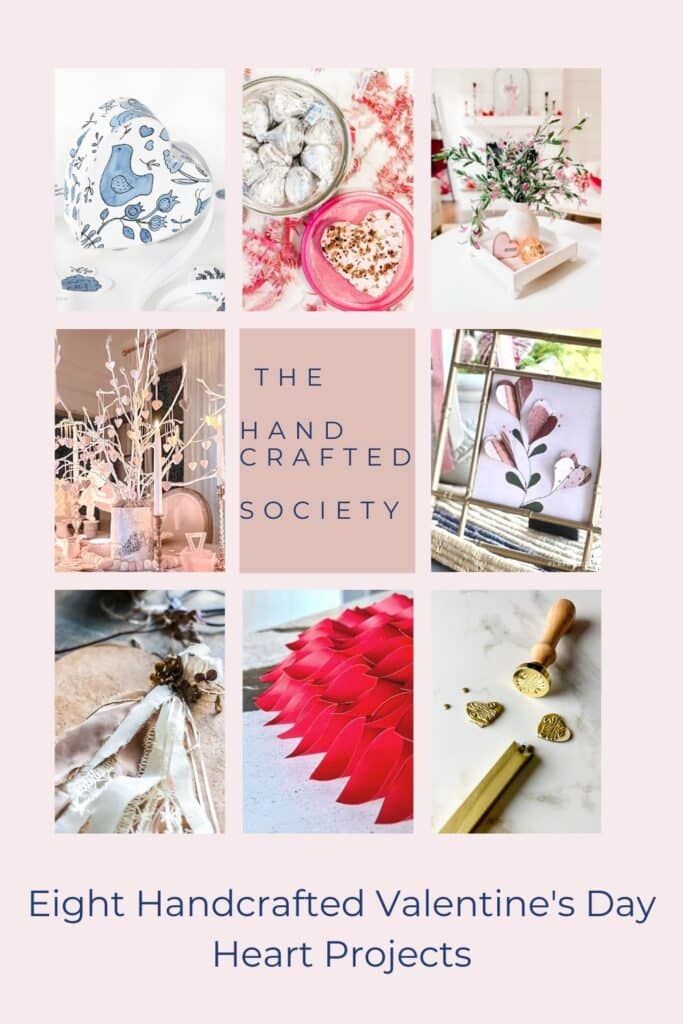
Valentine’s Day with The Handcrafted Society
More Valentine Inspiration!
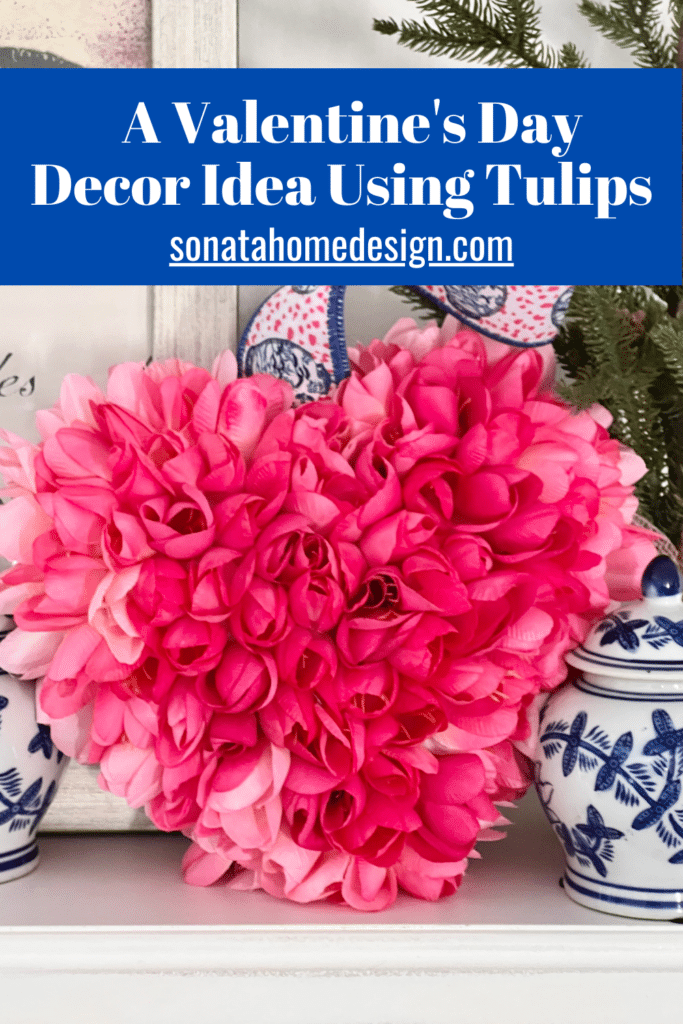
A Valentine’s Day Decor Idea Using Tulips





Missy, I’m in love with your paper cone heart!! It’s so pretty! I love the vibrant reds and pink. Thanks so much for sharing such a creative idea!
Thanks so much, Kim! This was a fun challenge and I’m so glad you were a part of it!
So much great texture! I am crazy about this!!! Great job Missy (and isn’t E in P, such a bright fun guilty pleasure?)
You are spot on! Thank you so much for your nice comment…it really means a lot!
This is just fabulous Missy! So out of the box and creative. Pinned.
Thank you, Wendy! And, thank you for creating the Handcrafted Society! What a fun group!
Oh my goodness, this is gorgeous, Missy!!!! I love how it turned out. I shared it to my valentine board to share 🙂
xoxo
Thank you so much, Jen! I really appreciate that! This was a fun project and I’m so excited for the Handcrafted Society!
Missy, I’m so impressed with your heart project and how gorgeous it turned out! Pinning of course!
You are so sweet, Michelle! Thank you so much!
Missy that’s sooooo pretty!! Love it!!
Thank you, Jennifer! I really appreciate it!
Missy this is impressive! I love how substantial it is too! I would love to make this for my hot pink front door!
Oooh! This would be so fun on a hot pink door! (Have to say…I am jealous of anyone with a hot pink door!) Thanks, Amy!
What a fun group to be a part of! I love your paper cone heart, Missy! So creative and beautiful! I’ve created many music sheet wreaths for Christmas but never thought about creating a heart this way. I’ll definitely be giving this a try! On a side note…I love Emily in Paris too, and will binge watch when I need a feel good show! I may or may not have watched all 3 seasons more than twice, lol!
Thanks, Kristy! I think I need to go back through and re-watch all the seasons!
WOW, amazing what one can do with paper. Love it.
I visited you via The Fifth Sparrow No More: Whimsy Home Wednesday Blog Link Party No. 65
My links: 82+83. We will be honored if you share your links with us at SeniorSalonPitStop. Link under BLOGGING.
Missy,
This wreath is beautiful. Pinned. Congratulations, you are being featured on TFT/ https://www.eclecticredbarn.com/2024/02/diy-valentine-crafts-on-tft.html
Have a great day.
Hugs,
Bev
Thank you so much, Bev! I always appreciate your link party!
I love this, Missy!! It’s incredible what can be created using paper and glue, isn’t it?! So festive for the season!
Thank you, Rachel! Happy Valentines Day!
Great instructions and the end result is stunning! Thank you for sharing it.
Thank you so much, Lisa! I appreciate that!
Such a pretty wreath, Missy. Very creative.
Thank you so much, Carol!
This is really beautiful and I’m going to try it. My only question is how do you finish the back when you’re standing it up, as you do in your kitchen? Thanks!
This heart really is stunning, thanks for sharing with us at Handmade Monday, it will be a feature this week 🙂
Thank you so much, Julie! I appreciate you!
This is stunning! I bet that was quite challenging to do but it certainly paid off, so creative. 🙂
Thank you so much, Jayne!
Missy, this wreath is simply gorgeous! I love the ombre tones and the dimensional quality! Thank you for sharing! Creatively, Beth
Missy, thank you for sharing your paper cone Valentine heart at this week’s Create, Bake, Grow & Gather party! It’s truly stunning ♥
I’m thrilled to be featuring it today and have pinned it for even more inspiration.
Wow, this is really beautiful! I’ll be featuring this post at Thursday Favorite Things today. 🙂
Thank you for sharing at Gma’sPhoto ge•ner•ic Linkup Party. I look forward to ‘seeing’ you next week!
https://gmasphoto.website/categories/linkup-parties/
Take care and best wishes
Debra | Gma’sPhoto