Easy DIY Outdoor Fall Decor: A Pumpkin Kissing Ball
It’s that time of year again when all the stores fill up with fall decorations. But what if you want to get in on the pumpkin fun, but want to create your own DIY outdoor fall decor?
Check out all of these great DIY outdoor decorating ideas and learn how to make a hanging pumpkin ball! You can hang it from your porch or anywhere in your home that needs a little touch of fall. So gather your supplies and let’s get started!
We are turning the calendar page into autumn and fall decor can now take center stage!
It may still be 90 degrees but I am pulling out my cool weather plaid shacket!
I can always just turn up the air conditioner until the real fall temps kick in!
It’s time to decorate your outdoor space for a festive fall! What better way than with outdoor fall decorations?
DIY Fall Outdoor Decor Ideas
The fall season is one of the most fun times to decorate the outside of your home. But it can cost a lot of money.
I try to challenge myself each year to create a different fall look outdoors by repurposing or creating new DIY outdoor fall decor. Here’s a list of fall DIY decor ideas that you can make to spruce up your outdoor space.
Welcoming DIY Fall Wreaths
There is nothing more welcoming than a fall wreath on the front door!
A door wreath is such an easy way to create a warm welcome to the world without much effort.
You can hang a traditional wreath complete with leaves and berries in beautiful fall colors. Add your own ribbon for a personal touch!
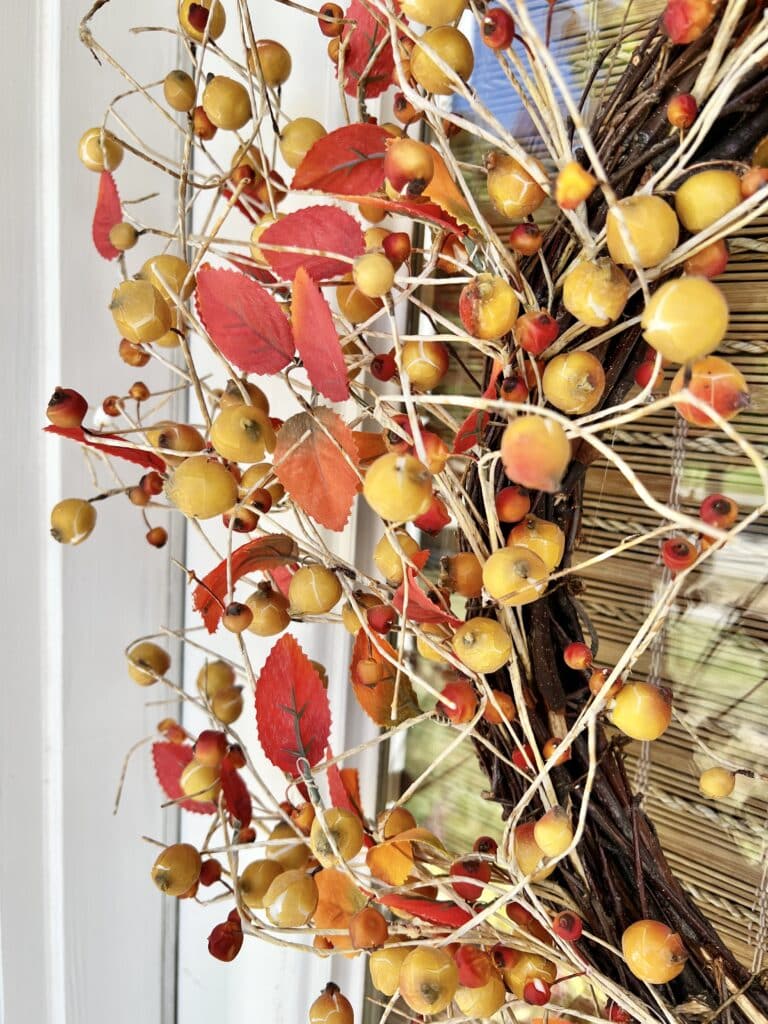
Or think outside of the box and create door decor but unexpected materials.
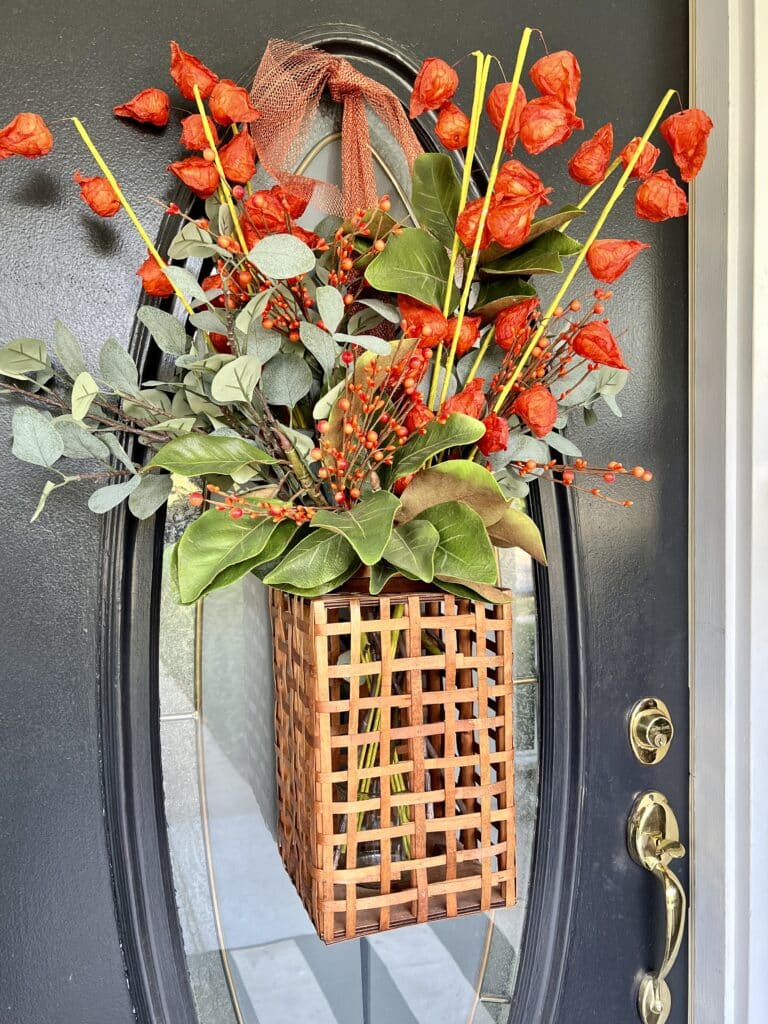
Hang a rectangular lantern from your front door and fill it with vibrant faux flowers and lush greenery.
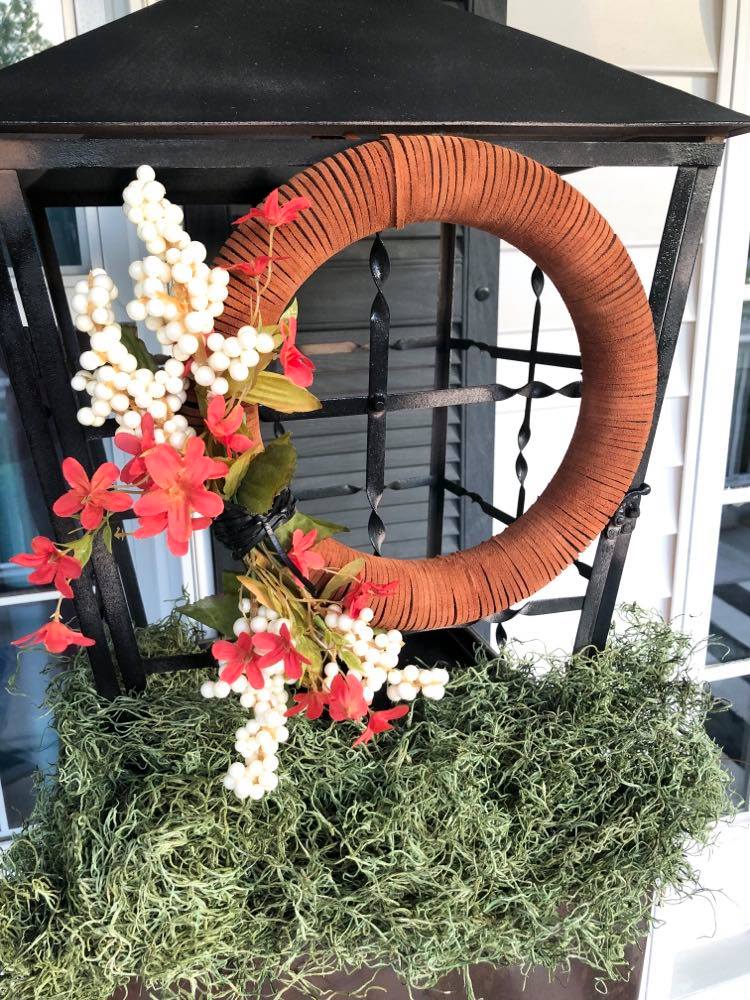
Try this suede-wrapped wreath project. It is an easy project that looks great as fall porch decor hanging on a door or the front of a lantern.
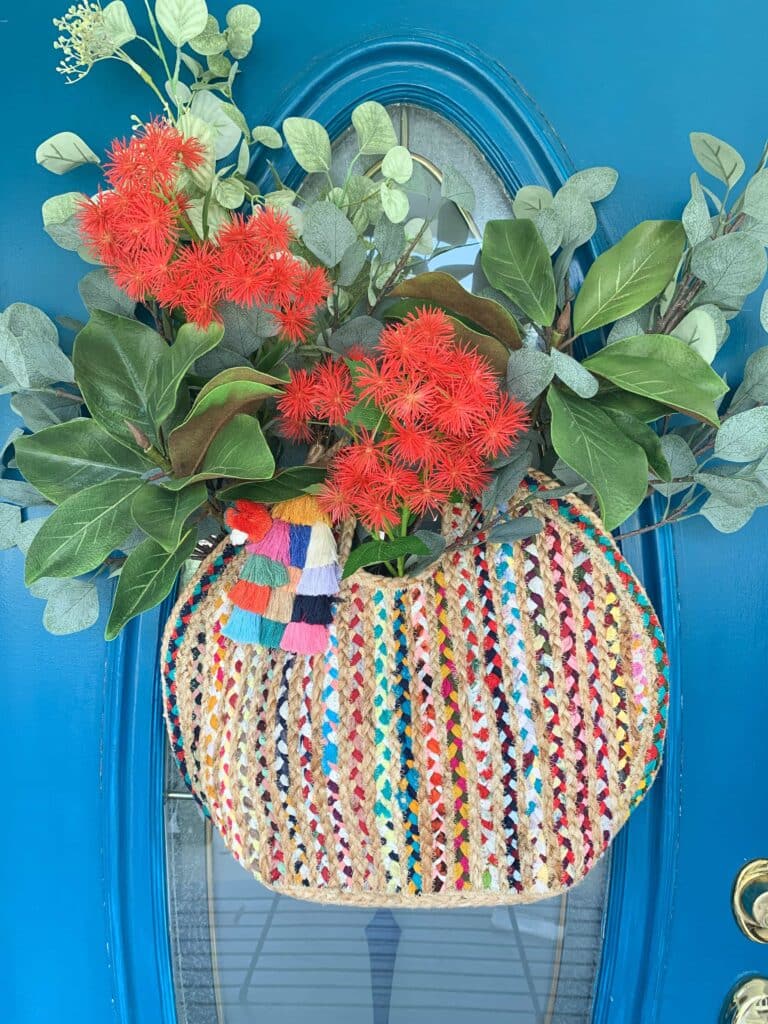
Or raid your closet and create a unique hanging display for your front door with a woven handbag!
DIY Cozy Outdoor Seating Area
Do you have a porch, stoop, patio, balcony, or swing?
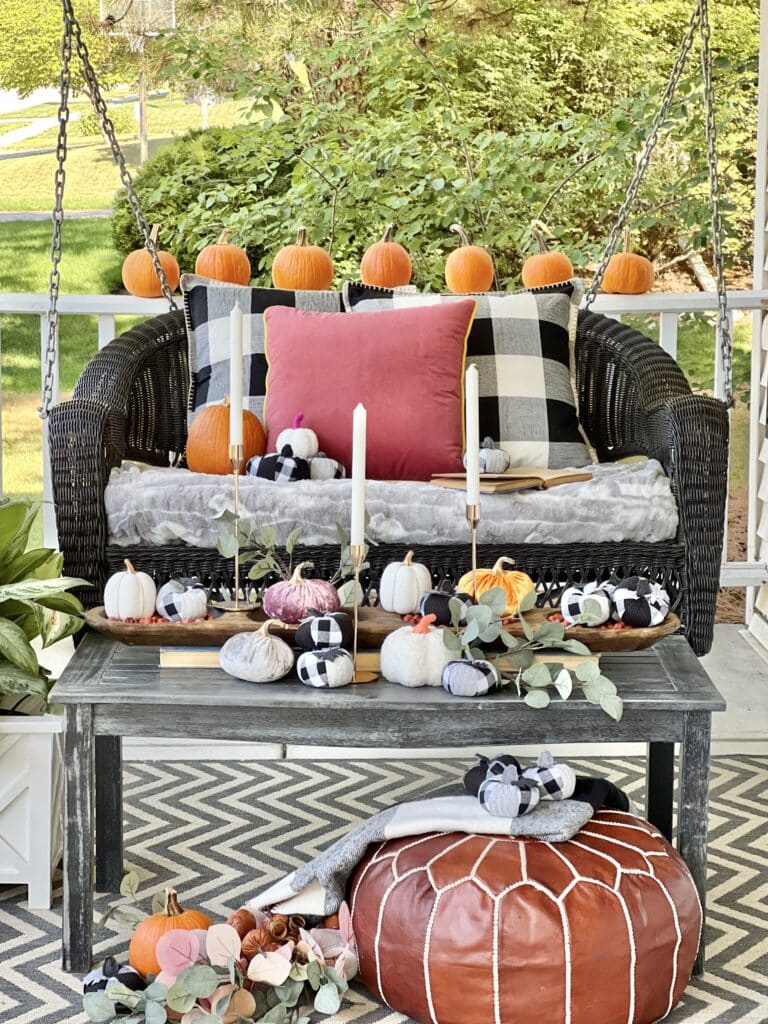
Then you have the perfect location for a cozy spot to cuddle up with some plaid throw blankets and enjoy the crisp autumn air! Try one or all of these ideas for beautiful fall curb appeal!
- Create lovely harvest displays by filling outdoor pots with colorful fall flowers and fall foliage.
- Tuck natural materials like branches or corn stalks into a woven basket and decorative box.
- Craft your own now-sew or light-sew pillows and layer them on a bench or swing.
- Create a harvest themed display on an outdoor table using small gourds, fall leaves, a eucalyptus leaf garland, and lanterns filled with a battery-operated pillar candle.
Pumpkins Galore
Fall decorating is not complete without pumpkins! And while I love a well shaped orange pumpkin, there are lots of other ways to incorporate pumpkins into your autumn decor.
My collection of pumpkins has grown over the years and some of my favorites are ones that I have made. I decorate with these pumpkins indoors and out!
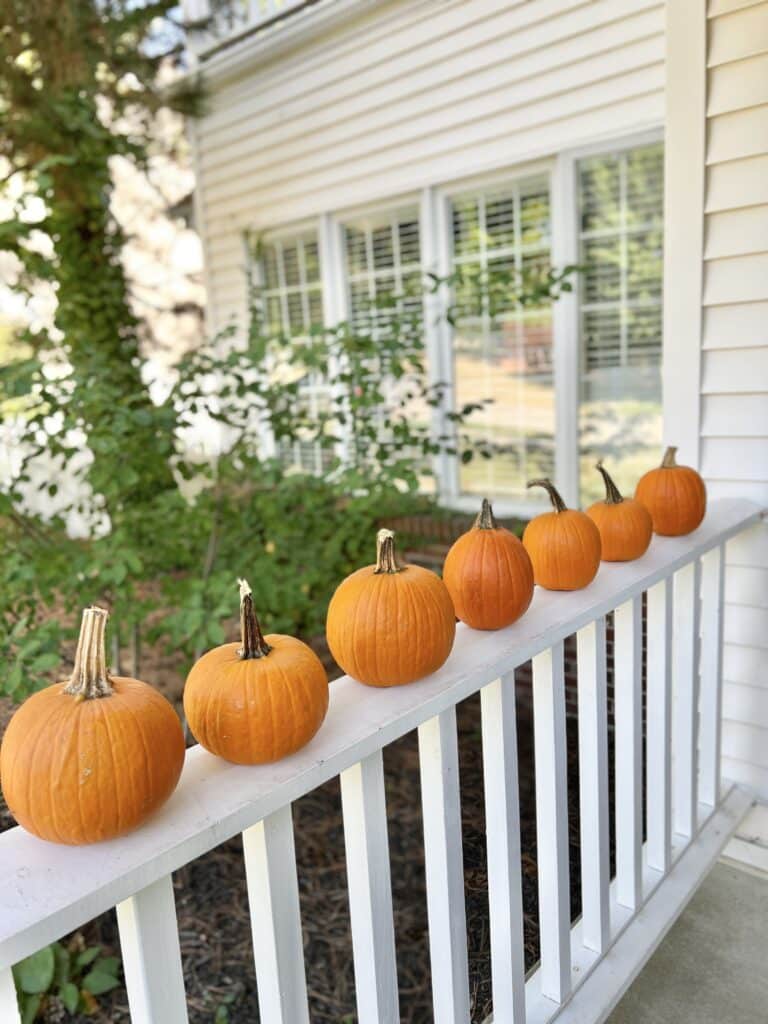
Line up your pumpkins on the railing of a porch or balcony.
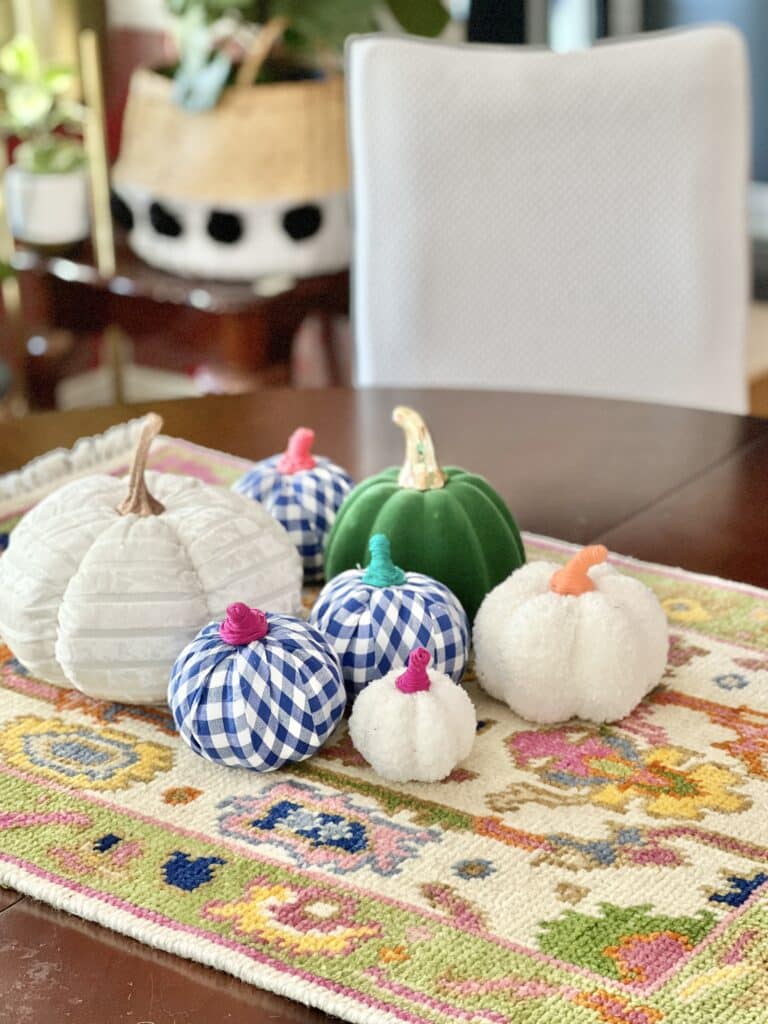
Even pumpkin stems get an upgrade by using jutte twine, leather strips, or colored embroidery thread to cover an unrealistic stems on plastic pumpkins.
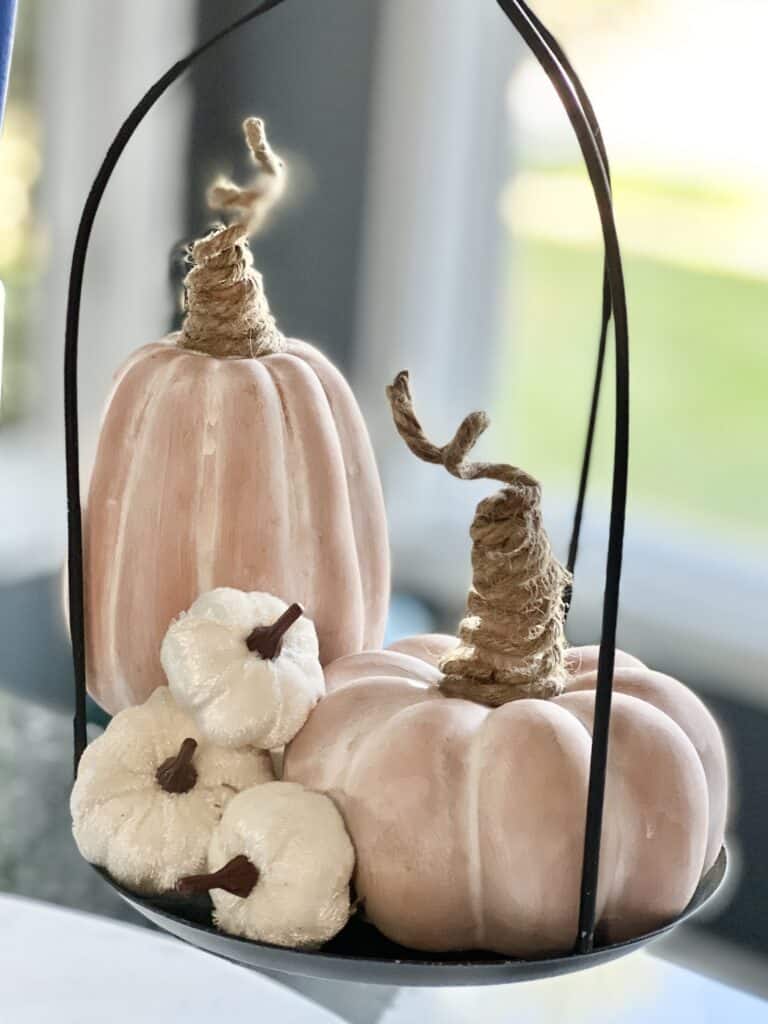
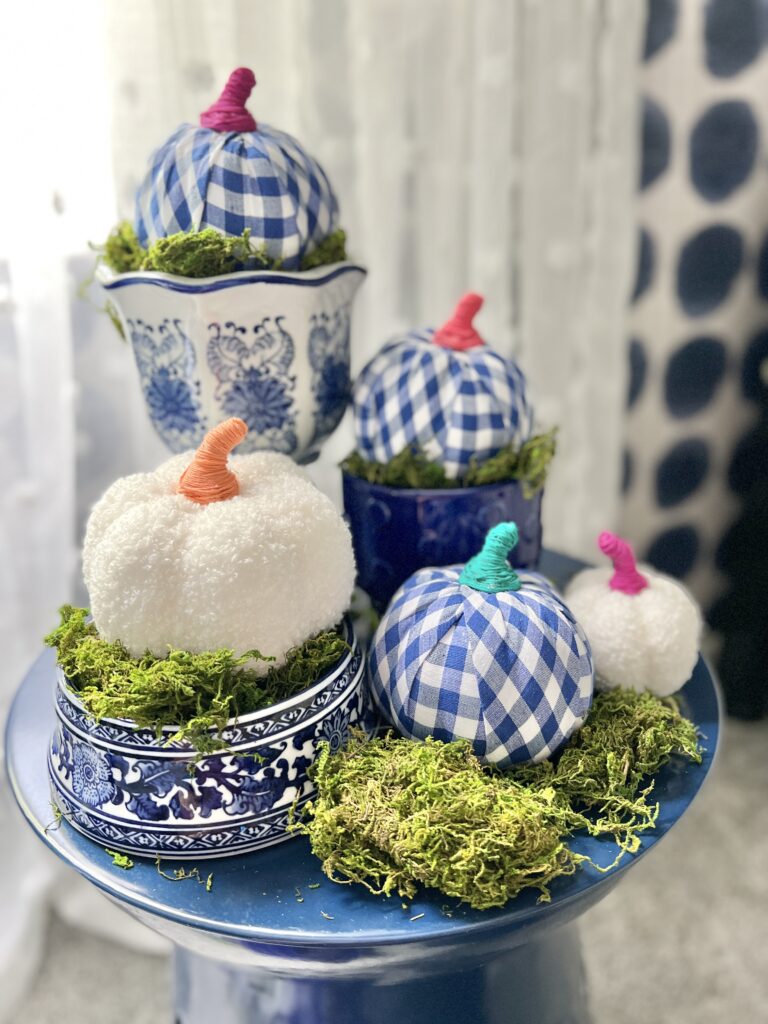
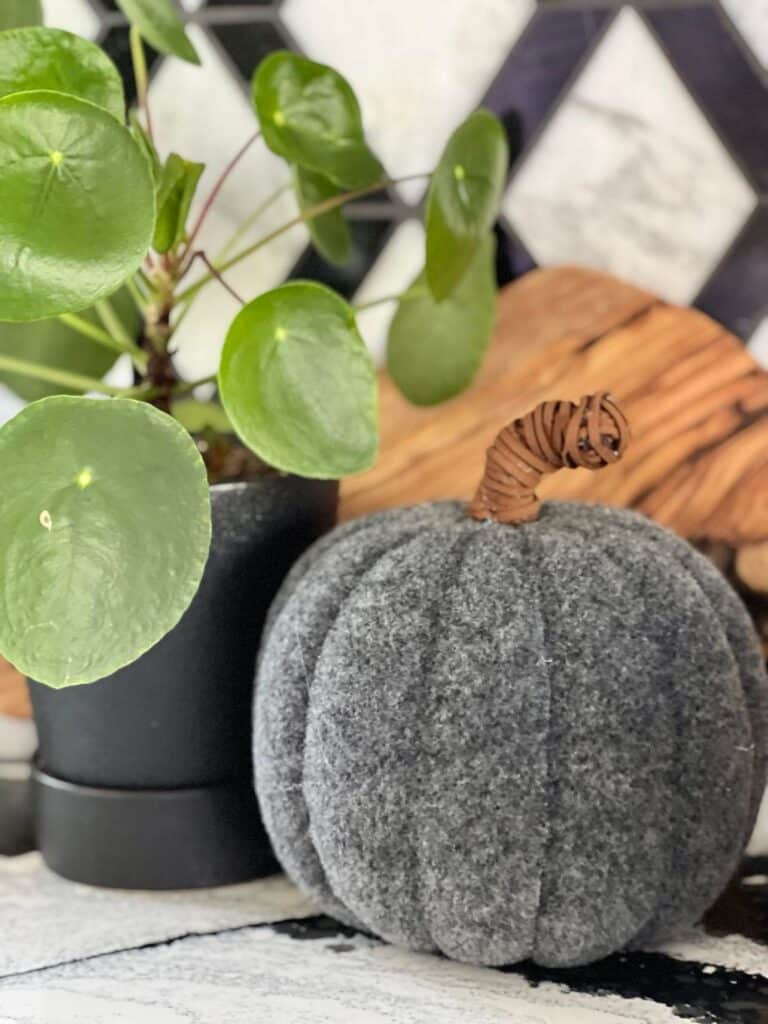
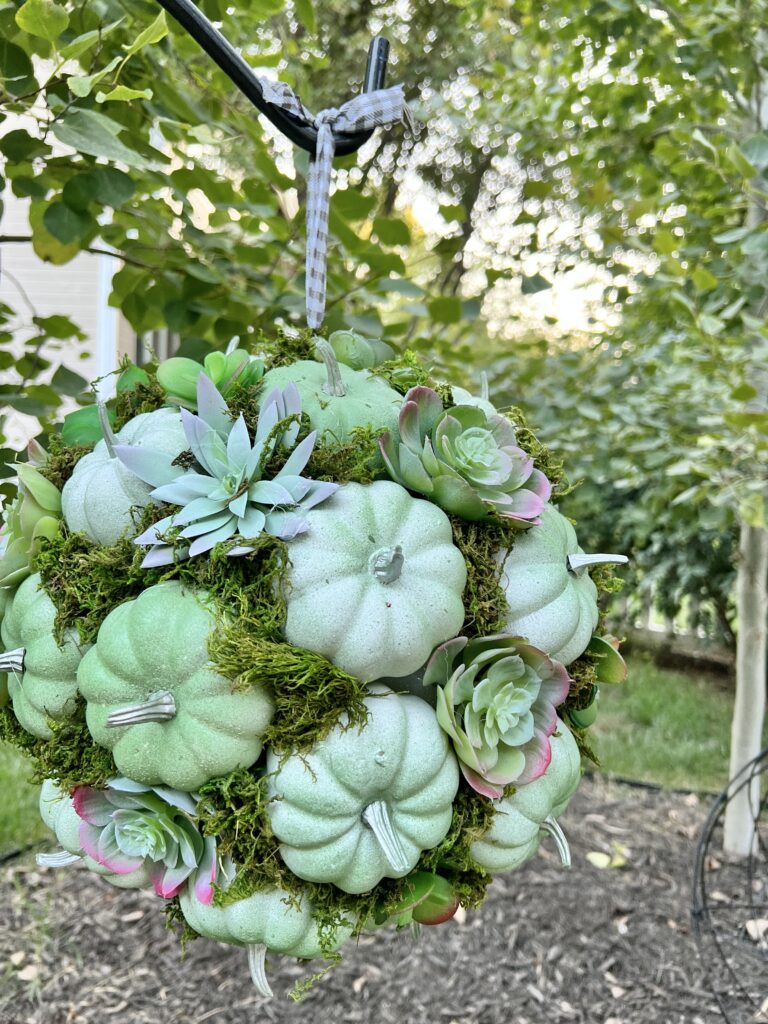
But perhaps my favorite project is to take simple faux white pumpkins and succulents from a dollar store and turn them into a showstopping outdoor hanging pumpkin kissing ball!
Jump ahead to the Christmas season and think of a beautiful hanging “Kissing Ball” that hangs so elegantly from an archway in a beautifully decorated home.
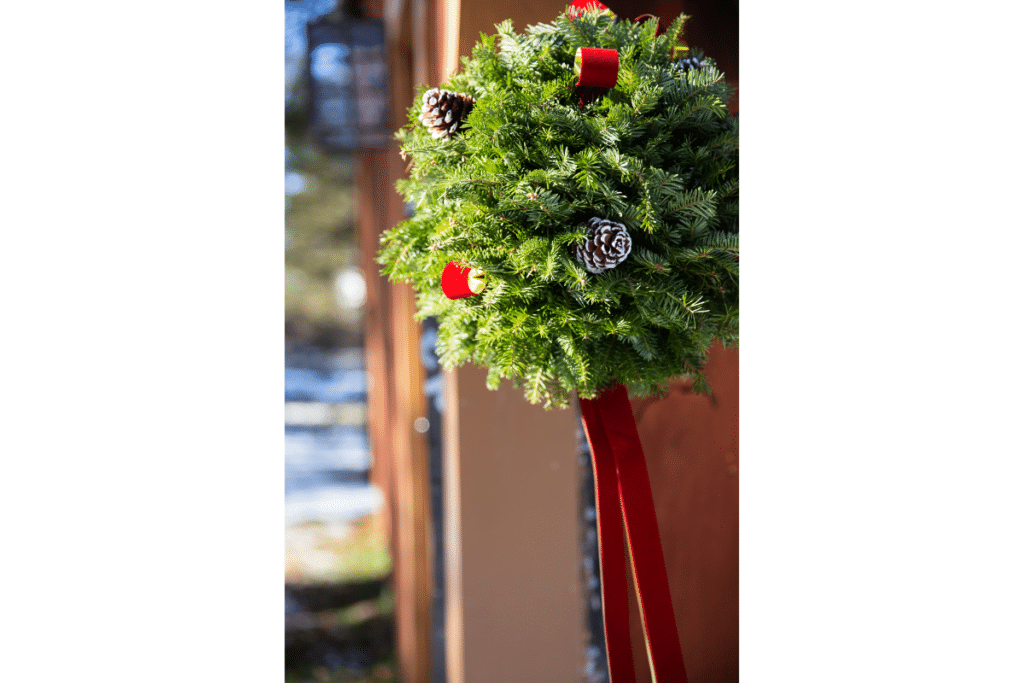
A hanging pumpkin ball is just like that only…you guessed it! With faux pumpkins and succulents!
And the best part? This project uses inexpensive materials easily found online or from your local craft store or dollar store!
Pumpkin Ball Supply List
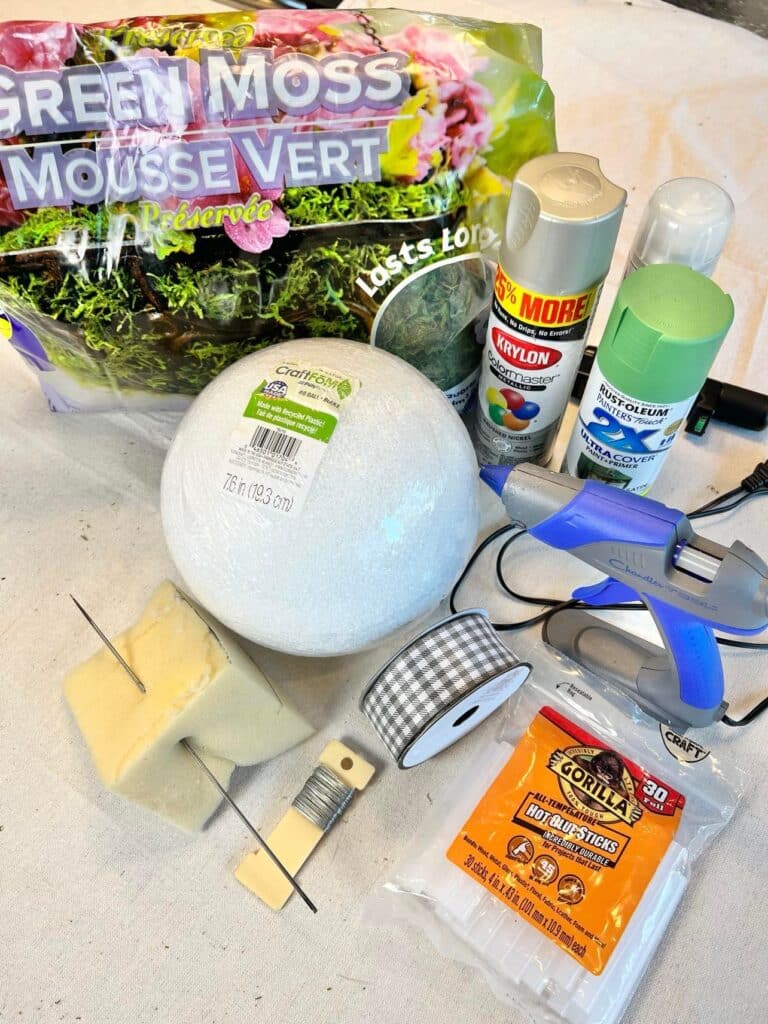
Here’s what you’ll need:
- Small faux pumpkins
- Small faux succulents
- Floral Wire
- Spray paint
- Styrofoam ball
- Glue Gun
- Glue Sticks
- Scissors
- Optional: long straight needle
First, let’s prep the pumpkins!
Plastic pumpkin stem always look…well, like plastic!
So, I removed the stems by just pulling them from the pumpkins. Then, I spray painted them with a subtle silver nickel spray paint.
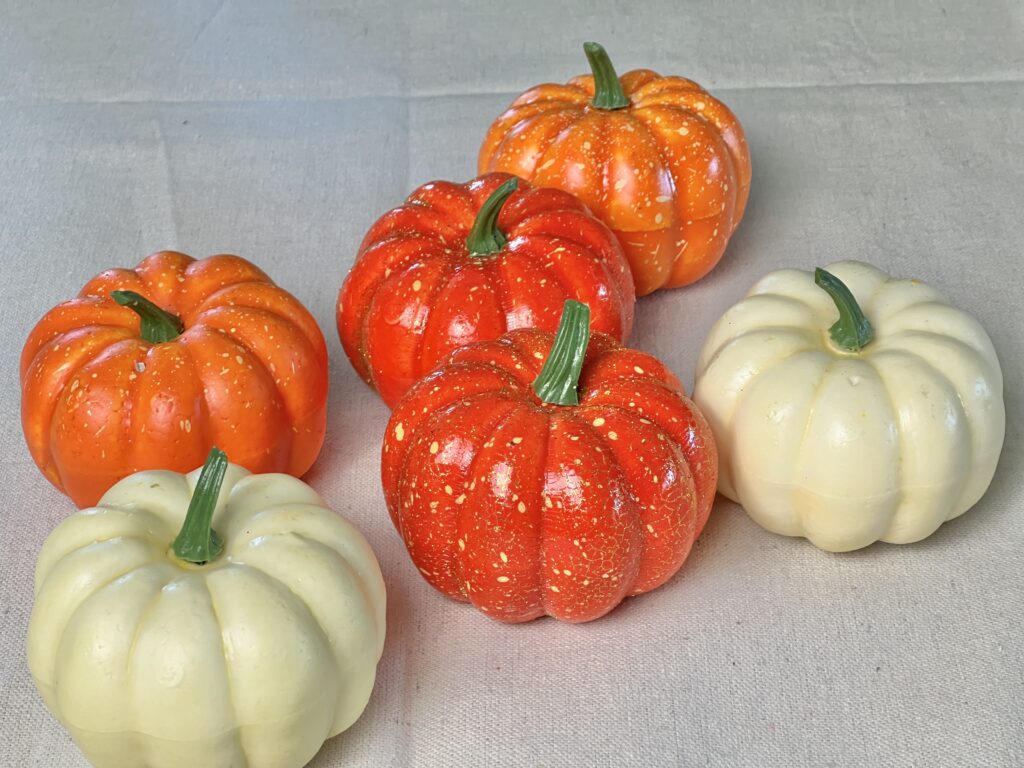
If you are happy with the color of the pumpkins, you can just leave them as is. However, I was thinking of something other than bright orange. How about a multi-layered sage green color?
To start, I spray-painted all of the pumpkins with Rust-Oleum white spray paint.
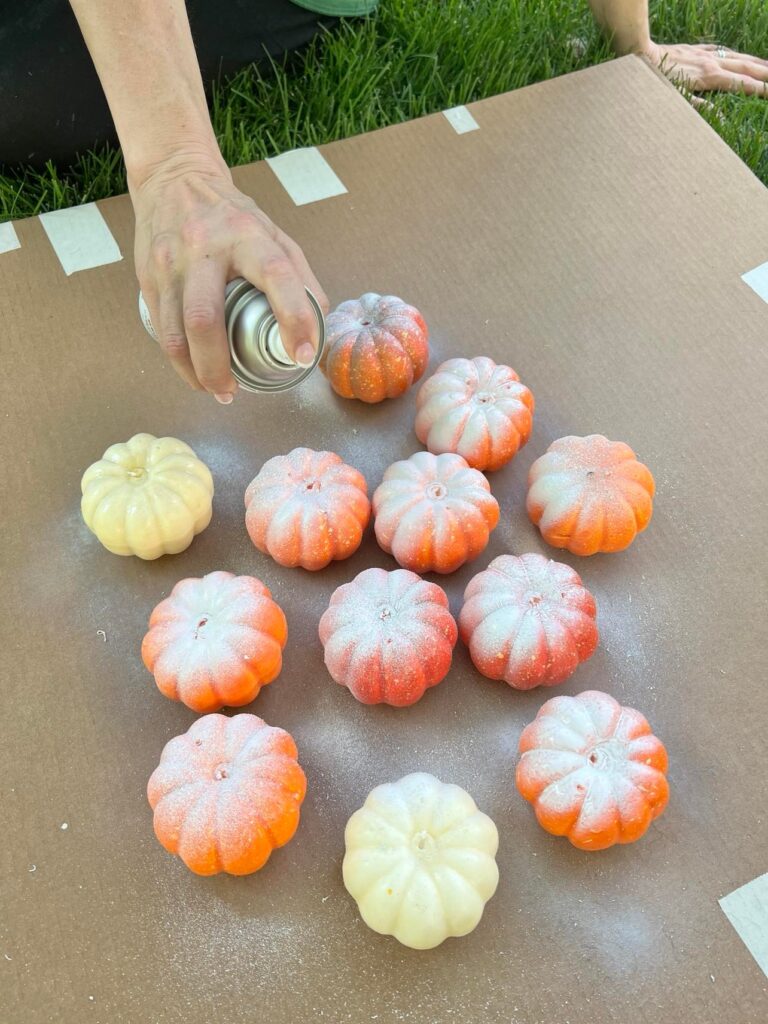
Once they dried completely, I lightly sprayed the pumpkins with Rust-Oleum “Leafy Green” spray paint.
I layered the pumpkins with light dustings of green paint until I got the shade that I wanted. They ended up a lovely shade of sage green and I love it!
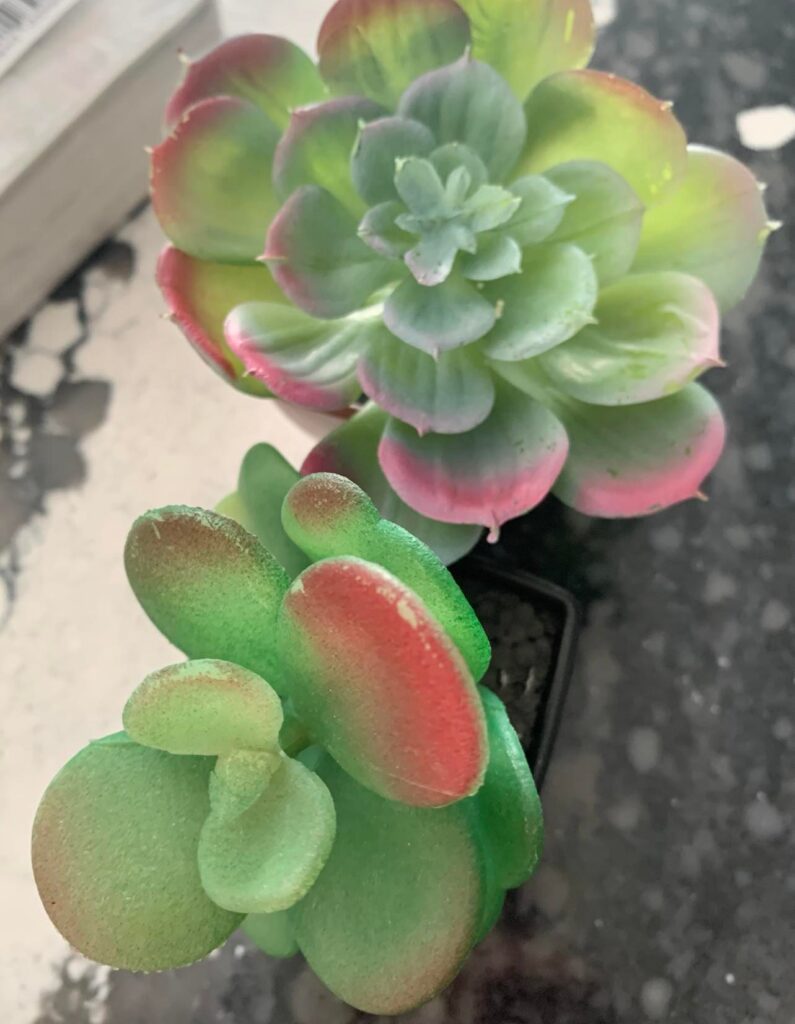
They pair so beautifully with the faux succulents!
A Little Engineering…
Next, you will want to create a loop to hang the finished ball. It is important to do this before you start attaching the pumpkins.
Pierce the ball with a long needle ( I used an upholstery needle because my styrofoam ball is pretty big!). Cut some floral wire into a length that is about twice as long as the styrofoam ball.
Push the folded end of the wire through the ball and pull it out on the other side. Twist the wire at the base to create a loop. On the other end of the ball, pull the wire “tails’ up the side of the ball and stick them into the sides of the ball. You have a wire loop and can hang the ball when finished!
Now the Fun Part!
Time to glue the pumpkins and succulents!
(Now is a good time to push the silver-painted stems back into the pumpkins now that they don’t look so “plastic-ey!)
There is no real pattern for gluing the pumpkins. However, it helps if you think of the pumpkins in groups of three with a succulent in the center. This way you have an even distribution of pumpkins and succulents.
To attach each pumpkin to the ball, use a hot glue gun to apply glue to the bottom of each pumpkin. Press onto the styrofoam ball. Hold in place until each pumpkin is set.
Be careful not to burn your fingers!
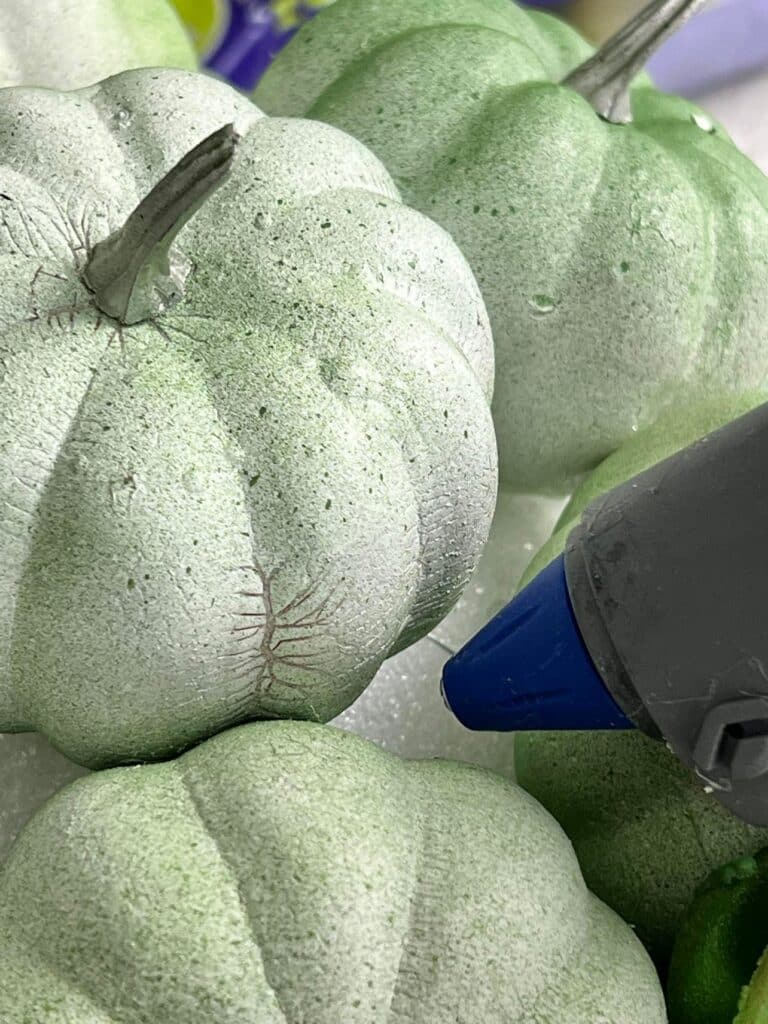
As you glue the pumpkins, you will create spaces for the succulents. The dollar store succulents that I found had a long enough stem so I could just poke them into the ball. Every once in a while, I needed to glue a leaf to keep the succulent anchored.
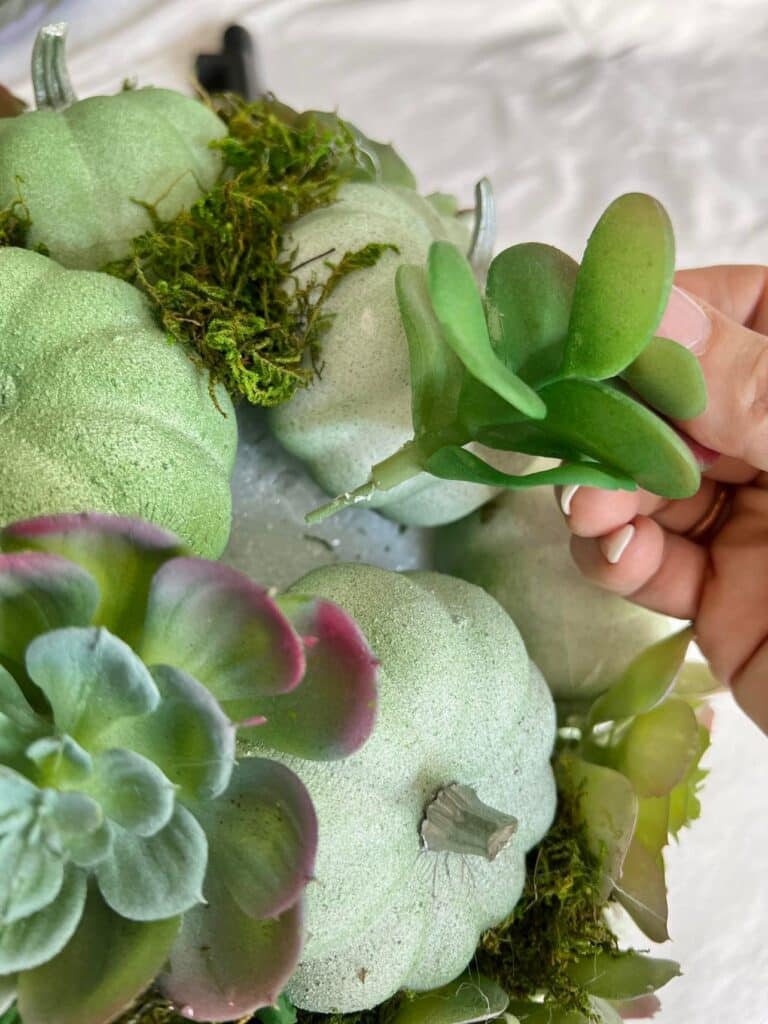
Once the pumpkins and succulents are glued to the ball, you will notice there are still nooks and crannies. Fill these with moss! A little hot glue is all you need to attach the moss and fill the spaces!
I think this is my favorite part of the project because I can really see what the ball is going to look like!
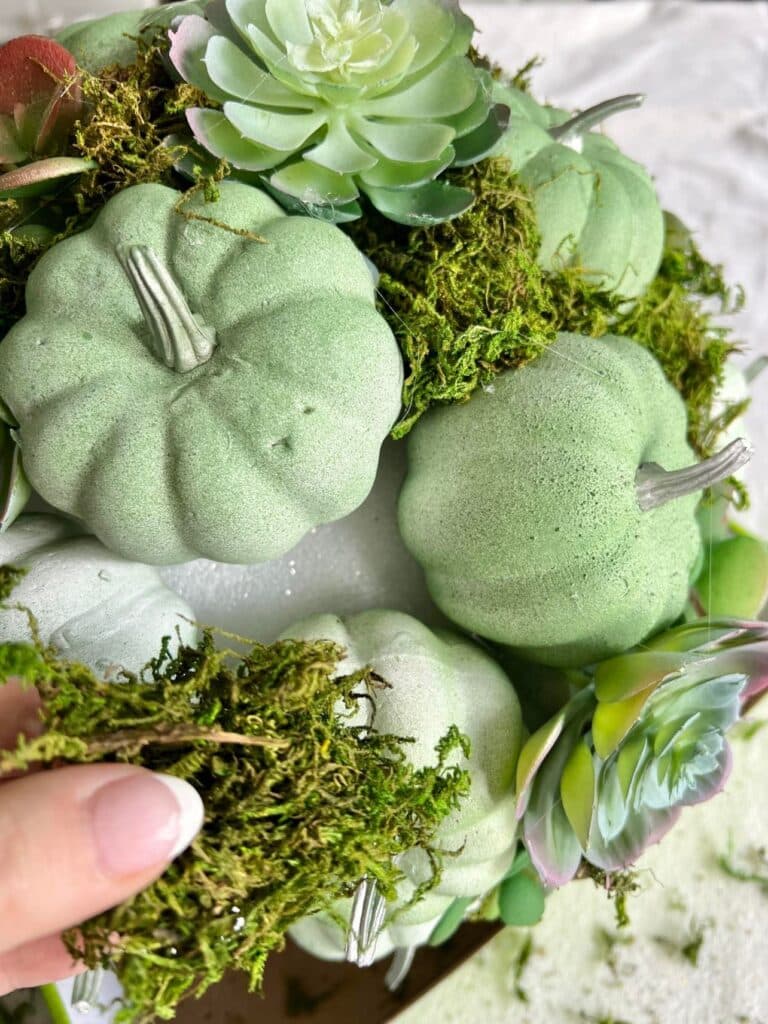
Last, tie a simple ribbon to the wire loop and you now have a beautiful pumpkin ball ready for hanging!
Hang It Up!
I was so excited when I finished the hanging pumpkin ball!
In fact, I paraded it around the house and showed it off to everyone…everyone being my husband, our dog, and our cat.
They all loved it!
Outside I went…
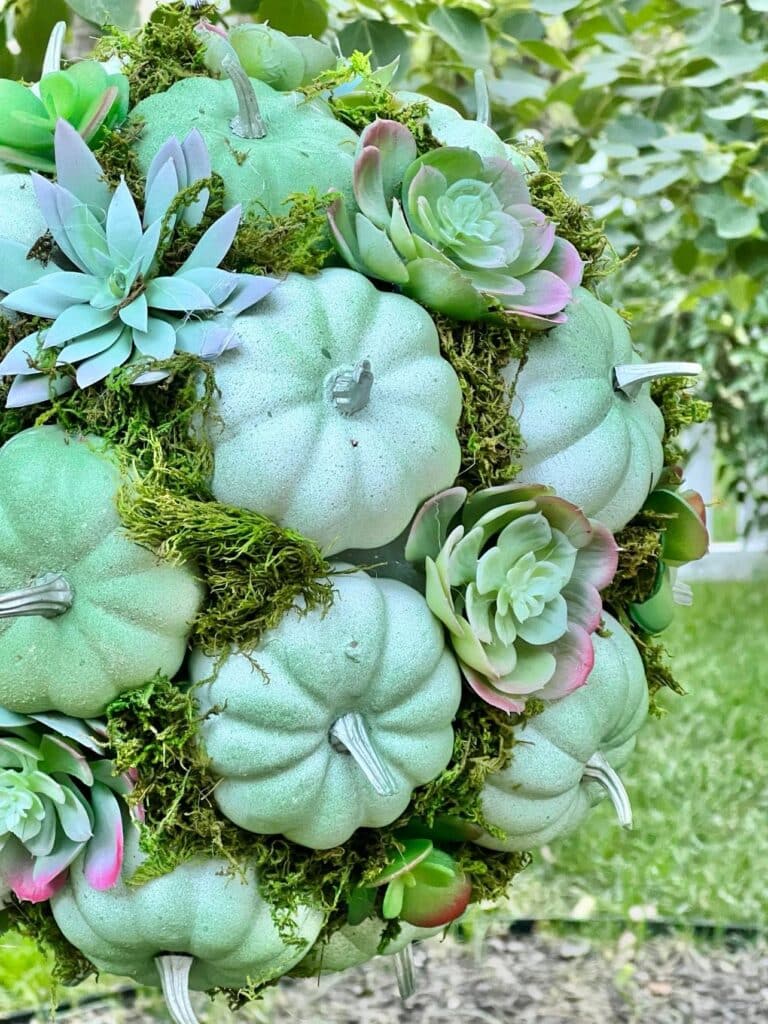
Here it is hanging from a shepherd’s hook in our backyard. I nestled it among our aspen trees and it was a perfect addition!
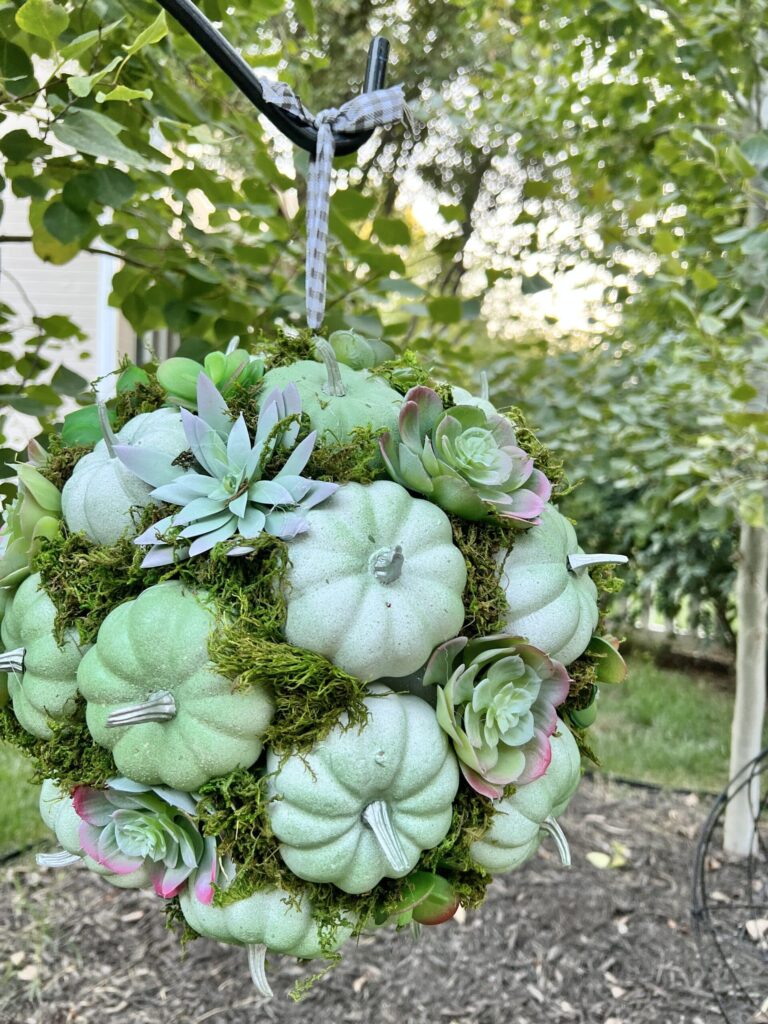
This is so beautiful with late summer outdoor colors and will continue to be so when fall colors continue to change throughout the season.
I love seeing it in the yard!
But…
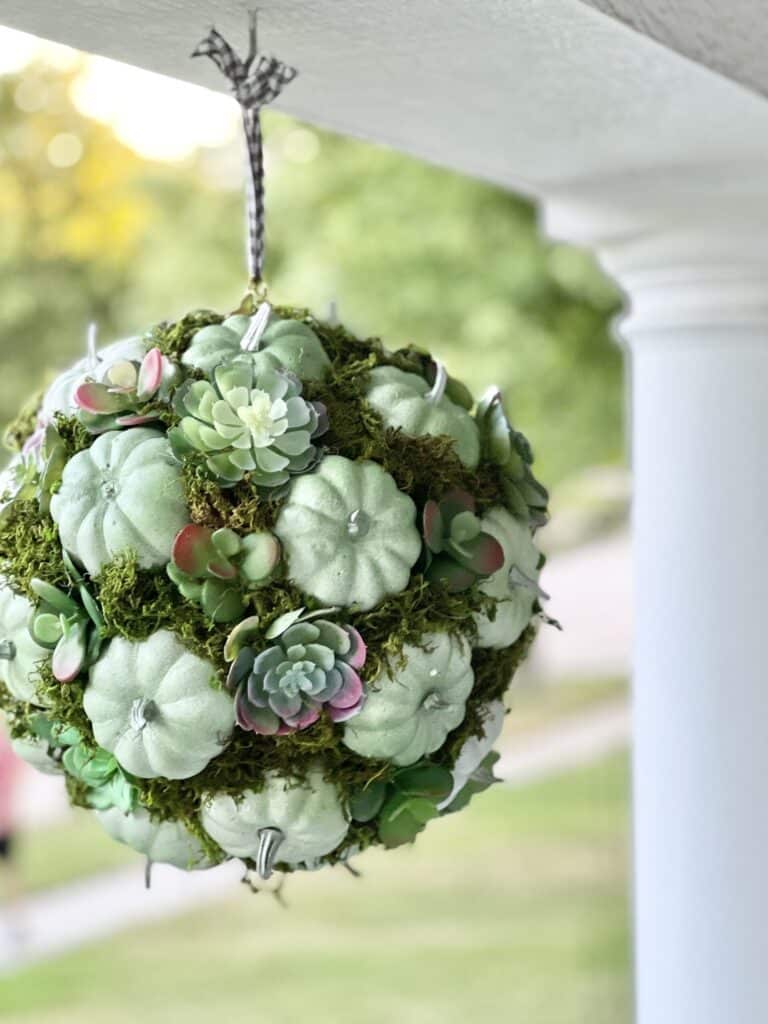
It also looks great on our front porch as well.
I can’t decide!
Where do you think I should hang it?
So, what are you waiting for? Get to your nearest dollar store, get yourself some pumpkins and succulents, and start creating your own hanging pumpkin ball masterpiece.
DIY outdoor fall decor is easier than you think and the results are simply gorgeous.
Happy crafting!
Cheers!

Don’t Forget to Pin It!
Pin the image below to your boards on Pinterest (just click the Pin button in the top left corner). You can also follow along with me on Pinterest!
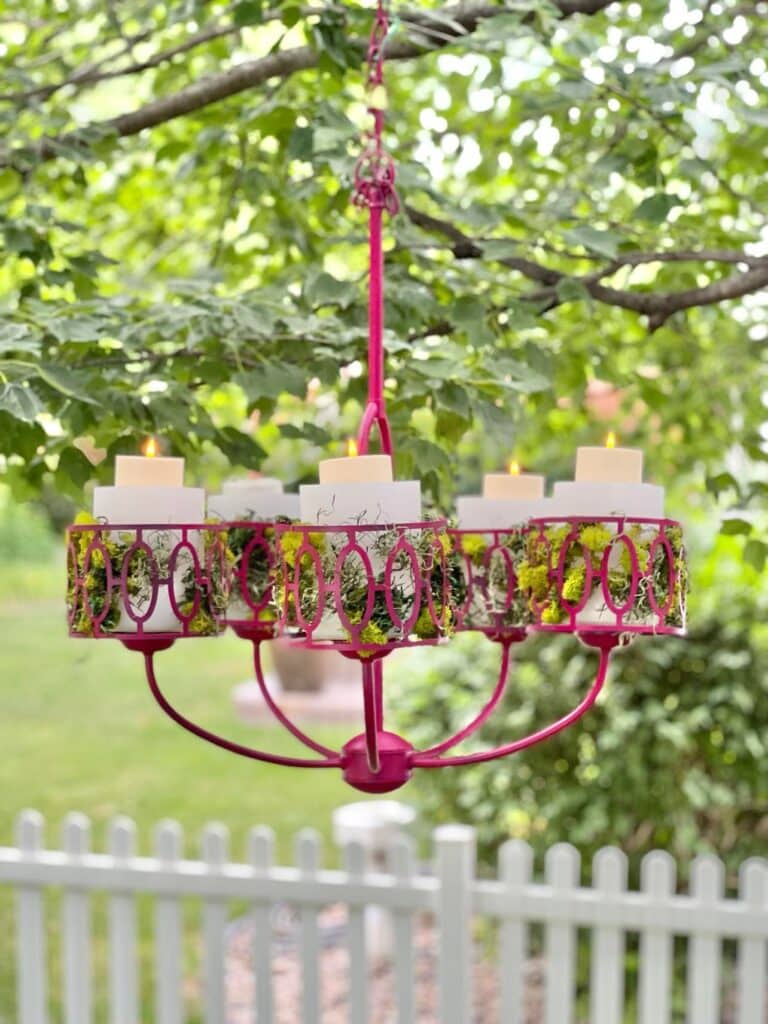
More DIY Outdoor Fall Decor Ideas


I love this project, so fun with the added pumpkins.
Thanks, Wendy! I was really happy with how it turned out. Fun to decorate for fall!
Love this idea! The color you painted the pumpkins is perfect with the succulents! You’re so creative! Happy day, Donna
You are the sweetest, Donna! I tried so hard to create a pumpkin color that enhanced the succulents! Thank you so much! Have an awe4some day!
Missy, i LOVE your project – how creative and eye-catching!
CONGRATS – you are one of my Featured Guests at this week’s Inspire Me Monday party at Create With Joy!
Oh, thank you so much! Such an honor! I love your link party and am thrilled to be featured! Thank you! ~Missy
I’d never even thought about doing a pumpkin ball! This is darling. Pinning. 🙂 Visiting from The Happy Now Blog Link-Up.
I’m so glad you like it, Jennifer! Thank you so much for stopping by!
Such a unique pumpkin craft, Missy. My daughter had ‘half’ kissing balls with carnations as her pew decor at her wedding, so kissing balls are always a fave for me! Love the pumpkin twist! I’m delighted to be featuring your post at Tuesday Turn About this week! Pinned!
Thank you so much, Julie! Honored to be featured! I’ll bet your daughter’s wedding was stunning!
I like this! I have made a kissing ball before but never one for Fall with small pumpkins. It is adorable. This post will be a feature this week. #HomeMattersParty
Wow! Thank you so much, Donna! I am thrilled!
Missy – This is such a creative idea and a great way to use small pumpkins. I love it. Thank you for sharing this with the Home Imagined Link Party.
Thank you, Anna! Thank you for hosting such a great link party!
Such a cute idea Missy! Love your “fall” take on the kissing ball!
Thank you so much, Melanie!