

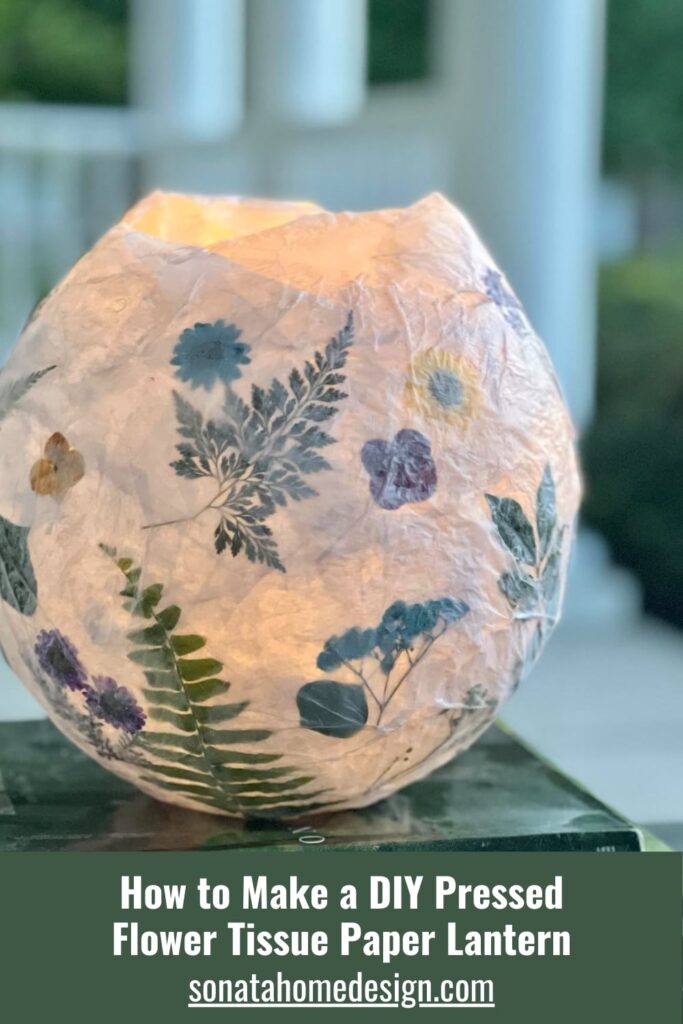
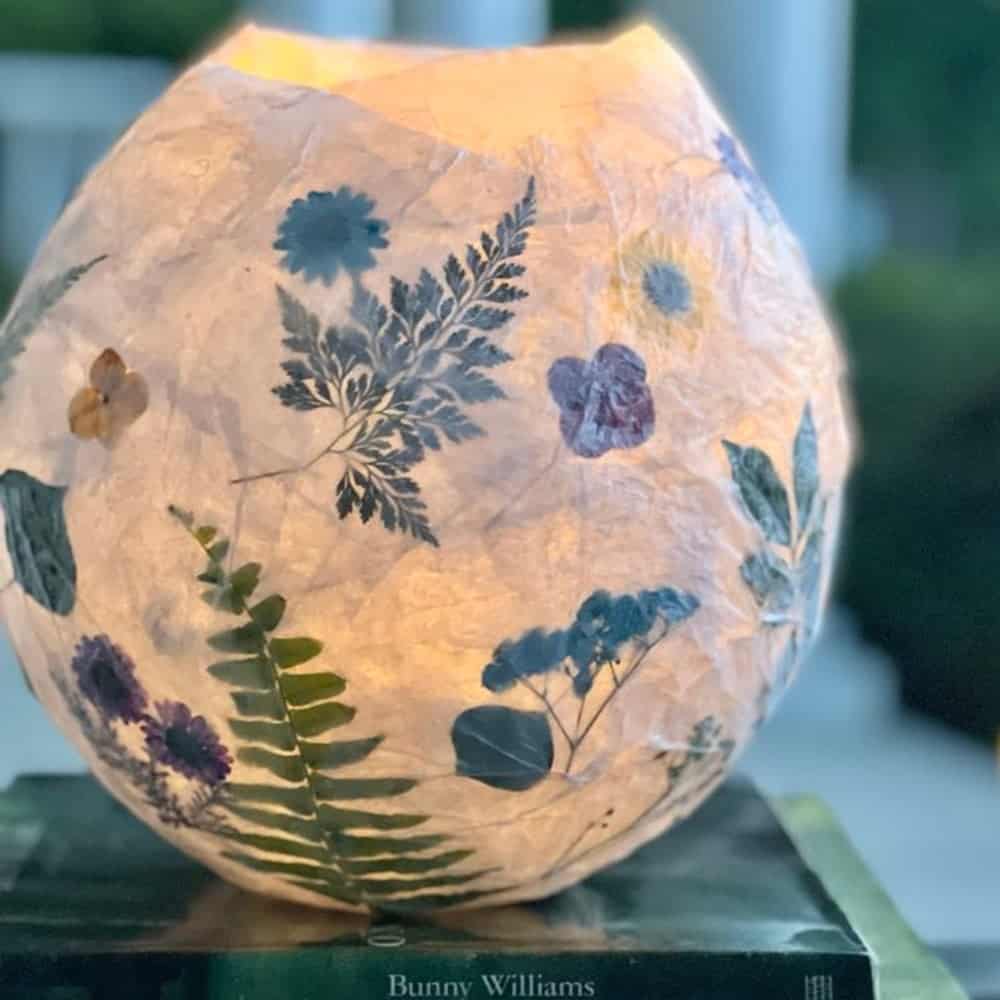
How to Make a DIY Pressed Flower Tissue Paper Lantern
Tissue paper lanterns are a fun and festive way to decorate your home, but have you ever thought about adding a touch of nature’s beauty to them? In this post, we’ll guide you through creating a stunning DIY Tissue Paper Lantern adorned with pressed flowers.
It’s a perfect craft for anyone who wants to personalize their space with a little handmade magic!
This blog contains affiliate links. This means a small commission is earned if you make a purchase by using this link. The price you pay will be the same whether you use the affiliate link or go directly to the vendor’s website using a non-affiliate link. As an Amazon Influencer, I earn from qualifying purchases.
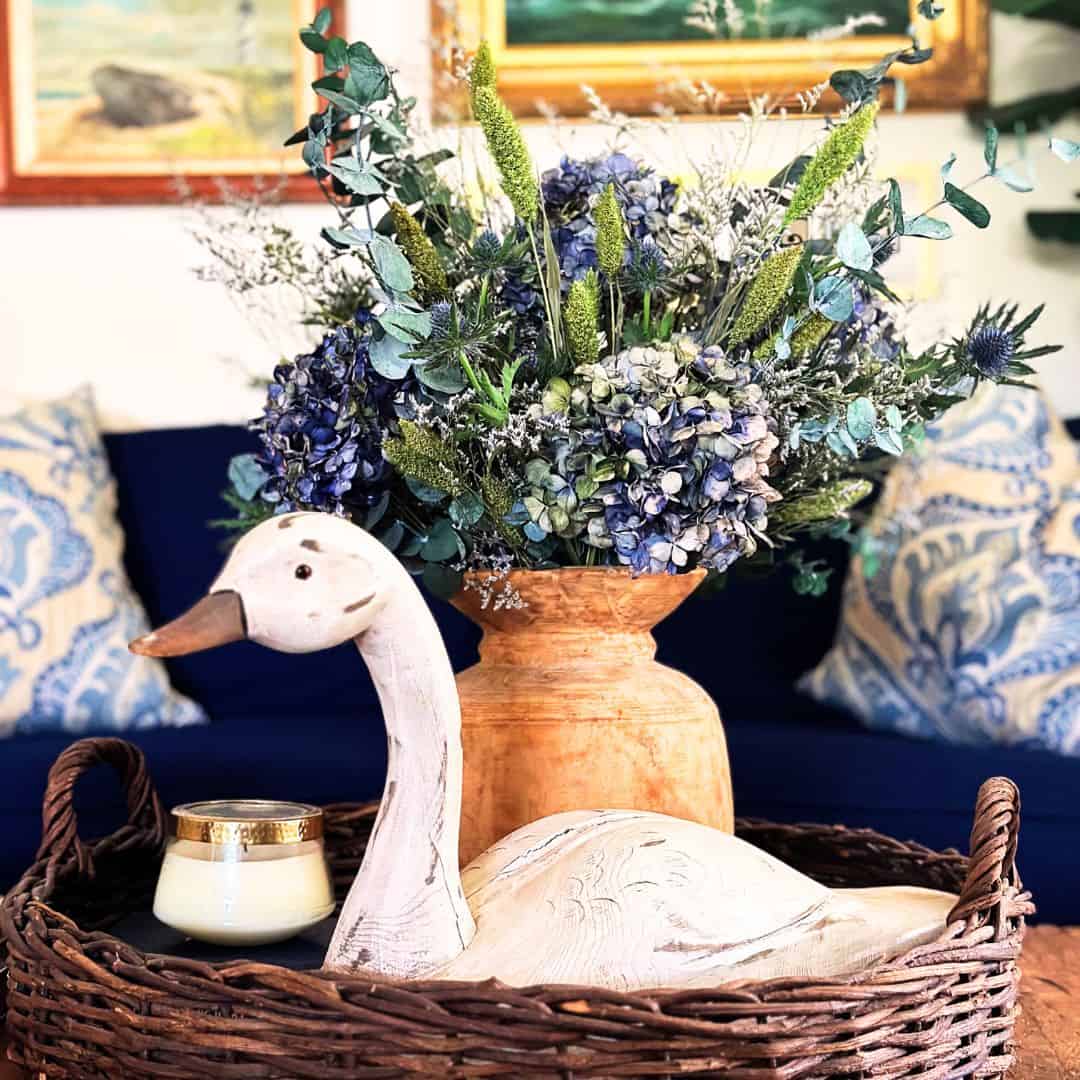
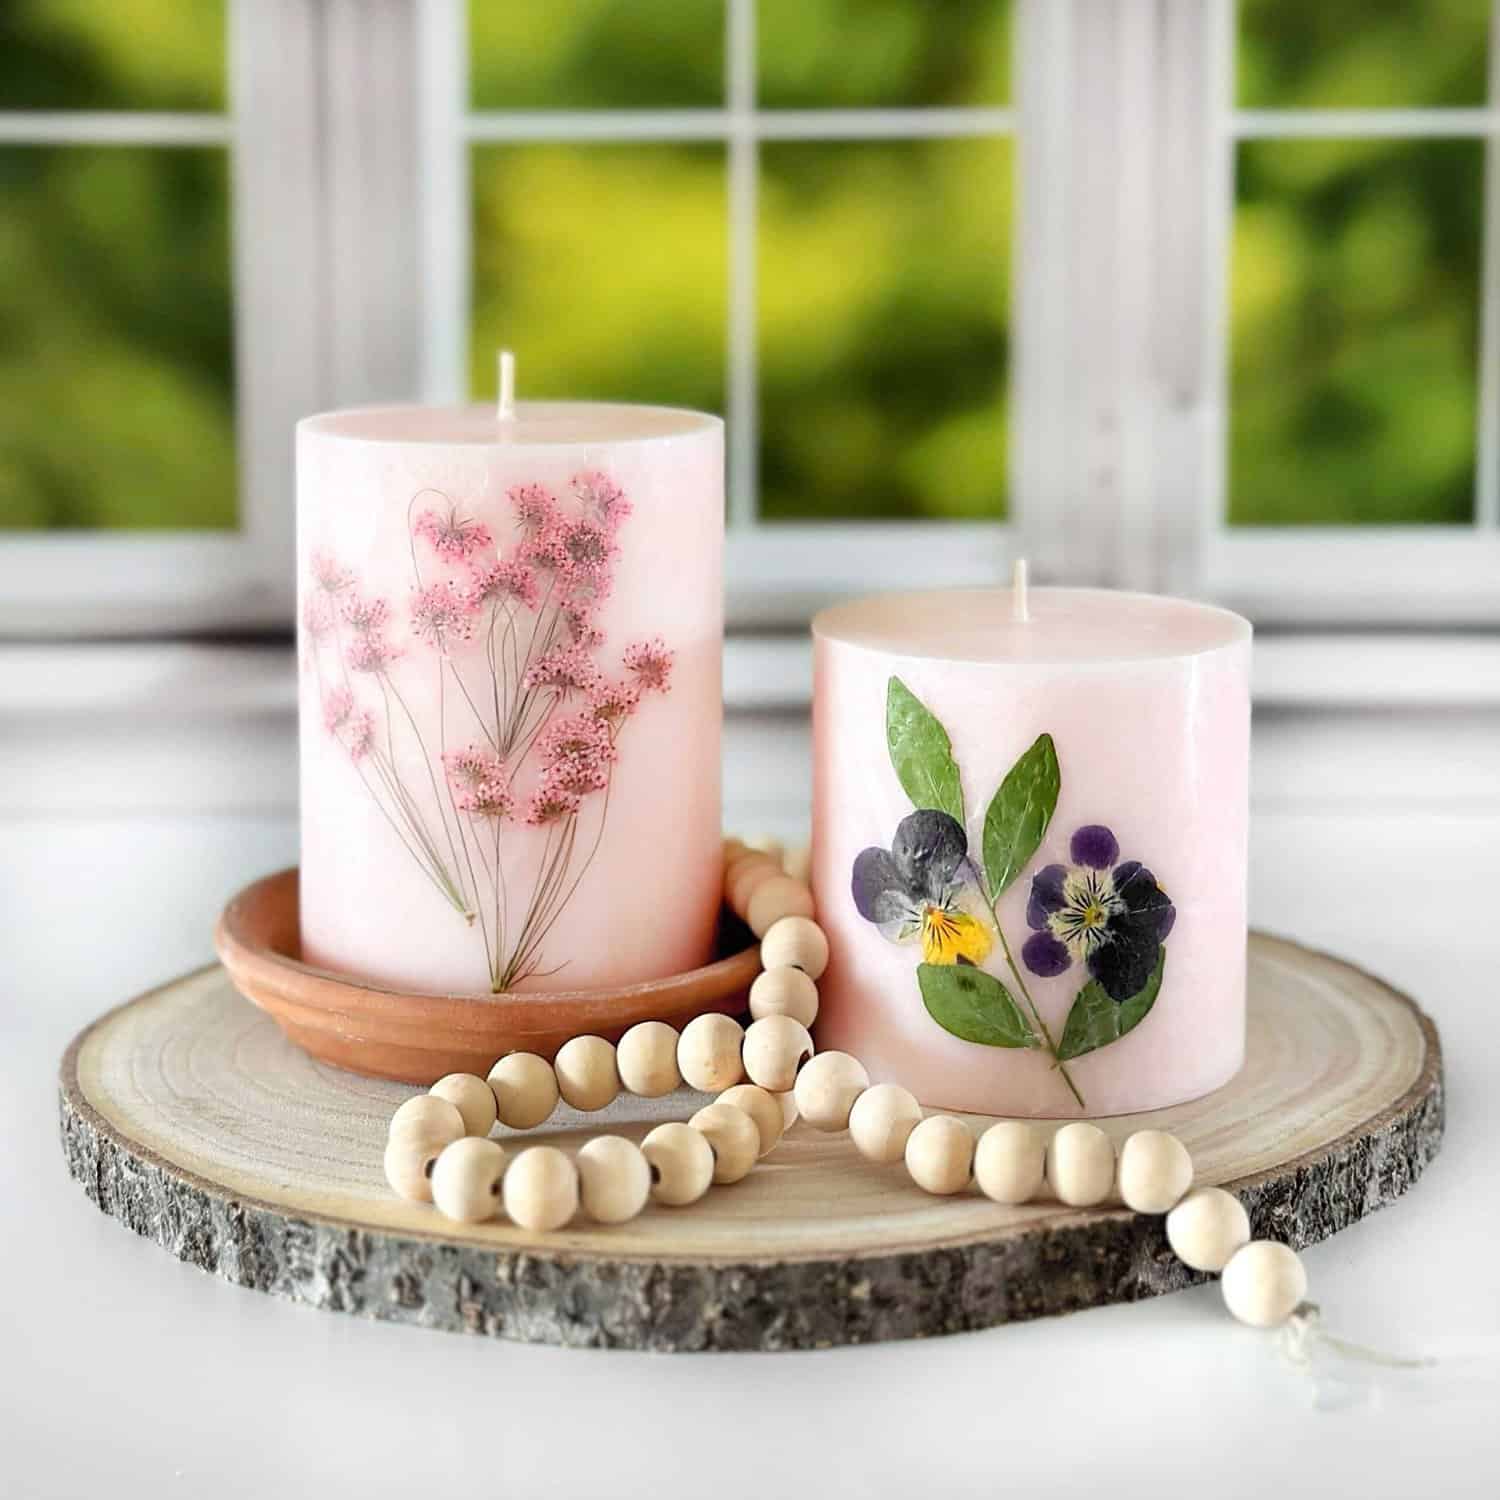
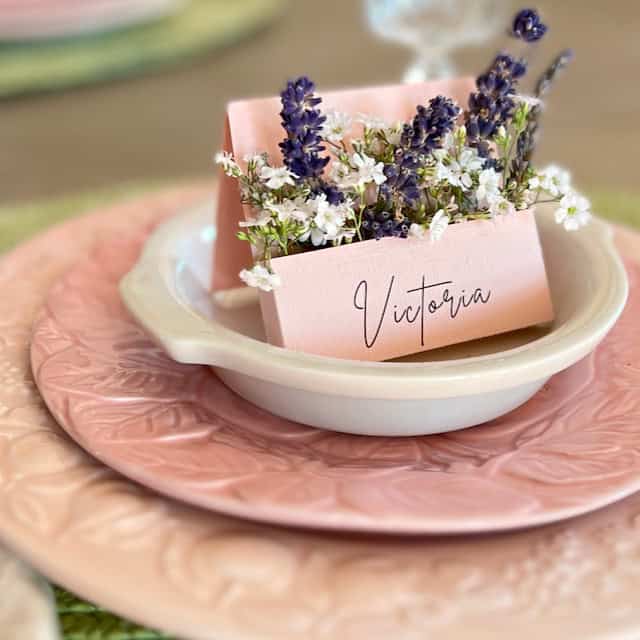
Welcome to this months Handcrafted Society creator projects. The medium this month is pressed flowers and we are all feeling fresh as daisies with what we have come up with. Be sure to see all of the other bloggers’ links and images at the end of this post!
Do you love lanterns?
I am a sucker for any type of lantern!
Inside, outside, hanging, sitting…
Simple, embellished, traditional, or modern…
I simply love using lanterns in my home decor.
So I’m illuminating some pretty pressed flowers with a sweet summertime lantern!
Light Up Your Summer Nights with DIY Tissue Paper Lanterns
Sunshine, warm nights, and backyard entertaining – sounds like the perfect recipe for summer fun!
How about adding a touch of whimsical beauty to your outdoor space? Tissue paper lanterns are a great addition to any indoor or outdoor room!
These DIY lanterns are light on your wallet and heavy on charm.
They’re easy to whip up in and showcase around your patio or porch for a magical, glowing ambiance.
Picture it: fireflies dancing, lemonade on the porch, and your handcrafted lanterns casting a soft, romantic light – the perfect touch to make your summer gatherings truly unforgettable!
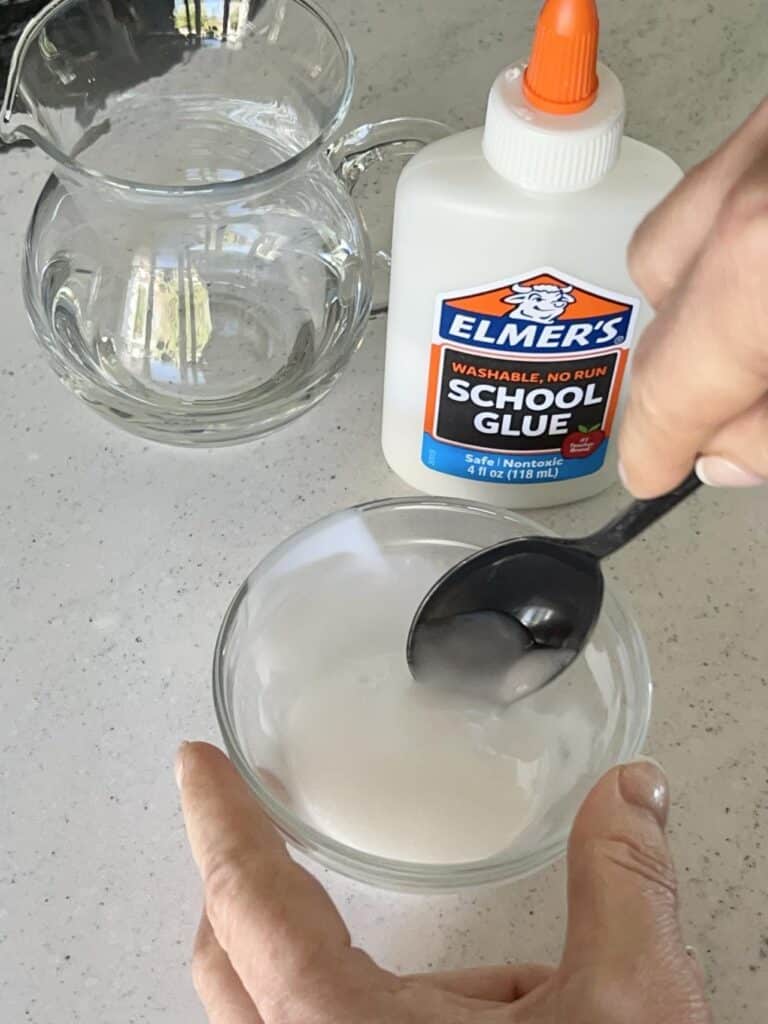
Supply List
One of the great things about this fun project is that it is so inexpensive. Here is what you need:
- Balloon – one for each lantern
- Tissue paper – white or in a color of your choice
- Glue – simple Elmer’s glue or decoupage glue will work
- Foam brush
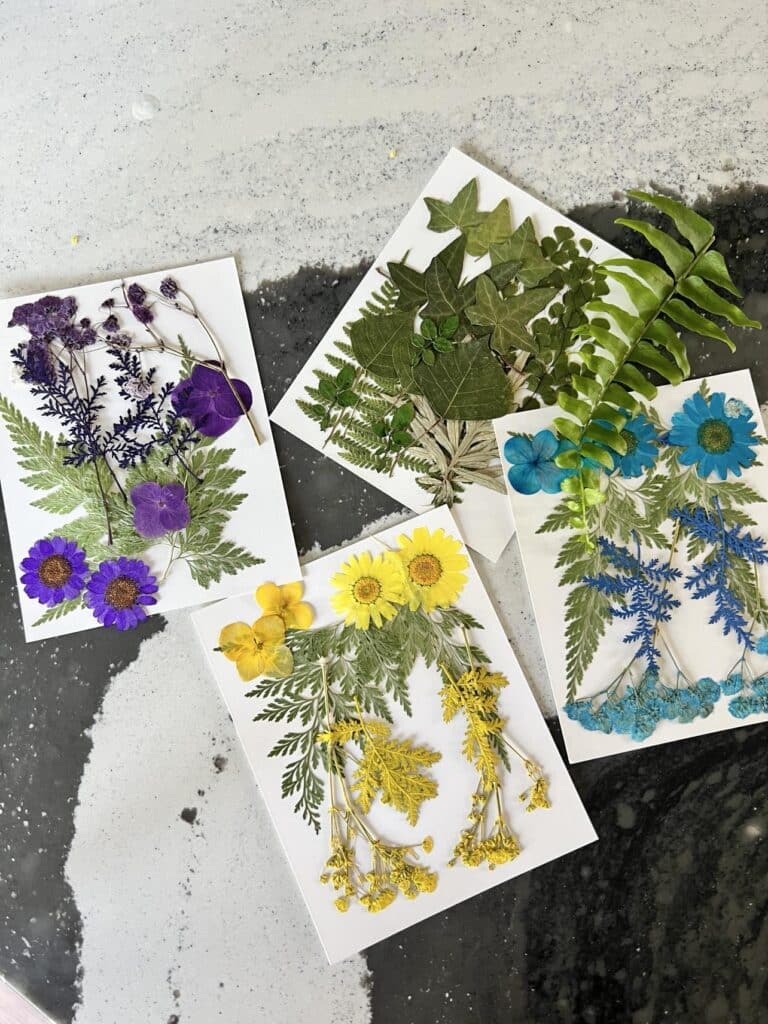
- Pressed flowers or leaves
- Faux tea lights or faux pillar candles
While you can certainly press your own flowers, I took the easy route and ordered mine from Amazon. They come in such pretty colors and include dried greenery stems as well. You can take a look at them HERE.
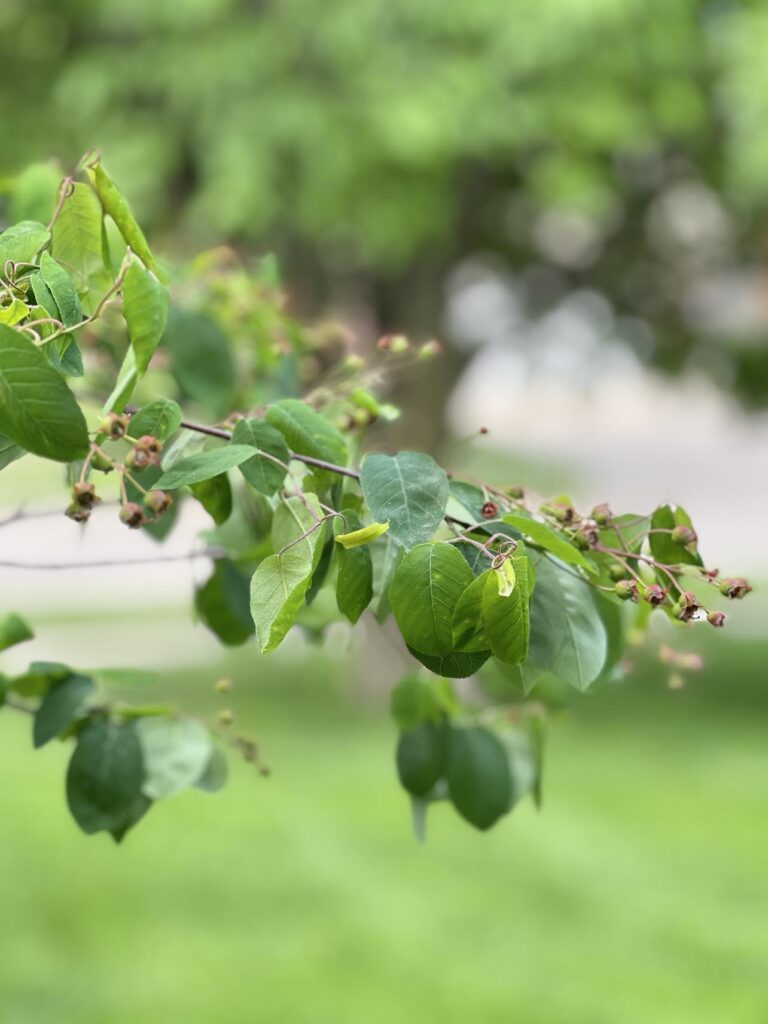
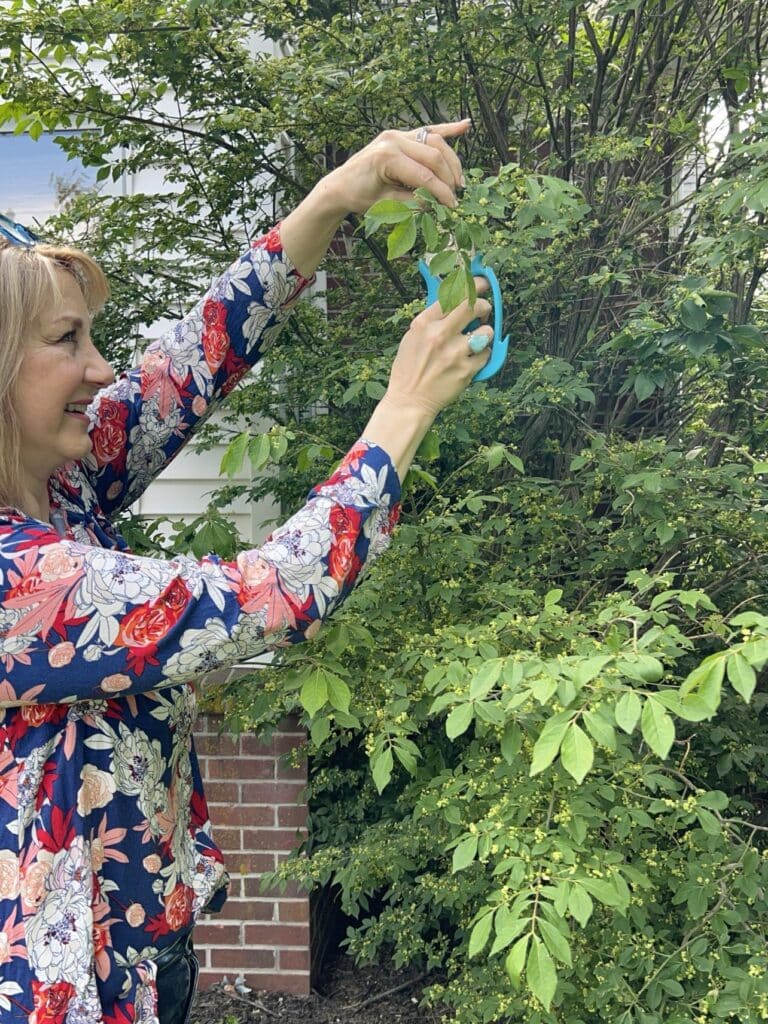
I also decided to add a little of my own backyard. A few snips from some bushes in our yard gave me some extra greenery to play with. I even included some of the berries on some stems.
Prepping the Project
Alright, before we unleash our inner lantern-making masters, let’s get a few things squared away!
First things first, blow up your balloon! Think about how big you want your finished lantern to be and inflate accordingly.
Here’s a handy tip: prop the balloon upright (tied end down) on a vase or pot. This will keep it nice and steady while you work your magic.
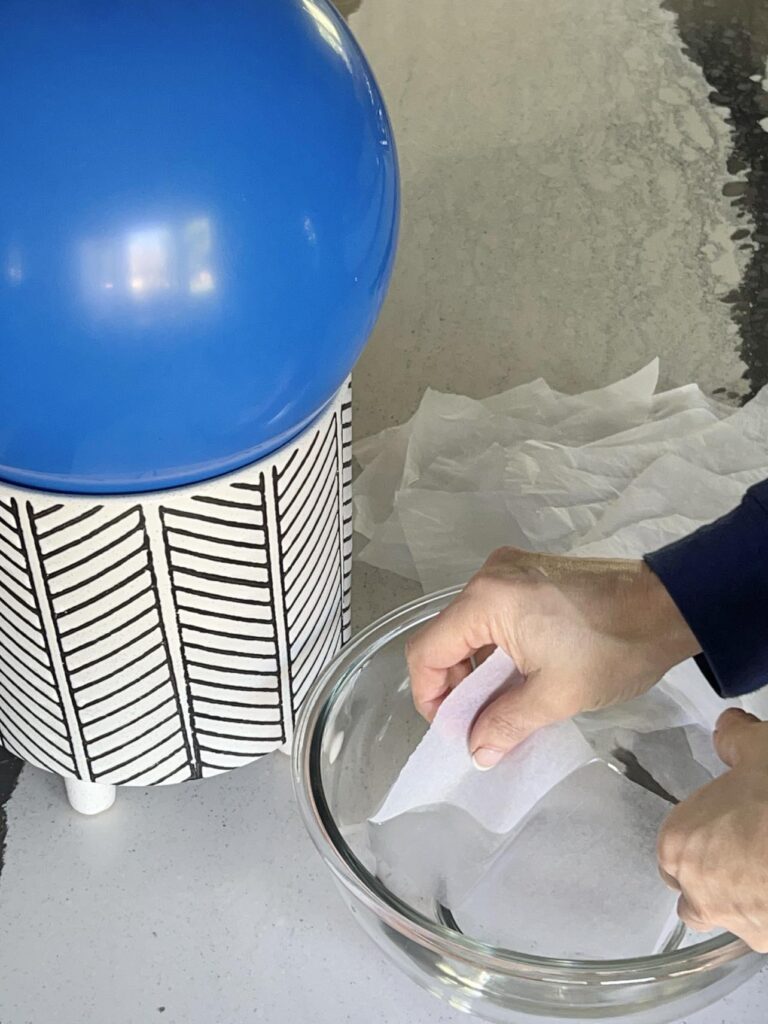
Next, grab your tissue paper and tear it into smaller pieces. Don’t worry about being perfect – irregular shapes are totally okay, in fact, they add a cool, textured look!
We’ll need a little water for this next step. Fill a shallow bowl and get ready to get your hands a little wet.
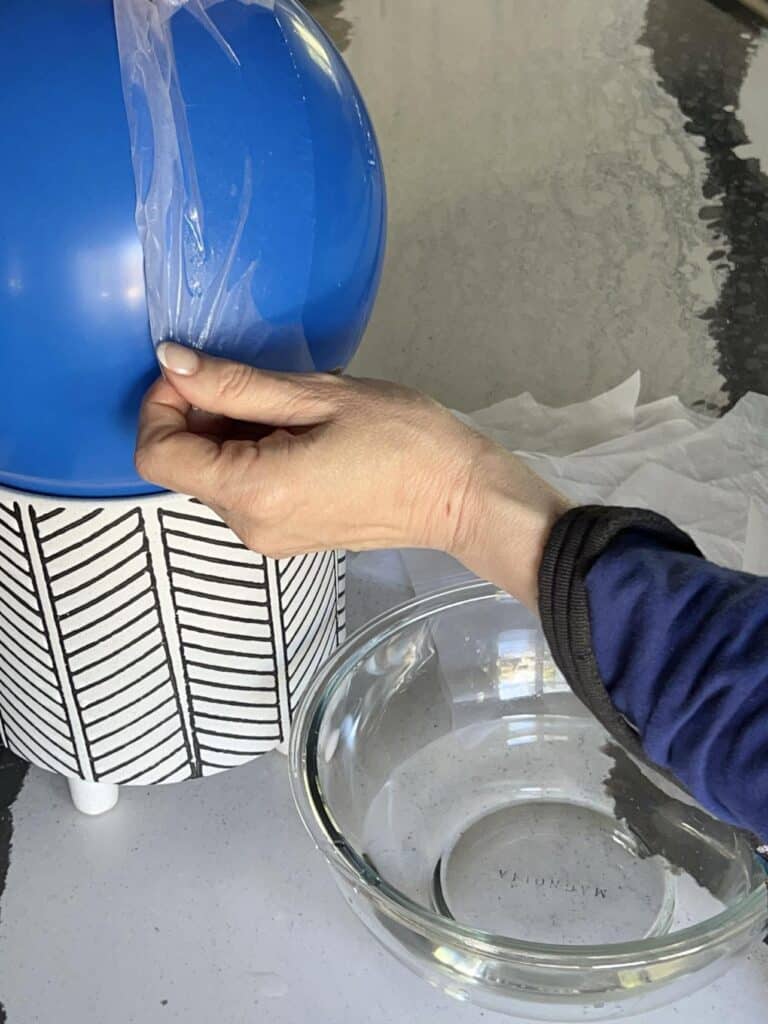
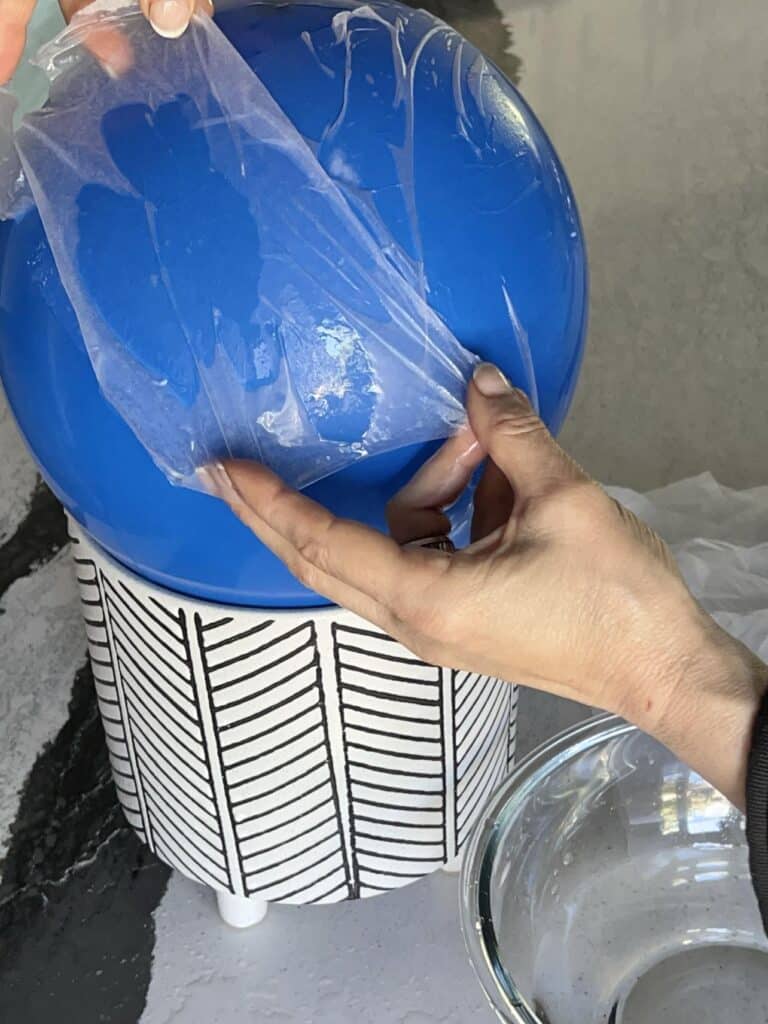
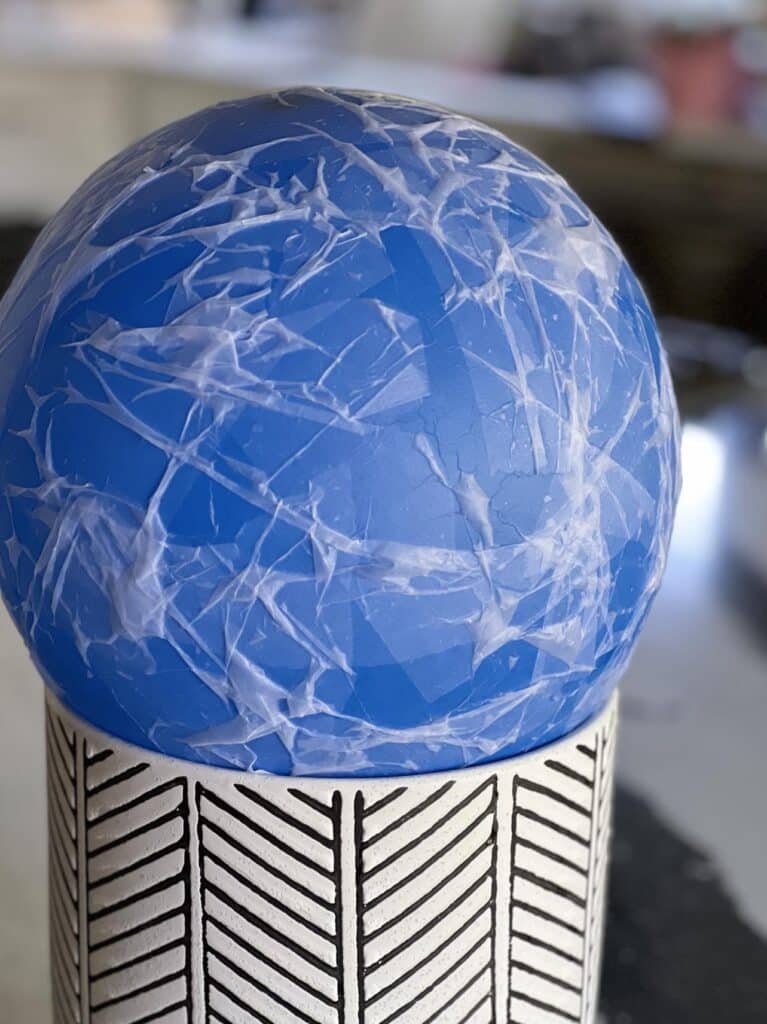
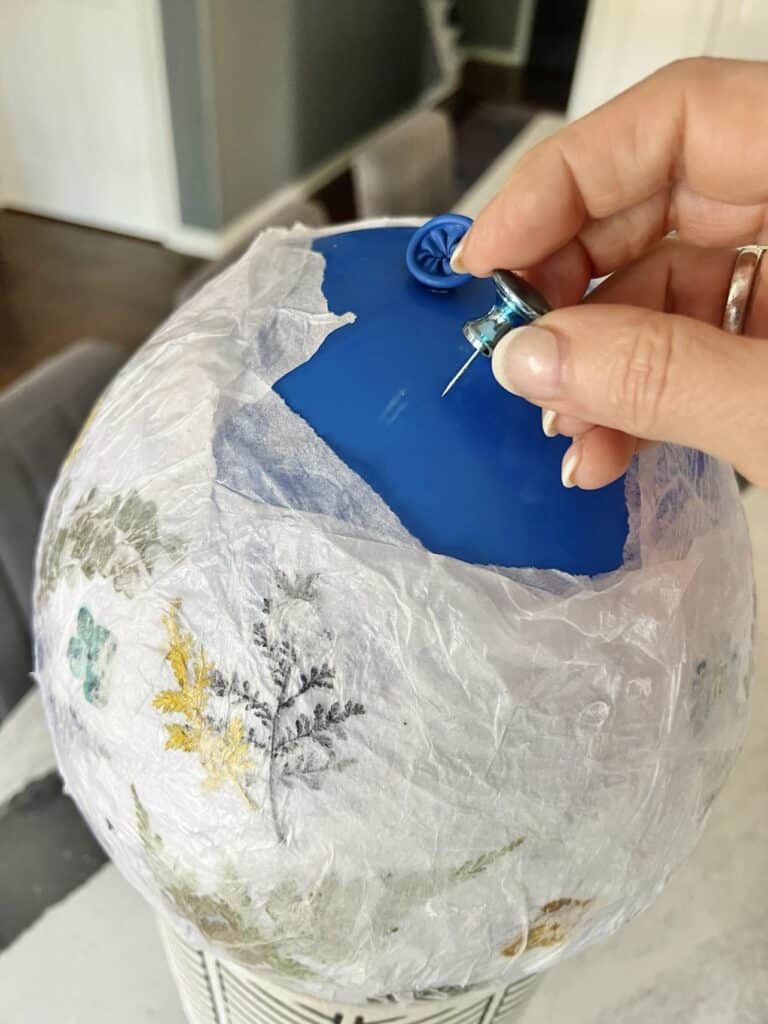
For the first layer, we’re ditching the glue! Simply dip each piece of tissue paper in the water one at a time and gently smooth it onto the balloon. Don’t worry about covering the entire balloon yet – leave the bottom part empty, that’ll be the opening of our lantern.
See? Perfection is overrated! If some of the edges look a little “goopier” than others, that just means you’re creating awesome texture for your lantern!
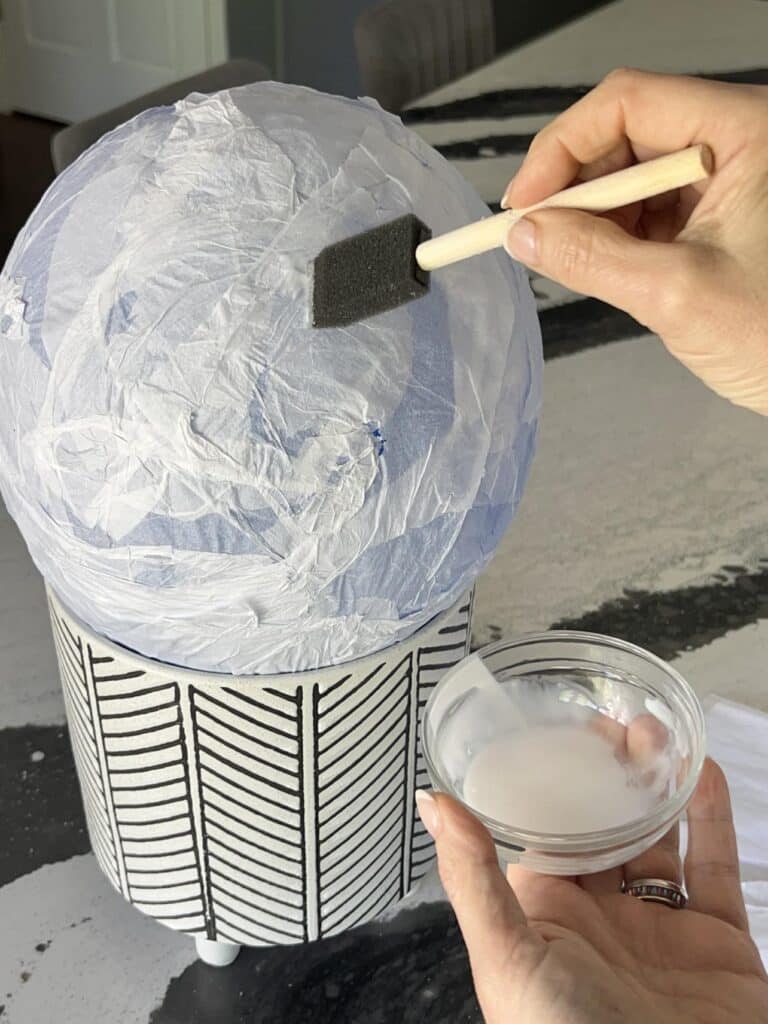
Paper Mache Magic
Ready to get a little messy and relive some childhood paper mache fun?
Grab a small bowl and mix some glue with a splash of water. The consistency is key here – experiment with a few strips of tissue paper until you find what works best for you.
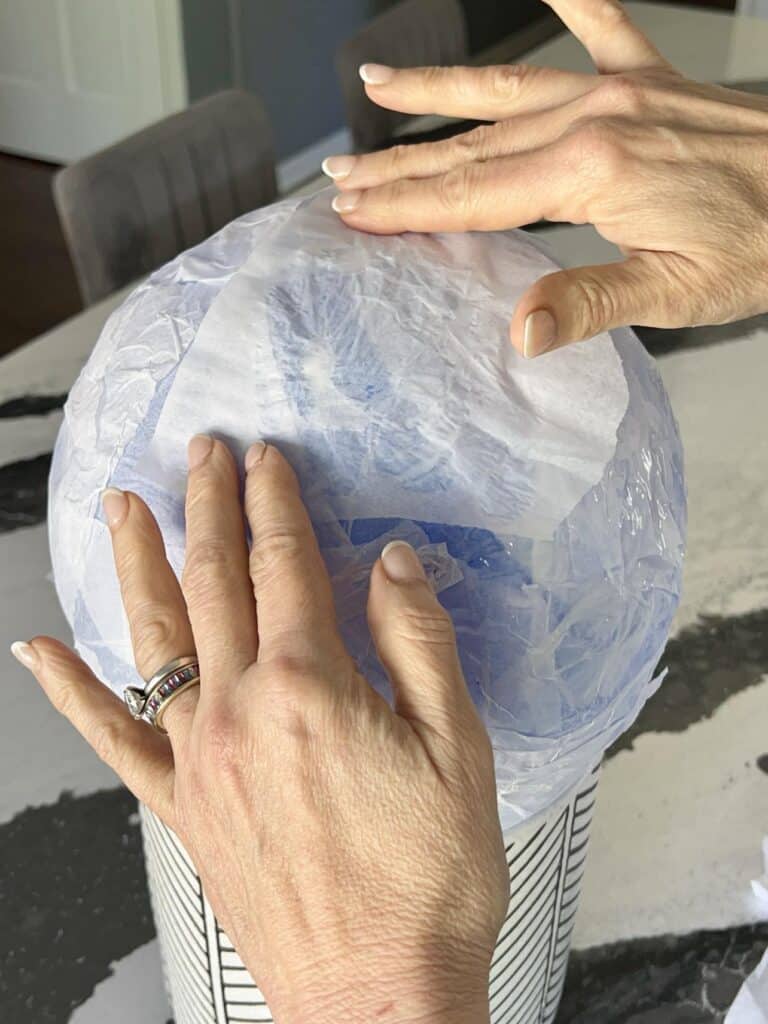
Now for the fun part! Dip your foam brush in the glue mixture and spread it onto the balloon. Take a piece of your torn tissue paper, lay it over the glue, and smooth it out. Don’t stress about perfectly even folds – a little unevenness adds character!
Once you’ve covered the entire first layer of tissue paper with glued, smoothed-out paper pieces, let it dry completely. Patience is a virtue, my friend!

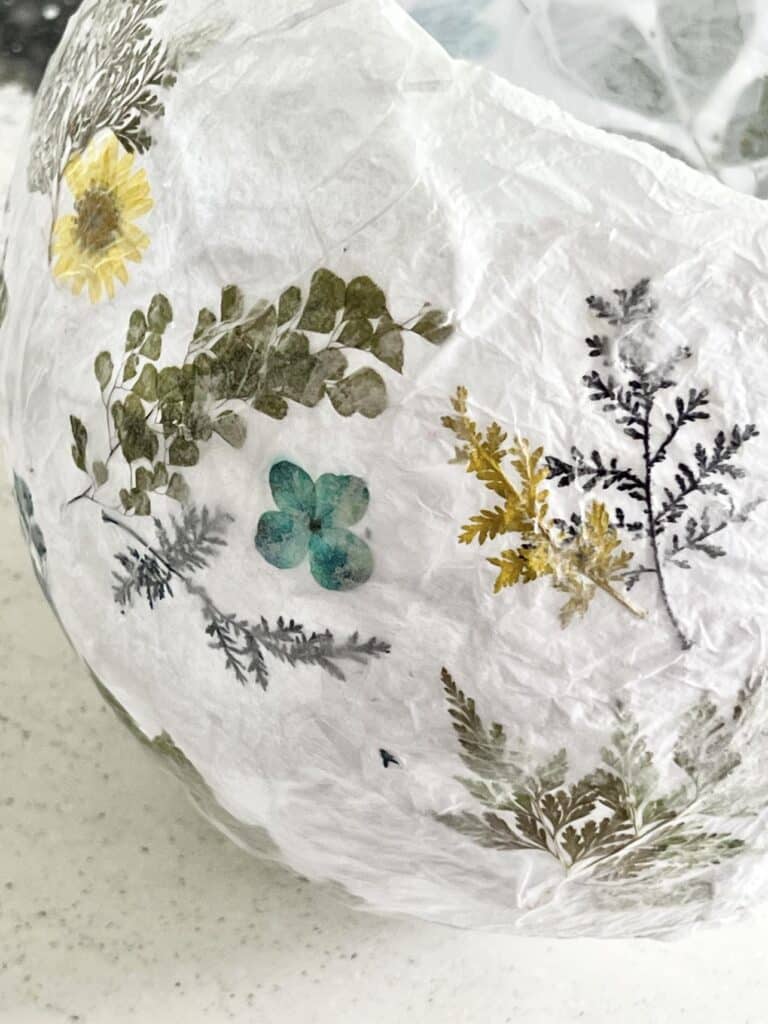
Here’s where the real magic happens – the third layer! Dab some glue onto the top of the dried tissue paper and then a little more on the back of a leaf or one of your pressed flowers.
Carefully press the leaf onto the glued area, then gently dab some glue on the front for good measure. Top it all off with strips of tissue paper, brushing them with glue (don’t forget the edges!).
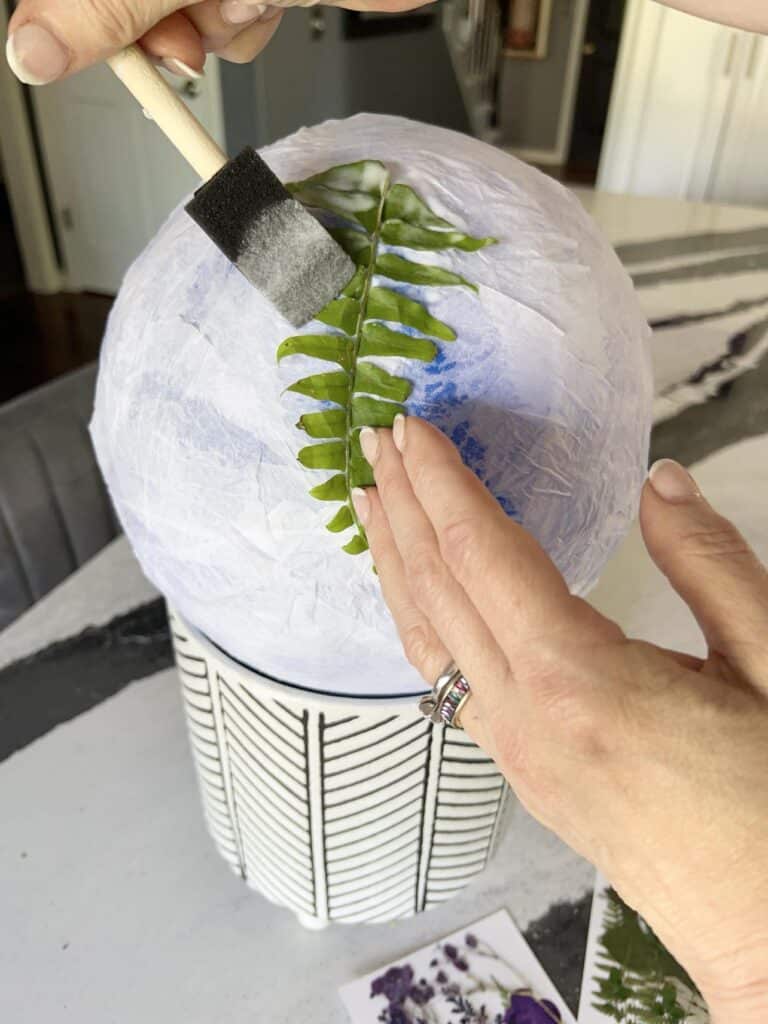
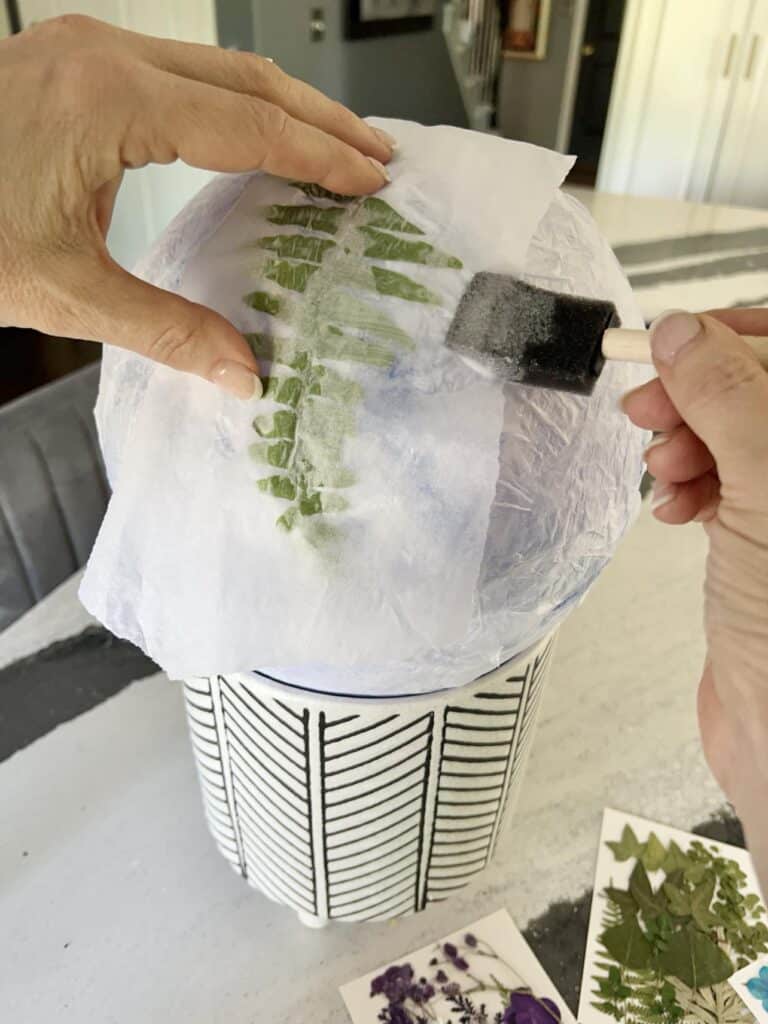
Pro Tip: Tweezers make applying the delicate pressed flowers so much easier!
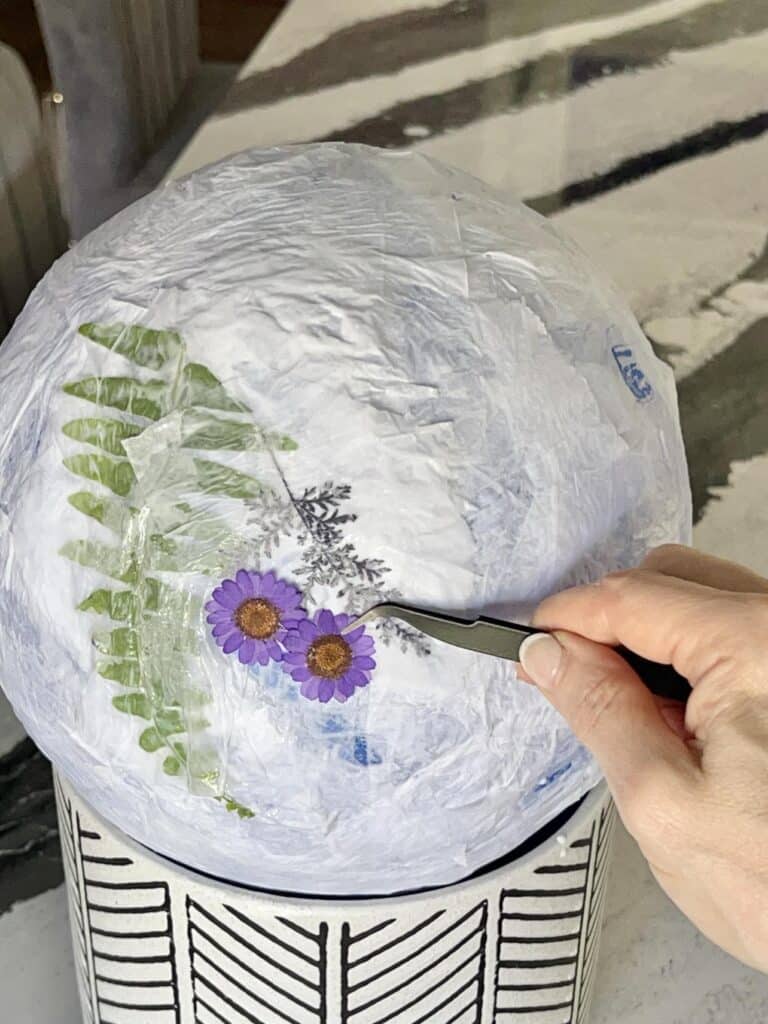
Keep adding leaves and flowers until your creative vision comes to life.
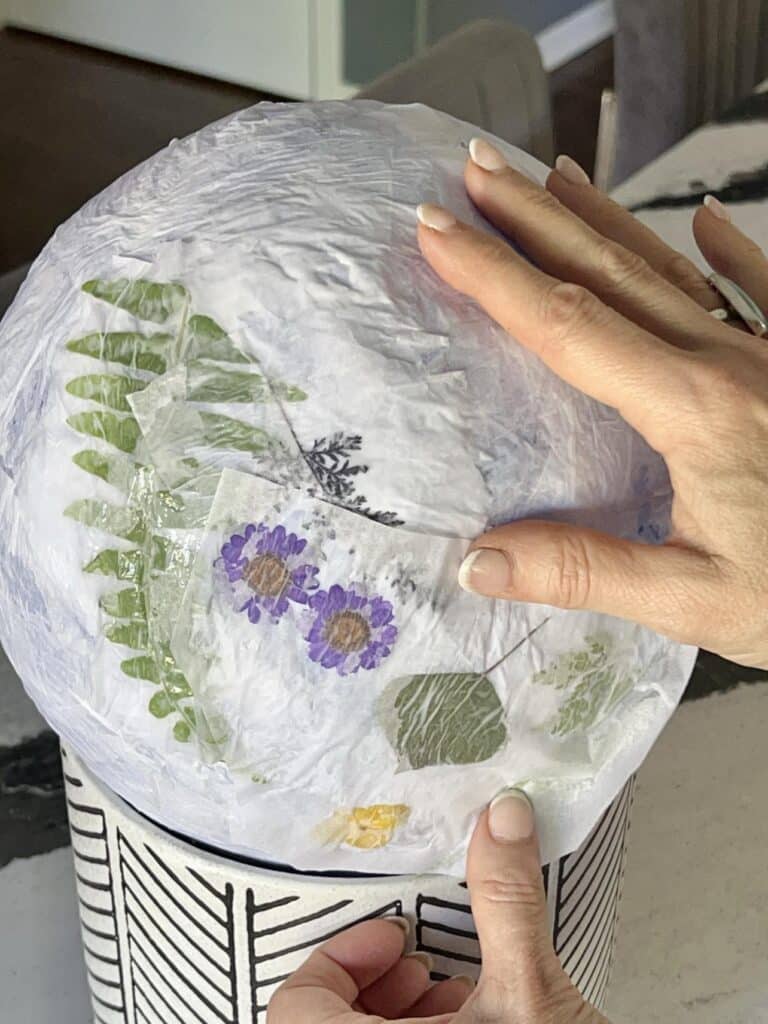
Once you’re happy with the design, let the whole masterpiece dry completely.
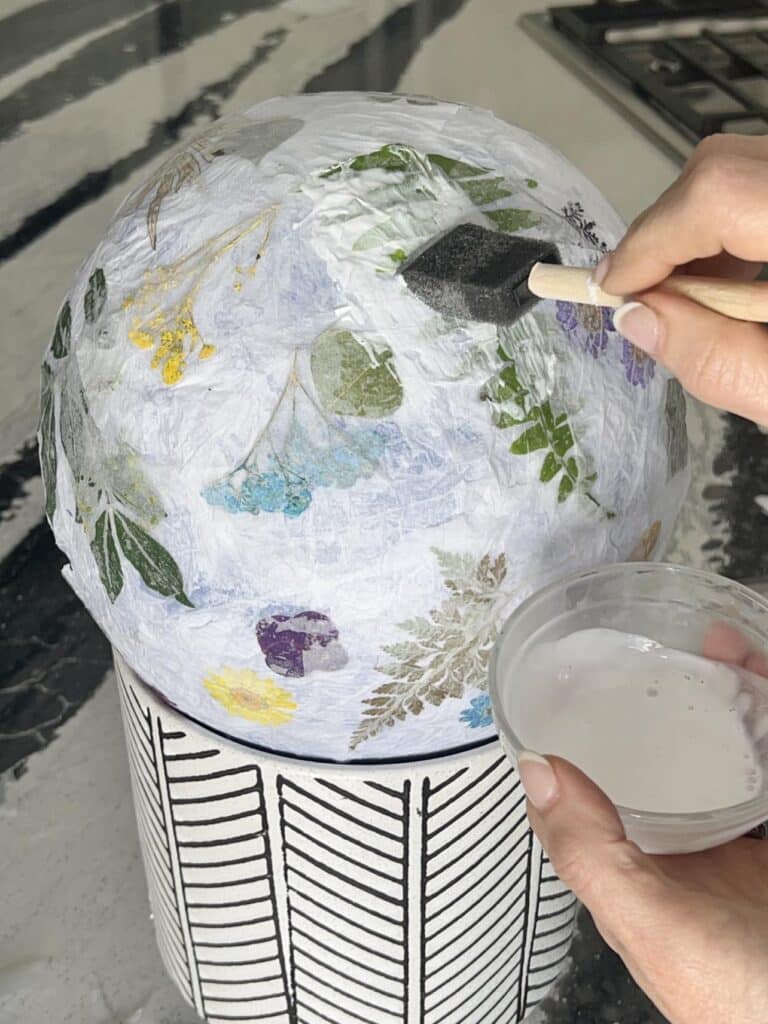
For an extra layer of protection and a touch of shine, you should add a final coat of Mod Podge and some torn tissue paper over the entire lantern.
The best part?
Popping the balloon!
Let There Be Light (Safely)!
Safety first, friends! Skip the real candles – they’re a fire hazard waiting to happen.
Instead, light up your creation with an LED tealight or a faux pillar candle.
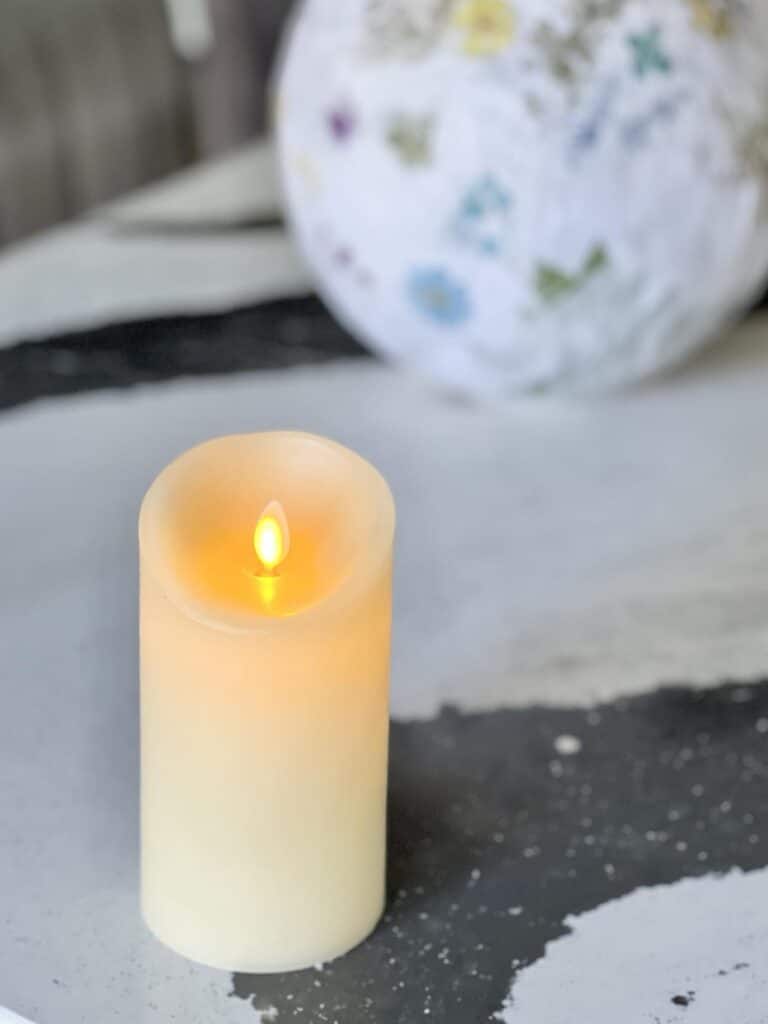
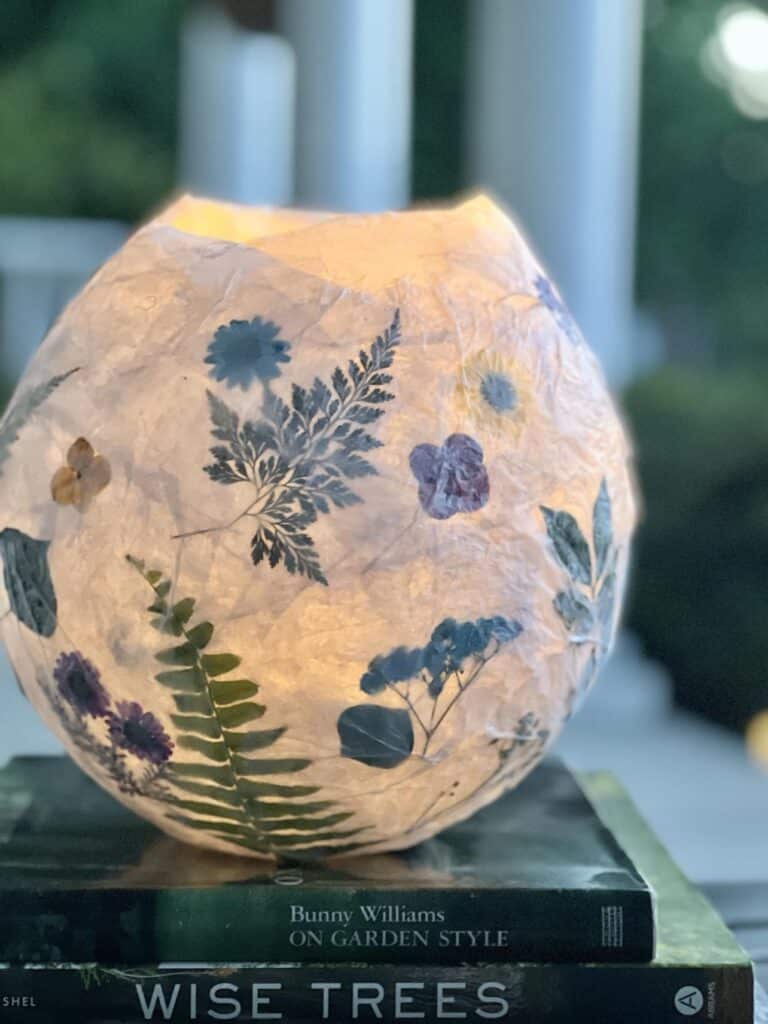
Pop your chosen light source inside and admire the beautiful glow!
Isn’t it amazing how the flowers and leaves peek through the soft, milky tissue paper?
This lantern will be especially stunning at dusk or when the night sky arrives.
Feeling Colorful?
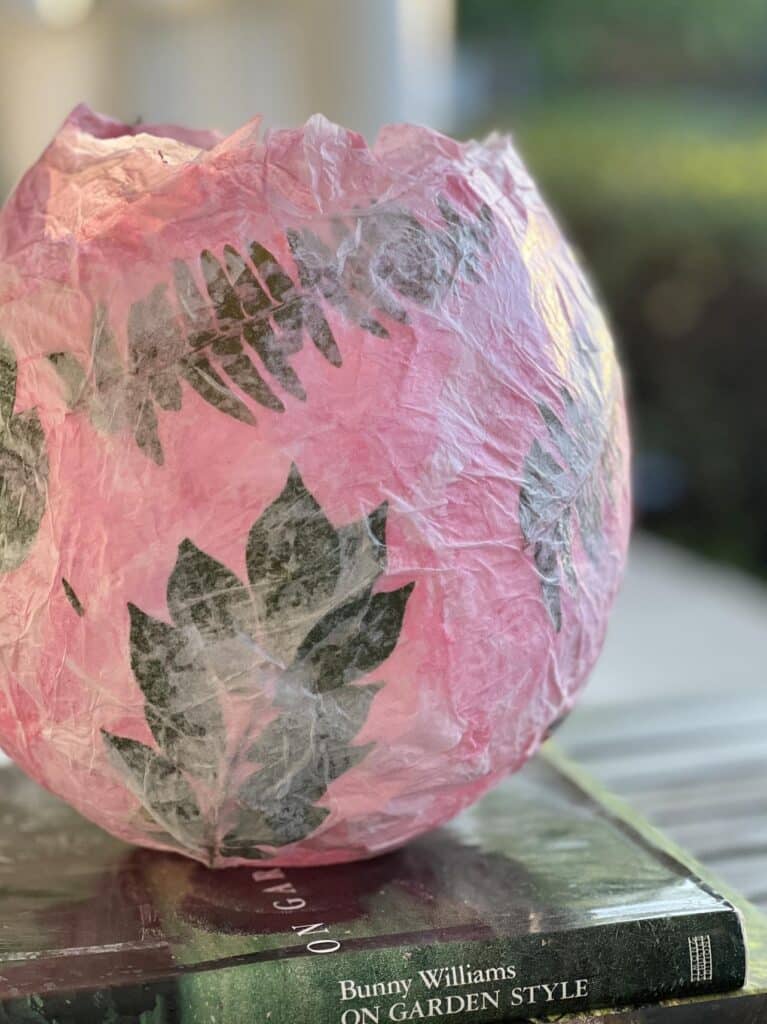
Want to add a pop of color? Here’s how I did it!
I grabbed some pink tissue paper and stuck with greenery from my yard.
I didn’t want the color to overpower the lovely leaves, so I used the colored tissue paper only on top of the greenery itself. The rest of the layers stayed white.
With just a touch of color, the lantern turned out vibrant and beautifully showcases the natural leaf shapes!
Experiment Time!
Curiosity is a wonderful thing! I couldn’t resist trying out another variation on this project.
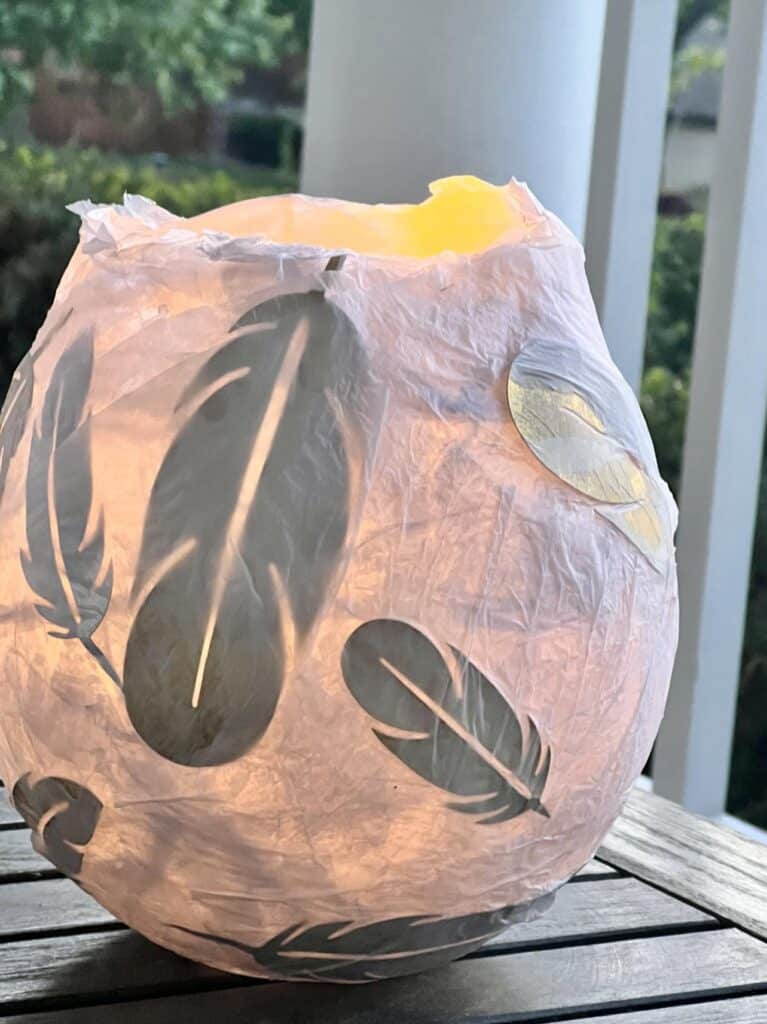
Paper feathers!
I had a pack of silver and gold ones from the dollar store (who can resist a good dollar store find, right?) and thought they’d be a fun addition.
The process is the same – just swap the flowers for feathers!
This third lantern iteration is a great example of how you can add different visual textures to create a whole group of unique lanterns!
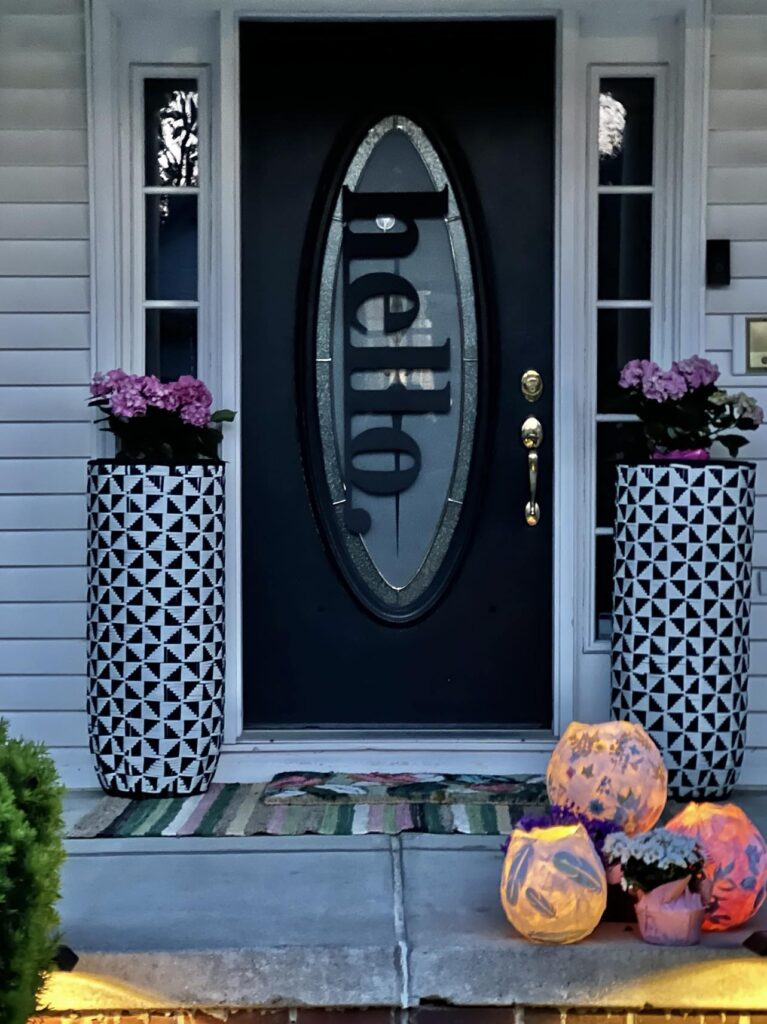
Display Ideas For Your DIY Tissue Paper Lantern
Lots of options here! I’m keeping mine tabletop for the time being but here are some ideas for displaying just one lantern or a whole bunch!
- String ’em Up: Create a festive atmosphere by hanging multiple lanterns of various sizes from your porch, patio, or even indoors along a staircase.
- Lantern Lit Porch: Line a walkway or group on a porch for a magical, whimsical touch.
- Tabletop Glow: Add a warm ambiance to a table setting by placing individual lanterns on the table as centerpieces.
- Lantern Chandelier: Combine multiple lanterns of different sizes and suspend them from the ceiling to create a one-of-a-kind chandelier.
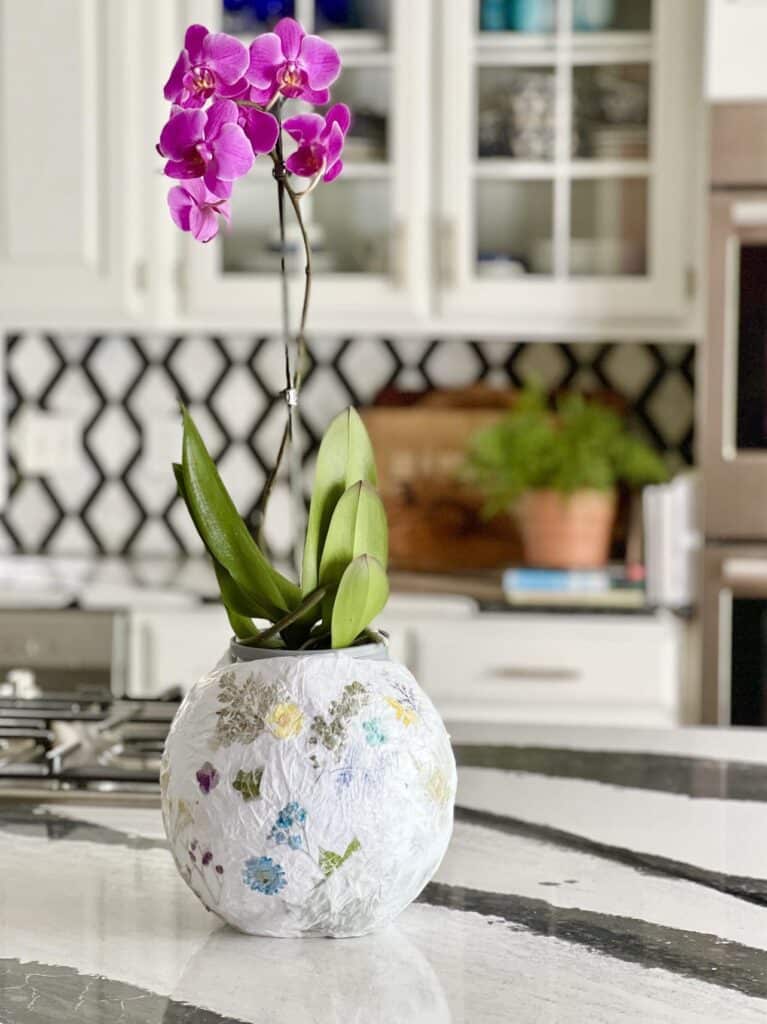
- Lantern Pot: I wrote an entire post on DIY Orchid Planter Ideas and I think this tissue paper lantern is a good addition to the idea list! Granted, you will be missing the candle but it makes for a truly lovely floral arrangement! Perfect for patios or as an indoor accent.
That’s a wrap on our DIY Tissue Paper Lantern adventure!
These beauties are not only easy on the wallet but endlessly customizable, making them the perfect project to flex your creativity muscles.
So grab some tissue paper, gather those pressed flowers (or get creative with feathers, glitter, anything that sparks your joy!), and get ready to light up your space with a touch of handmade magic.
Don’t forget to share your creation – I’d love to see what you come up with!
And don’t forget to enjoy all of the other pressed flower projects featuring the Handcrafted Society!
Cheers!

Don’t Forget to Pin It!
Pin the image below to your boards on Pinterest (just click the Pin button in the top left corner). You can also follow along with me on Pinterest!
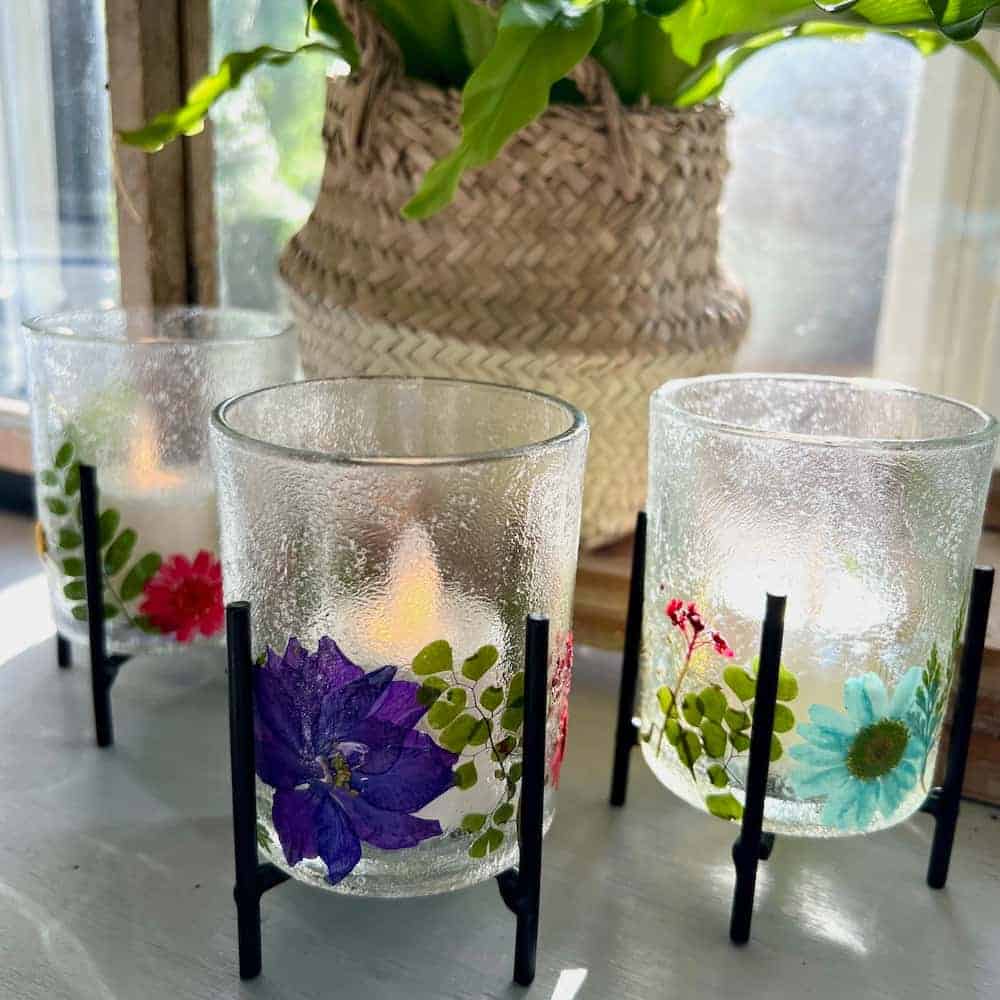
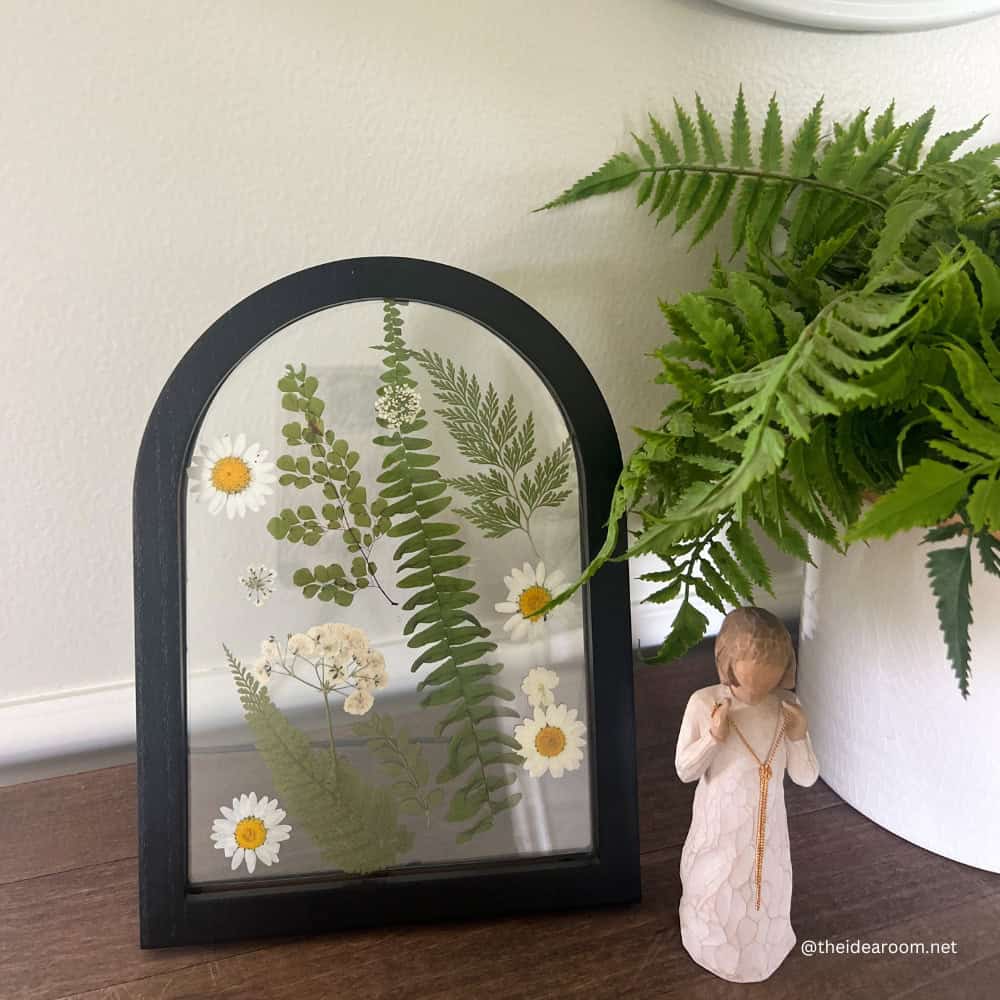
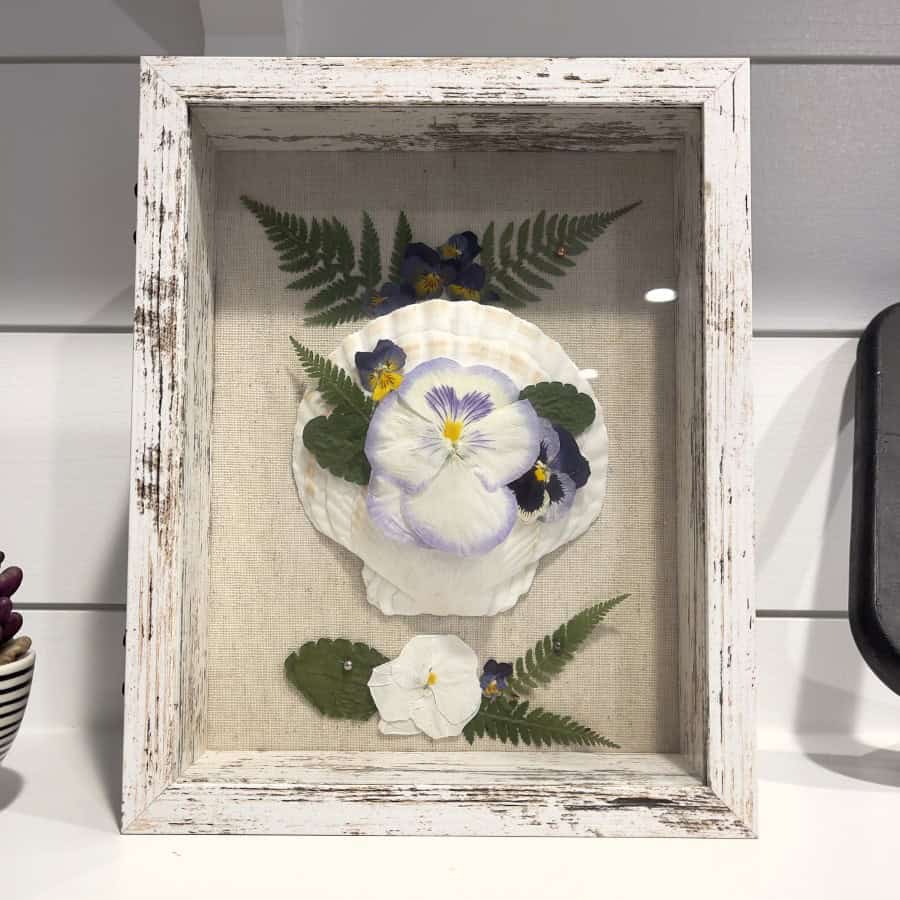
Pressed Flowers with the Handcrafted Society
It’s hard to know where to start…so many great projects!
Take time to “smell the roses” and enjoy all of these pressed flower projects!


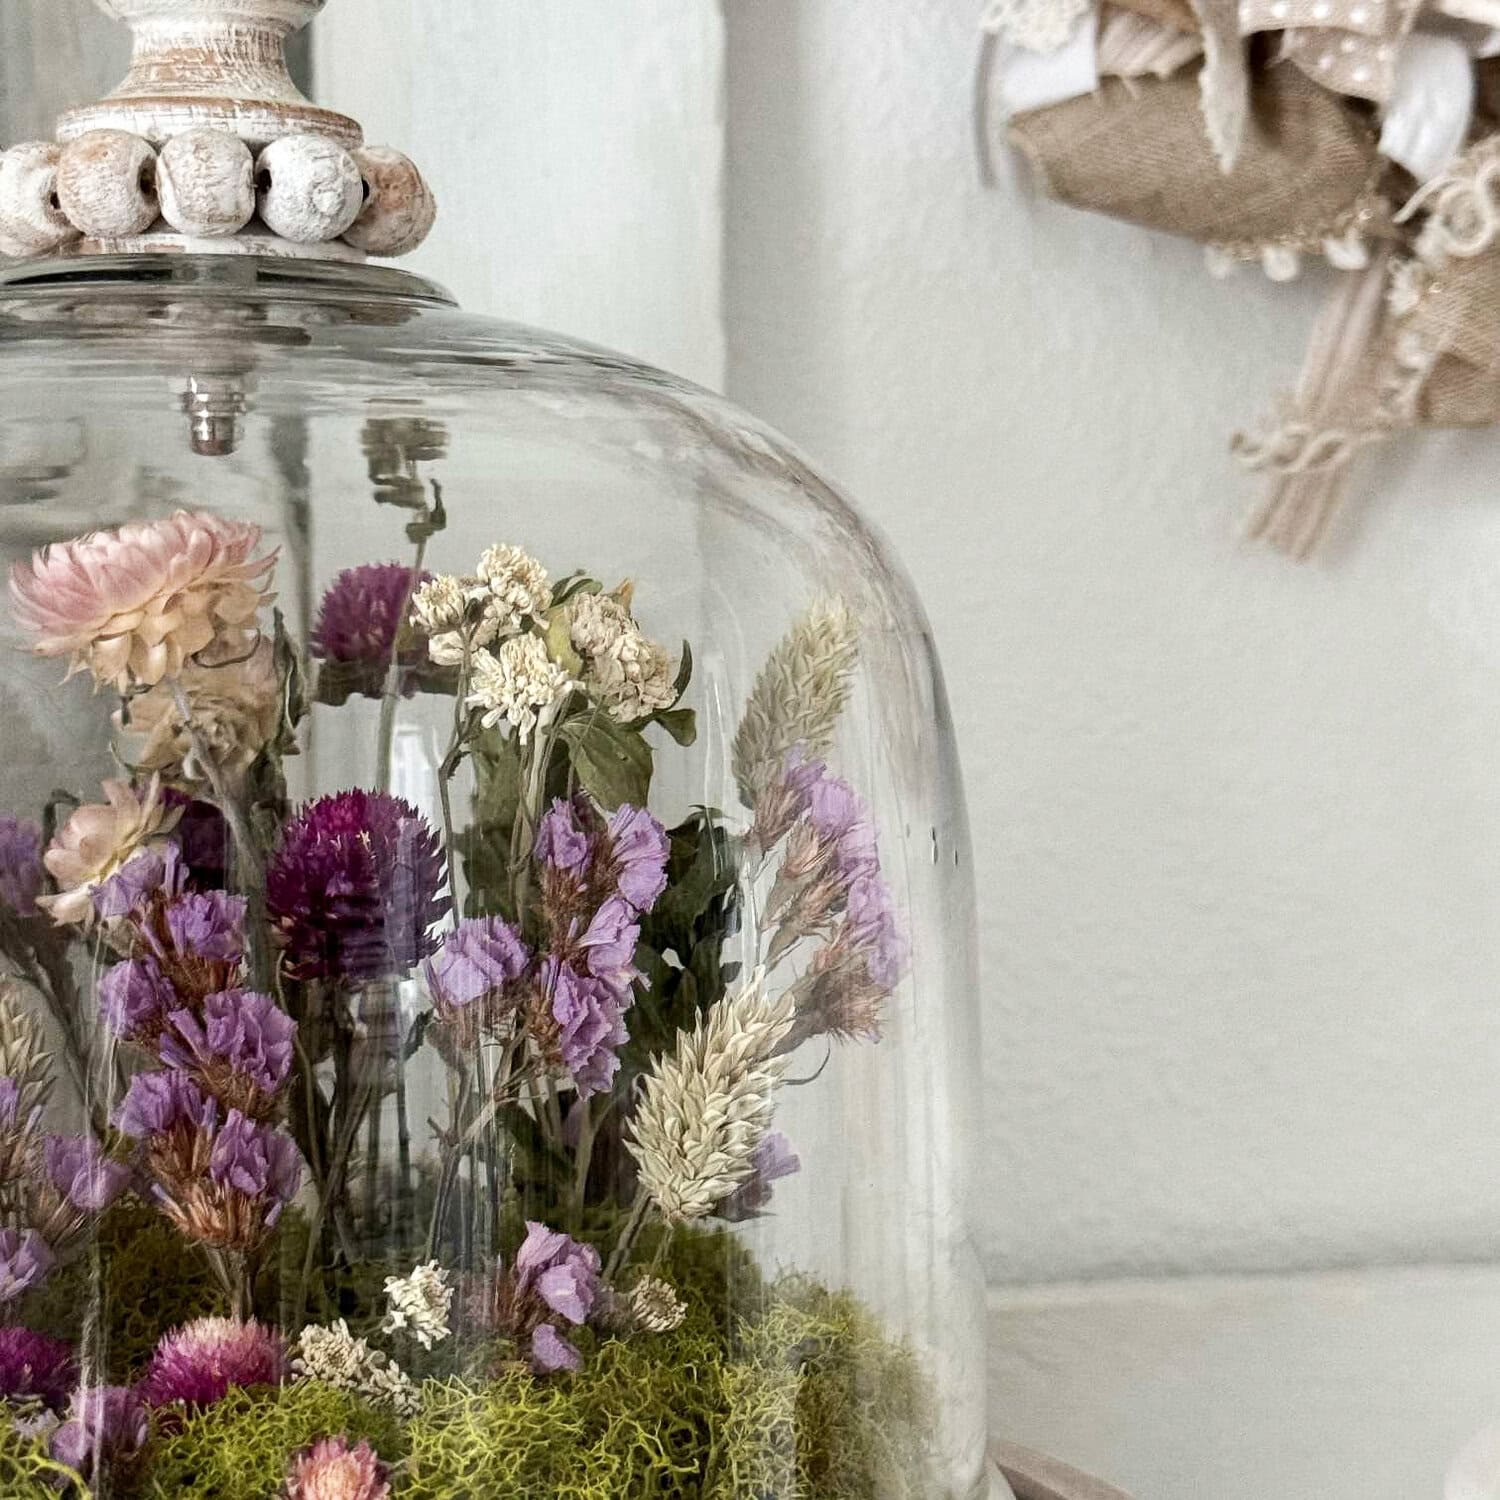
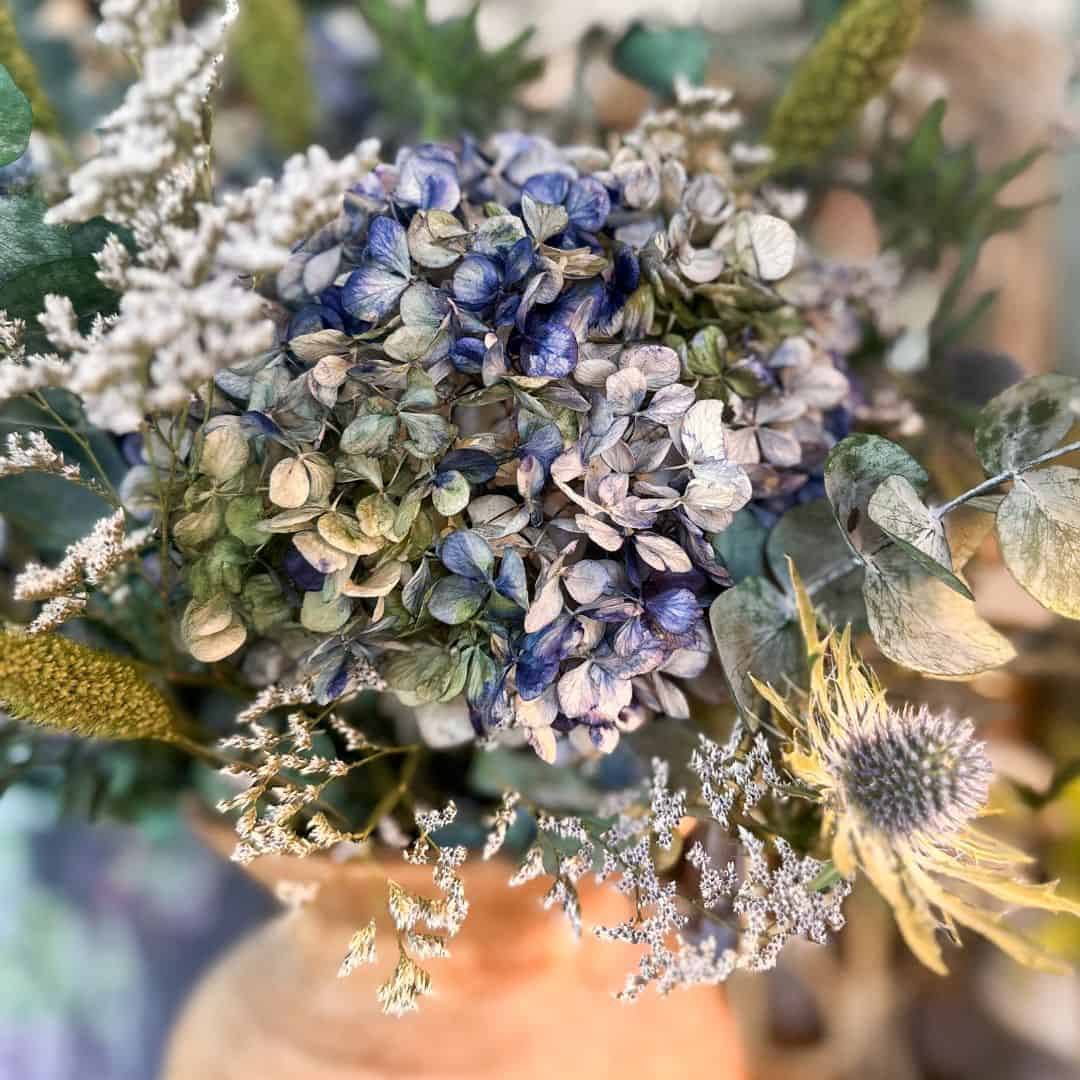
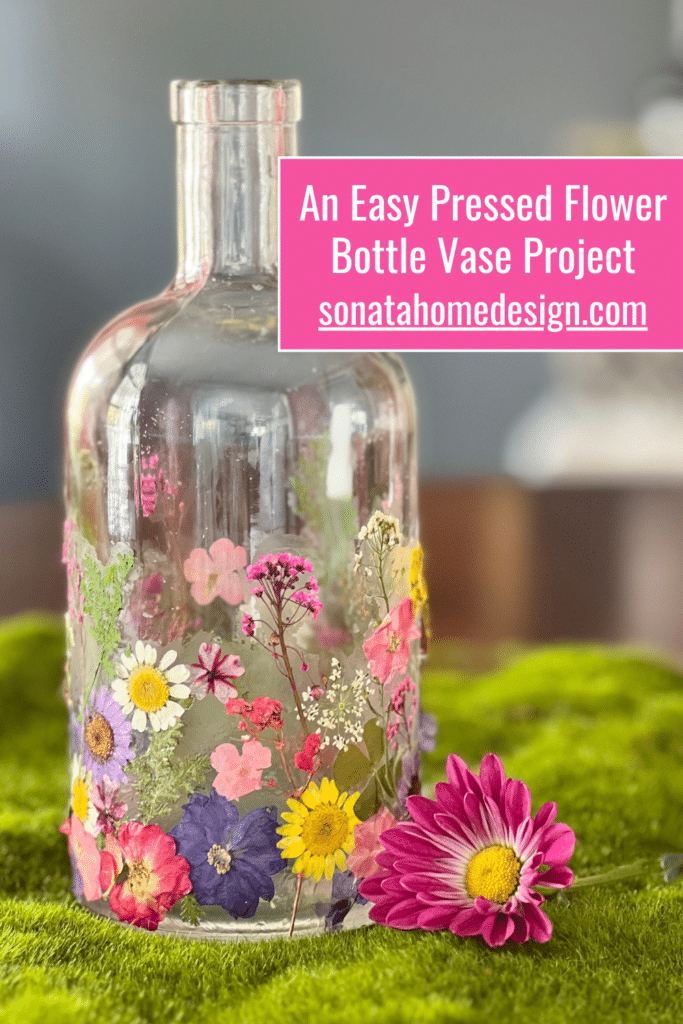
Because We Always Need More Flowers
The Easiest Pressed Flower Glass Vase

The Flower Market

Missy, what a fun project! This project would be perfect for creating with my grandchildren this summer. Love it!
Hi Tammy! I think kids would love this! Please share their creations if they make some!
OMG Missy!! I LOVE this!! Incredibly pretty and what an amazing way to create a DIY project on a budget!!
You are so sweeet, Rachel! You make my day! They were so fun to make (and so inexpensive!) I’m thinking I might make some with colored tissue!
Missy – These are nothing short of magical. I love your idea of using them on a front porch and having them lit up during a summer evening. Also – the fact that these are pretty darn affordable to create is a bonus.
Thank you so much, Anna! I’m excited to use them throughout the summer on the porch and the patio1
I love this idea! It would look beautiful on the front porch!
I agree, Taylor! They are on our front porch right now! Have an awesome day!
Missy, your lanterns are magical! I love the chandelier idea! Wouldn’t that be lovely on a beautiful summer evening? Thanks so much for sharing this beautiful project!
Thank you Kim! They were fun to make!
Oh, Missy, I couldn’t agree more! Lanterns are the unsung heroes of home decor — every where and every style.
And when said lanterns are covered in flowers . . . well, what more could girl want, right?
Love these!
Thanks a bunch, Diane!
Missy, your lanterns are so pretty, and I’m imagining how they will be perfect on our patio for summer entertaining. What a fun project without much expense! Love it!!
Thanks, Michelle! I think we will definitely use them throughout the summer!
I love a good, budget-friendly project, and these lanterns create a lovely ambiance on your front porch. Thanks so much for the inspiration, Missy!
Thank you, Kelly!
How unique and pretty!
Thank you, Sherry! I really appreciate it! Do you like to create with pressed flowers?
These look gorgeous when finished. Such a clever idea! Great for summer occasions too.
Oh I love cosy lighting! Your lanterns are so pretty and super easy to make.
Thanks so much for sharing with #MMBC Missy! Hope to see you again. 🙂
Thank you Jayne! They look so pretty in the evening outside! Thanks for stopping by!
I love messy projects, and getting your hands dirty. This is a great use for pressed flowers. Thanks for sharing with us at Create-it Link Party.
Thank you Janet! I’m thrilled that you like it!
Thank you for sharing at Gma’sPhoto ge•ner•ic Linkup Party. I look forward to ‘seeing’ you next week!
https://gmasphoto.website/categories/linkup-parties/
Take care and best wishes
Thanks for hosting a fun party!
Missy, do you know if dishwasher safe mod podge works differently from regular mod podge?
After applying the tissue paper with water, do you wait for it to dry before continuing or is it ok if it is still wet?
Also, how do you protect the lantern from the rain…especially if the opening is not covered?
I have tried a similar project and the balloon sticks to the paper when popped and the lantern caves in. Any advice? Thank you so much!
Hi Lauren, I am so sorry that I have not gotten to your message before now! I haven’t really noticed any significant difference between regular and dishwasher safe mod podge. I think the coloration was a little different but then, of course, it dried clear. I let each layer dry a little before continuing with the next layer. But I was too impatient to let the layers dry completely…And it turned out well! I would not suggest this for an area outdoors where it could get wet from rain. I have used mine on our front porch but always bring it inside with heavy wind or rain. (which we get lot of in Nebraska.) I hope this helps. Again, my apologies for not answering sooner. My husband has had some health issues and so I have not been very good about responding! I hope you have an awesome week!