How to Gold Leaf Anything
Applying gold leaf is an easy way to give anything in your home an update. Get ready to create your own Midas touch as we learn how to gold leaf virtually anything!
Ah! The magic of GOLD!
From gold rings to gold door handles to gold tooth fillings…this coveted metal finish is everywhere.
Imitation gold leaf sheets may be delicate to the touch but are a powerhouse finish!
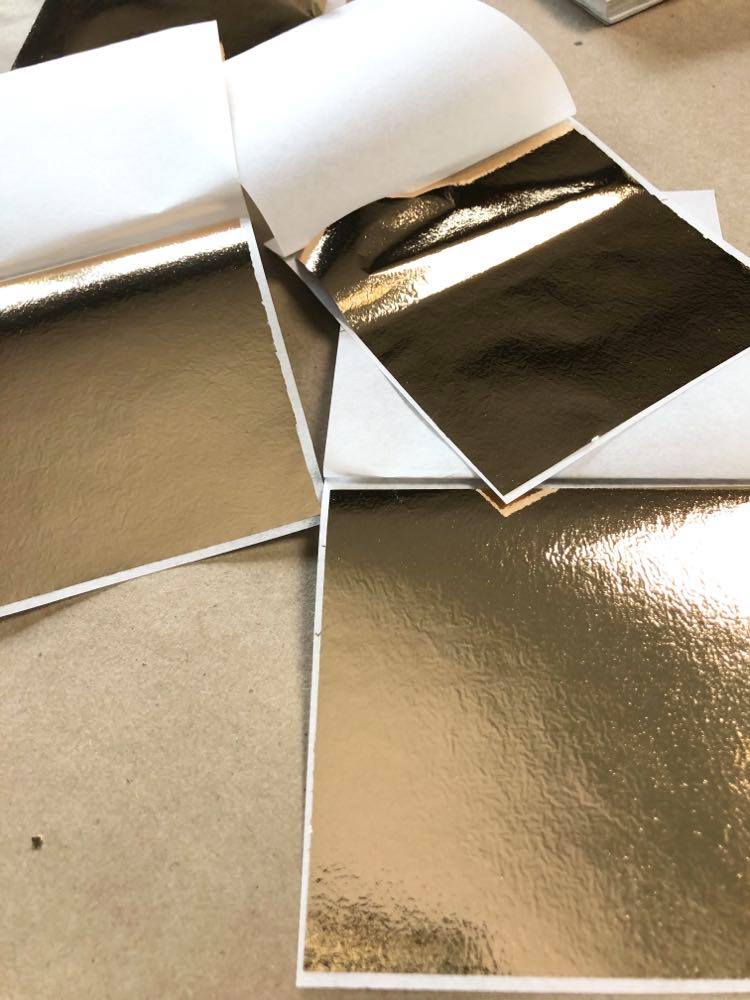
While the process of applying gold leaf can, at first, seem complicated, it is actually a very easy process that gives beautiful and immediate results.
When I initially think of gold leaf, I think of ornate mirrors and artwork frames. Always winners!
But let’s think outside the box (or the frame!), and consider some other application projects.
For learning purposes, my first project will be this pear.
Yes, I said pear. Or, at least half a pear.
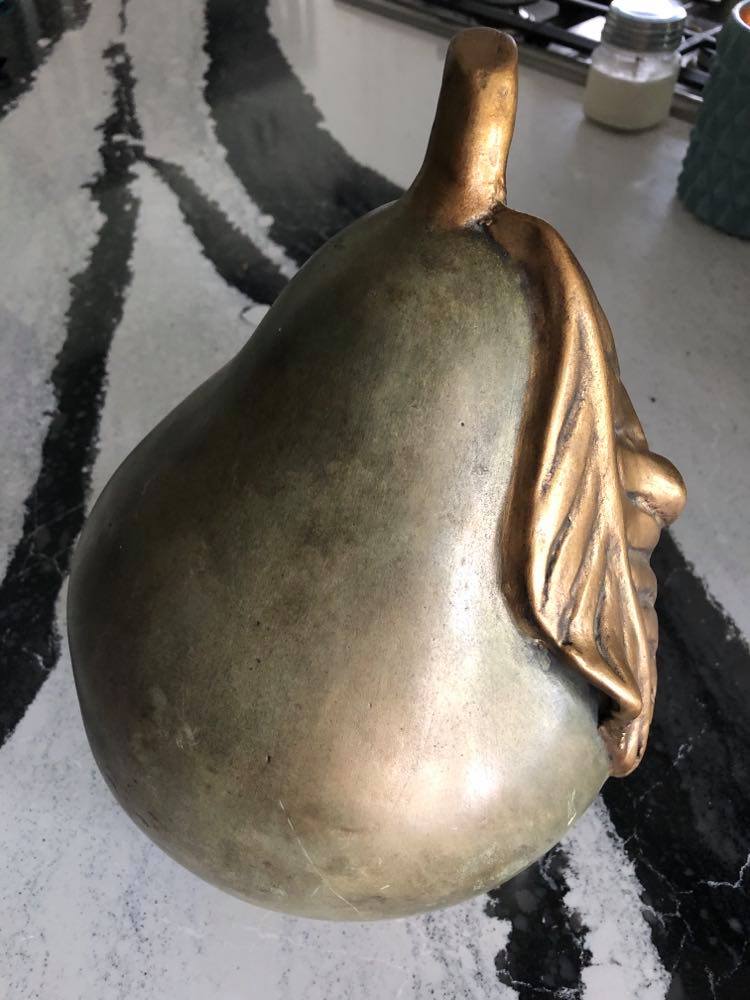
Don’t misunderstand, this pear is actually quite lovely as is. The painted green pear body and gold painted stem give me beautiful Tuscan vibes. This would be lovely displayed on a bookshelf, end table, or pasta dinner tablescape.
But I would like to change the vibe of this pear. Something a little more contemporary, industrial, and dare say angular!
An angular pear?
Just wait!
First, how to gold leaf!
Here is a list of the supplies that you will need:
- Fine-grit sandpaper
- Adhesive sizing
- Imitation Gold Leaf Sheets (I prefer smaller sheets as they are easier to manage. In this case, the sheets are 3 x 3.)
- White gloves
- Paintbrush
- Sealer
Clean and Sand the Surface
Make sure your object is clean and then lightly sand the surface to rough it up.
Side note: If you are changing the color of any part of the surface that will be gold leafed, now it the time to paint it.
For my objet d’pear, I spray painted the entire pear using Hammered Grey Rust-Oleum spray paint.
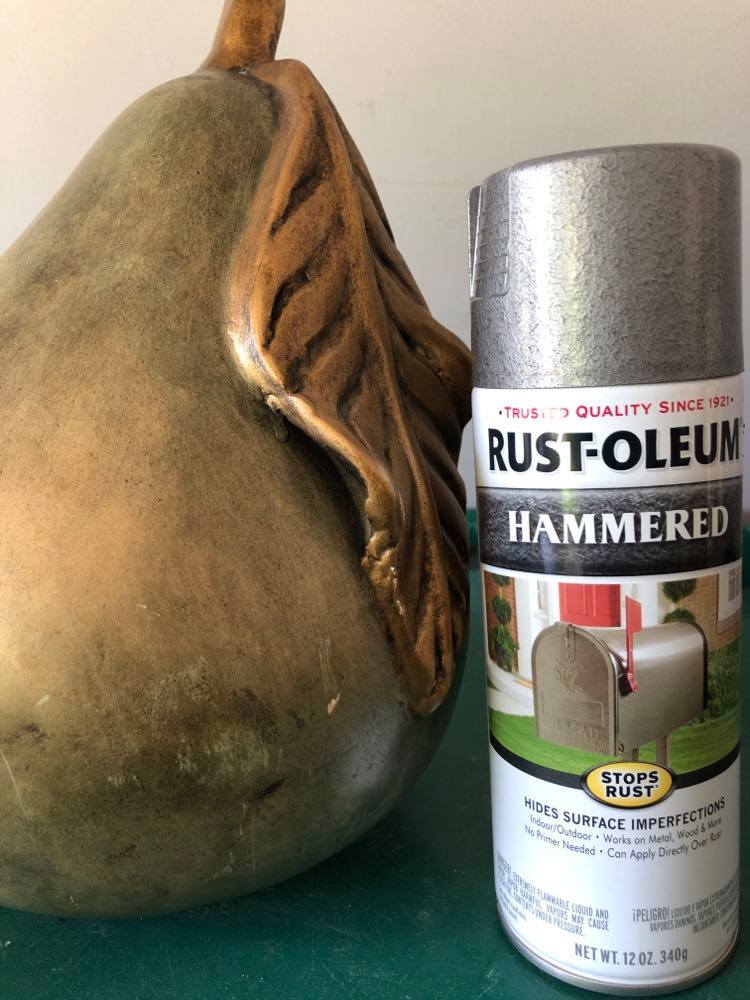
Spray Painting is one of my favorite things to do. Instant gratification! For more spray ideas, inspiration, and projects, you might want to take a look at this…Spray Paint Projects that are Fun and Easy!
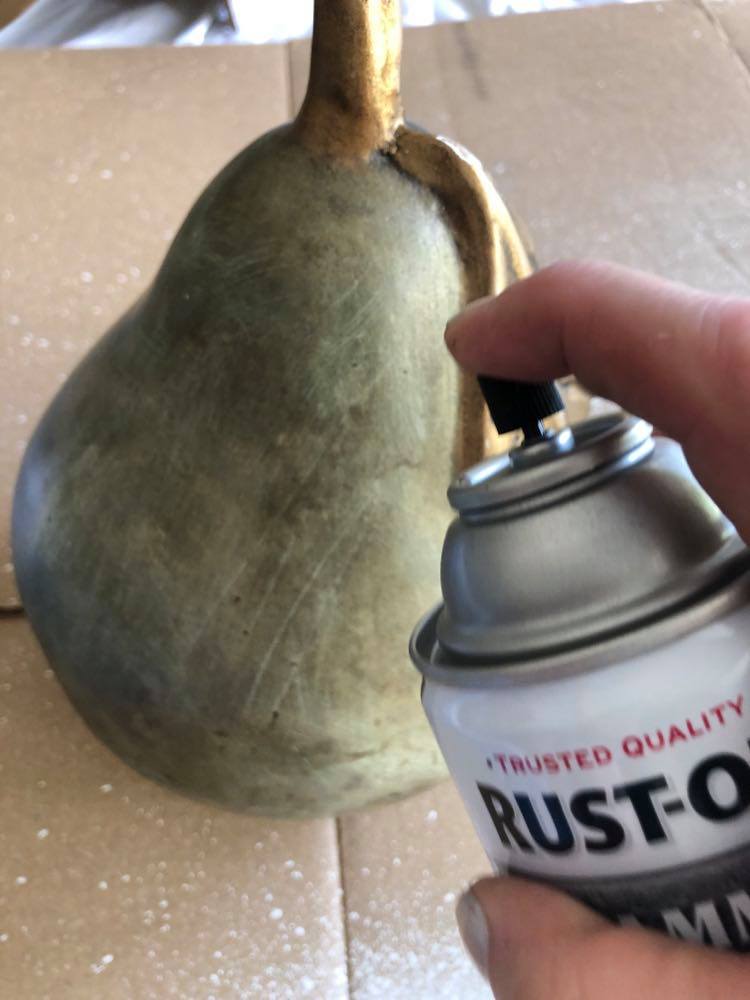
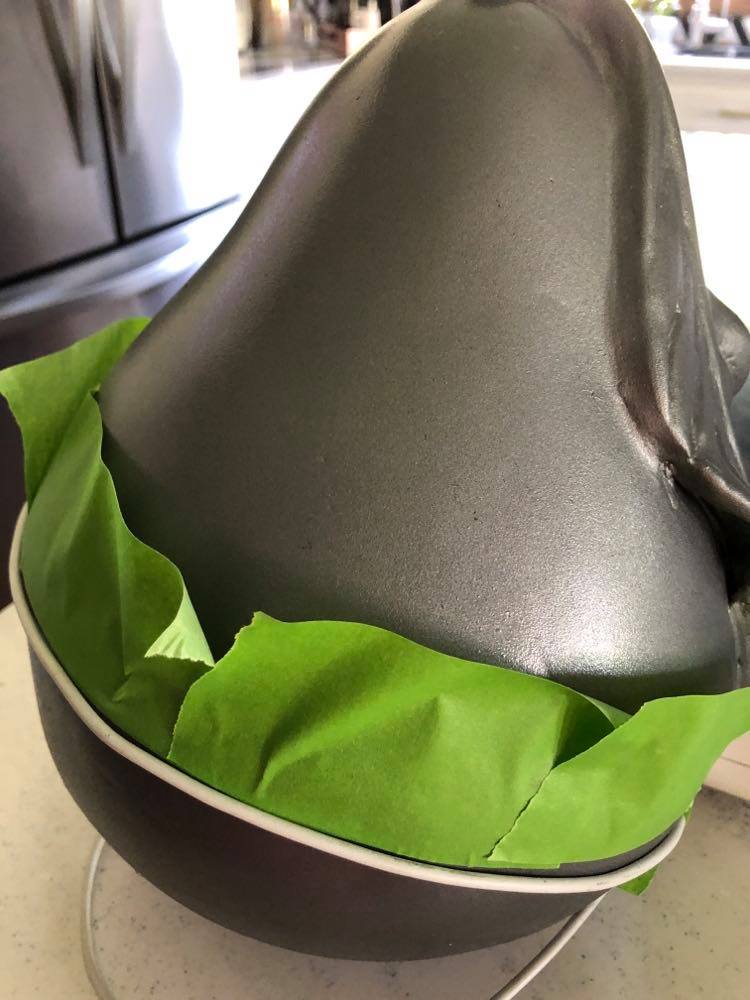
Tape off any areas of your project that you don’t want gold leafed.
I went for an asymmetrical look and taped off half the pear at an angle using Frogtape. Getting the right angle was a little tricky to I used a cord to guide my taping.
Literally using my computer cord!
Silly to see the cord but don’t you LOVE the hammered grey color!
Side note: If your object is porous, it will need to be sealed before you apply gold leaf.
Now the FUN part!
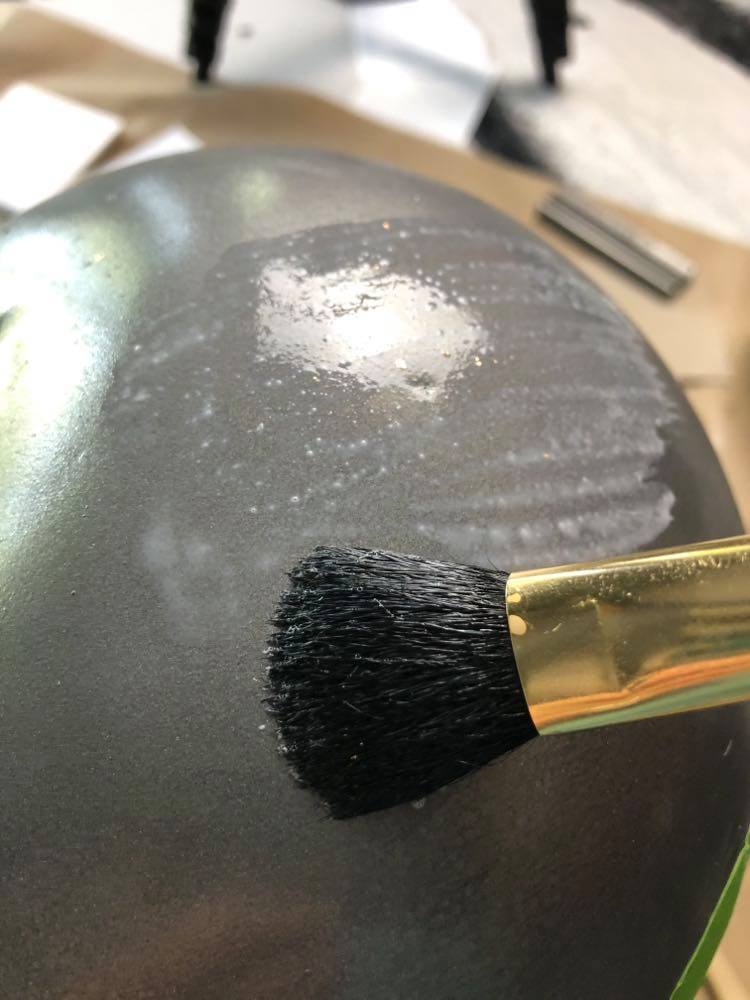
Brush the adhesive sizing onto your object with the paintbrush. Let it sit and dry just until it is tacky to the touch.
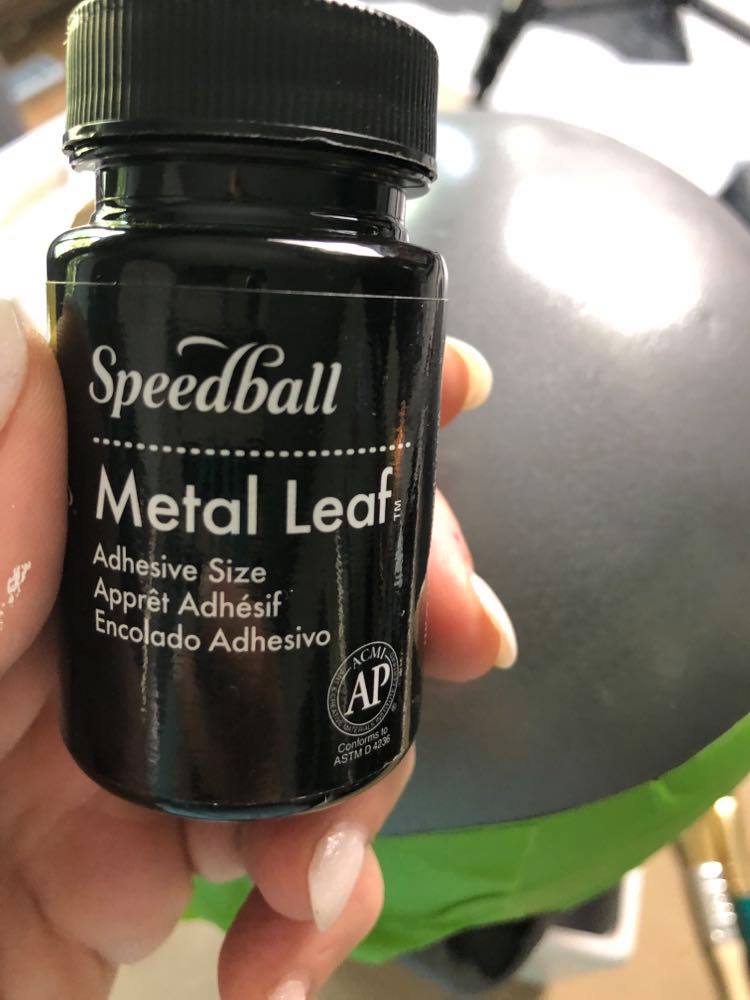
Gently apply the gold leaf sheets to the surface and pat down with your fingertips. Use your brush to press down further and brush away excess gold leaf.
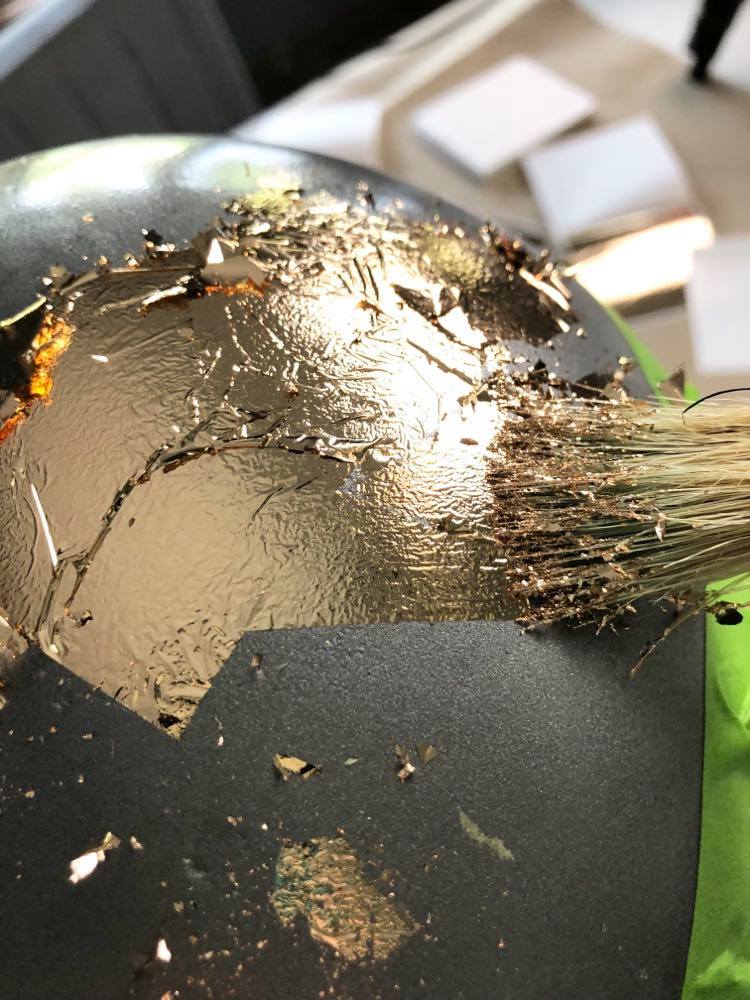
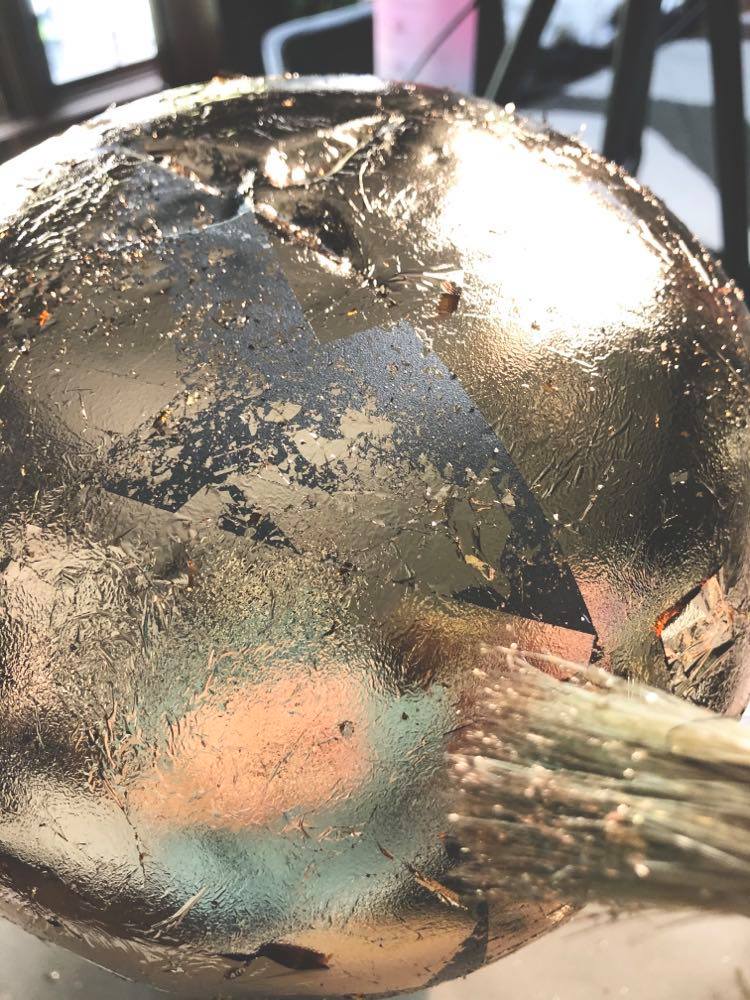
It’s not smooth and flaking off! What do I do?
Remain calm, my dear…this is part of the process. Smooth any wrinkles with your finger or the paintbrush. The wrinkles actually add a cool texture to the surface.
Any gold leaf that flakes off can be applied to another tacky area. Brush off any excess flakes with the paintbrush. Buff with a clean cloth. Don those sexy white gloves (I feel like I am back in High School Marching Band!)
Seal the Deal
Apply a clear sealer and let dry (about 24 hours)
Ooh! I love how it turned out!
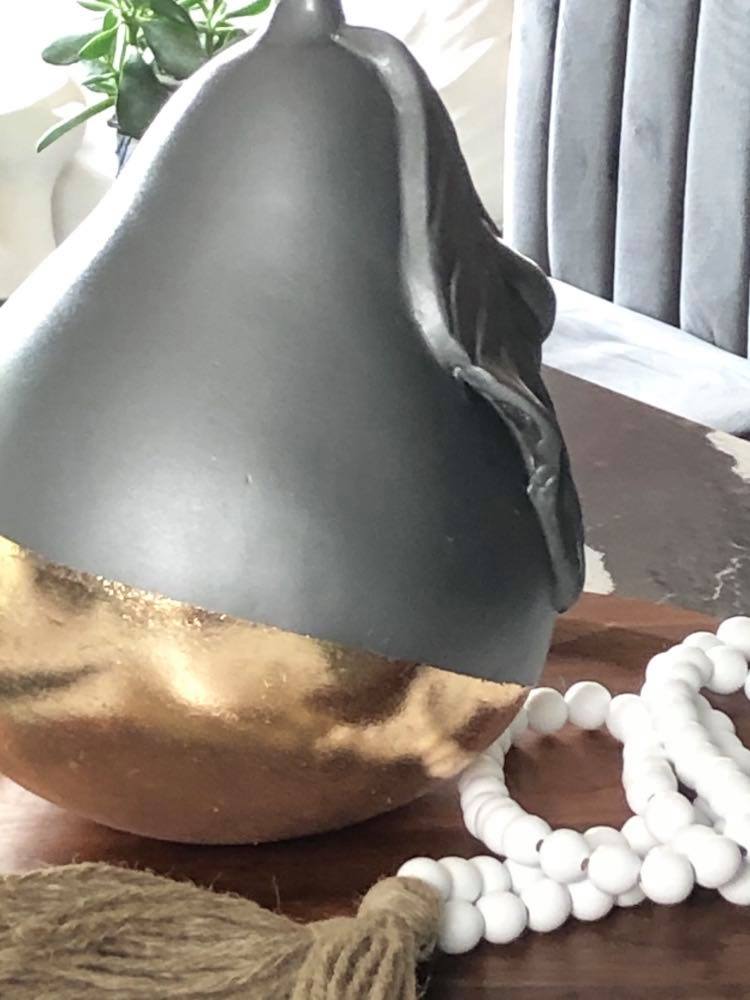
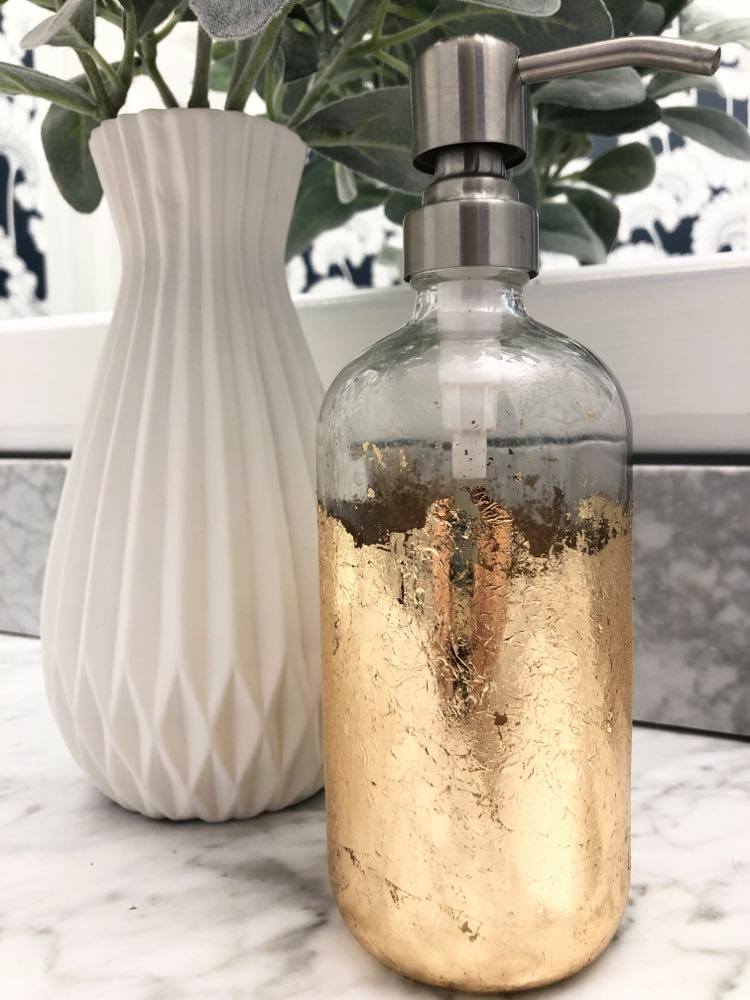
Here are a few other fun gold leaf projects:
Who says that a hand sanitizer bottle has to be boring? Glam it up with gold leaf!
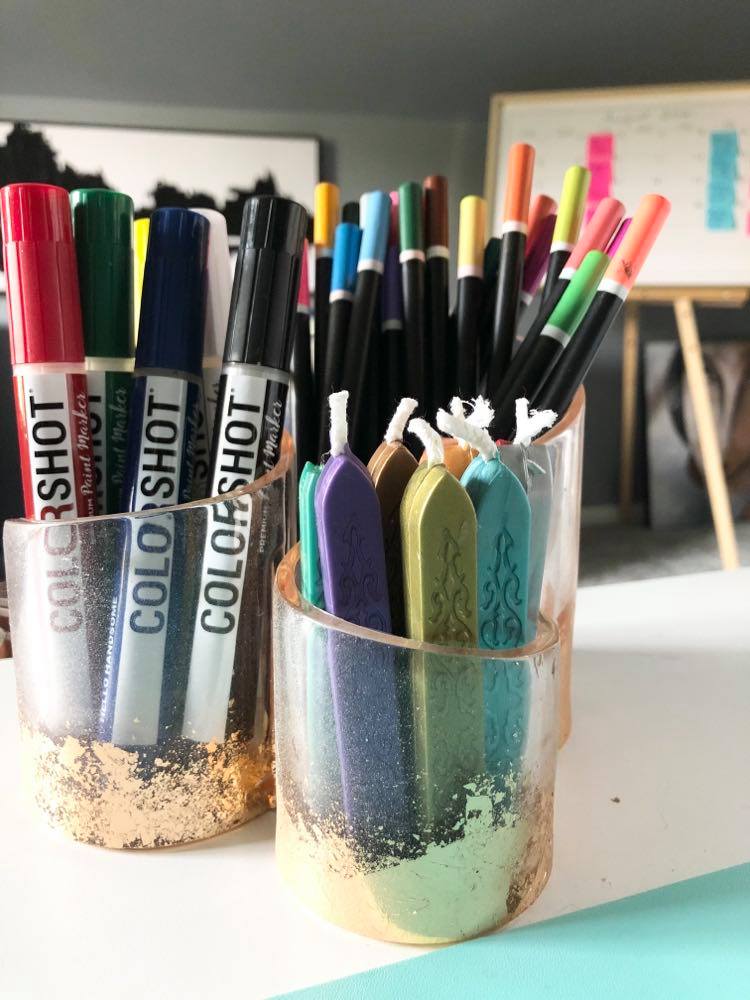
Turn an acrylic (plastic!) desk organizer into a stylish desk accessory with gold leaf! This little gem is perfect for holding colored pencils, wax seal sticks, and COLORSHOT paint markers.
Remember “Girl with the Pearl Earring?” I took an “industrialized” canvas of the famous Vermeer artwork and applied gold leaf to her head wrap. The “glow” on her head wrap changed so beautifully throughout the day as the light evolves.
When choosing additional projects, I literally went to a closet and pulled these three items. Wander your own home and see what could use a gold leaf makeover!
Cheers!


Awesome. I have never used gold leaf. I’m excited to try it.
It is fun! Give it a try!