From Yarn to Charm: Easy DIY Christmas Tree Tassel Wall Art
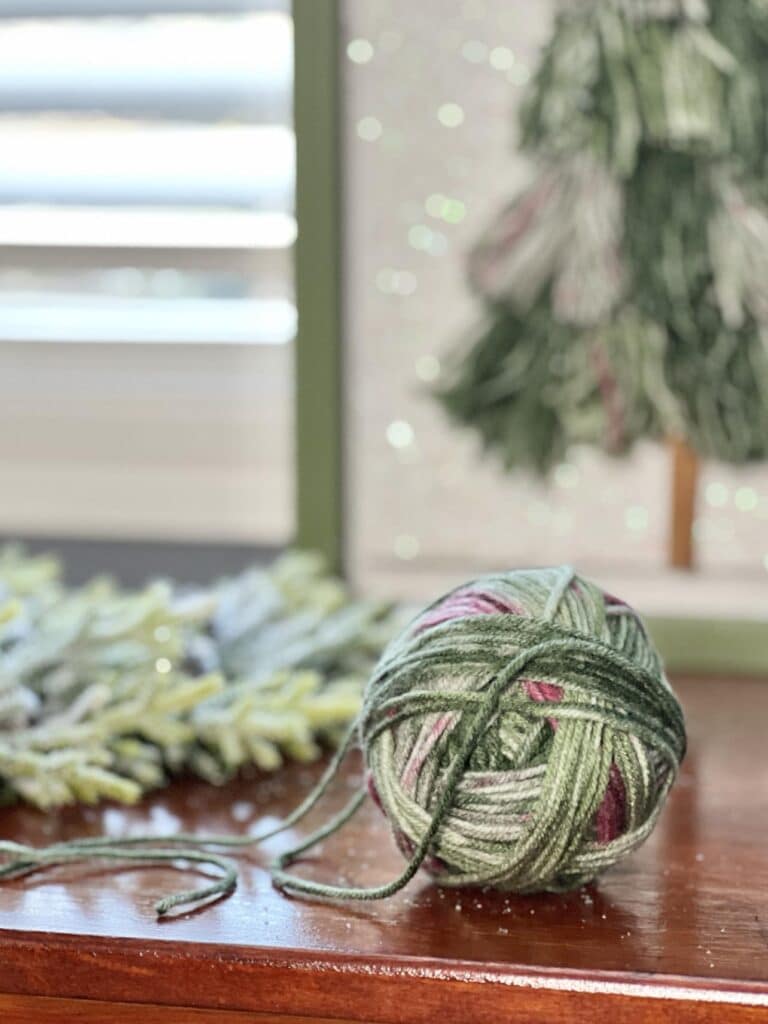
Looking to add a unique, handmade festive touch to your holiday decor? This Christmas tassel tree is a simple yet stunning craft project that combines the magic of yarn, a thrifted wooden frame, and a little creative flair. If you are looking for fun festive crafts to try this holiday season, this DIY project will have you decking your walls in no time.
Follow this quick tutorial for creating a beautiful yarn tassel tree that will bring a cozy, whimsical vibe to your home all winter long!
This blog contains affiliate links. This means a small commission is earned if you make a purchase by using this link. The price you pay will be the same whether you use the affiliate link or go directly to the vendor’s website using a non-affiliate link. As an Amazon Influencer, I earn from qualifying purchases.
Tassel Trees for Christmas
As a child of the seventies, I love a little boho!
I made my first macrame keyring in the 7th grade and gave it to my mother.
She used it for at least 10 years!
Crochet, tie-dye, velvet paintings… I can appreciate it all!
Ok, maybe not velvet paintings.
But show me some yarn tassels, and I’m IN!
As I decorated my visiting daughter’s bedroom for Christmas, I wanted to create some DIY wall art. to go with her cat picture.

You can click HERE to see all the cozy Christmas bedroom decorating ideas!
In just a couple of hours, I made charming Christmas tassel tree wall art for her room. I can’t wait to share it with you…with easy-to-follow instructions!
Supply List
Here’s what you’ll need to create your Christmas tree tassel artwork:
- A skein of yarn in your favorite holiday color (I used a fun green ombre yarn!)
- A thrifted wooden frame with a chunky border (Don’t worry about the artwork inside – it’s the frame you’re after!)
- A blank canvas that fits within the frame with some space to spare
- Faux snow (available at the dollar store or Dollar Tree)
- Spray adhesive
- Craft paint in a coordinating color
- A piece of cardboard (about 3″ x 3″)
- Scissors
- Hot glue gun and glue sticks
- A single cinnamon stick
- Small paintbrush

I found my frame at the ReStore. I’m sure this piece was a charming addition in a young child’s room. But I’m not interested in rowing my boat…I just want the frame!
Prepping the Frame and Canvas
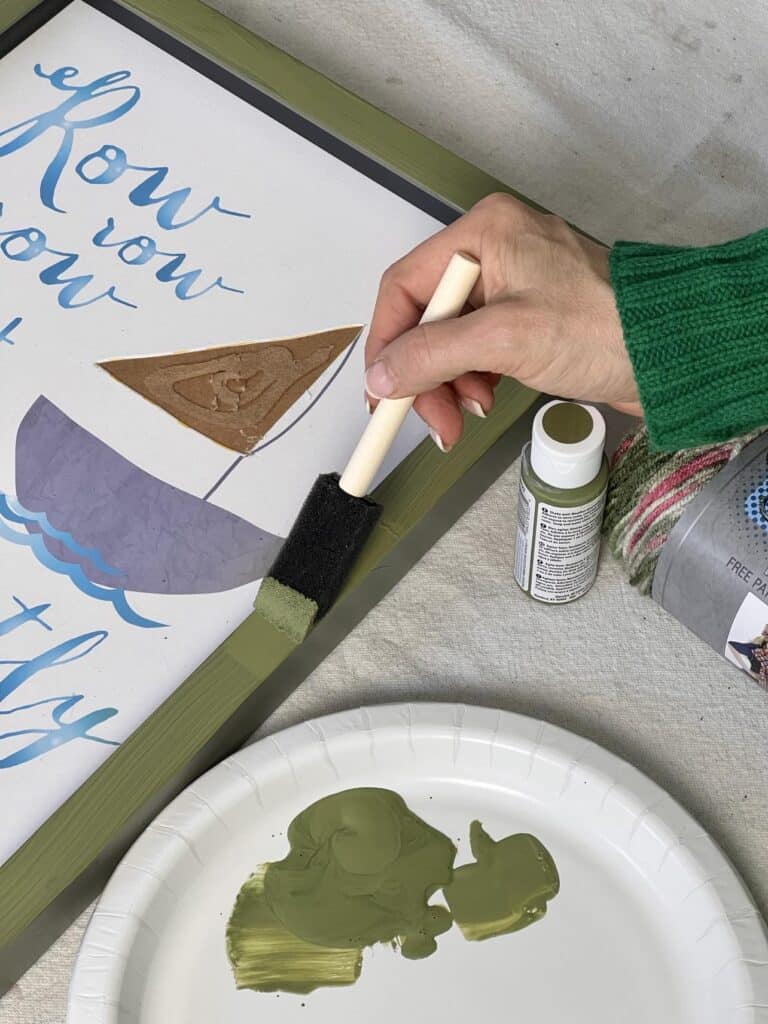
First, paint the frame in a color that complements your chosen yarn. Use as many coats as needed for full coverage. Be sure to let it dry completely.
I decided to paint the inner edge of the artwork with white paint to give it a fresh look. If the artwork image runs to the edge, you will want to paint over it with a couple of coats of paint.
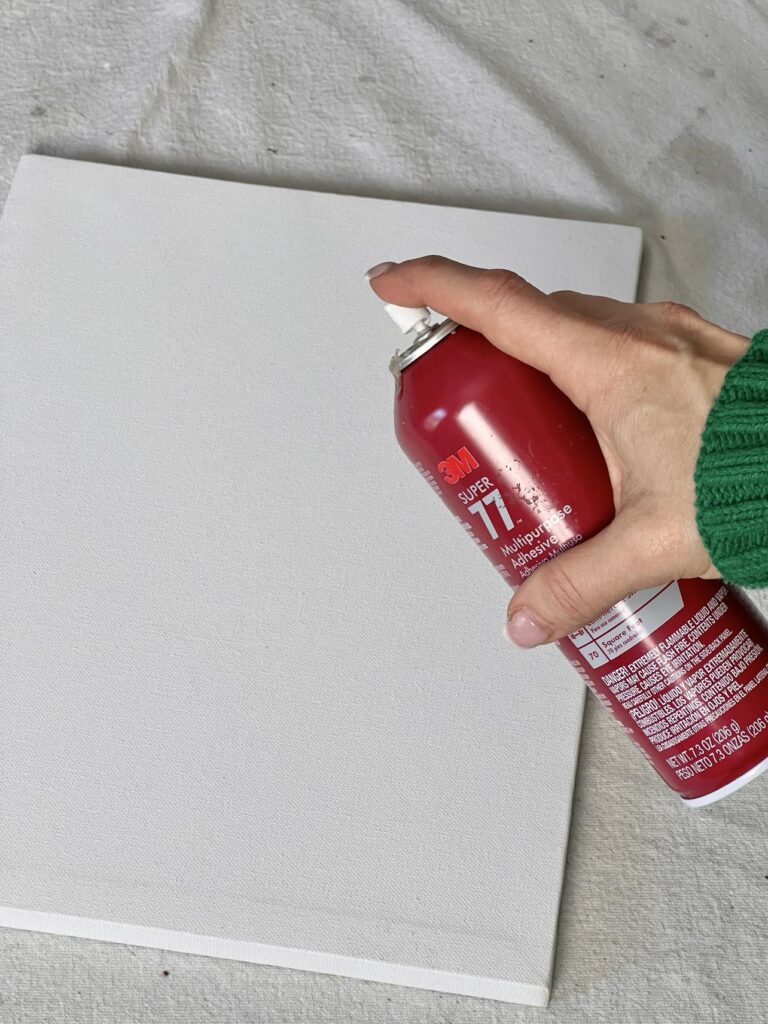
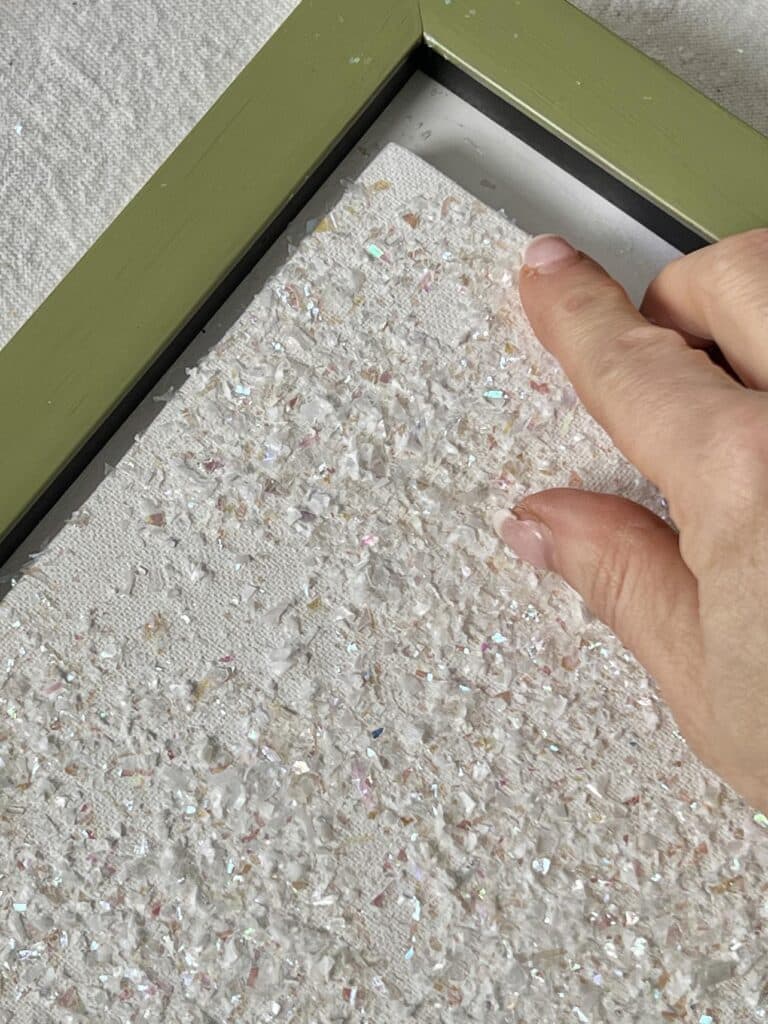
While the frame dries, grab your blank canvas and spray it with adhesive. Press faux snow onto the sticky surface until it’s completely covered. Shake off the excess and set the canvas aside.
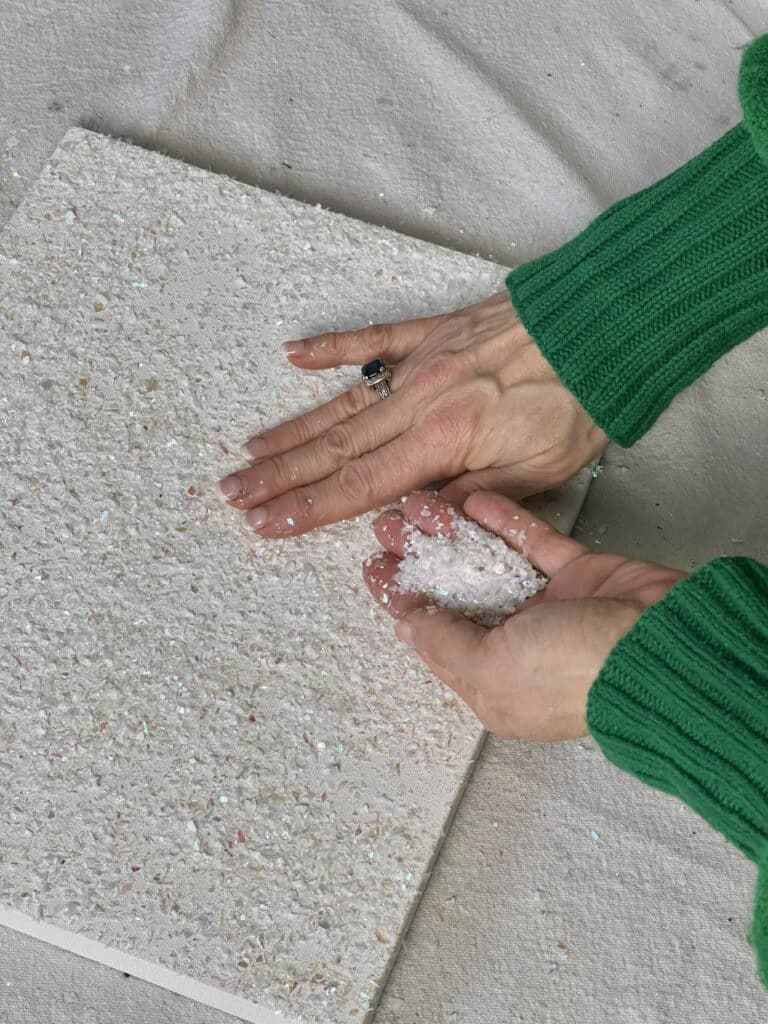
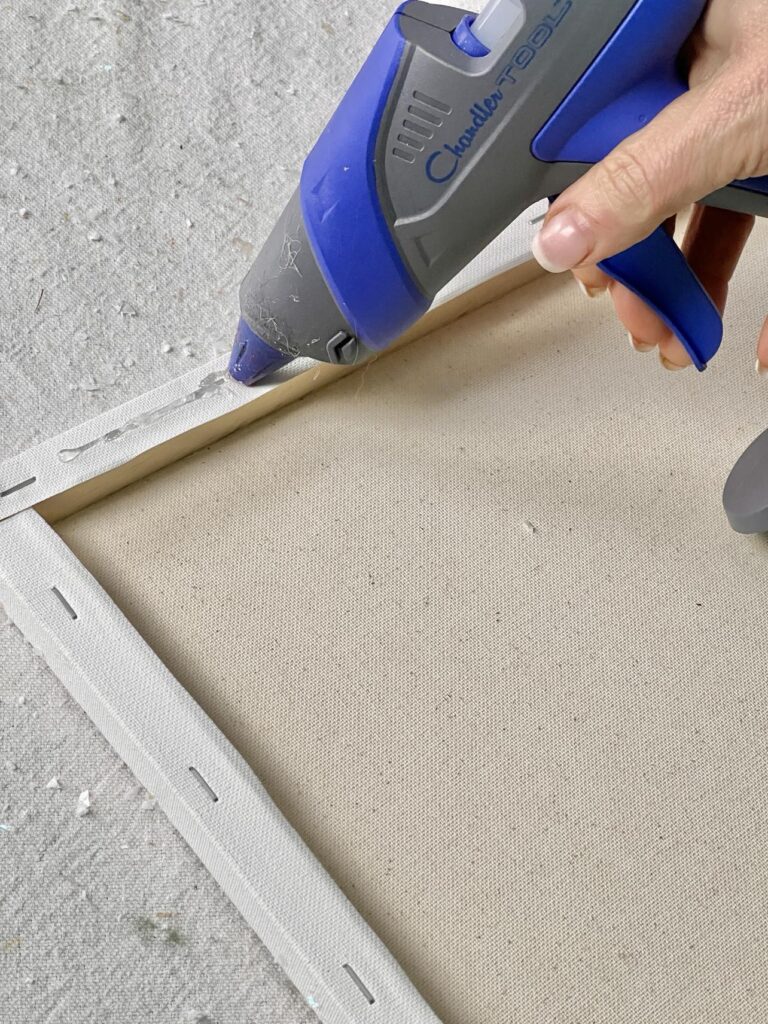
Apply hot glue around the back frame perimeter of your faux-snow-covered canvas and press it firmly into the frame, leaving a slight inset.
You pay big money for an inset canvas in a frame, and this cost just a few dollars!
How to Make Yarn Tassels
This is where the magic of your yarn tassel tree comes to life. Making small tassels is easy and fun!
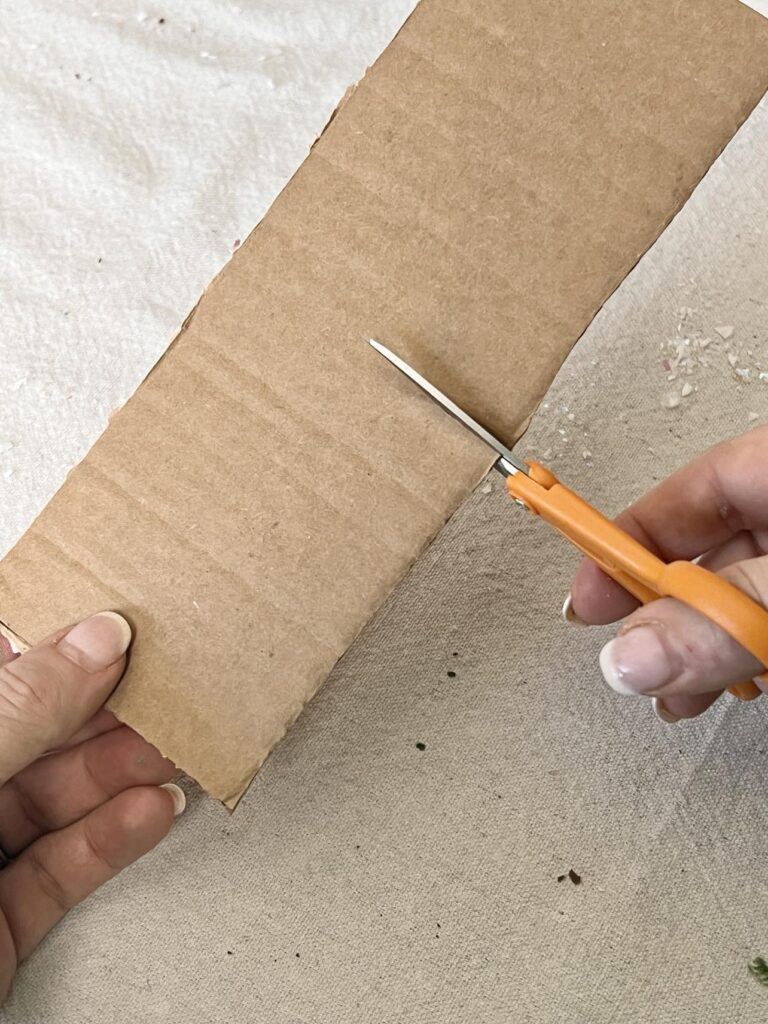
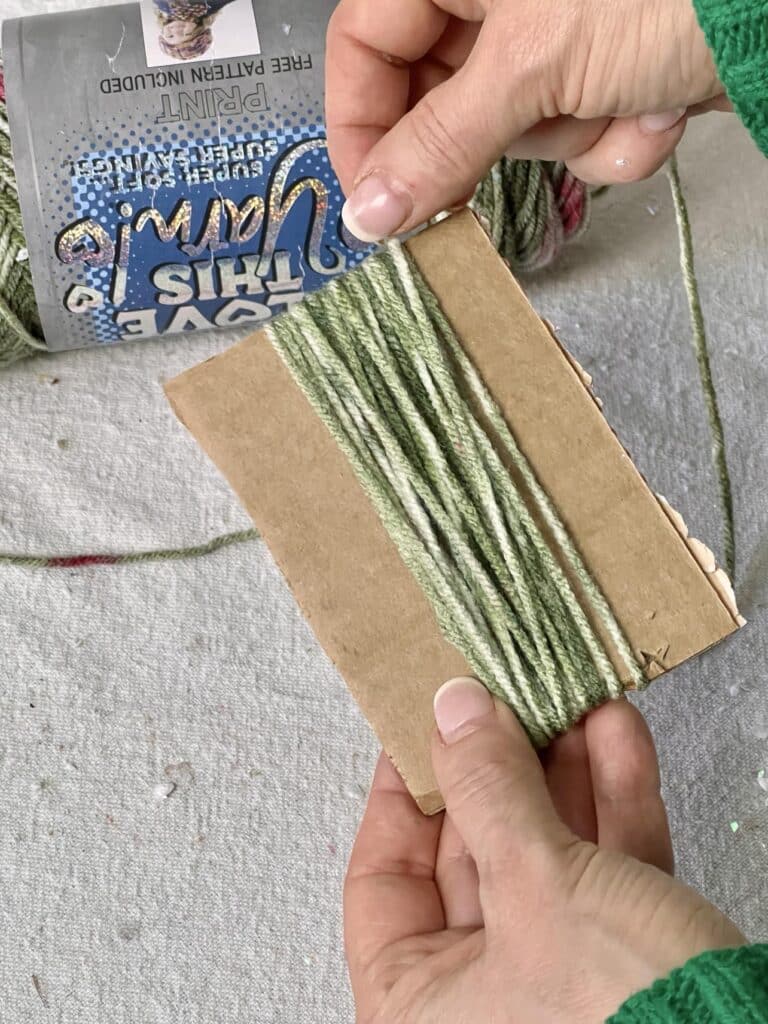
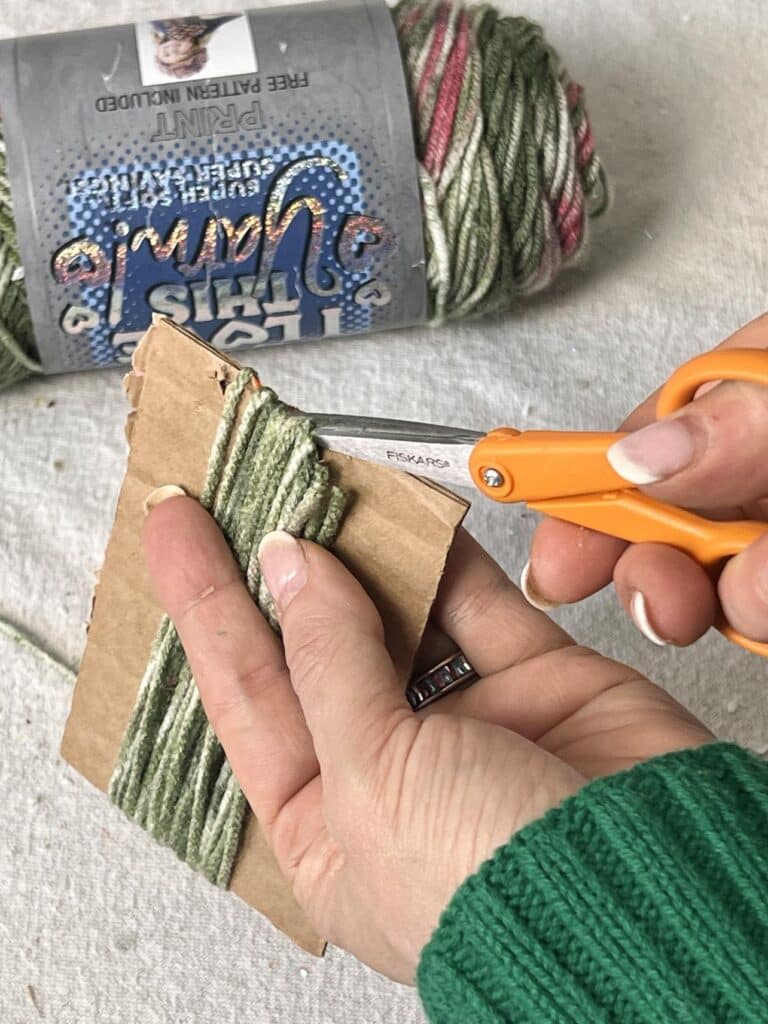
Cut a piece of cardboard about 3 inches long. Hold the tail of the yarn against the opposite end of the card and start winding the yarn around it 16–20 times.
Then, cut the yarn across one end of the cardboard and gently slide the loops off the cardboard.
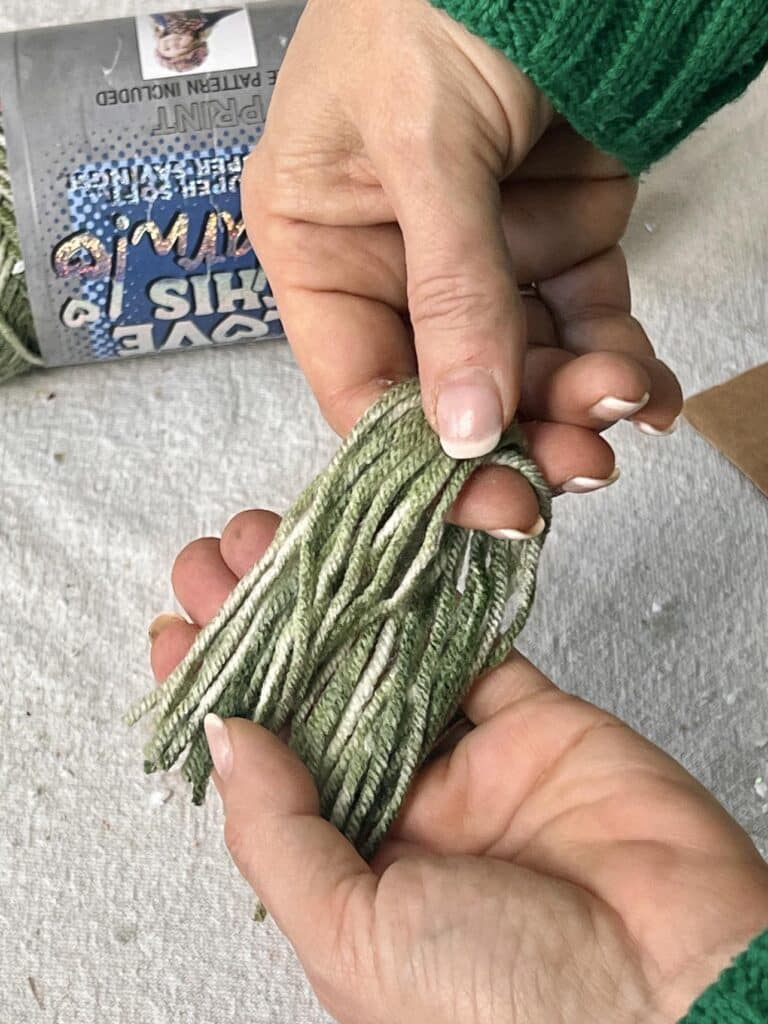
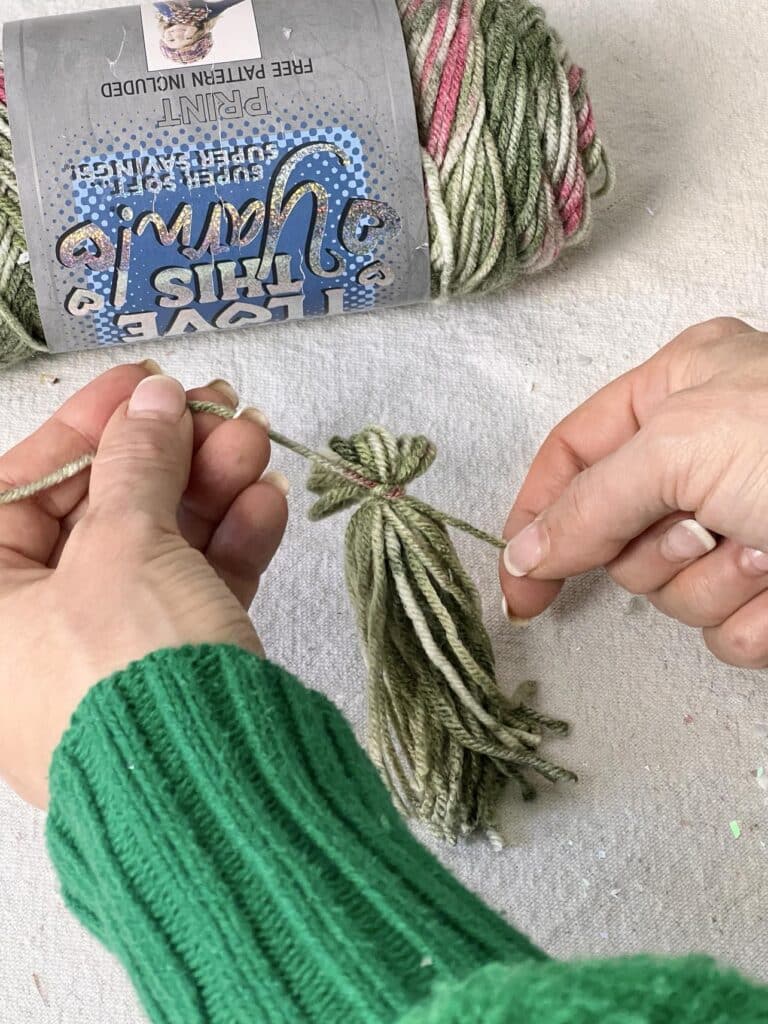
Hold the yarn by the folded, non-cut end and straighten the yarn threads. Take a small piece of yarn and tie a double knot tightly around the folded end, leaving the loose strands at the bottom.
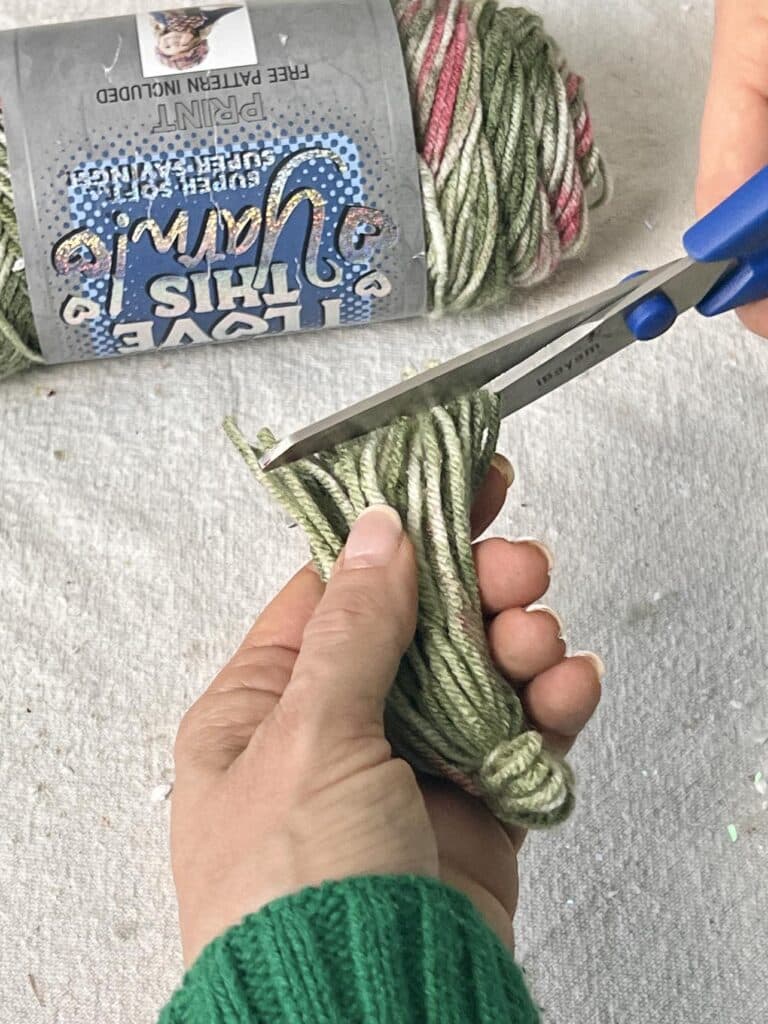
Trim the tassel ends evenly with scissors for a neat look.
Repeat this process until you have enough tassels for your tree. For my small tree, I made 15 tassels, but adjust this number based on your frame size.
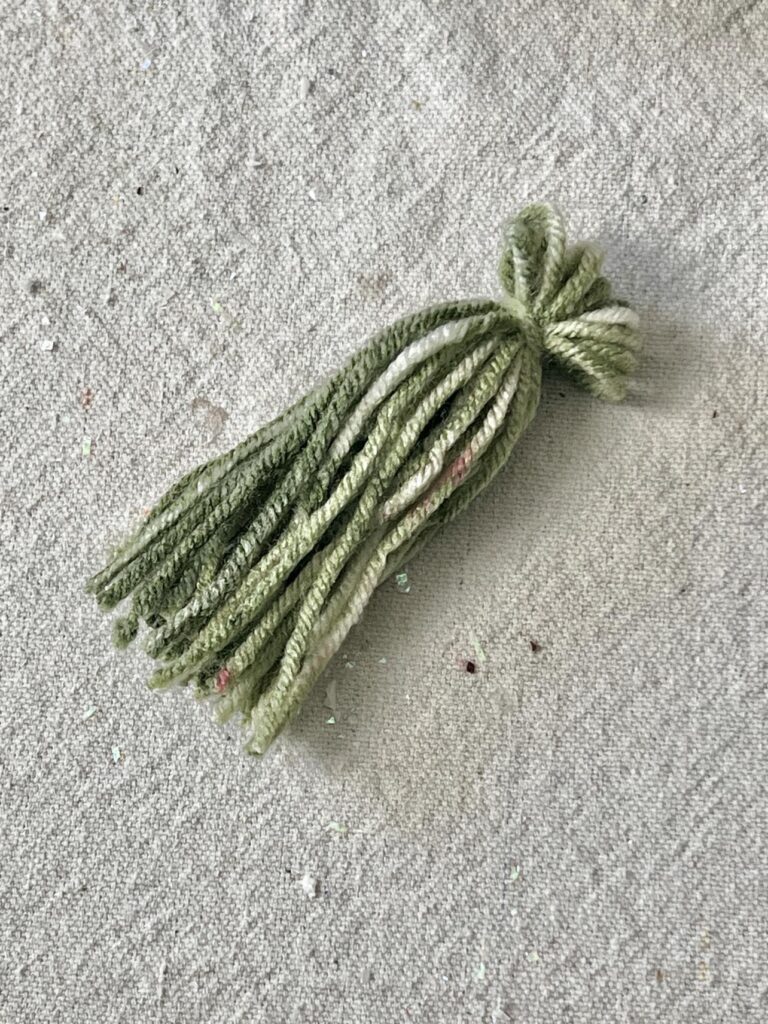
Pro tip: If you have a tassel maker, feel free to use it for quicker results!
Creating the Christmas Tassel Tree
Now it’s time to put these Christmas tree tassels to work!
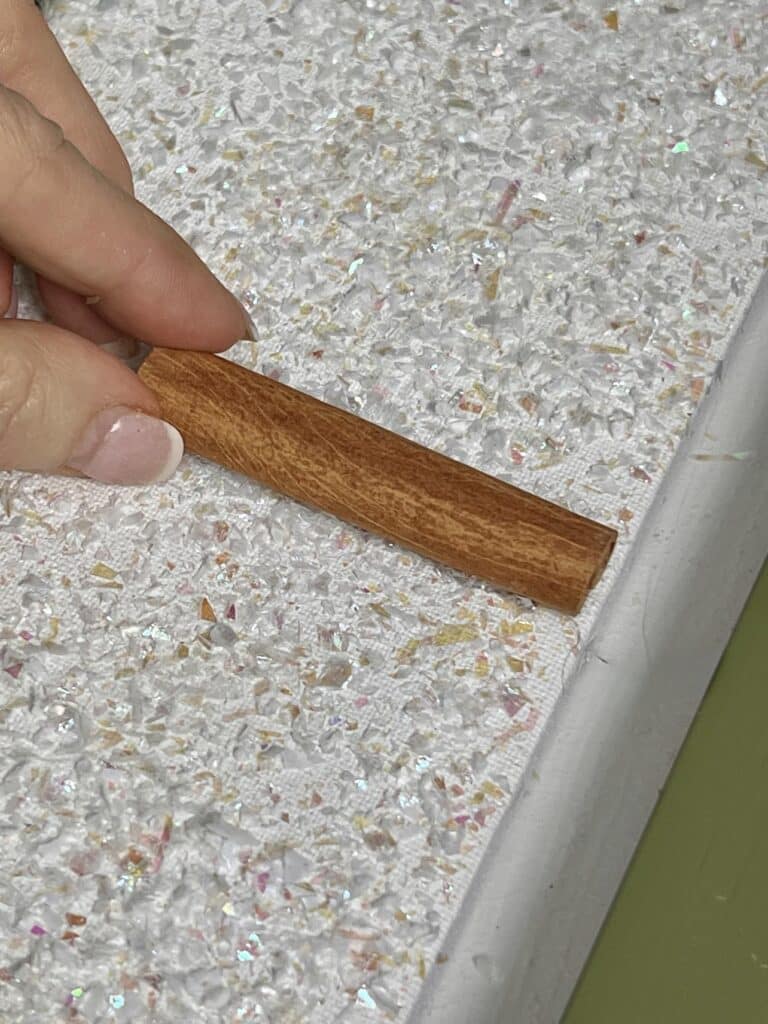
First, hot glue a cinnamon stick vertically in the bottom center of the canvas for the tree trunk.
Then start building your yarn tassel tree from the bottom up.
Using a dot of hot glue on the back of the top knot, attach the first tassel to the canvas just above the cinnamon stick.
Overlap the tassel just a smidge so it looks like a little tree!
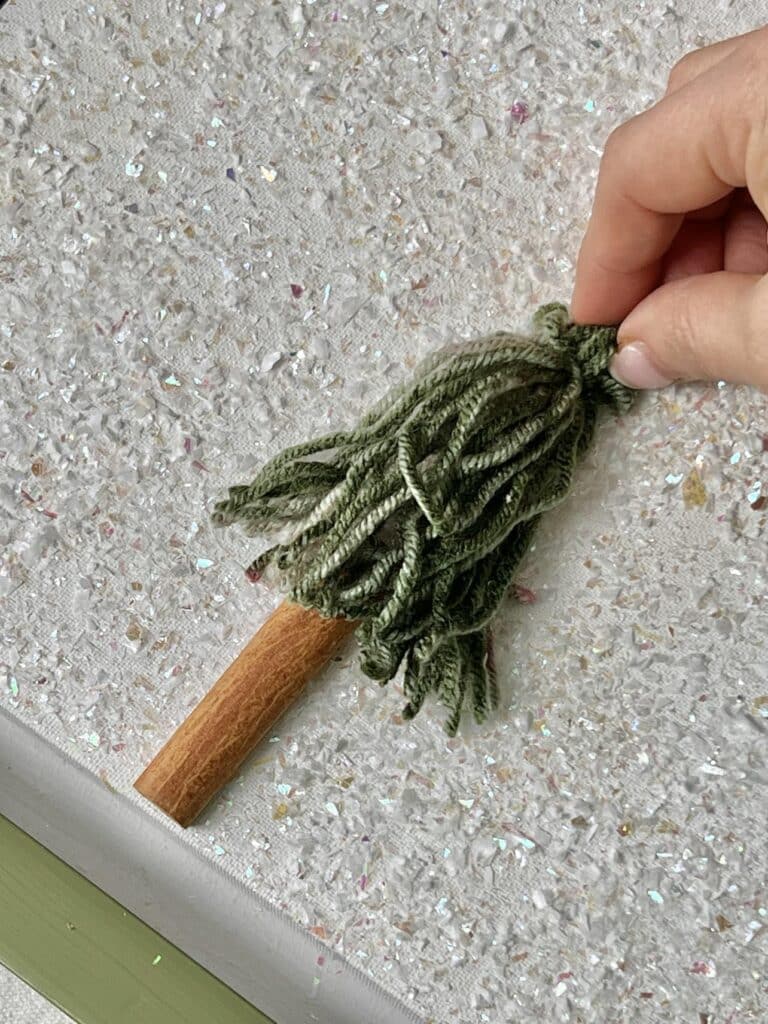
Begin with five tassels in the first row, aligning the center tassel over the cinnamon stick.
For the second row, glue four tassels, spacing them slightly between the tassels below.
Add a third row of three tassels, and a fourth row of two tassels, and top it off with a single tassel as the tree topper.
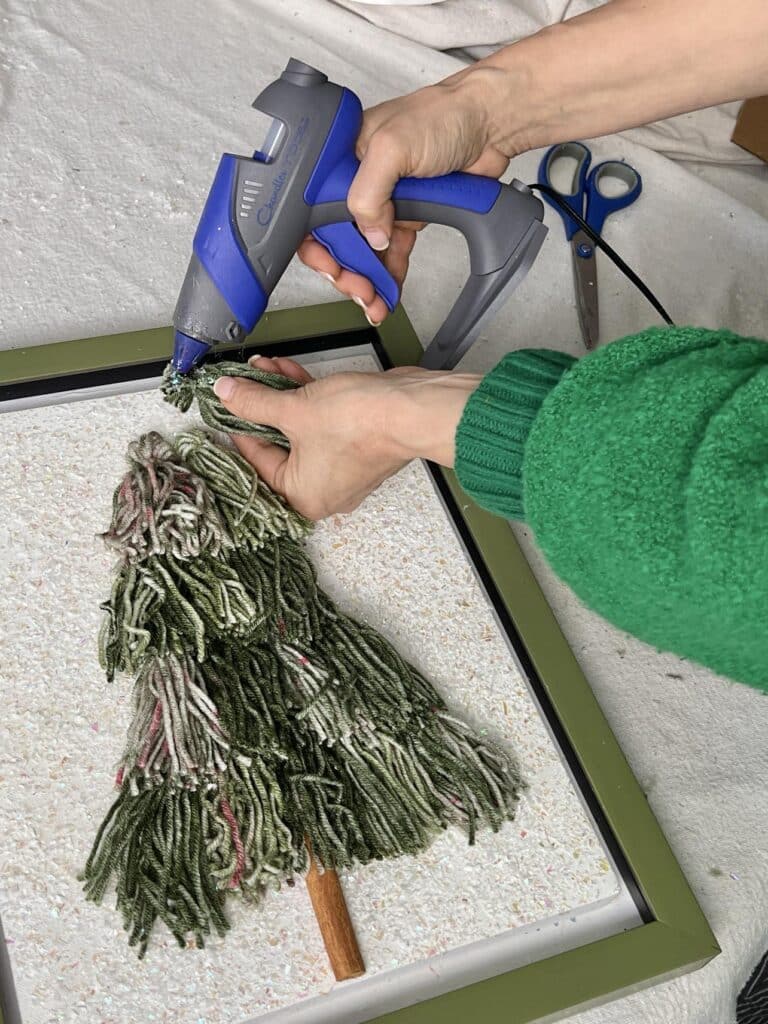
The last step is to gently splay the outer tassels to create a full, fluffy tree shape. The yarn will catch on the faux snow, keeping it in place!
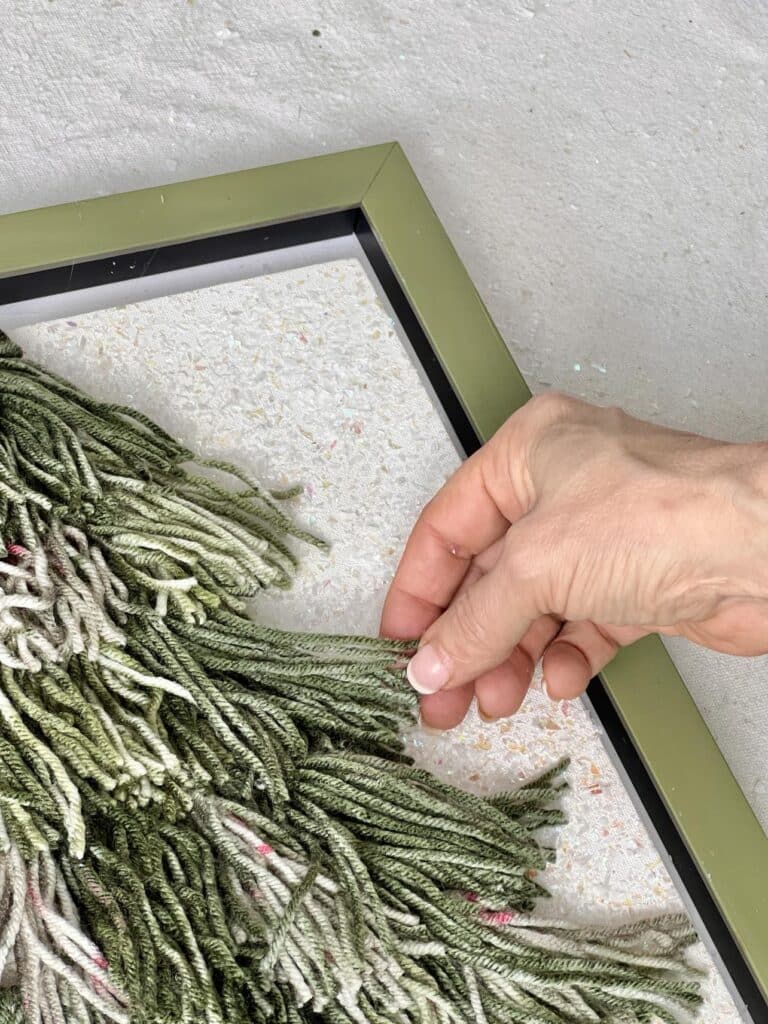
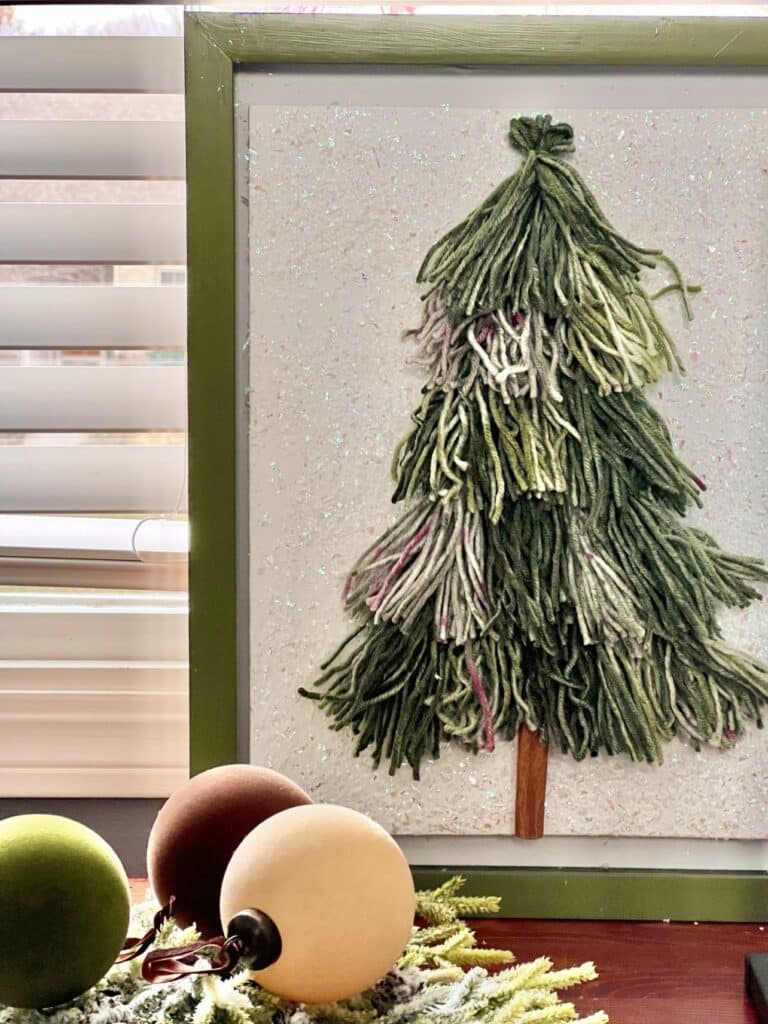
Voila! A charming Christmas tassel tree!
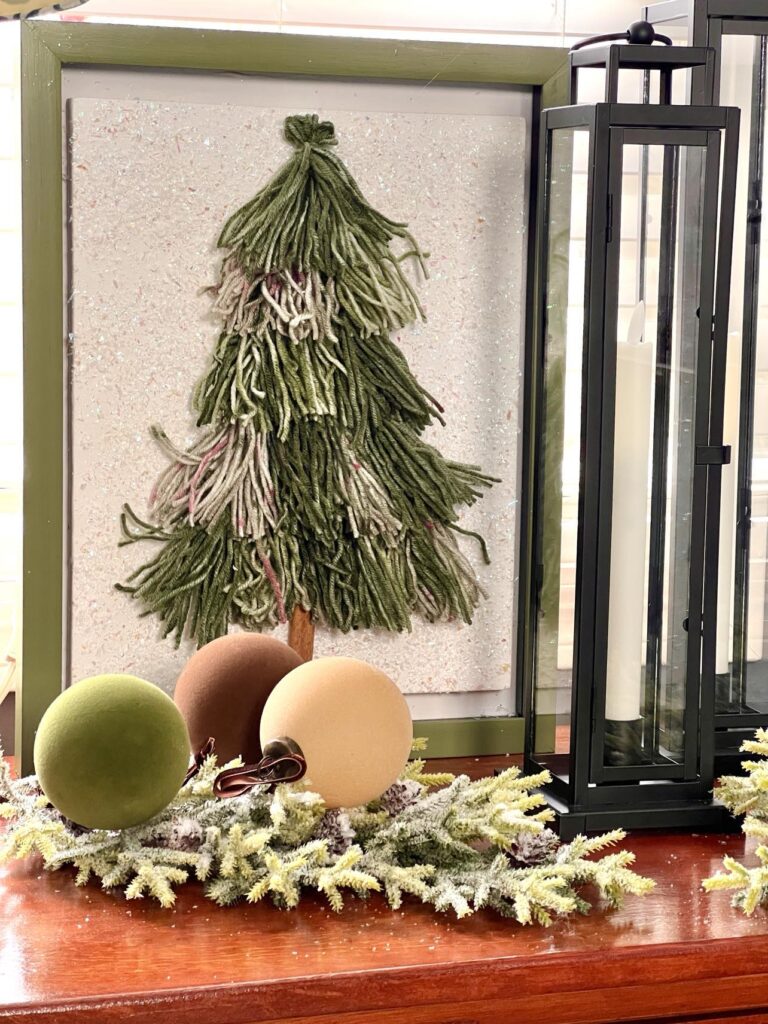
Styling Ideas for Your Christmas Tree Tassel Art
Your tassel tree wall art is ready to shine! Here are some creative ways to style it:
- Hang it as a focal point: Place it above a mantel or console table, surrounded by candles and greenery for a cozy, festive vibe.
- Pair it with a small tree: Set up a miniature Christmas tree nearby for a layered holiday look.
- Create a gallery wall: Add other DIY holiday decor, like framed ornaments or snowflake prints, to build a stunning display.
- Gift it to a friend: Handmade gifts are always special! This charming piece would make a thoughtful present for someone who loves holiday decor.

This Christmas tassel tree is an easy project that combines thrifted finds, creativity, and a touch of holiday magic.
Whether you’re crafting for yourself or making gifts, this yarn tassel tree is sure to bring smiles this season.
Try different colors or tassel sizes to make it uniquely yours!
Cheers!

A Little About Me
Hi! I’m missy. So happy to meet you!
“Decorate with Joy! Live with Happiness”
I truly believe that your home should be a reflection of your personality, a space where you feel free to express yourself and create a sanctuary that feels uniquely yours.
I love creating mood boards, hunting down unique home décor treasures, tackling easy DIY projects, and gathering with family and friends for a delicioHomes are meant to be enjoyed, filled with laughter, and shared with the people you love!
– cheers –
Don’t Forget to Pin It!
Pin the image below to your boards on Pinterest (just click the Pin button in the top left corner). You can also follow along with me on Pinterest!

Christmas DIY’s You’ll Love
Anthropologie-Inspired Alpine Wreath







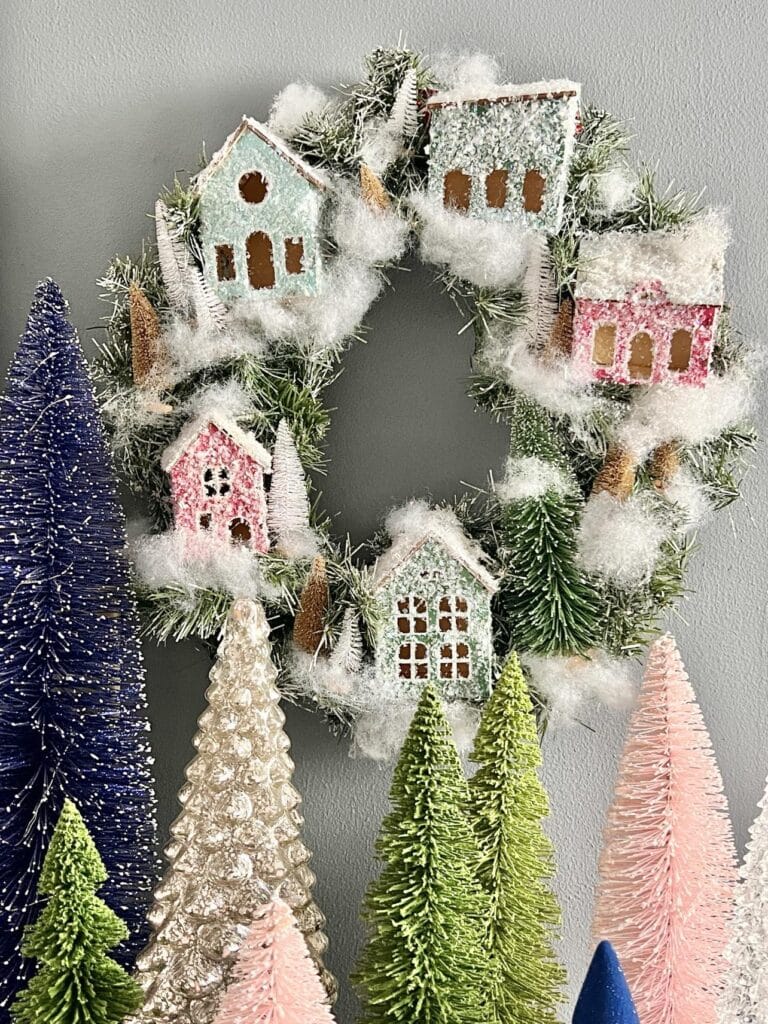


I love your yarn tree. Thanks for sharing your process. Now, I’m heading over to check out your Anthropologie inspired wreath!
Such a cute idea! And it does look fairly simple to create, even for the non-crafty!
Gorgeous, love it
Saw your post at Pam’s Party & Practical Tips: It’s Time to Dare to Share!
My entries this week are numbered #38+39
Hope you will join SSPS https://esmesalon.com/tag/seniorsalonpitstop/
I enjoyed seeing how you made this! Thank you, visiting from #MMBC, Melynda @scratchmadefood!
I love this idea, Missy! The snowy backdrop is the perfect touch!
What a pretty and simple craft, Missy!! LOVE the snowy texture in the background!
Oh my… Missy, this tree is SO fun! Just loving all the texture plus the mix of greens! Genius idea!
This is wonderful! The yarn you used creates such a great texture. Featuring when my link party opens. Wishing you all the joys of the holiday and thank you for sharing your creativity at my party in 2024!
Thank you so much, Carol! I really appreciate it!