From Dull to Dazzling: A Painted Furniture Credenza Before and After
There’s something magical about giving furniture a fresh coat of paint. That old, once-loved piece of furniture you thought was past its prime? With a bit of color and creativity, painted furniture can become standout pieces once again!
This blog contains affiliate links. This means a small commission is earned if you make a purchase by using this link. The price you pay will be the same whether you use the affiliate link or go directly to the vendor’s website using a non-affiliate link. As an Amazon Influencer, I earn from qualifying purchases.
That One Piece of Furniture…
We all have that one piece of furniture we’ve had forever, right?
For me, it’s my beloved wood credenza, which has loyally held our TV, provided storage galore, and somehow managed to stay in great condition through countless style changes.
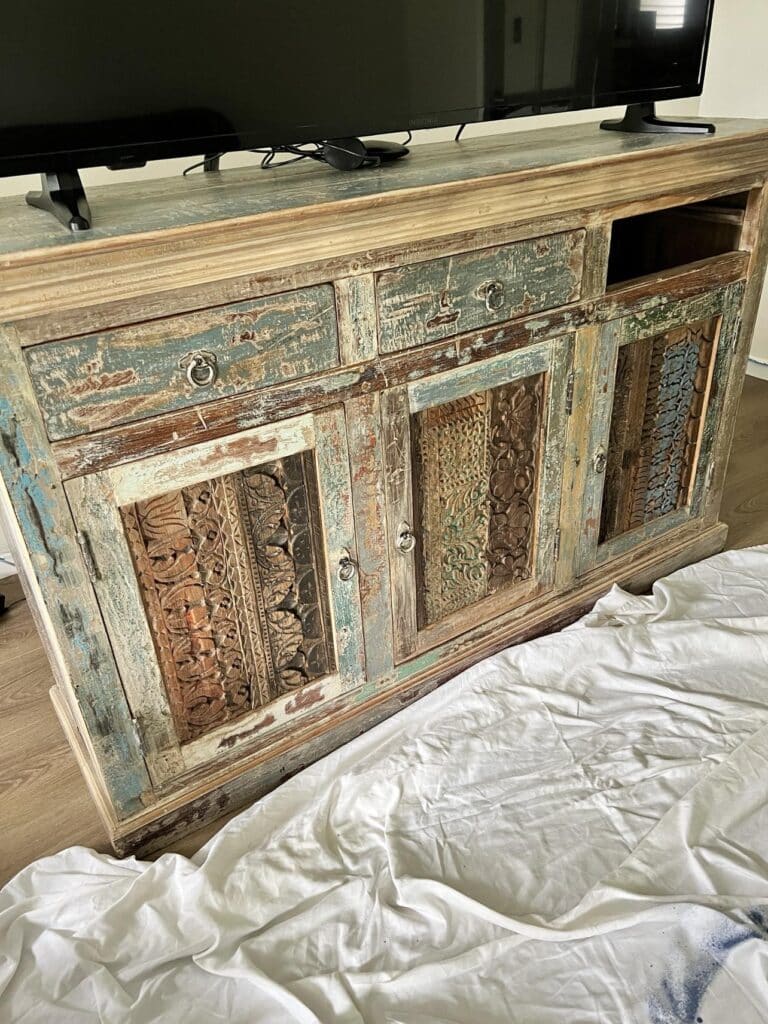
But after 14 years of admiring its distressed dusty teal-blue finish, I finally realized: it’s time for a change!
The same can be said for the entire room. So much so, that I am giving the entire room and credenza a refresh makeover as part of the One Room Challenge. You can see past progress on this project through these links:
Snug and Stylish: TV One Room Challenge Makeover Project
How to Paint French Doors and Love the Results
So as part of this room refresh, my trusty credenza deserves a new life, and I am ready to give it one.
Here’s how I took this well-loved but tired piece and turned it into a stunning, bold blue beauty using the right paint, a bit of patience, and a whole lot of courage! (Believe me, it took courage to take that first brushstroke!)
Plus, I’ll toss in some tips for anyone else thinking of freshening up their own old piece of furniture—and yes, I’ve got you covered on all the little tricks to make this process smooth and (mostly) stress-free.
What is the One Room Challenge?
The One Room Challenge is a fun event that happens twice a year, where designers, bloggers, and home decor lovers come together to transform a single room in just eight weeks.

My project for this fall is a TV room makeover. And a newly painted credenza is going to be a showstopper against the wall!
Check out these links for my past One Room Challenge projects. (One also includes a painted furniture project!)
First Things First: Why This Credenza Needed a Makeover
I almost didn’t write this post.
Because I avoid controversy.
And, painting this credenza could be controversial for some.
From the carving to the shading, this really is a beautiful piece.
But it feels very 2010 to me…when I loved distressed finishes and was just discovering the look of vintage pieces.
I bought this credenza as a brand new piece and with its carved door panels, natural wood peeking through, and slightly rugged appeal, it was perfect…in 2010.
Fast forward 14 years, and let’s just say my style has… evolved.
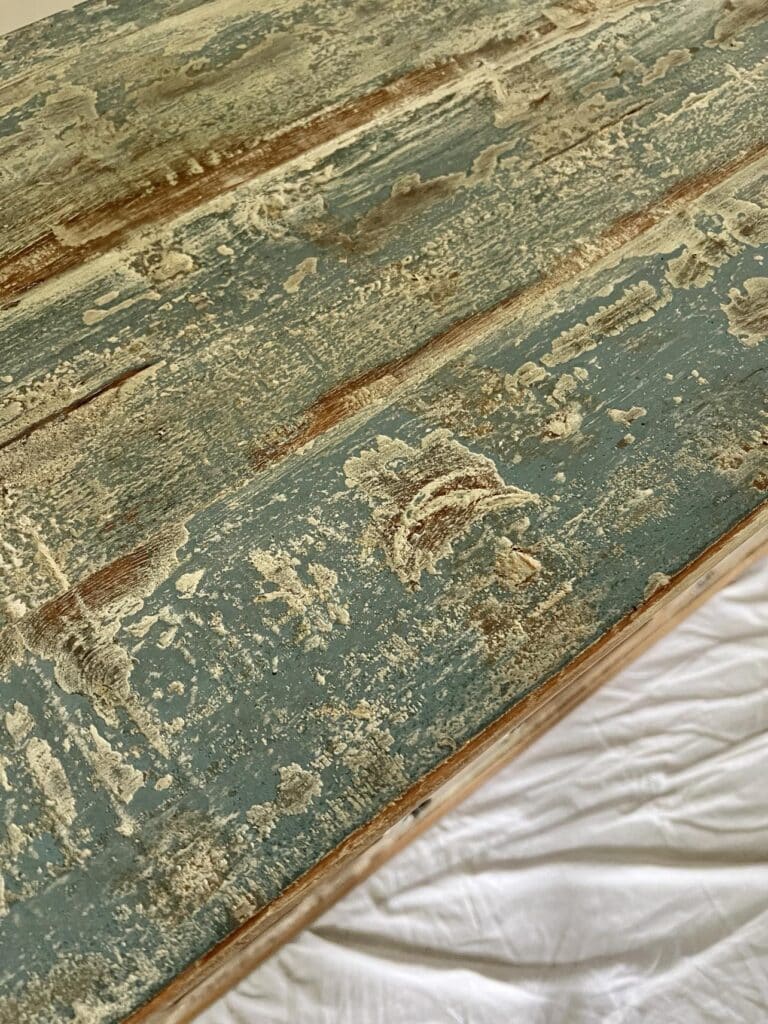
The teal tones that once had me head-over-heels now felt a bit like that old high school yearbook photo you’d rather forget. And while this wood furniture piece is still in excellent condition, it was in desperate need of a facelift.
I get it—some might raise an eyebrow at my choice to paint. But my design mantra has always been (and always will be): decorate for yourself so that when you walk into a room, you smile!
So, after a quick scroll through some inspirational paint colors (hello, Pinterest rabbit hole!), I came across Black Dog Salvage’s “Blue Ridge.”
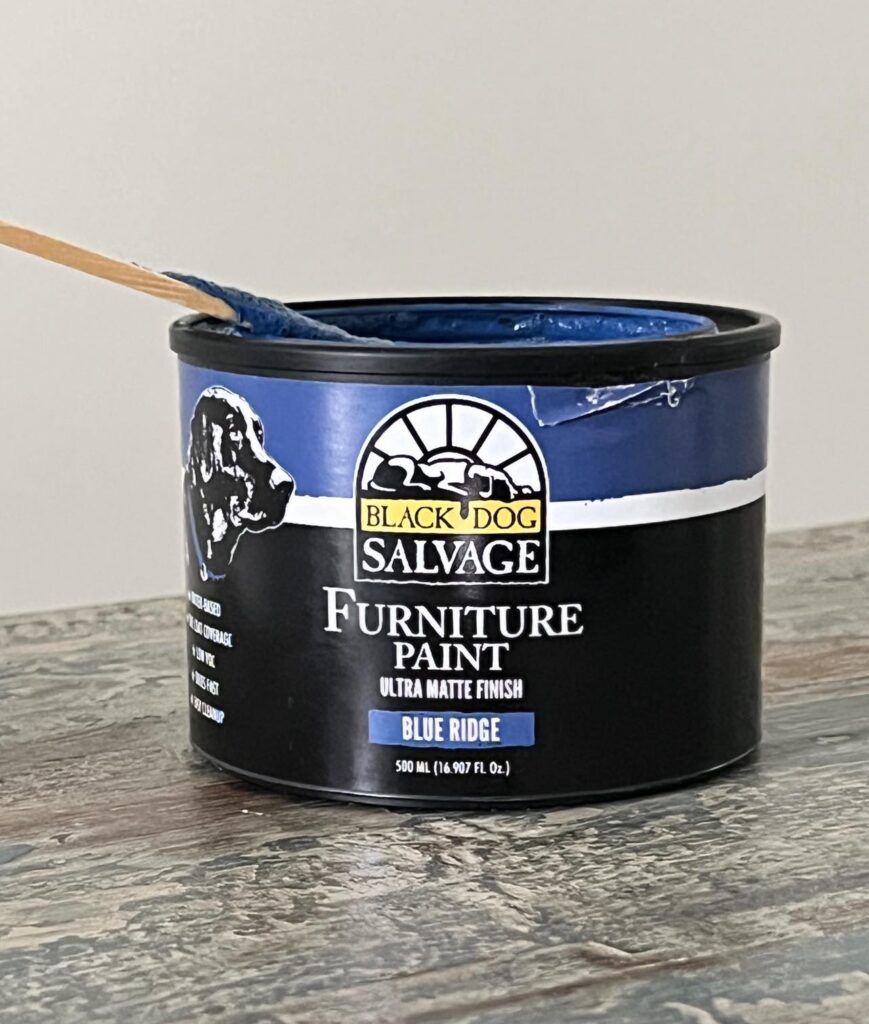
It is a rich, dark paint in a lovely blue tone that makes my heart skip a beat. This type of paint promises a smooth surface with a matte finish similar to chalk paint.
But here is the kicker—no sanding or priming required!
Now that’s what I call the best paint option for people like me who don’t want to spend half their weekend prepping!
Also, I’ve used this paint before in transforming a basic headboard into a colorful Christmas bedroom showpiece! So I know that this brand is awesome for painted furniture projects!
Organizing the Supplies
While I could skip sanding (thank you, self-leveling paint!), I still had to get everything ready.
Here is what I used for this painting project:
- Paint: I used Black Dog Salvage furniture paint in the color “Blue Ridge”
- Top Coat: Again, I used the Black Dog Salvage brand of top coat.
- Dropcloth
- Paintbrush
- Artist brush
Depending on your project, you may also need a small paint roller and tray.
You might also need an assistant!

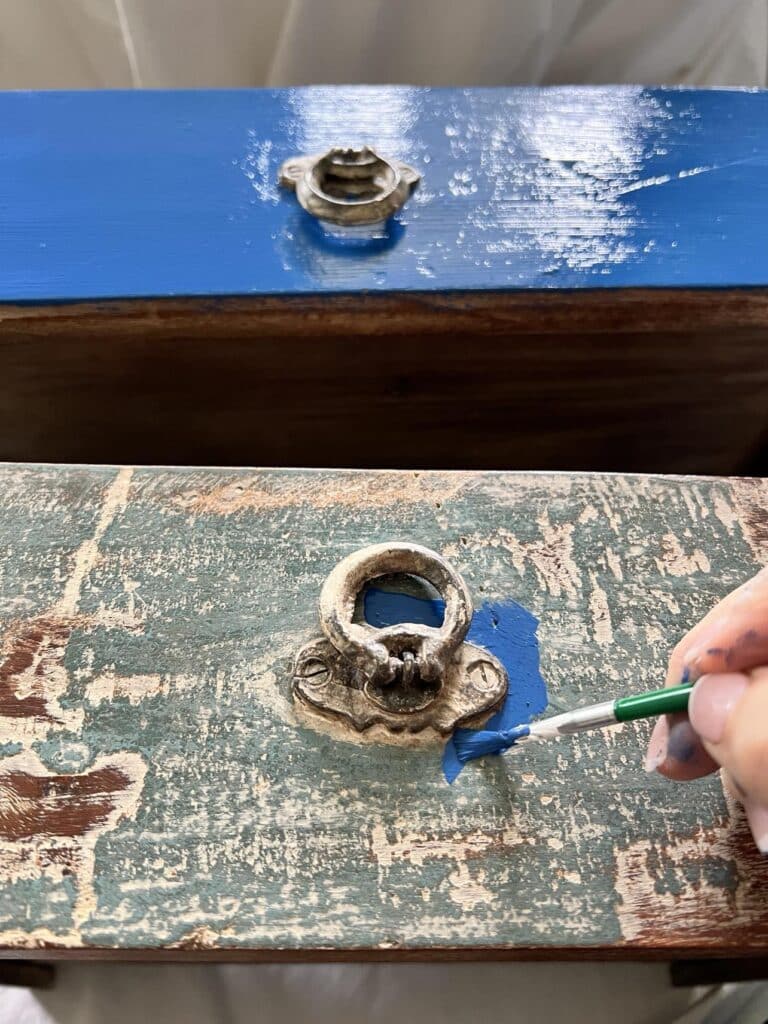
I laid down some drop cloths, moved the credenza away from the wall, and made sure I had all my supplies within reach: paint, brush, and an artist brush for detail work around the door handles.
If you’re thinking, “Why bother with the artist brush?” let me tell you, it’s the best option if you want to avoid accidentally painting your hardware or getting paint the wrong tiny crevice.
Once I was ready, I cracked open the paint, took a deep breath, and dove in!
The First (and Only!) Coat of Paint
I know, I know—coats of paint can be a pain.
But here’s the beauty of the self-leveling magic of Black Dog Salvage’s paint. With just one coat of paint, I managed to cover the entire piece.
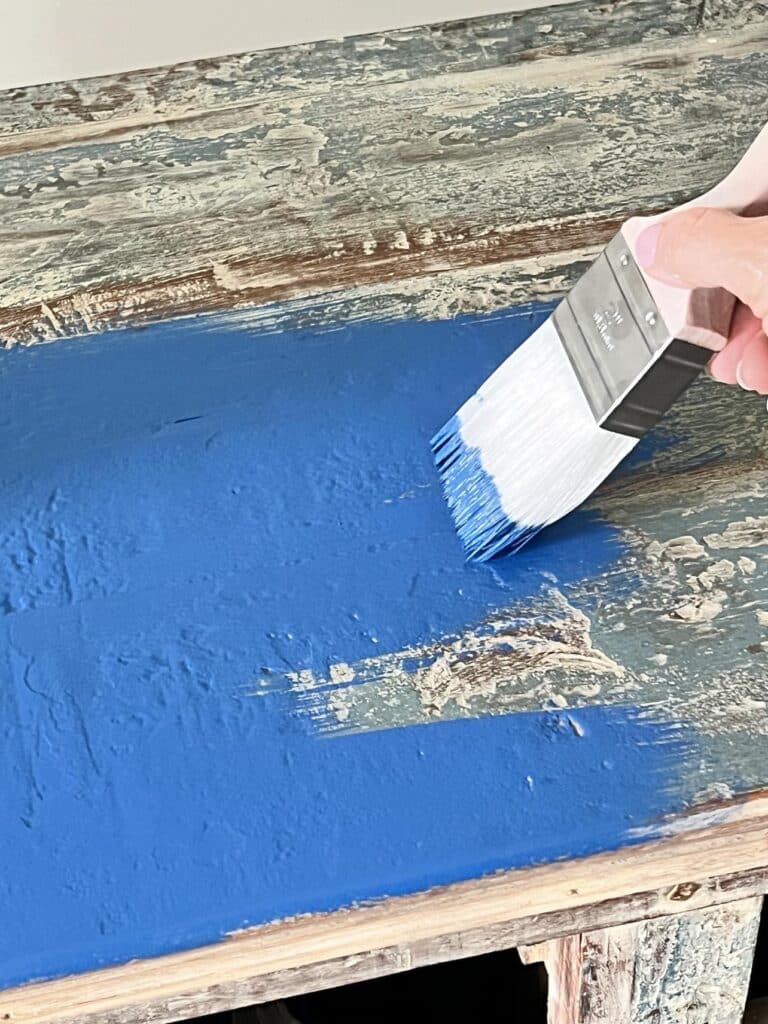
And it didn’t stop there! This paint filled in minor dents and scratches without any wood filler in sight. Painting furniture doesn’t get much easier than this.
The best part? No sanding needed! My brush strokes melted right into the surface and filled major holes and divots.
Now, this piece had an extremely distressed finish. Lots of uneven surfaces.
I actually didn’t want a super smooth finish for this particular project. With this paint, I was able to retain the semi-rough surface that is inherently beautiful in the piece.
Don’t worry…this paint will even out any general unevenness, scratches, or dings beautifully as it self-levels!
Preserving the Carved Details
This was the detail work I was excited about but also nervous about.
The wood carvings on the doors were too beautiful to completely cover, so I decided to get a little creative.
Instead of trying to paint the intricate carving, I just painted around it!
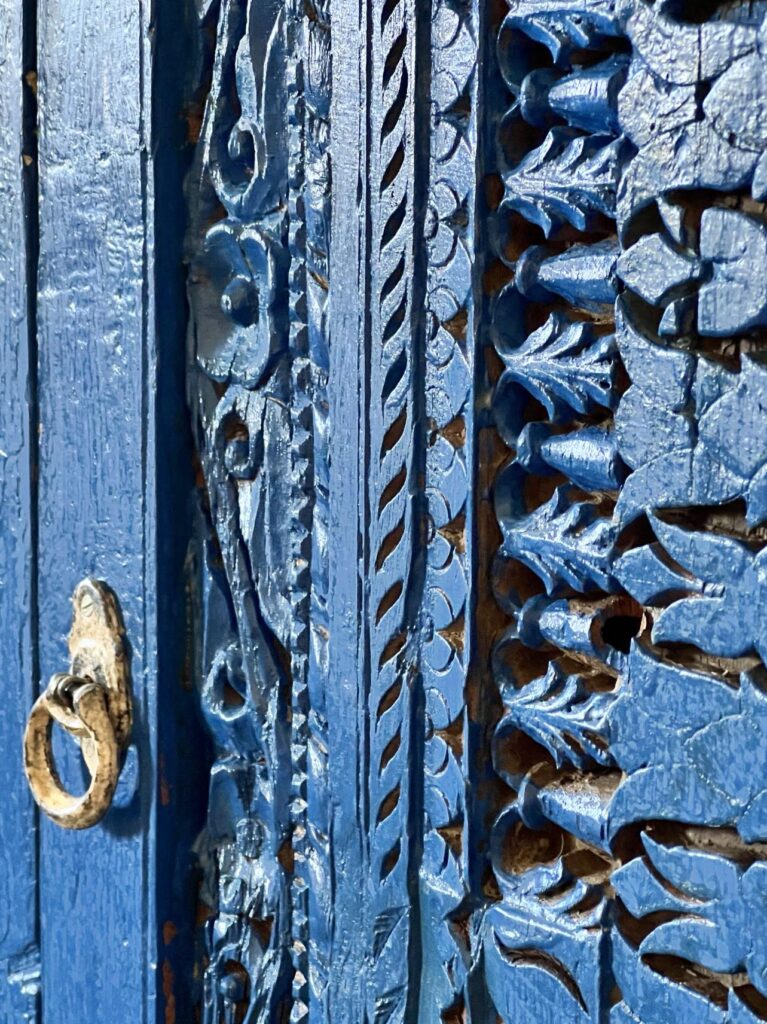
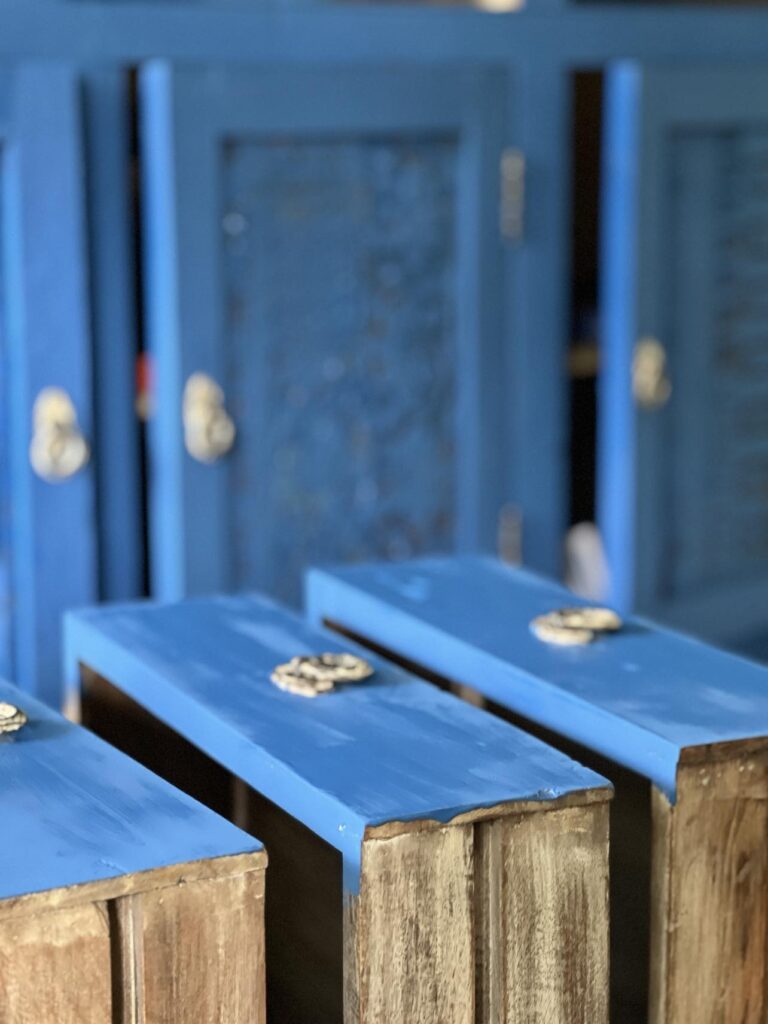
By brushing loosely over the top of the carving, I was able to paint the exterior but still let the natural wood peek through in just the right spots.
Not only did this add dimension, but it kept the credenza’s character intact—like a subtle nod to its original finish while still embracing its new, modern look.
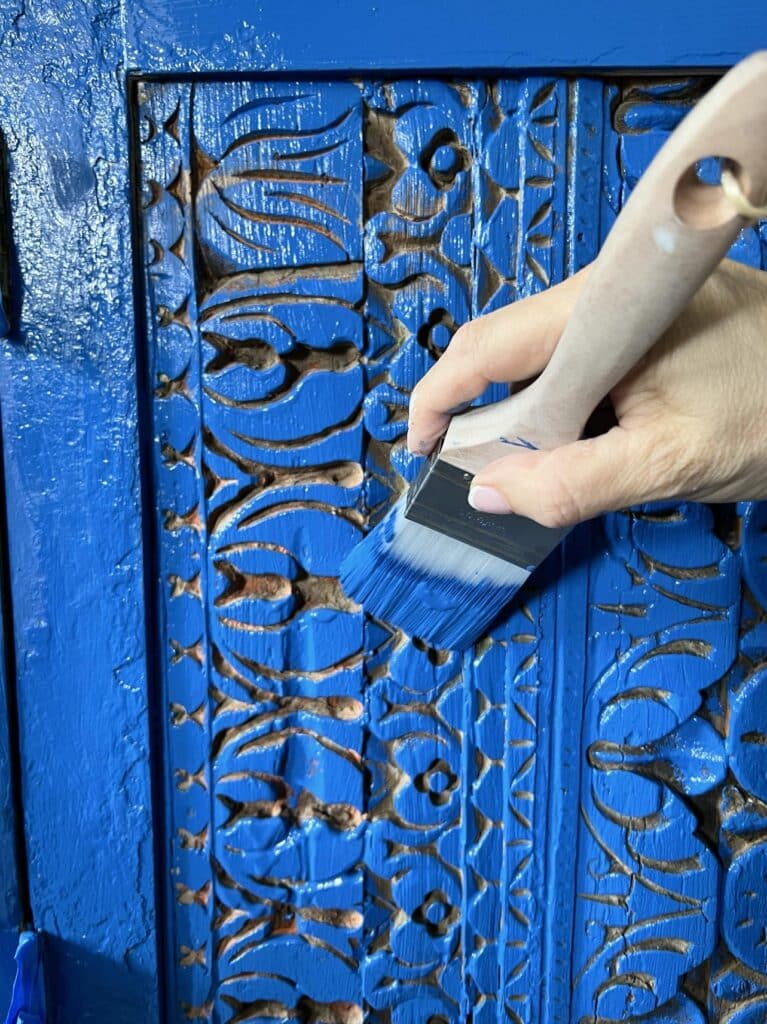
Pro Tip: If you’re working with real wood and want to keep some of its original charm, leaving a few areas unpainted can be a great way to add contrast and texture.
What About the Hardware?
At first, I intended to paint or replace the hardware. But when I tried to remove it with a screwdriver, it would not budge!
So, instead, I kept the hardware and painted around it with an artist’s brush.
My hand is not always the steadiest so I went VERY slowly and kept a damp rag nearby to wipe away any tiny slips.
Once I finished, I was so glad that I kept the hardware. It looks great against the new blue paint color!
Letting It Dry (and Resisting the Urge to Touch It Every 5 Minutes)
I’ll admit it: waiting for the paint to dry was the hardest part.
The Black Dog Salvage website recommends a full 24 hours of dry time, so I tried to stay strong and keep my hands off the credenza. (Emphasis on tried.)
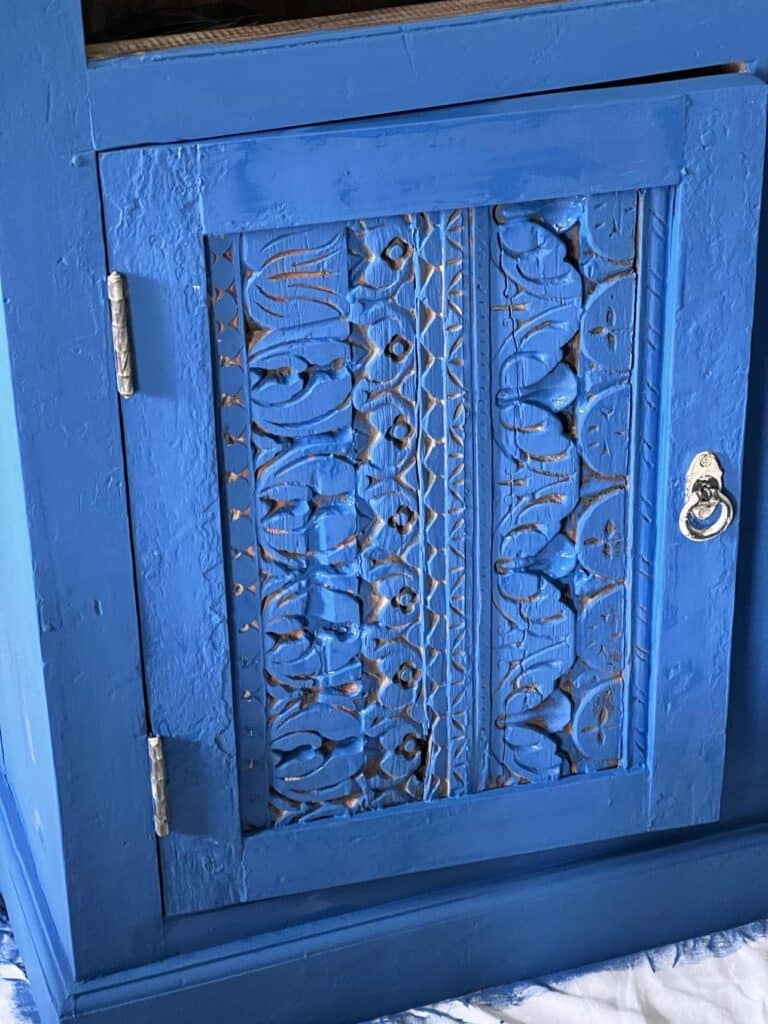
Honestly, it was kind of fun to watch the true shade of blue emerge as the paint dried and the flat finish emerged!
It’s always a good idea to respect the dry time if you want a durable painted surface that lasts in the long run.
Impatience will only lead to touch-ups later—trust me, I’ve learned the hard way!
Adding a Top Coat to Painted Furniture
Once dry, it was time for the last thing: a top coat.
Adding this protective layer is essential, especially for a high-use piece like my credenza. This console will hold a heavy TV with legs that can scratch!
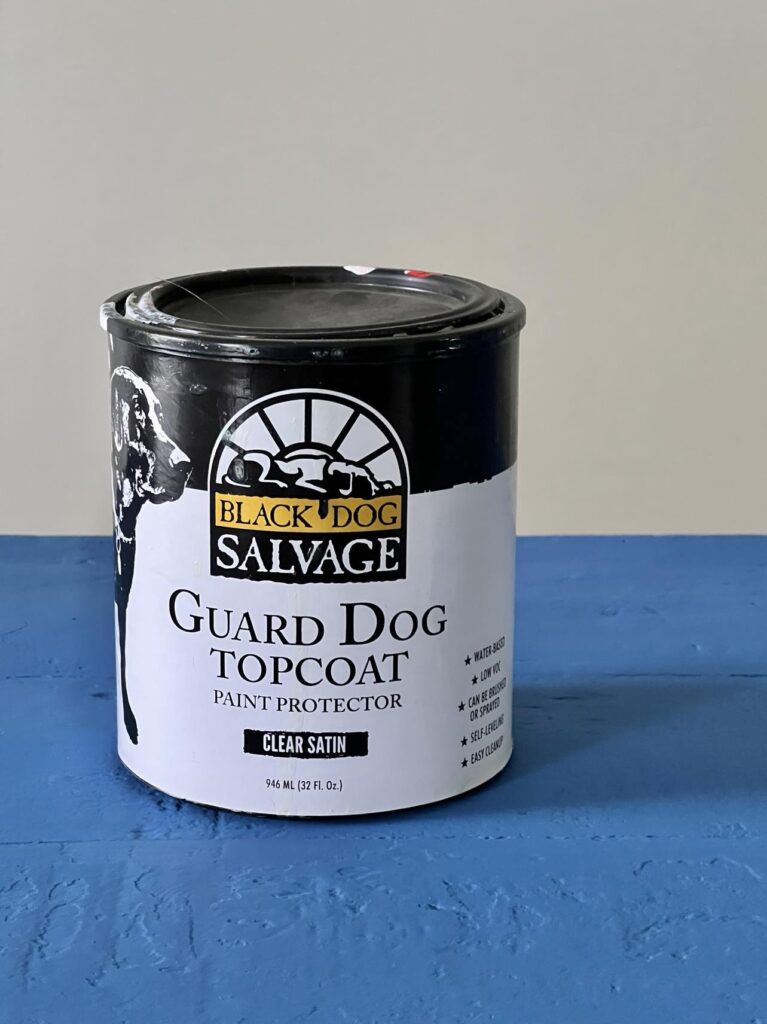
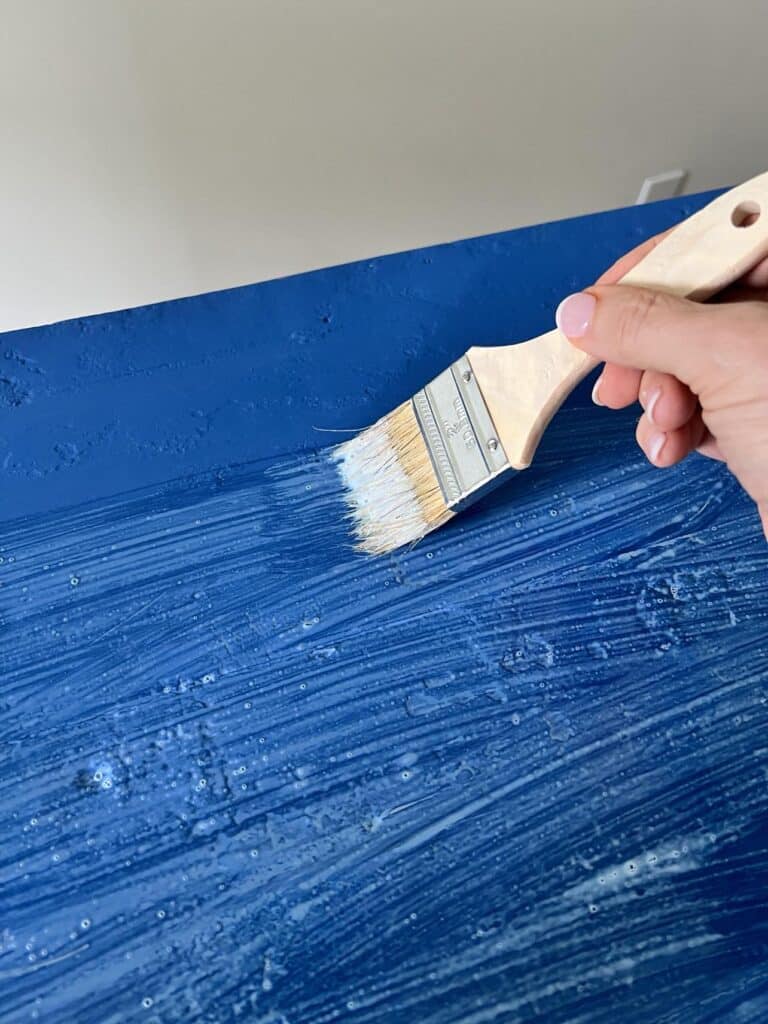
A top coat provides that extra layer of durability and gives a subtle paint sheen that doesn’t overpower the matte finish. In the long run, a top coat helps prevent scratches and keeps the paint looking as fresh as the day you applied it.
Painted Furniture Transformation
When I take a step back, my newly painted furniture looks amazing! I’m in love with the rich, bold blue that pops against the newly painted walls.
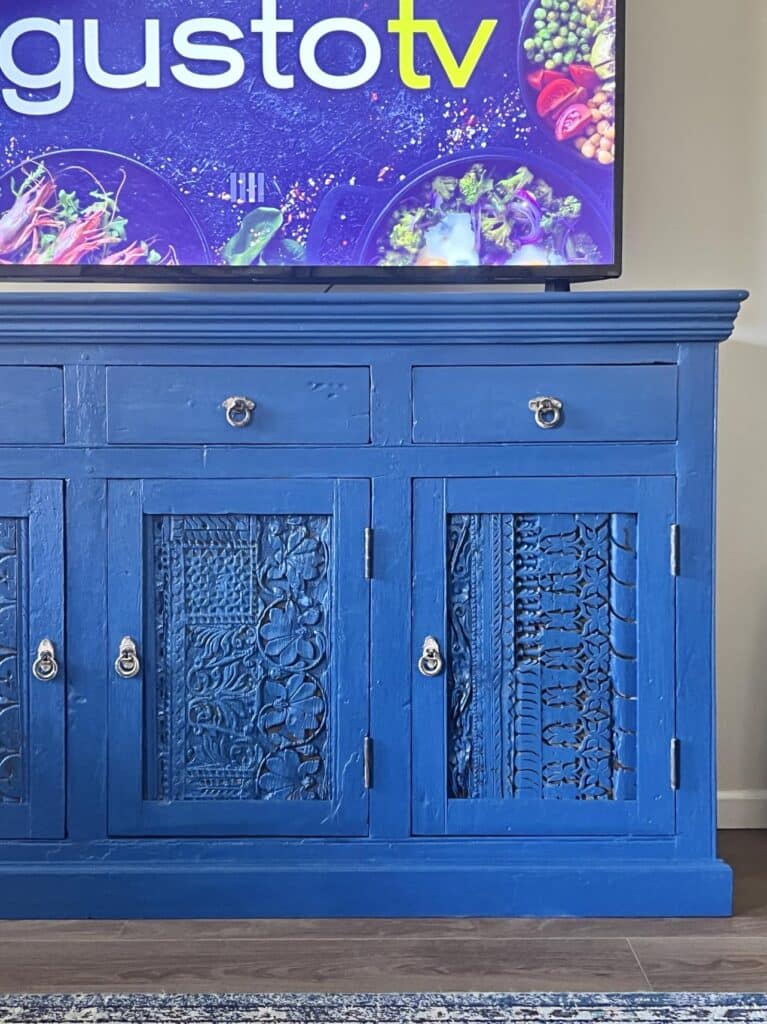
For the time being, the TV will sit on top of it. But that could change. I might hang the TV or decide to do away with the television altogether. (LOL…not likely!)
Regardless, I know that the new paint finish will hold up well.
Every time I look at the credenza now, I can’t help but smile. It feels like a brand-new piece but still holds onto its cherished character.
A Few Tips for Your Own Painted Furniture Adventure
If you’re planning to bring new life to your own pieces of furniture, here’s what I’d recommend:
- Pick the Right Paint for the Job
Self-leveling paints save you a ton of time on prep work and offer a smooth finish without sanding or priming. If your piece is in good condition with no deep scratches, a self-leveling paint will go a long way in making this whole process a breeze. - Protect Your Work Surfaces
Trust me, if you think you can “get away” with not using drop cloths or other work surface protectors, you’ll regret it. Even the most careful painters end up with splatters—just ask my floors…and my pants! - Don’t Skimp on Detail Work
The best results come when you take time with the small things. If your piece has intricate carvings or hardware you want to preserve, a little bit of detail work with a thin brush will keep things looking crisp and polished. - Be Patient with Drying Time
I know the wait can be unbearable, but letting the paint dry completely before adding a top coat is key. Rushing only leads to smudges, touch-ups, and uneven surfaces. - Celebrate the Transformation!
Painting furniture is more than just a quick fix—it’s a way to make your space feel new and personal. So, once it’s dry, step back and enjoy the results. If you’re anything like me, you’ll find yourself admiring your work every time you walk into the room.
Final Thoughts on Painted Furniture
This furniture makeover reminded me of why I love DIY projects. Painting furniture lets you keep the pieces you love, breathe new life into them, and personalize your home in a way that reflects your style.
With a little patience and the right materials, you can turn any wood furniture piece into a bold, beautiful focal point that will last for years.

If you’re on the fence about painting a piece you’ve had for a long time, take the plunge!
It’s a fun project with a big payoff, and who knows—maybe your own home will feel a little more “you” afterward.
Check back for follow-up posts for this One Room Challenge TV room transformation!
Cheers!

A Little About Me
Hi! I’m missy. So happy to meet you!
“Decorate with Joy! Live with Happiness”
I truly believe that your home should be a reflection of your personality, a space where you feel free to express yourself and create a sanctuary that feels uniquely yours.
I love creating mood boards, hunting down unique home décor treasures, tackling easy DIY projects, and gathering with family and friends for a delicioHomes are meant to be enjoyed, filled with laughter, and shared with the people you love!
– cheers –
Don’t Forget to Pin It!
Pin the image below to your boards on Pinterest (just click the Pin button in the top left corner). You can also follow along with me on Pinterest!





Love it, Missy! The color and natural peeking out. Perfect!
Thanks, Leslie. I was really nervous to paint it but I love how it came out. Have a great week!
This turned out so good! I absolutely love the color. Blue is always my favorite!
Hi Jackie, Blue is my favorite too! And this shade is amazing!
Oh my gosh, Missy! It looks incredible!! What a beautiful color blue!! I get it with outdated pieces of furniture but you did such an amazing job of bringing this piece back to life!
Thanks, Rachel! The paint I used did most of the work!
I actually really liked it “before” but it looks great painted blue too. It’s such a great piece of furniture. Definitely a “keeper” and a conservation piece. Visiting from Thinking Out Loud Thursdays.
Believe me, Amy, I wrestled with whether to paint it or not. It ultimately came down to the fact that I was thinking about it all the time. So I figured I might as well just jump in and start painting!
Love this! The color is fabulous! Thanks for linking up to Thinking Out Loud Thursday!
Thank you so much, Penny! Love linking up!
What a transformation. Thanks for sharing with us at Create-it link party. https://tryit-likeit.com/link-party-it/
Thank you, Janet!
I love the update! I also have a blue tv cabinet (once black and brown) and my black wood front doors are now a bright shade of blue as well! Gorgeous job my friend!!
Thank you, my color loving friend!