From Basement to Branch: A DIY Outdoor Chandelier
Do you have an old chandelier? Found a “thrifted” light fixture? See how I take an indoor light fixture and give it a romantic outdoor makeover!
What to do with a light fixture that has been replaced in your home?
And no one wants to buy?
And is taking up room in the basement storage room?
We have such a fixture.
Glass globe shades, geometric arms, and the longest hanging chain ever.
This fixture just lived out her time, was well loved, and was eventually replaced when we redid the kitchen.
This blog contains affiliate links. This means a small commission is earned if you make a purchase by using this link. The price you pay will be the same whether you use the affiliate link or go directly to the vendor’s website using a non-affiliate link.
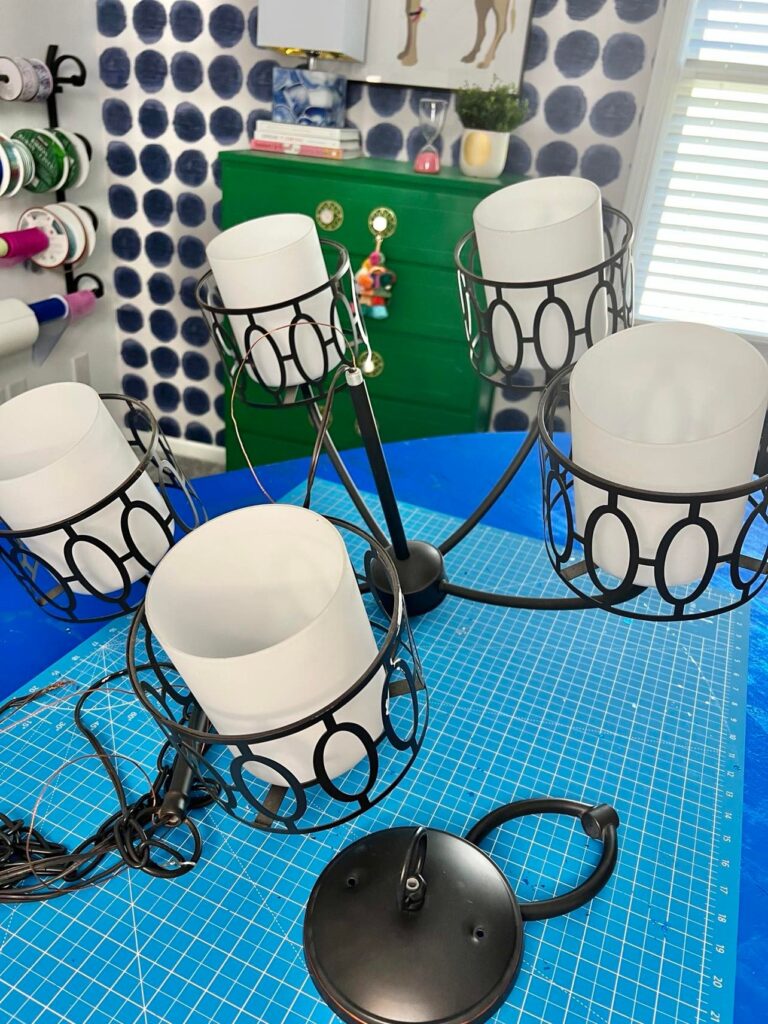
She hung for years over our dining table.
We gathered for dinner under her welcome glow and ate pancakes, my husband’s special chili, and our Christmas morning quiche.
I tried to sell her on Marketplace several times…but no takers.
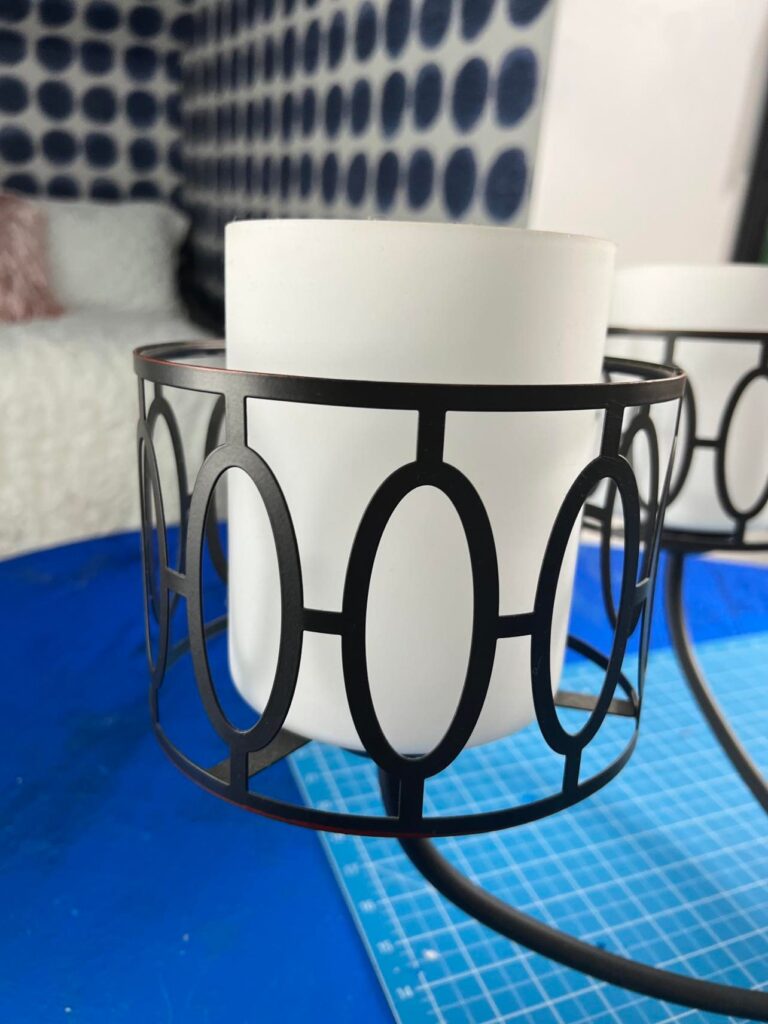
Time to take matters into my own hands! (because she was awkwardly taking up room in the storage room.)
A light fixture makeover is in order!
No room inside…let’s hang her outside!
Here is What I Did!
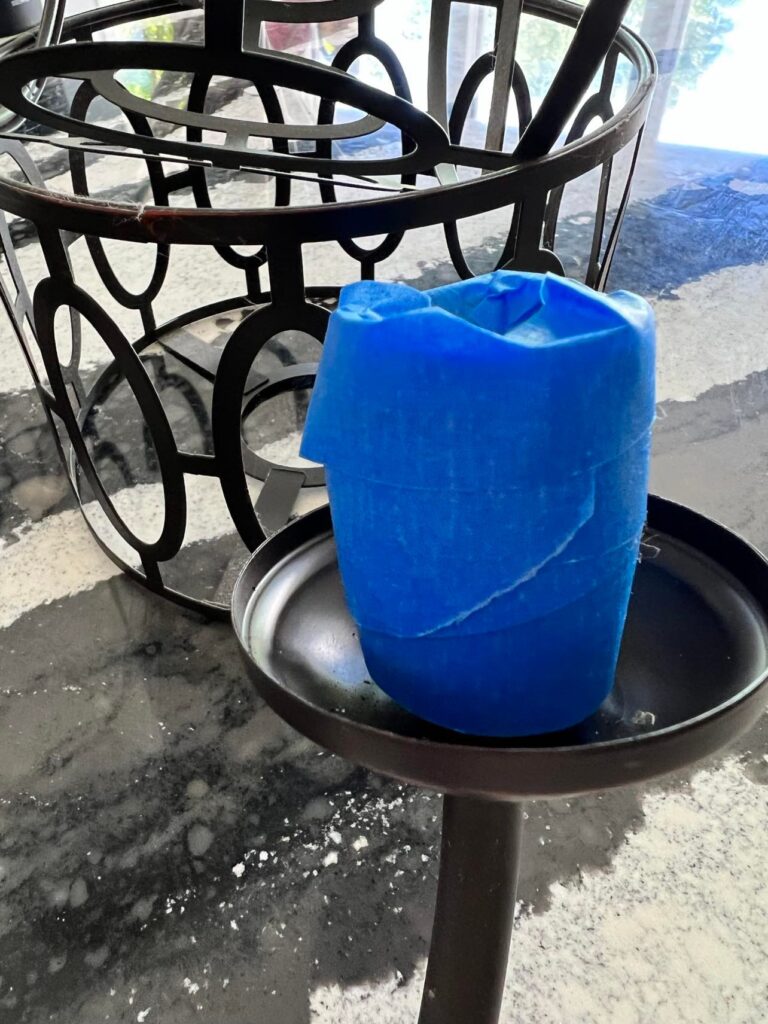
After removing all electrical wiring (this fixture is going to be outdoor “candlelight), I taped off the light sockets.
This was not for safety reasons as all the wiring was gone. It was so the glass globes would screw back in easily after I paint.
Paint???
You betcha!
(You know me too well!)
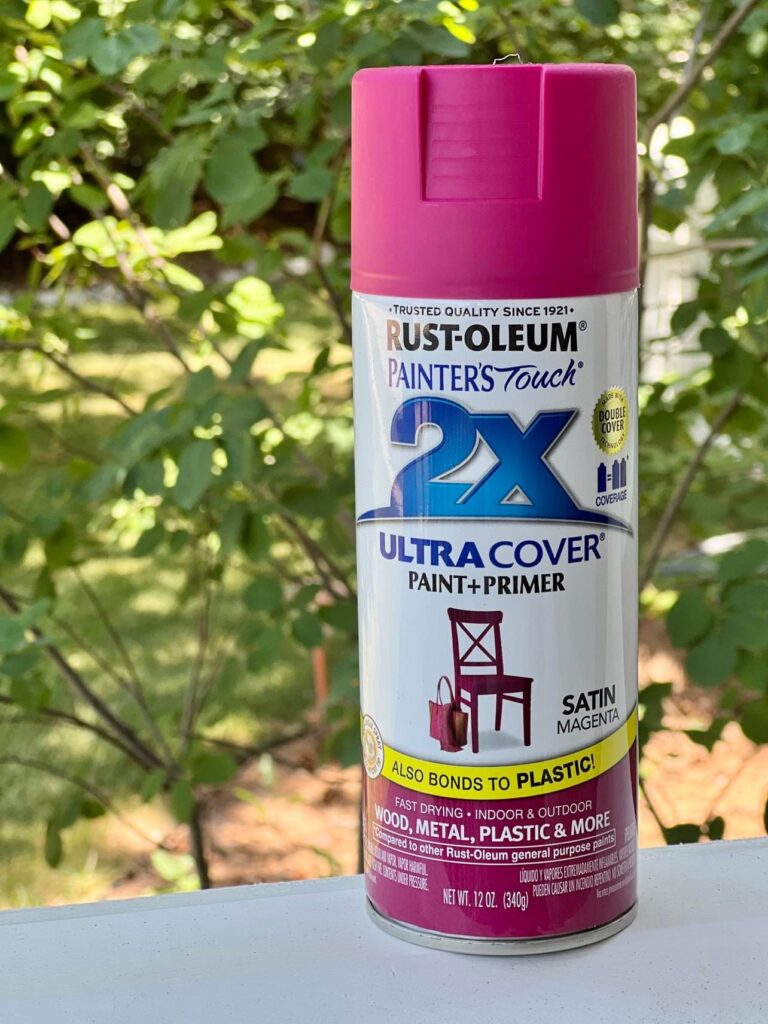
Rust-Oleum is so often my go-to spray paint. I chose their Painter’s Touch 2X Ultra Cover in Satin Magneta because it is paint and primer in one can.
And the glorious color is strong enough to stand out among lots of leaves. (That’s a clue as to where I am going to hang it!)
Talk about a beautiful time saver!
After placing the fixture on the gnarliest old bed sheet I could find (never throw out those old sheets!), I started spray painting.
Painting Patience
Long sweeps of color…
Let dry…
Sweep it again…
Dry…
Keep layering the color…
Spray painting does require some patience…particularly on a windy day like this day!
And then, all of a sudden, a painted fixture emerges!
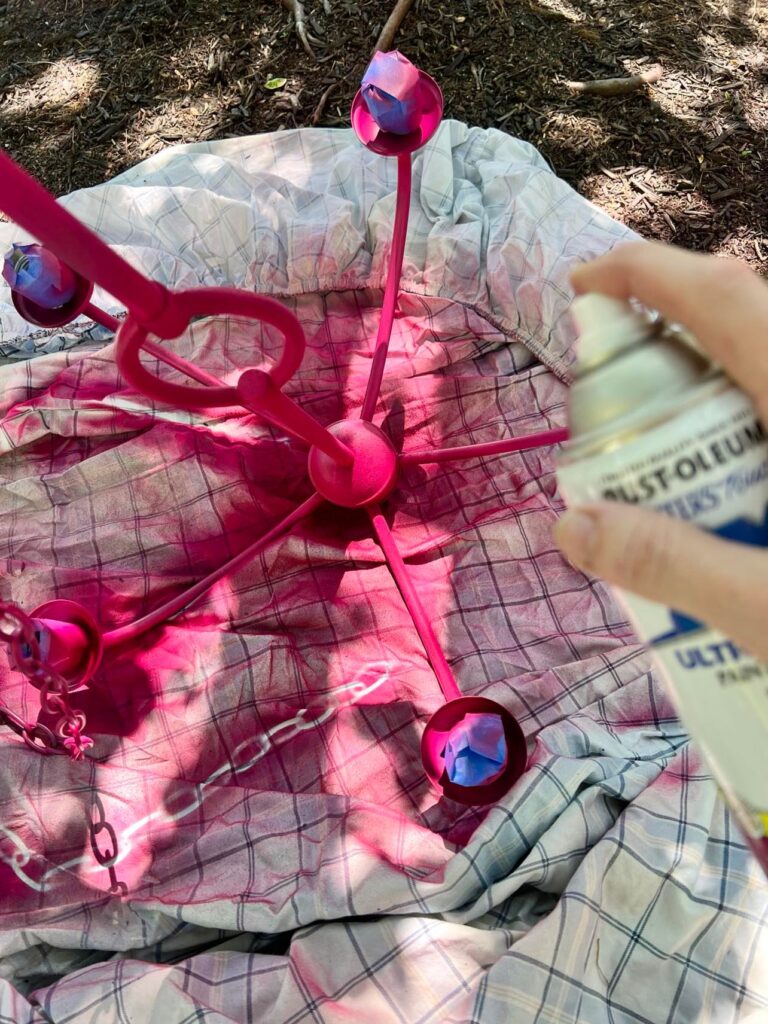
Can’t forget the glass globe cages!
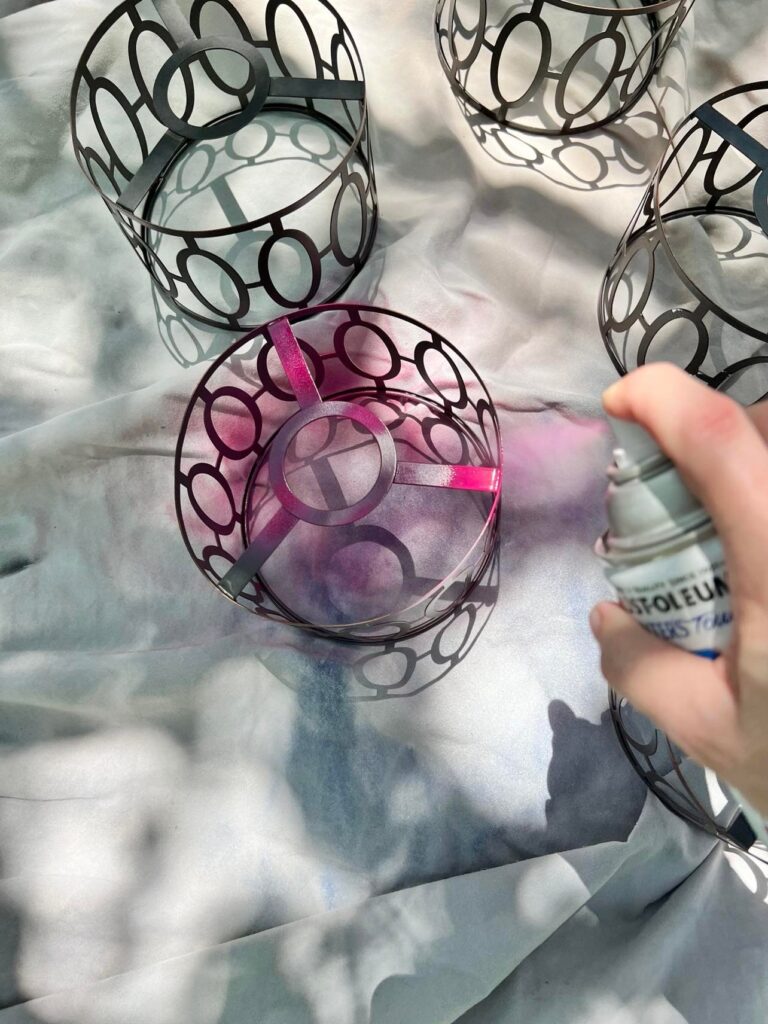
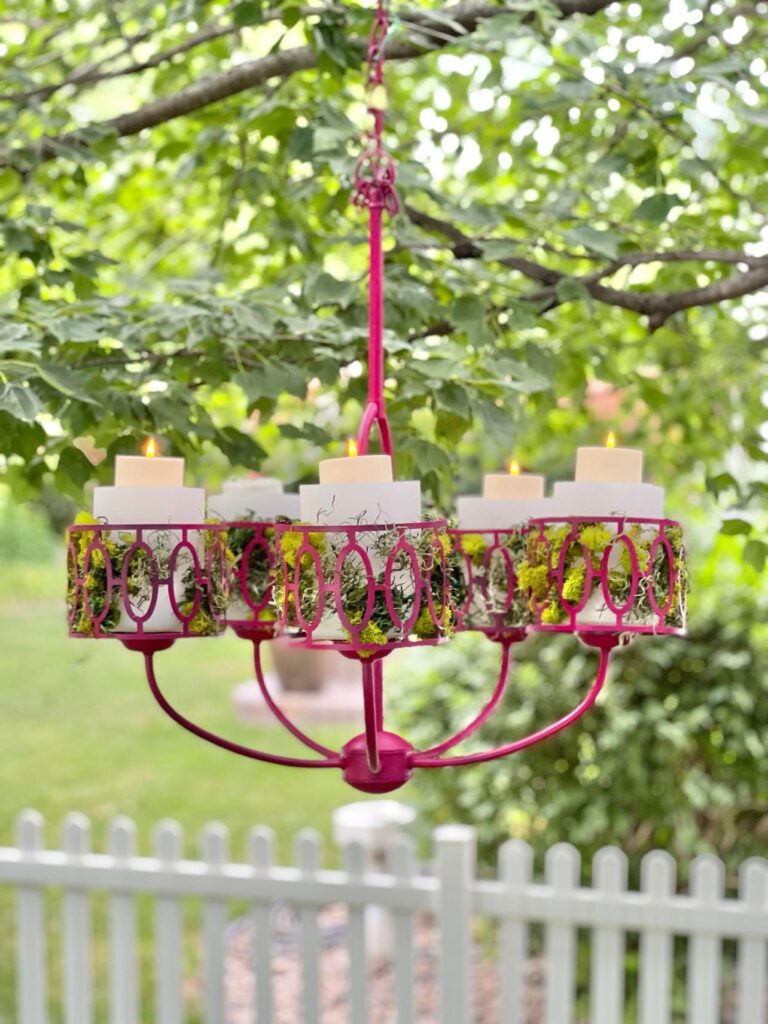
I stuffed a little moss between the glass globe and the “cage” for a little romantic texture!
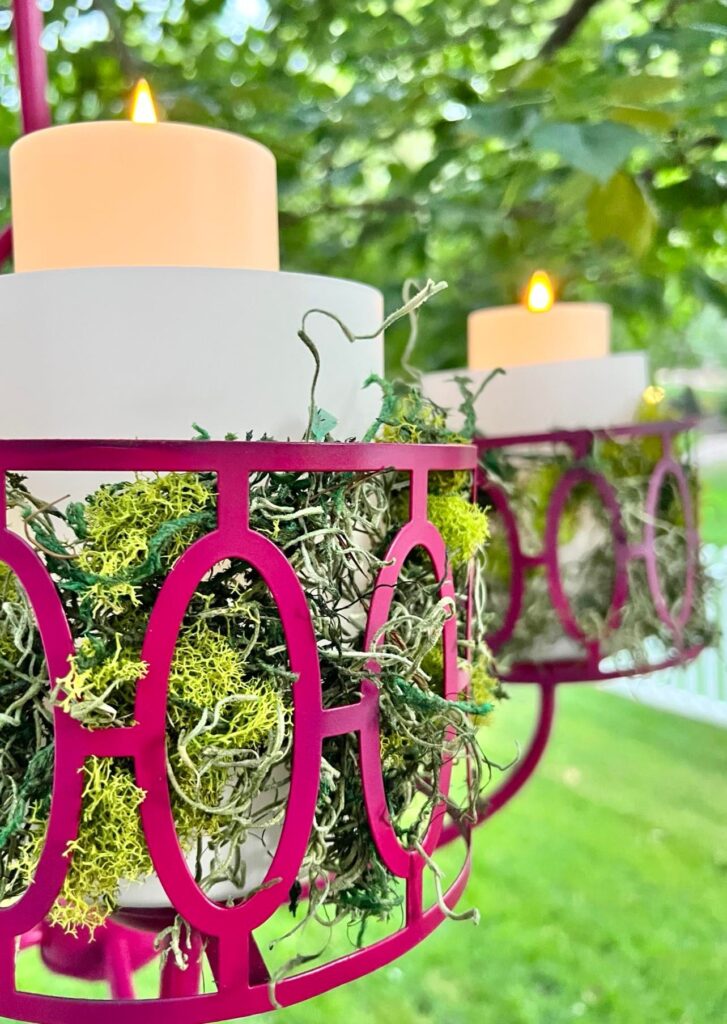
And added my faux candle pillars from Lights.com.
Have I mentioned I use these candles everywhere!
The perfect way to light up your fall, winter, spring, or summer!
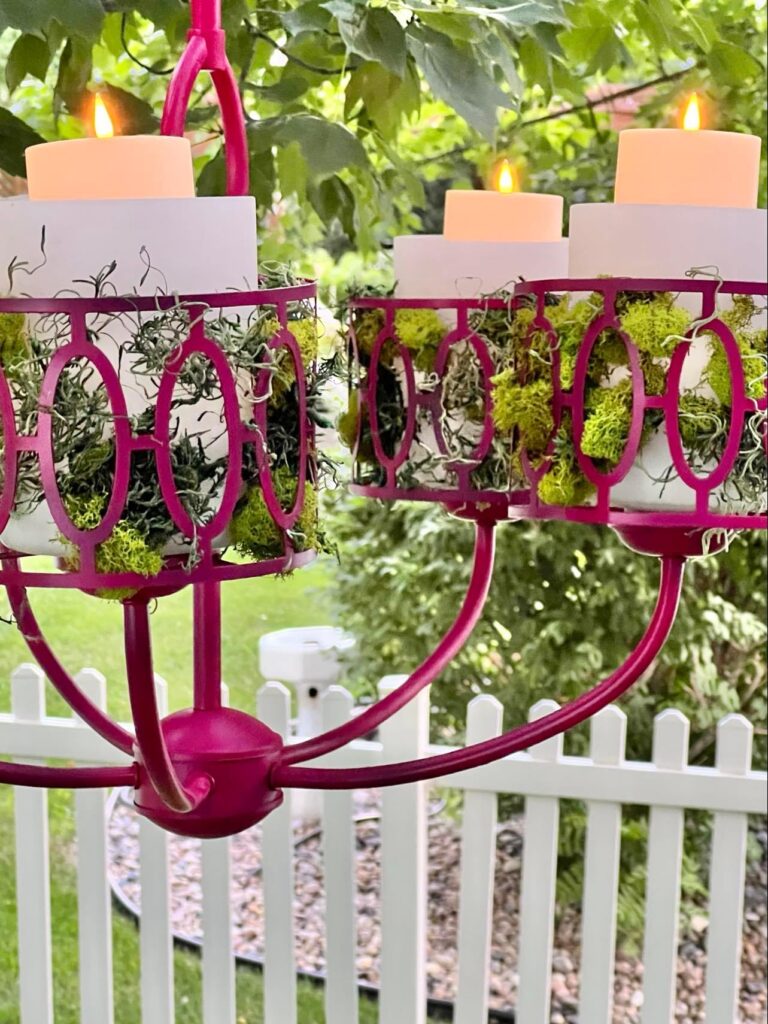
Final hanging location?
Underneath our favorite maple tree that shades our backyard patio!
The magenta pops, the candles flicker beautifully at night, and we have a beautiful outdoor instant ambiance!
From the basement to branch…we are loving this transformation!
Cheers!

Whether high or low, there are so many options for outdoor lighting! Here are just a few…
Looking for a new light fixture indoors? Here are a few of my favorites!


