Easy DIY Tips: How to Paint French Doors and Love the Results
Knowing how to paint French doors can seem like a daunting task. But trust me, it’s easier than it looks! As part of the One Room Challenge, I gave my interior French doors leading into the TV room a fresh new look with paint. The results were stunning, and the entire process was simpler than I expected!
This blog contains affiliate links. This means a small commission is earned if you make a purchase by using this link. The price you pay will be the same whether you use the affiliate link or go directly to the vendor’s website using a non-affiliate link. As an Amazon Influencer, I earn from qualifying purchases.
A Makeover for French Doors
I’m making progress on my One Room Challenge room!

I’m excited to share the first steps in transforming my TV room, which starts with painting the walls and the French doors leading into the space. Fresh paint can make a world of difference, and I can’t wait to see how paint breathes new life into this cozy spot.
If you would like to follow the journey of this ORC room makeover, just click HERE!

First up…the walls!
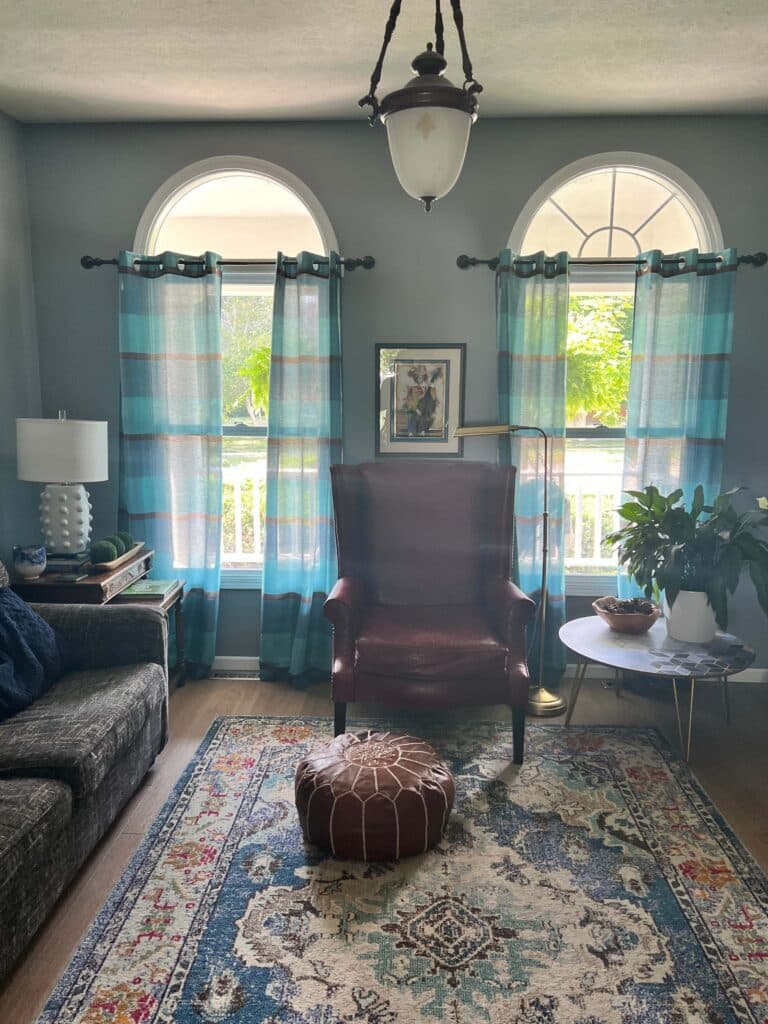
I’m going from my “Grey Period” to my “Light Everything Up” period.
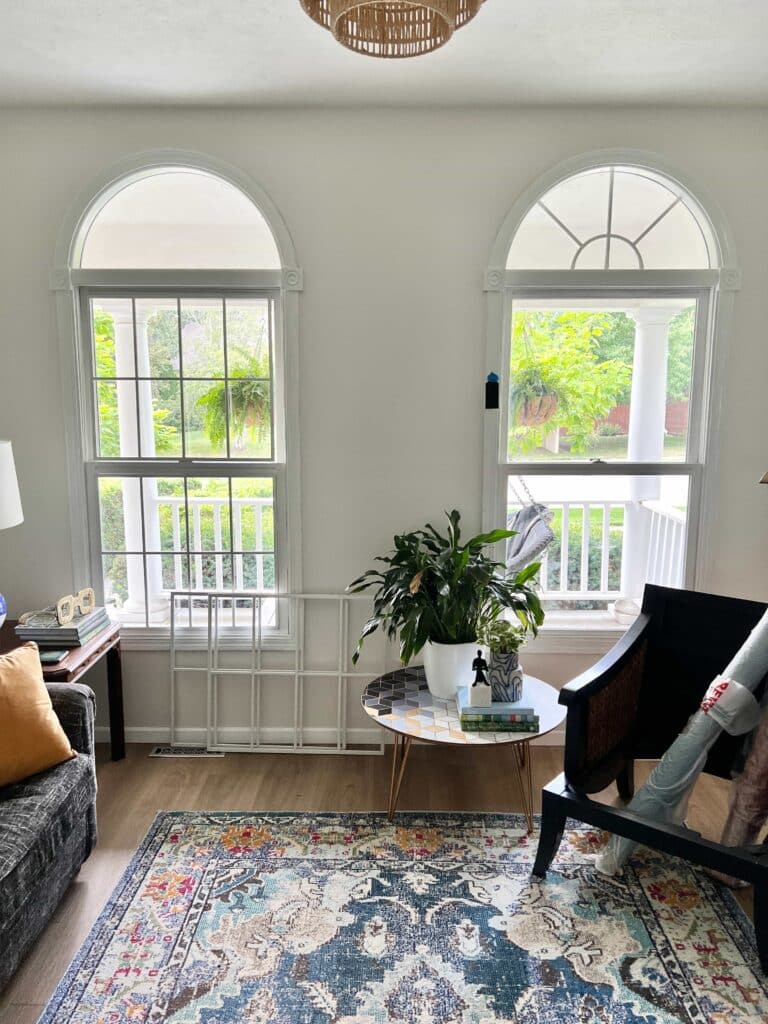
A couple of coats of a fresh, bright creamy white color covered the grey and instantly brightened the room.
From dark cave to luminous space…the difference in the overall brightness of the room is HUGE! I already feel happier in the lighter, brighter space!
Next up…the French doors!
Why Paint Your French Doors?
A fresh coat of paint can transform sets of French doors into an elegant feature in any room.
For me, these doors connect two different spaces—our bright living room and our cozy TV room.
I had painted doors white years ago. At the time, the white popped against the grey wall color.
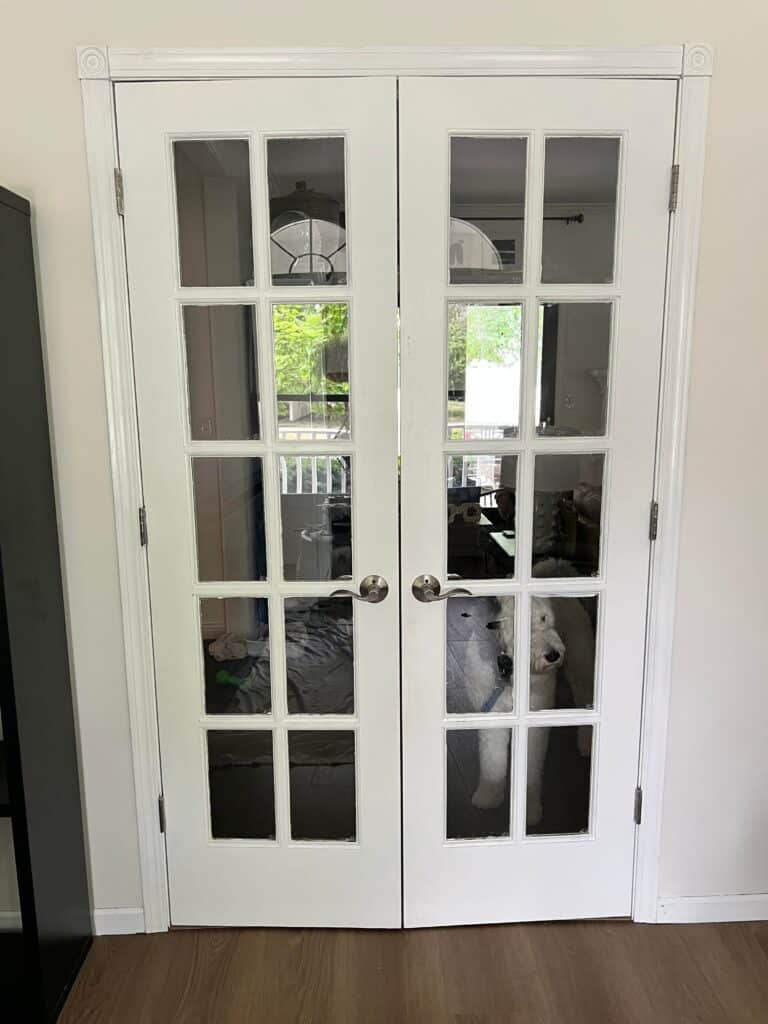
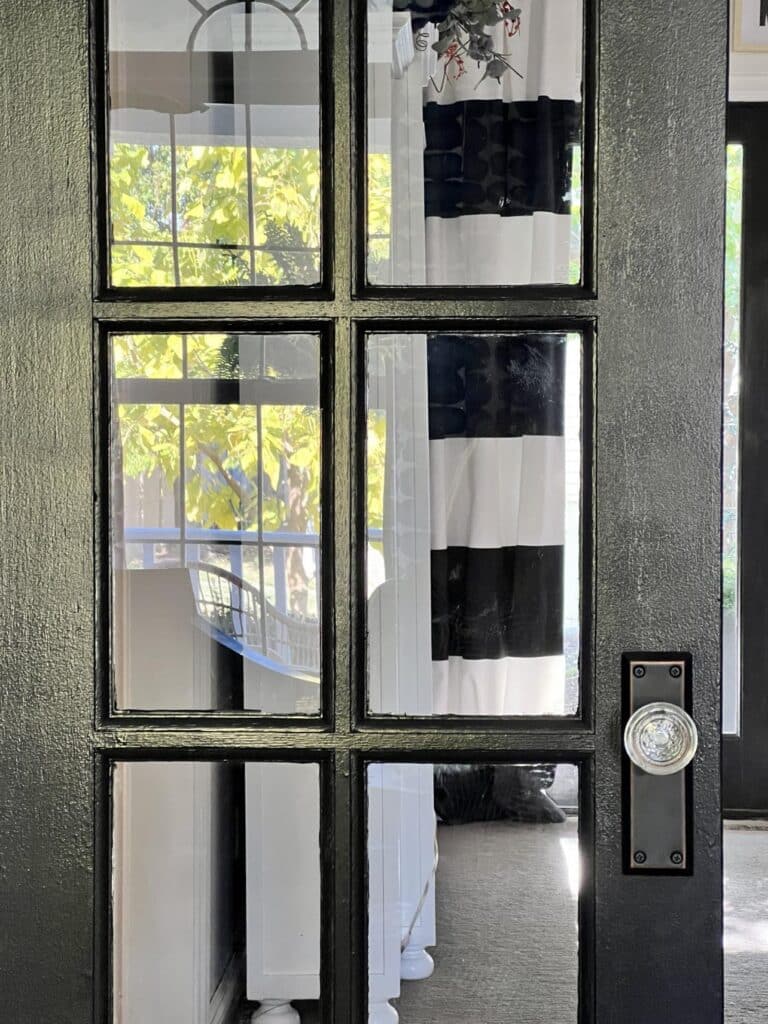
But now the walls are a canvas white. By updating them with a bold black door, I created a dramatic look that made both rooms feel more intentional.
Painting your internal French doors or even an exterior French door is a great way to refresh your space without replacing the doors themselves.
And if you’ve been staring at your French doors thinking they need a makeover, let me assure you that it is a quick and easy process!
Handy tip: Prepare Ahead!
Just like any recipe in the kitchen, gathering all your supplies before starting a DIY project helps you stay organized and stress-free. It saves time, prevents last-minute scrambling, and makes the entire process smoother and more enjoyable. Plus, when everything’s within reach, you can focus on being creative without interruptions!
What You’ll Need
Here’s what I used to get the job done:
- Paint and Primer: I like to use a combination paint and primer because it saves so much time. My color choice is HGTV Home by Sherwin Williams Paint and Primer in Tricorn Black, a deep dark color that gives the doors a sophisticated look.
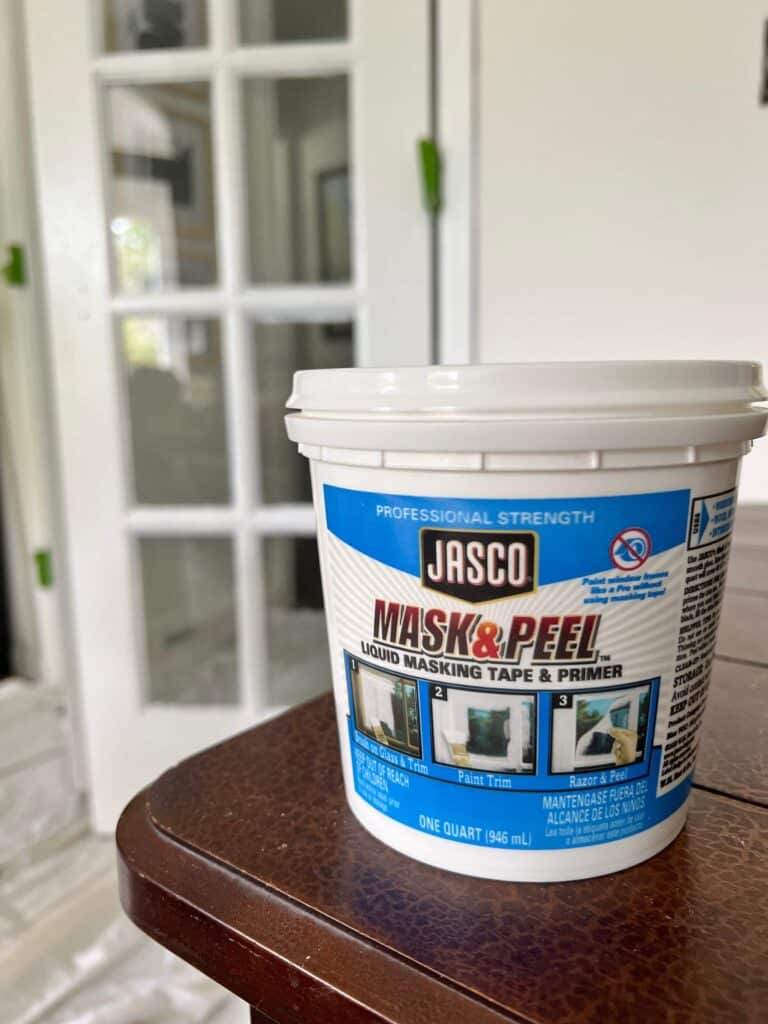
- Jasco Mask & Peel Liquid Masking Tape: The easiest way to cover glass panes without fussing with painter’s tape.
- Painter’s Tape: An alternate option for masking off the windows and the hinges.
- Paintbrushes and Foam Roller: Use an angled, smaller brush for detail work, and a small foam roller for a smooth finish.
- Sandpaper: To lightly sand the doors and prep the surface, especially if you’re working with bare wood.
- Utility Knife: For cutting clean edges on the liquid masking and peeling it off the windows.
- Drop Cloth: To protect your floors.
- Screwdriver: To remove the door hardware (or if you choose to remove the door knobs and hinges).
- Door Handle: I swapped out the door handle for a vintage-style one from Amazon.
Masking the Windows
One of the biggest challenges with French doors is painting around the panes of glass.
In the past, I have always taped off the glass panes with painter’s tape.
This is always an option. But this time, I thought I would try a liquid masking peel. Here’s how I used it:
- First I cleaned the window glass.
- Then, I applied the masking liquid directly onto the window panes with a brush.
- Let the masking liquid dry before starting your paint job.
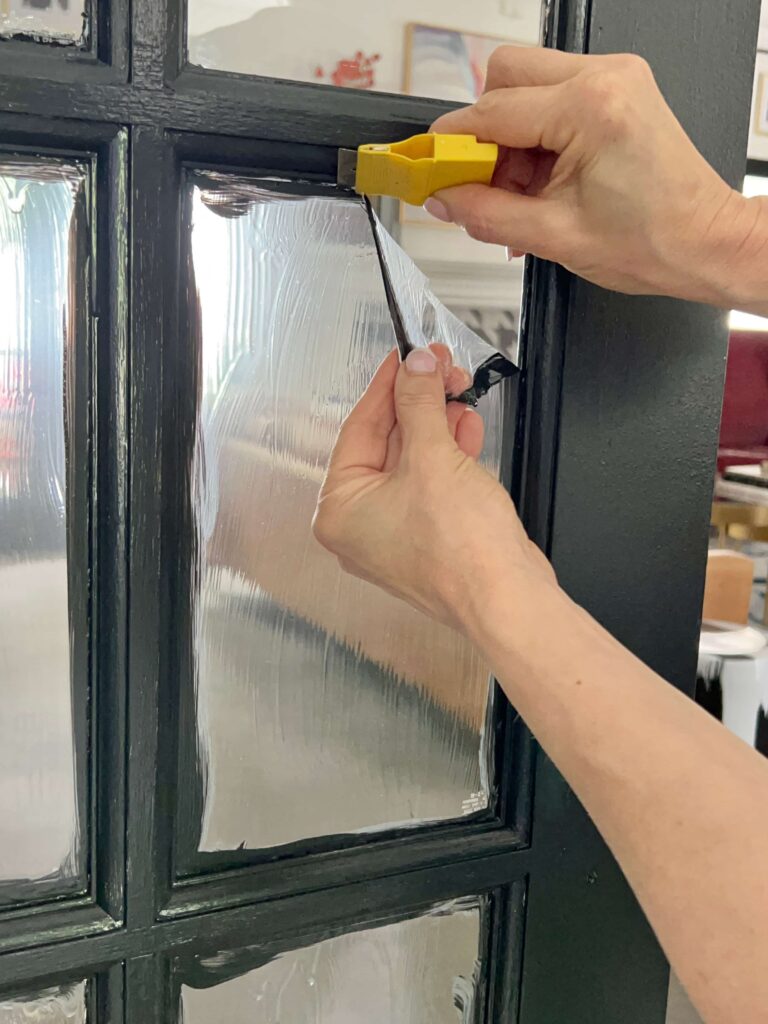
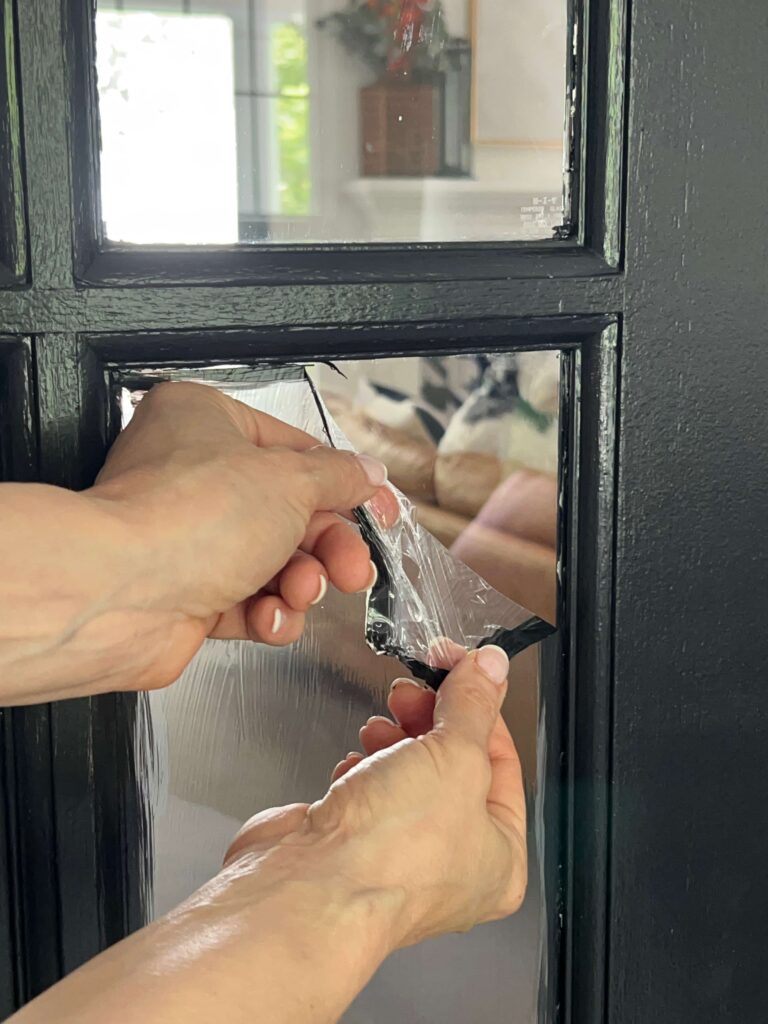
- After the doors were painted and the final coat dried, I used a utility knife and a sharp blade to score the edges of the masking liquid, and then peeled it off. The finished product had crisp, clean lines, and no brush strokes on the glass panes!
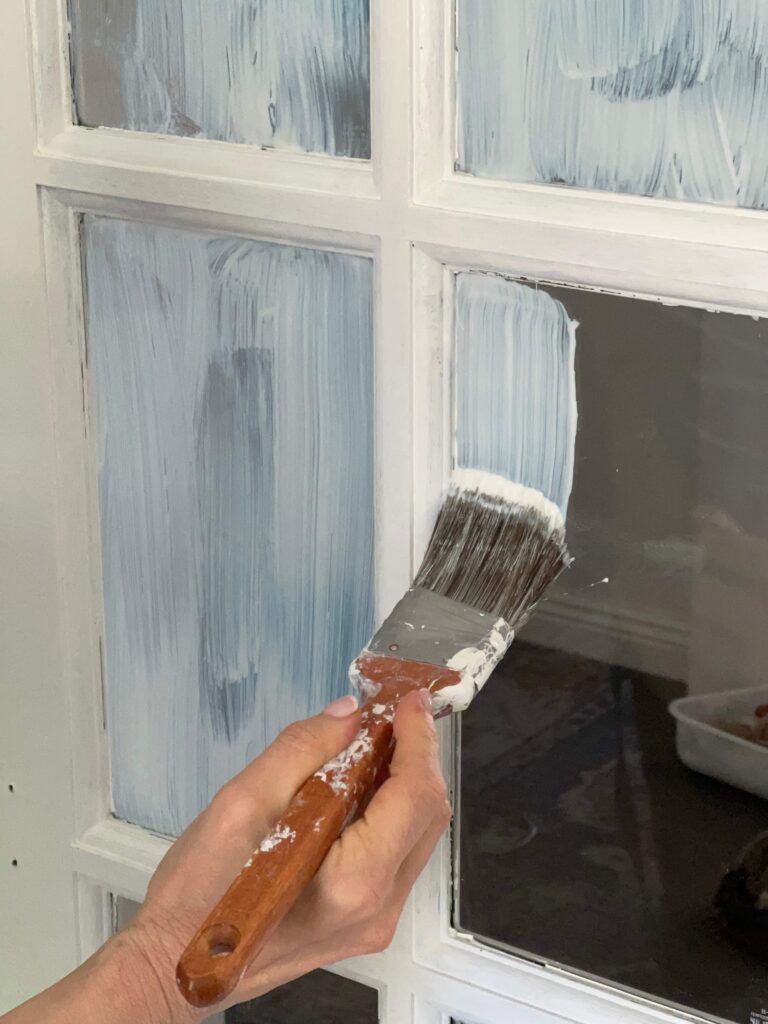
Quick tip for next time: I’ll apply a thicker layer of liquid masking to make peeling even easier.
If you prefer to use painter’s tape instead, that works too! It’s a bit more time-consuming to get the lines perfect, but it’s a good thing to have as an option.
Prepping Your Doors
Preparation is key to a successful paint job.
I started by wiping down my wood doors with a mild cleaner to remove dust and grime. Once they were dry, I lightly sanded the surfaces with grit sandpaper to help the new paint adhere better.
You don’t need to use too much time on this step—just a light sanding will do, especially around the sides of the door and the bottom of the door where wear and tear are most visible.
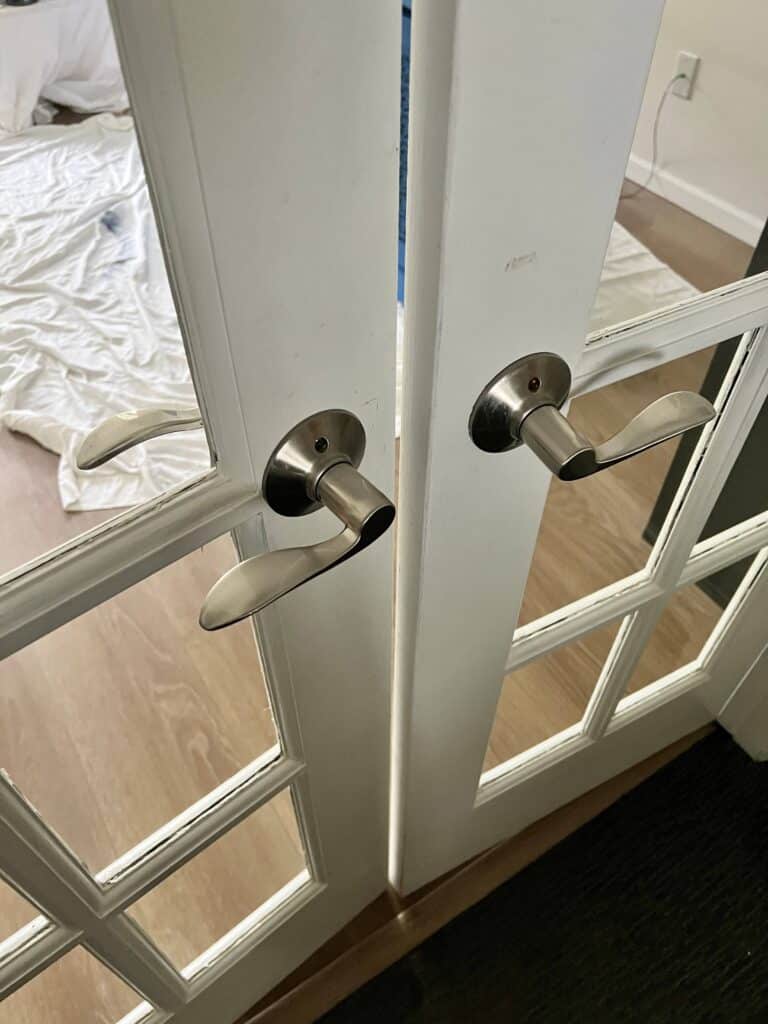
If you’re painting bare wood, I recommend applying a coat of primer first for the best coverage, especially if you’re transitioning from a lighter to a dark color like black.
A first coat of paint directly on bare wood can sometimes soak in unevenly, so don’t skip this extra step!
How to Painted French Doors
With the windows masked, it’s time to paint!
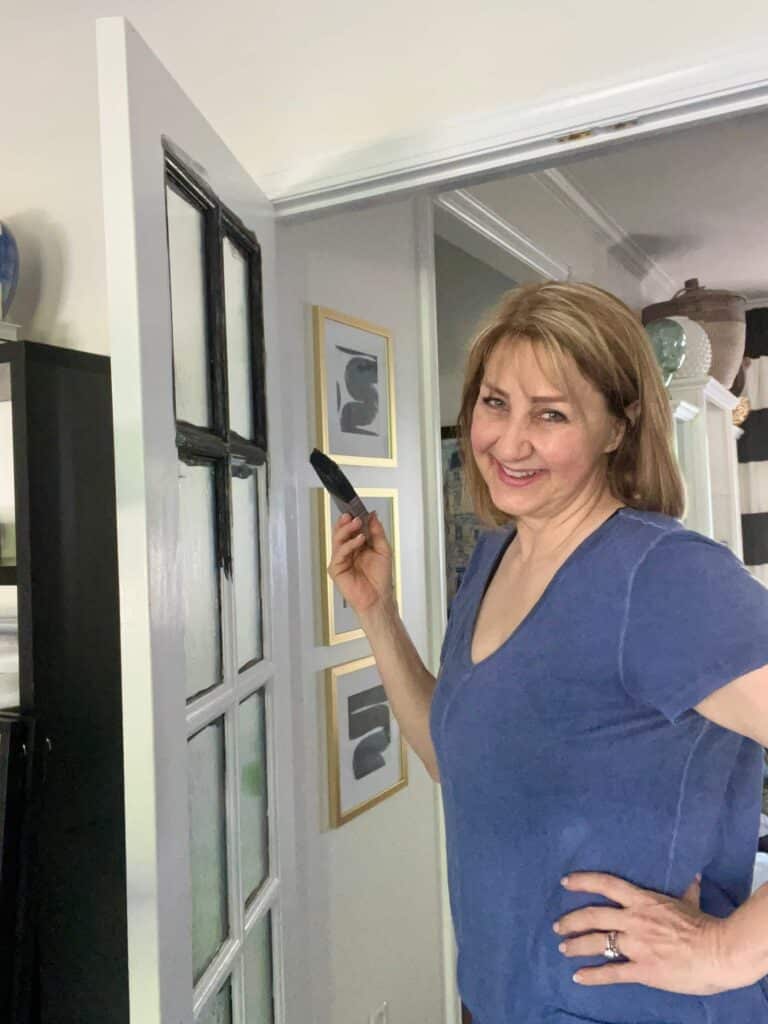
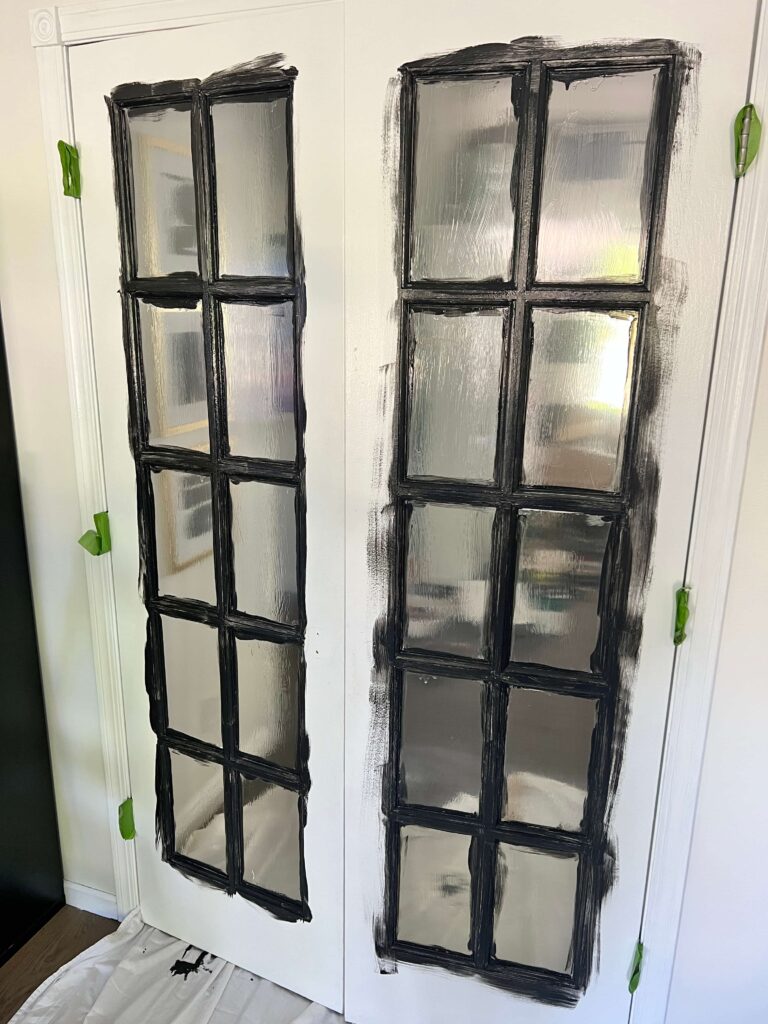
I started by painting around the window panes using an angled brush. This is the best way to get into the corners which can be tricky spots to cover.
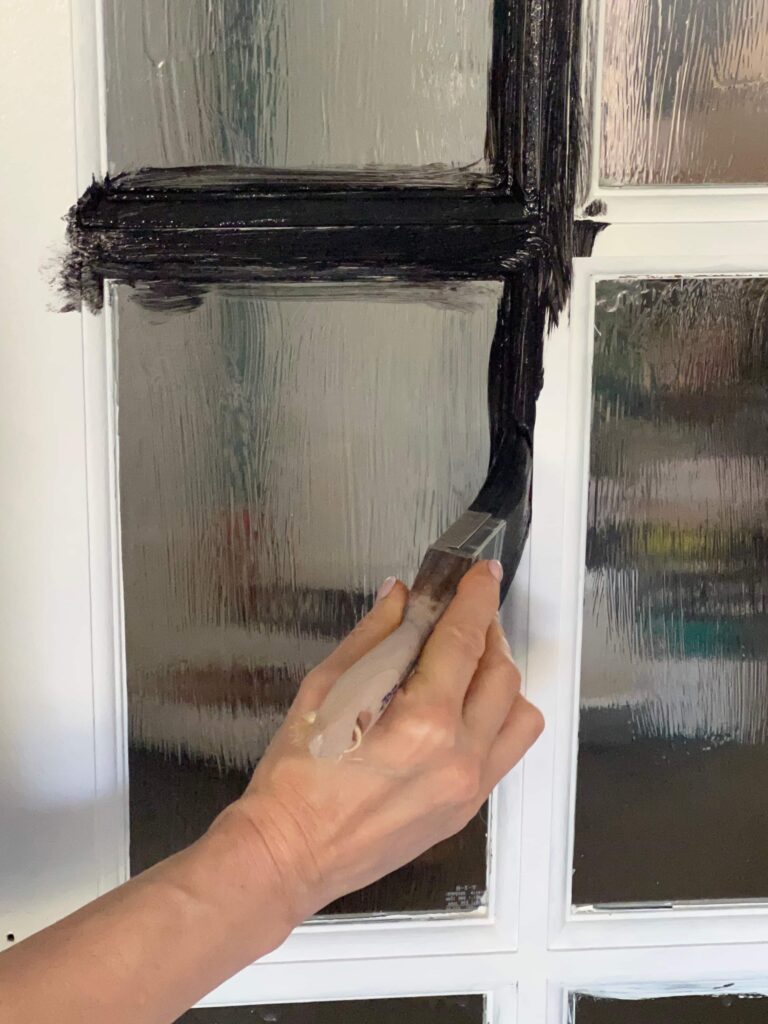
This photo is after the first coat of paint. I added a second coat and got great coverage around the window panes.
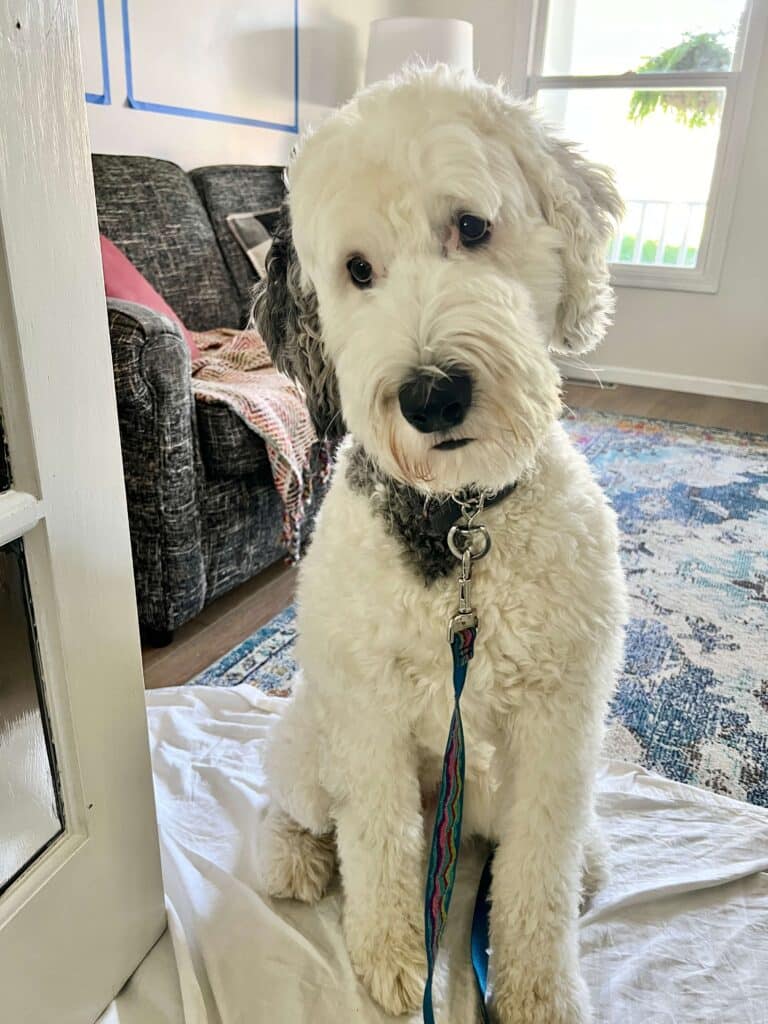
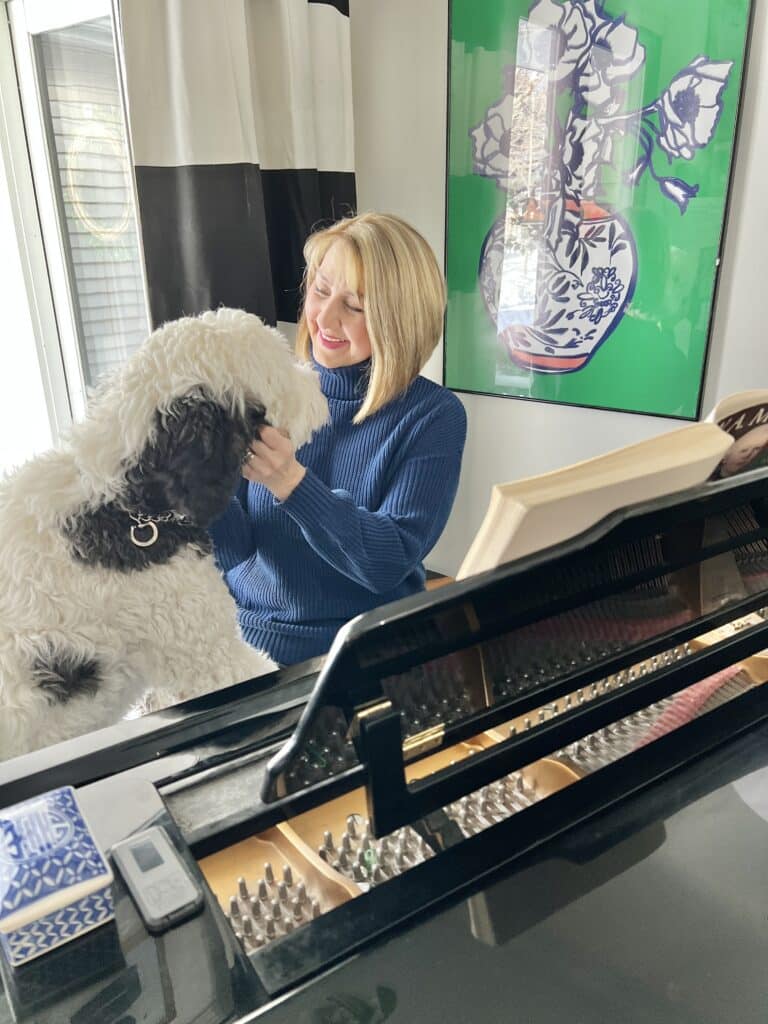
Bentley kept me company.
Although I think he was pretty puzzled as to what I was doing!
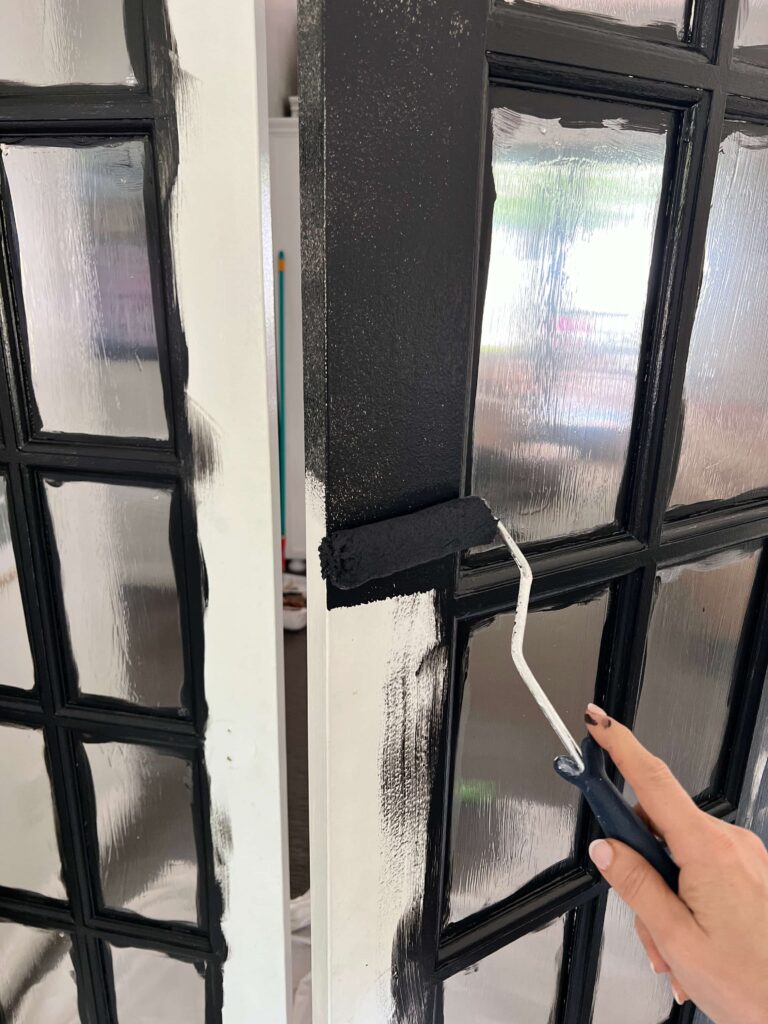
Next, I switched to a foam roller for the larger sections of the door.
A paint roller like this helps achieve a smooth finish without leaving streaks or uneven coverage. I found that two coats of paint were perfect for full coverage.
If you’re working with latex paint, it’s important to let the first coat dry completely before adding the second coat. Patience is key here. I know…it is so hard to wait!
Quick Tips for a Professional Finish
- Paint in the direction of the wood grain: When using a brush, paint in the same direction to minimize brush marks. Ideally, follow up brush strokes with a paint roller for a super smooth finish.
- Thin coats: Apply thinner coats of paint to avoid drips and achieve a smooth finish.
- Ventilation is key: Make sure to open windows or doors to keep your space well-ventilated while you work.
Once the final coat of paint dried (I recommend waiting at least 24 hours), I used a razor blade to carefully remove the liquid masking from the window panes.
This was the best part—peeling off the mask revealed clean, sharp edges without needing any touch-ups!
Removing and Protecting Hardware
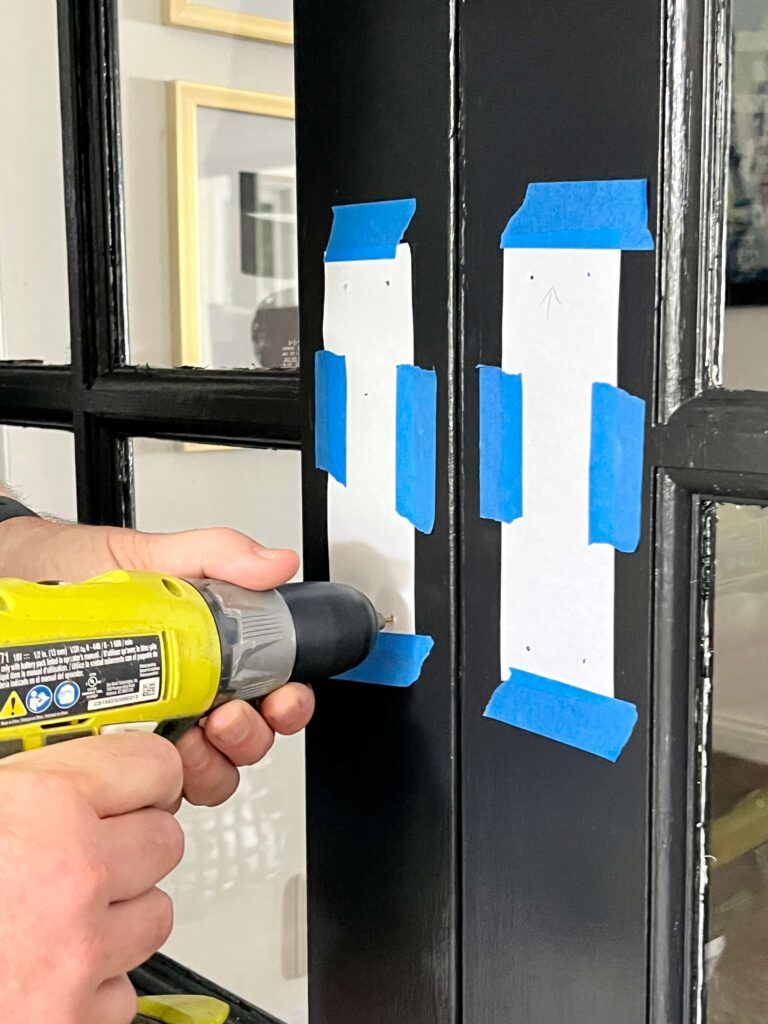
When it came to the door hardware, I decided to remove the door knobs so I didn’t have to tape them off. However, I left the hinges in place and protected them with painter’s trim tape to avoid any brush strokes on the metal.
You can also take off all the hardware if you prefer, but leaving the hinges attached saved me time and kept the doors aligned perfectly. If you’re up for an extra step, removing the hinges can give a more uniform look.
Finishing Touches
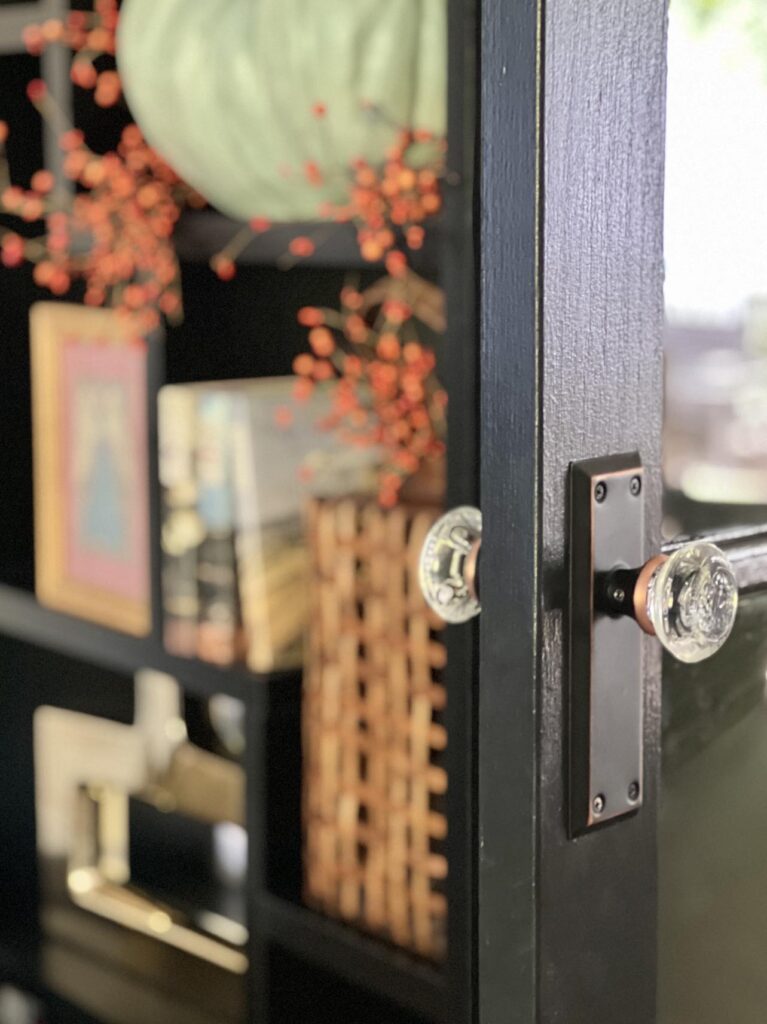
Once the door handles were off, I decided to go with a completely different set of door knobs.
I chose a faux glass door knob that has a black mounting plate behind it. There is a tiny bit of copper that peeks through so the knobs have a vintage, distressed look.
The finished product was exactly what I had envisioned—a stunning black door that gave our TV room a polished and stylish look.

For those tackling exterior French doors, I suggest using an exterior-grade paint for added durability. The process is very similar to painting interior doors, but you want to make sure your paint can withstand the elements.
Final Thoughts
Painting interior French doors can feel like a daunting task, but with the right tools and a little patience, it’s an easy way to upgrade your home.
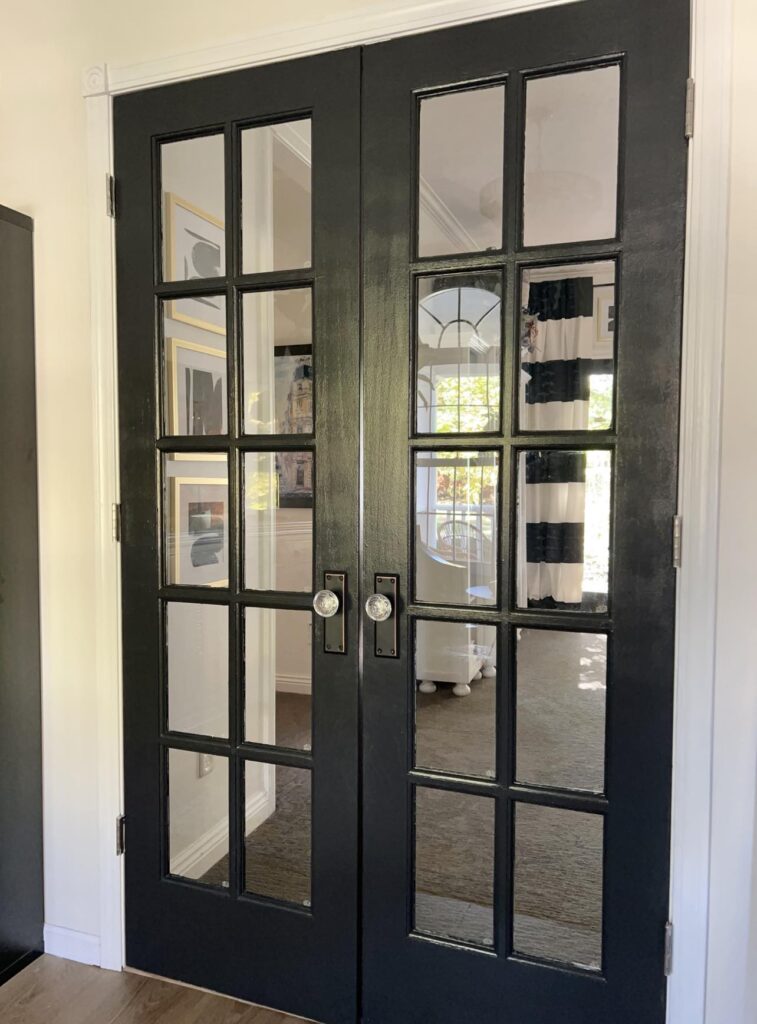
I’m thrilled with how our living room and TV room now connect visually, thanks to the sleek look of our black doors.
Whether you’re painting interior or exterior doors, this project takes about a day. (This includes dry time.) So don’t hesitate to take on your own French door paint project!
Now with the walls and doors painted, I’m on to the next step in this One Room Challenge room makeover. Stay tuned!
You’ll have beautiful finished doors that add character and charm to your space. Let me know if you try it—I’d love to hear how your new door turns out!
Cheers!

A Little About Me
Hi! I’m missy. So happy to meet you!
“Decorate with Joy! Live with Happiness”
I truly believe that your home should be a reflection of your personality, a space where you feel free to express yourself and create a sanctuary that feels uniquely yours.
I love creating mood boards, hunting down unique home décor treasures, tackling easy DIY projects, and gathering with family and friends for a delicioHomes are meant to be enjoyed, filled with laughter, and shared with the people you love!
– cheers –
Don’t Forget to Pin It!
Pin the image below to your boards on Pinterest (just click the Pin button in the top left corner). You can also follow along with me on Pinterest!
More Easy DIY Projects
Restore Outdoor Solar Pathway Lights



loving the bold pop this adds to your one room challenge make over!
Thank you, Michelle! This is one of those projects I wish I had done sooner!