

Easy DIY Coffee Table Ottoman: Tufted Pool Noodle Magic
Want a comfy footrest without breaking the bank? Or a moveable coffee Our coffee table ottoman DIY uses pool noodles for a surprisingly stylish and budget-friendly solution!
This blog contains affiliate links. This means a small commission is earned if you make a purchase by using this link. The price you pay will be the same whether you use the affiliate link or go directly to the vendor’s website using a non-affiliate link. As an Amazon Influencer, I earn from qualifying purchases.
Pool Noodle Furniture?
When I started my home decorating blog, I never thought I would be creating home decor using…pool noodles!
The closest I had ever come to a pool noodle was when I bought them for my twin daughters to use at the pool!
Turns out…they are pretty handy when it comes to creating furniture and accents that need a little cushion!
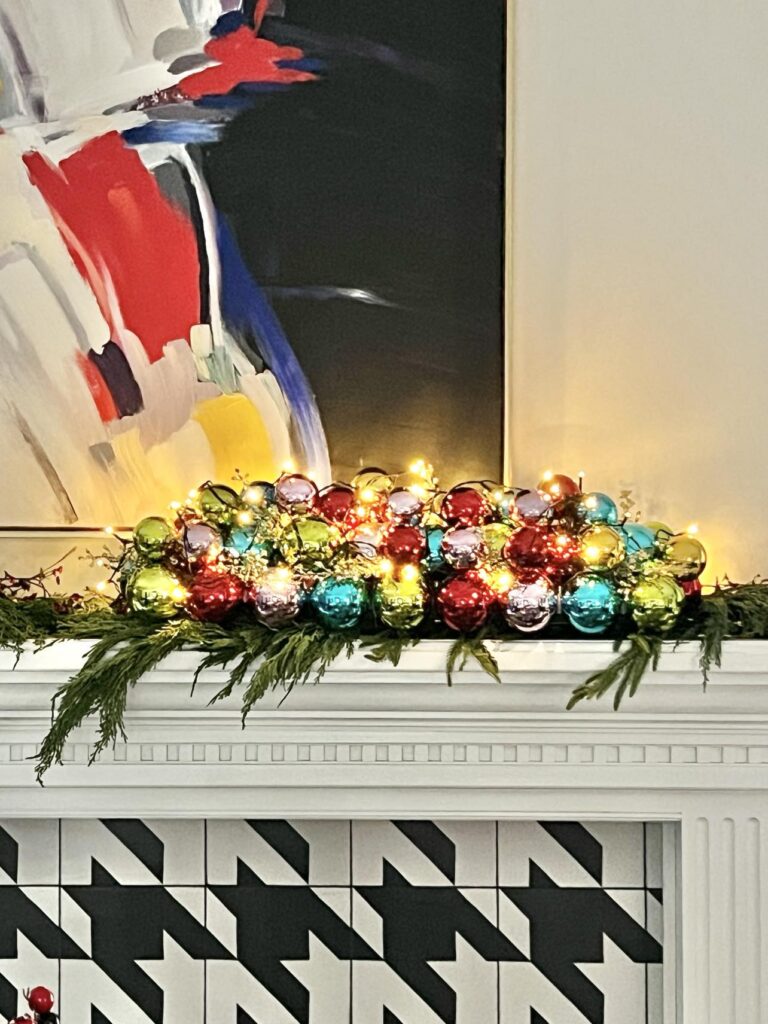
Do you remember the giant Christmas ornament wreath I made from pool noodles? Or the holiday ornament centerpiece I created from a pool noodle and a broom handle? Never underestimate the power of a pool noodle!

Well, guess what? Those colorful pool noodles are back for another (non-holiday) starring role, this time as part of a DIY ottoman project for your living room!
You don’t need a huge budget for this easy project that’s as functional as it is stylish!
This is a fantastic first time upholstery project for anyone wanting a fun and easy DIY project.
So,we’re ditching the high prices and saying hello to your own DIY ottoman coffee table!
DIY Ottoman Supply List
You are going to need a few things. There are some power tools on the list but they are easy to use!
- 7/16″ x 2′ x 4′ OSB
- 2″ x 6″ x 4′ lumber (I actually used a 2 x 4 and it has held up just fine. But you might want the added security of a 2 x 6.
- 2″ corner brackets (Need 4 of them.)
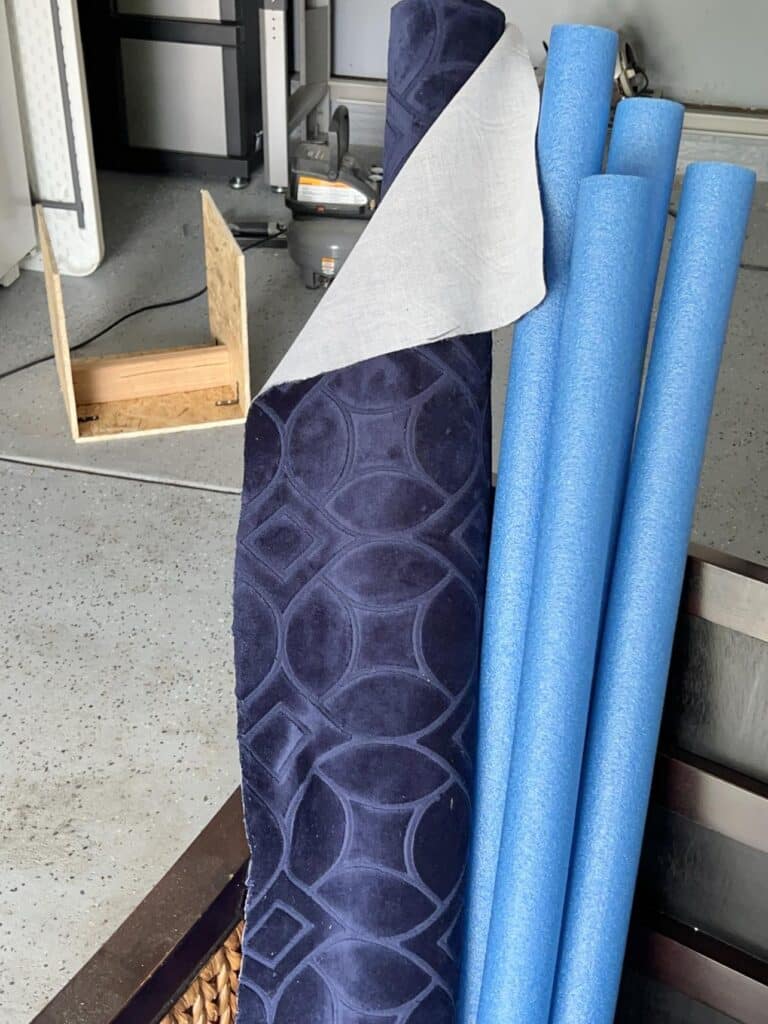
- 6 pool noodles
- 1/2″ wood screws
- 1 1/2″ screws (Use the screws that come in the bracket package…but don’t use for the brackets. More on this later!)
- 3/8″ 10mm staples
- wood glue
- staple gun (a pneumatic stapler is amazing but a regular staple gun will work.)
- drill
- upholstery fabric: At least 3 yards. I used leftover fabric from a chair that I had upholstered.
- scissors
- upholstery foam (optional)
- circular saw (optional)
- safety glasses (not optional!)

Wood Cuts First
Let’s get all of the wood cutting out of the way first.
If you think of it, you can probably get these cuts made at the hardware store (such as Home Depot or Lowes) where you bought the OSB and lumber. I always forget about this wonderful service!
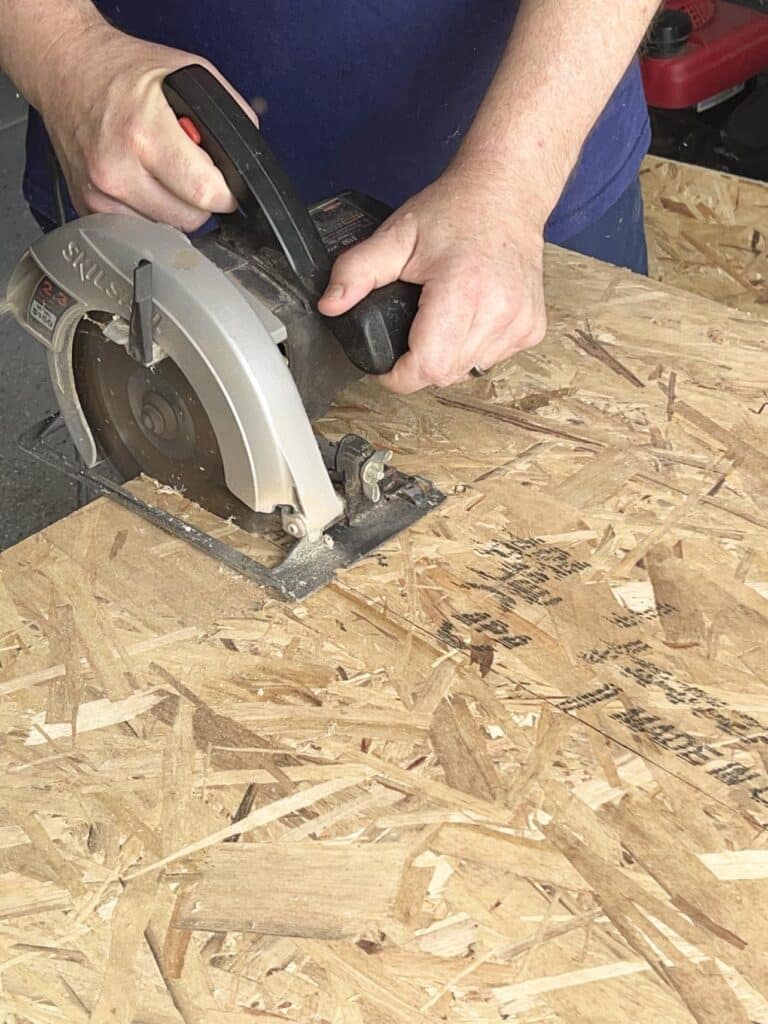
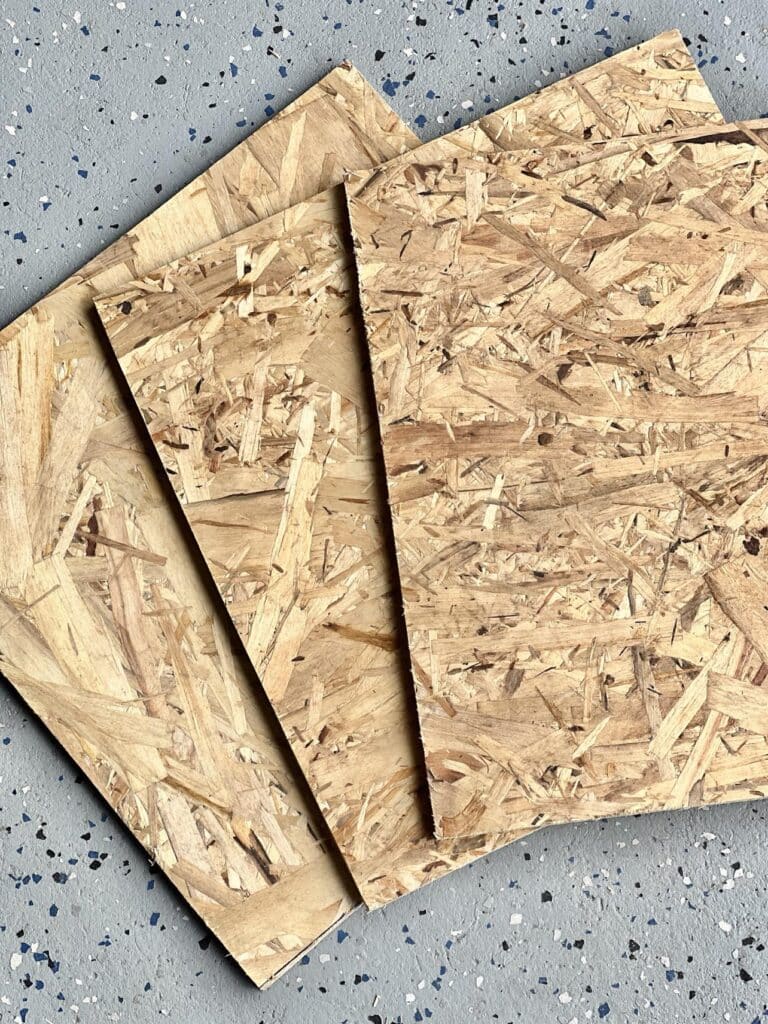
The first step is to cut the OSB into (3) 15″ squares. Just mark off the 15″ squares and make a clean cut in a straight line with a circular saw. (Don’t forget those safety glasses!)
Next, cut the 2″ x 6″ to. length of 14″.
And while you are cutting, you might check the length of the pool noodles. I purchased mine from Dollar Tree and they are the exact correct length for this project. If you buy elsewhere, the pool noodles might be longer.
Assembling the Ottoman Table Frame
Make sure you are working on a flat surface. I also like to use a drop cloth or scrap fabric under the project so I don’t get the fabric dirty.
The first thing to is apply wood glue to the edge of one of the square OSB pieces.
Stand this piece upright and position it on top of the edge of another square, creating a corner.
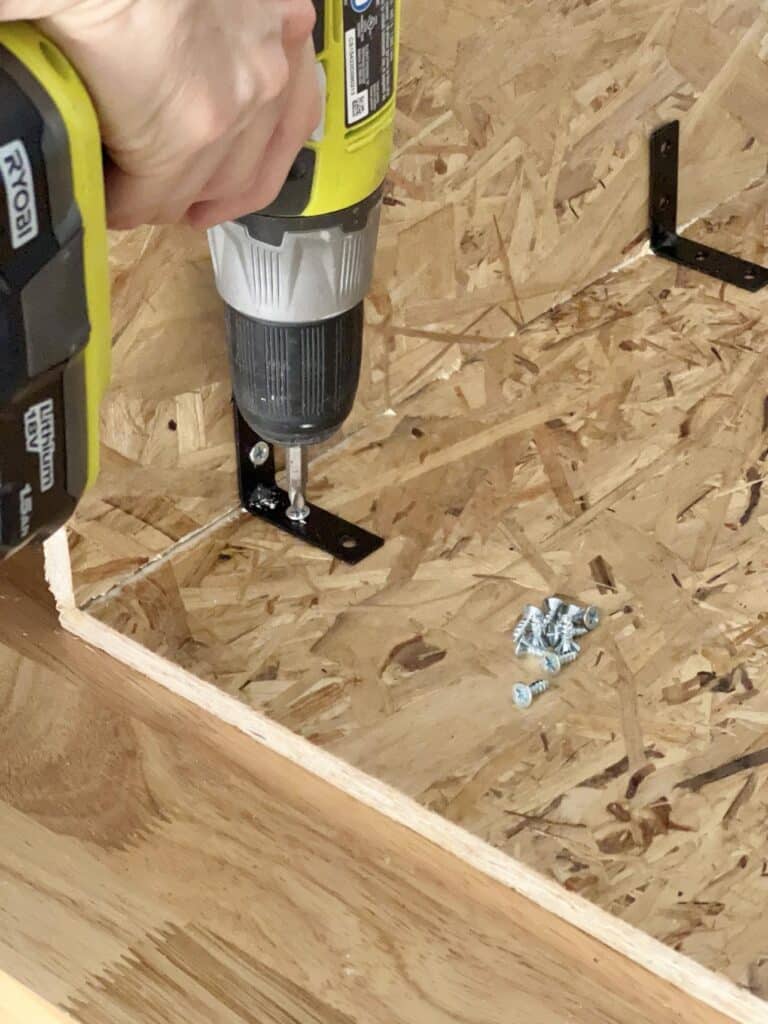
Make sure these pieces form a perfect 90-degree angle (like an “L”).Secure the corner with two corner brackets screwed on the inside of the L-shape.
Important! Don’t use the screws that come with the brackets – they’ll be too long. Instead, use the shorter ½ inch screws. (But don’t throw away the longer screws…you use them later!)
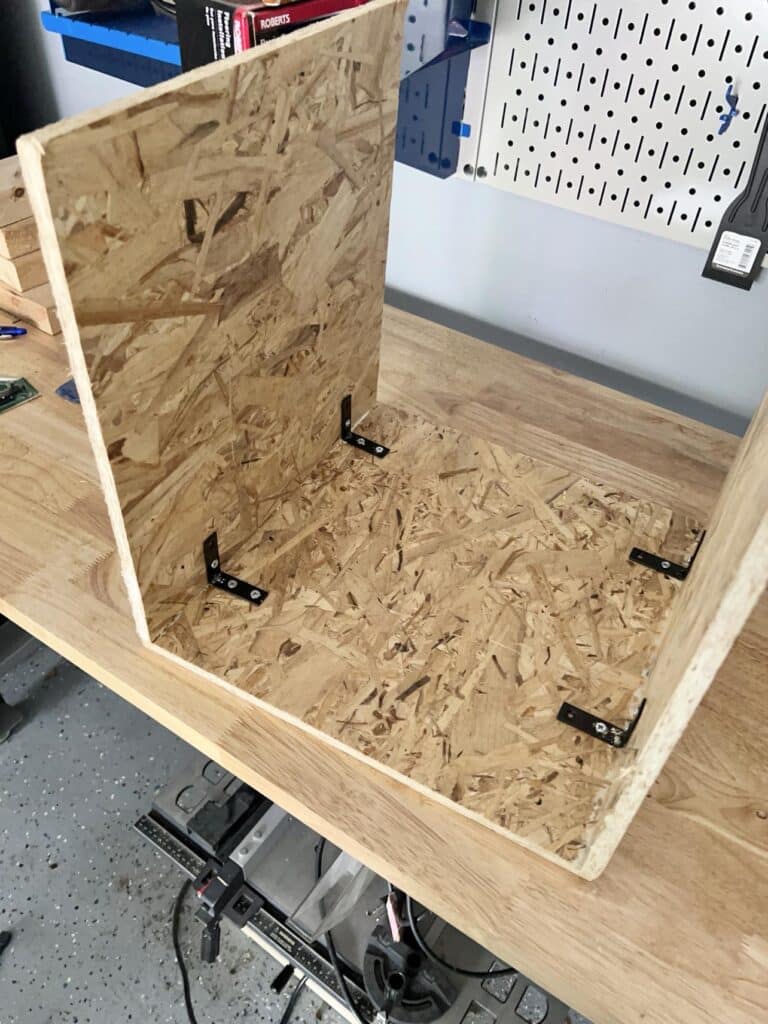
Once the L-shape is secure, apply wood glue to and edge of the third square piece.
Place this glued edge on top of the other edge of the flat square (the one not connected in the L-shape). This will create a U-shape.
Again, secure this joint with two corner brackets and ½” screws on the inside of the U-shape
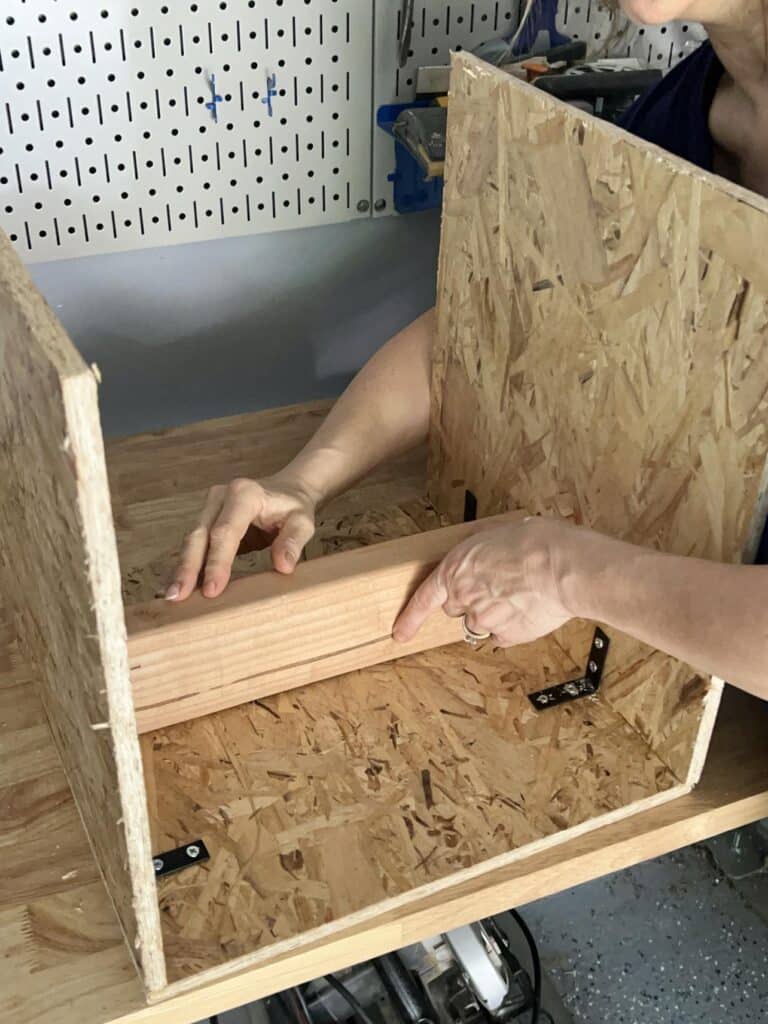
Grab your 2 x 4 (14″ long) and slide it in between the two vertical sides of the U-shape. This creates a temporary brace for the project structure.
Now that your frame is assembled, it’s time for patience! Let the wood glue dry completely before moving on to the next step. This will ensure a strong and stable base for your ottoman.
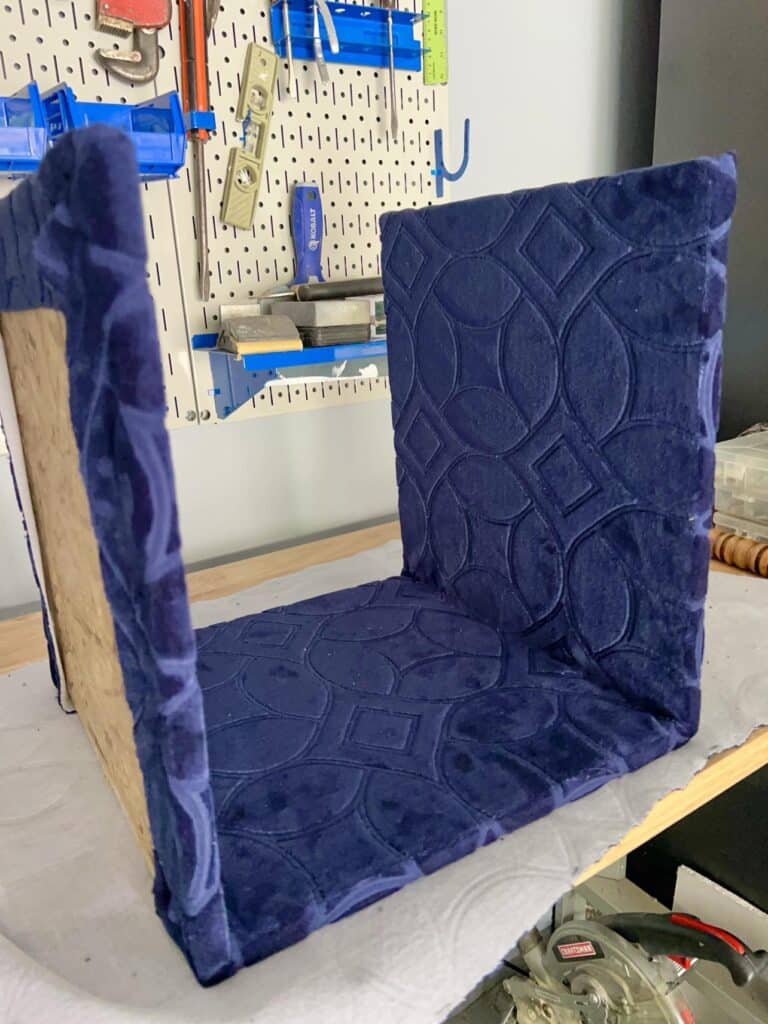
Upholstering The Inside Your Ottoman
Here’s where your ottoman gets its comfy cover!
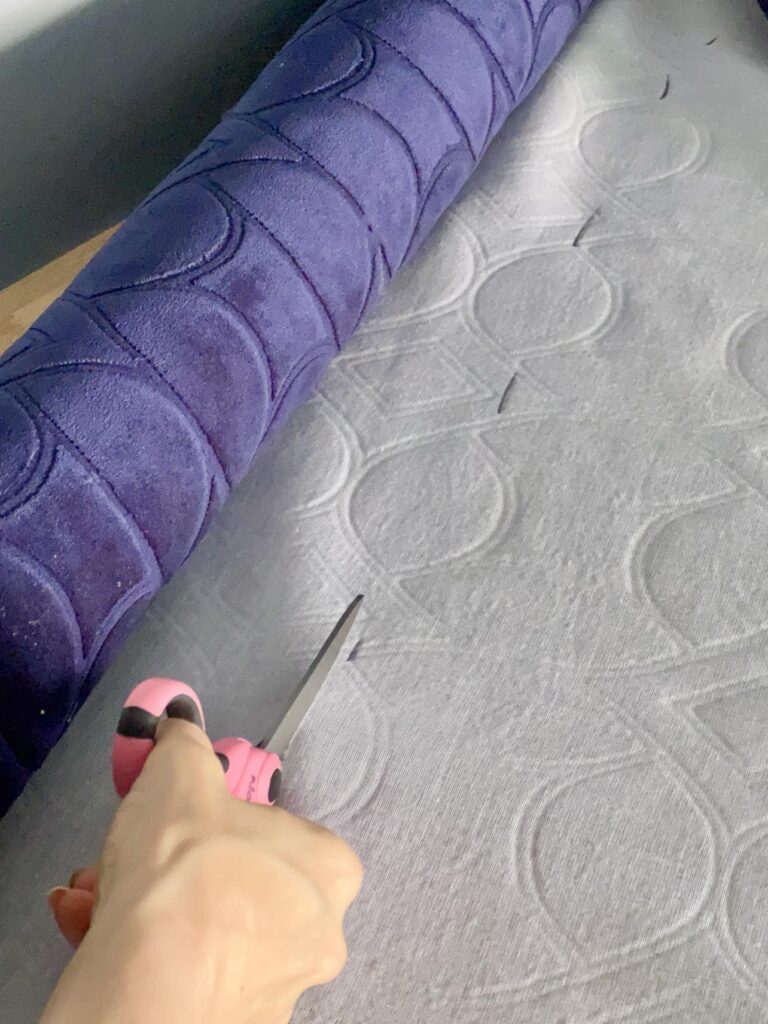
Grab your fabric and cut a piece that’s at least 50″x 20″.
Set aside the temporary brace you used earlier (it’s done its job but it will be back!).
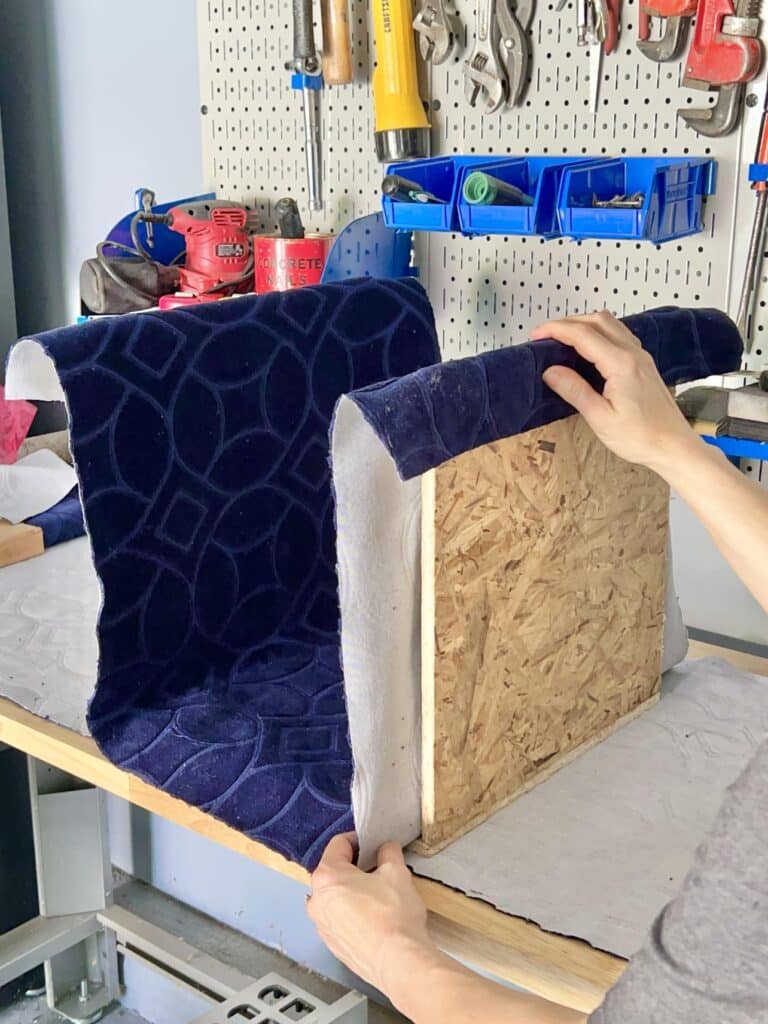
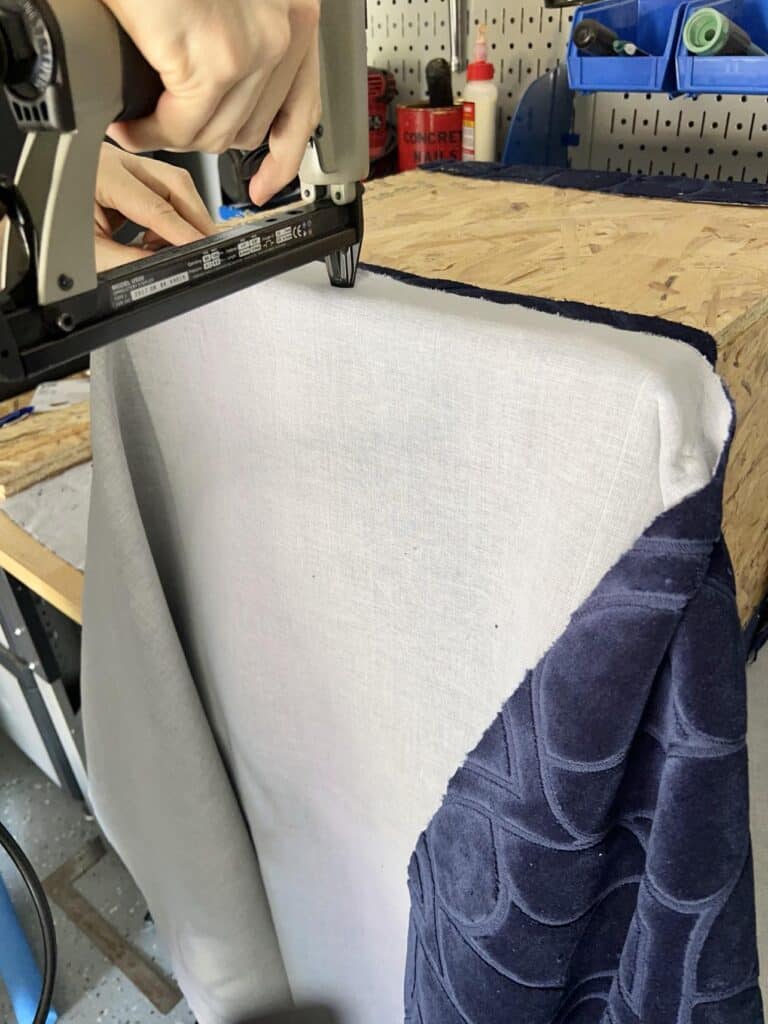
Carefully place the fabric piece inside the U-shaped frame and arrange it so it lines the bottom and two sides. Make sure there’s about 2 inches of fabric hanging over the edges on all sides.
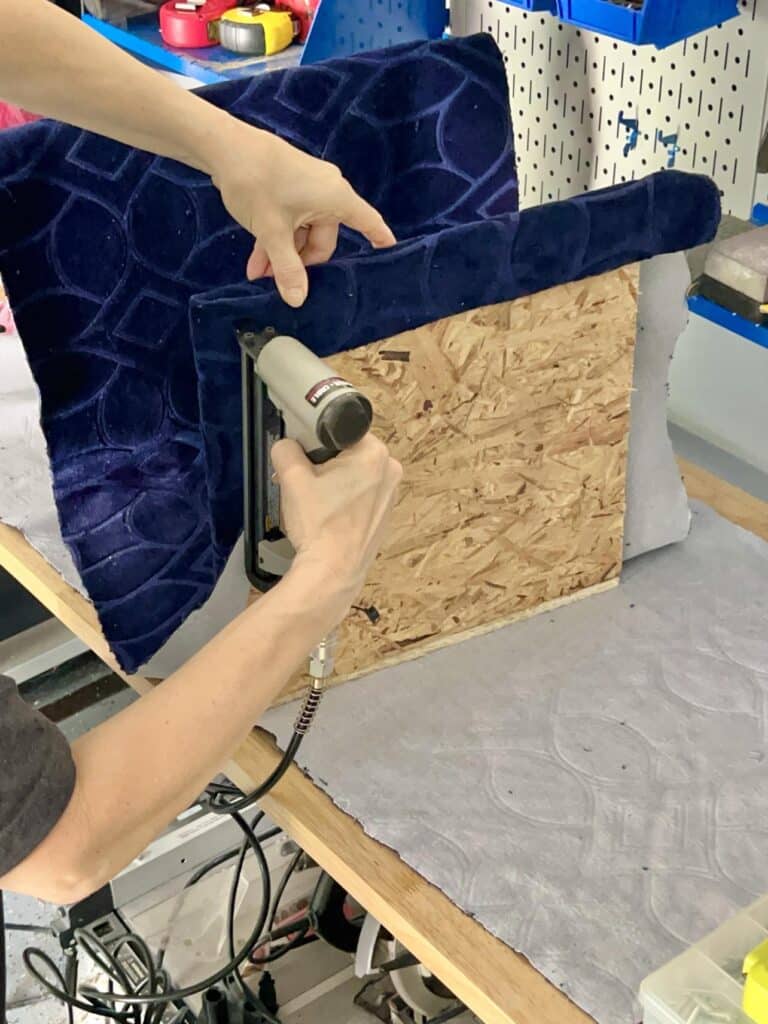
Find the center of the overage hanging over the edge and start stapling the fabric to the outside of the wood frame. Working from the center back, carefully staple the fabric towards the outer edges of the U-shape side.
As you go, pull the fabric nice and taut to create a smooth, wrinkle-free finish. You want a snug fit that creates smooth, beautiful tufting.
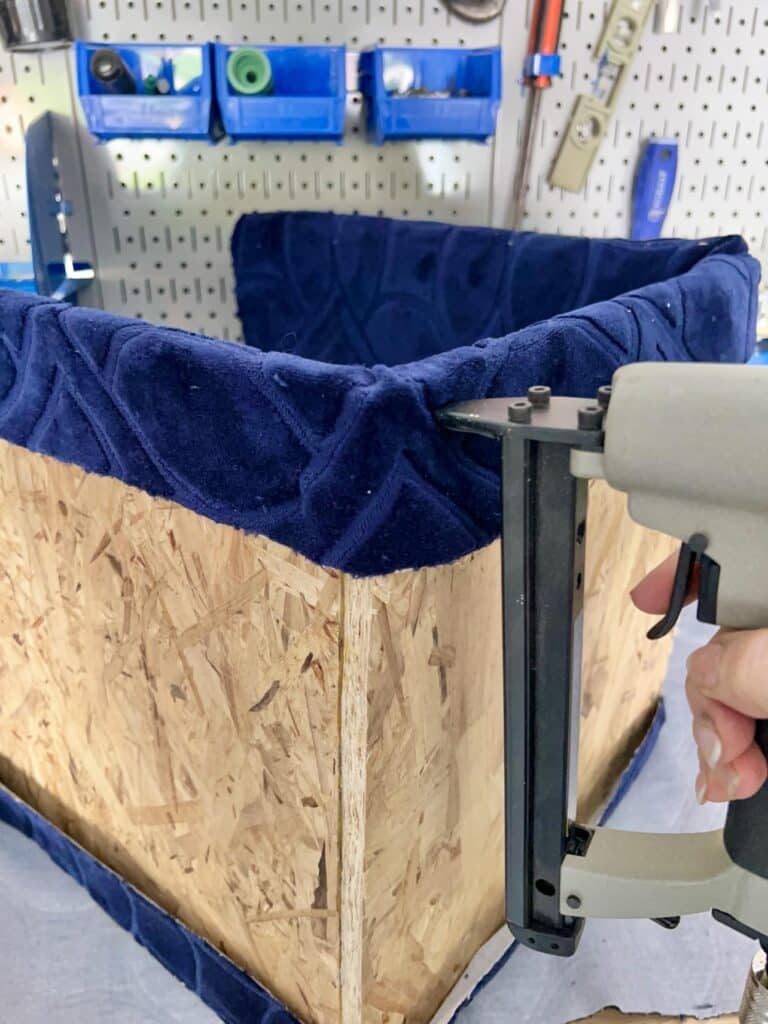
Now for the sides! Fold the fabric over the sides and bottom of the U-shape. Staple the folded fabric onto the outside of the frame, again keeping the fabric taut with each staple.
Tip: take your time, and keep the fabric pulled tight for a professional-looking finish!
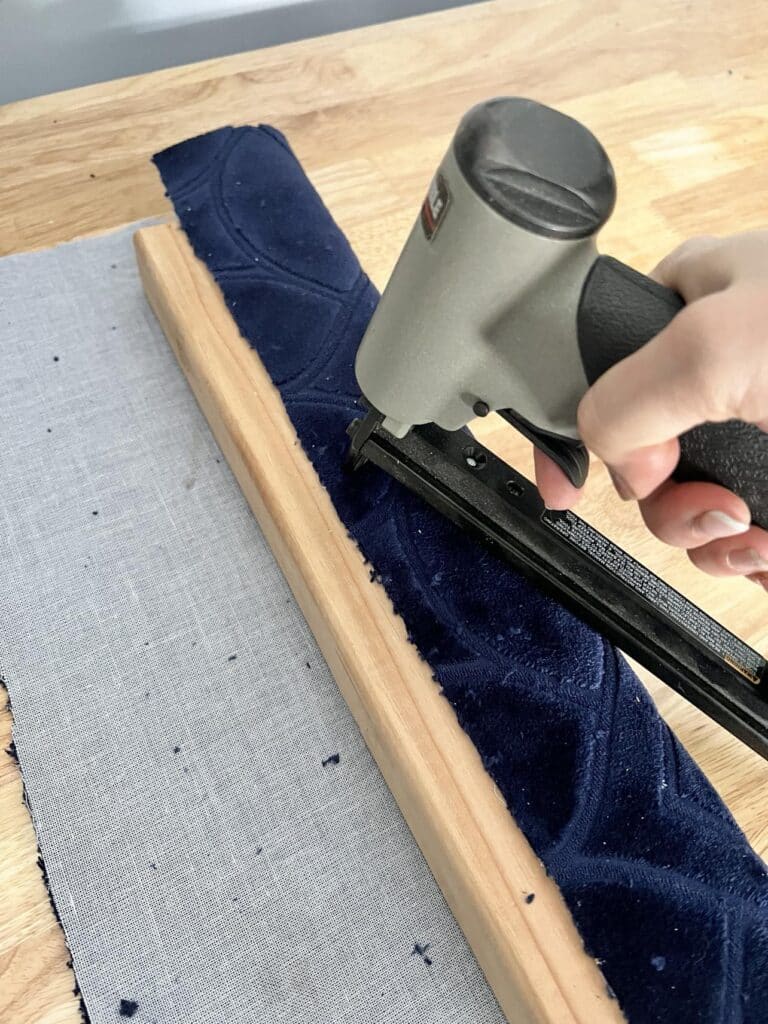
Brace It Again
Remember that 2 x 4 that served as a temporary brace?
Grab it and start to wrap it like a package with a small piece of the upholstery fabric, stapling as you go. Try to keep the edges a flat as possible to minimize bulking up the wood piece.
Once covered with fabric, gently press the wood piece back in between the two sides of the U-shape. Heads-up: this will be tight but you want it to fit snugly in the middle.
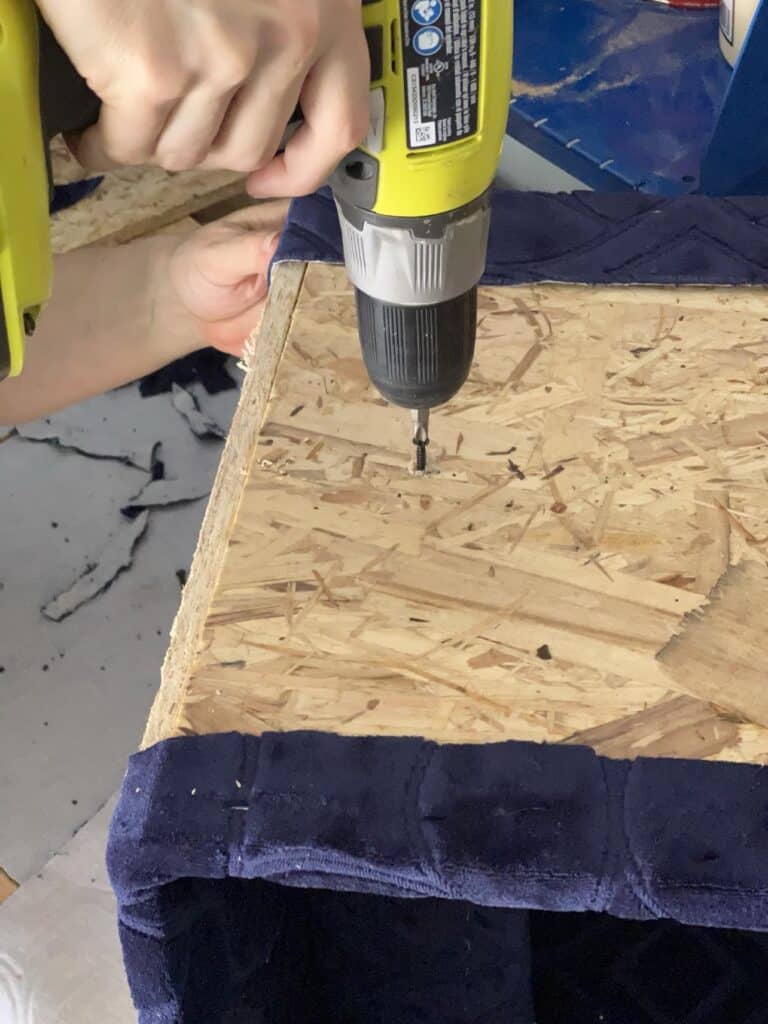
For extra security, take those 1 1/2″ screws that came with the braces, and screw the 2 x 4 in place from the outside of the U-shape.
My fabric was pretty thick so I drilled pilot holes for the screws first. That way, I knew they were going in straight!
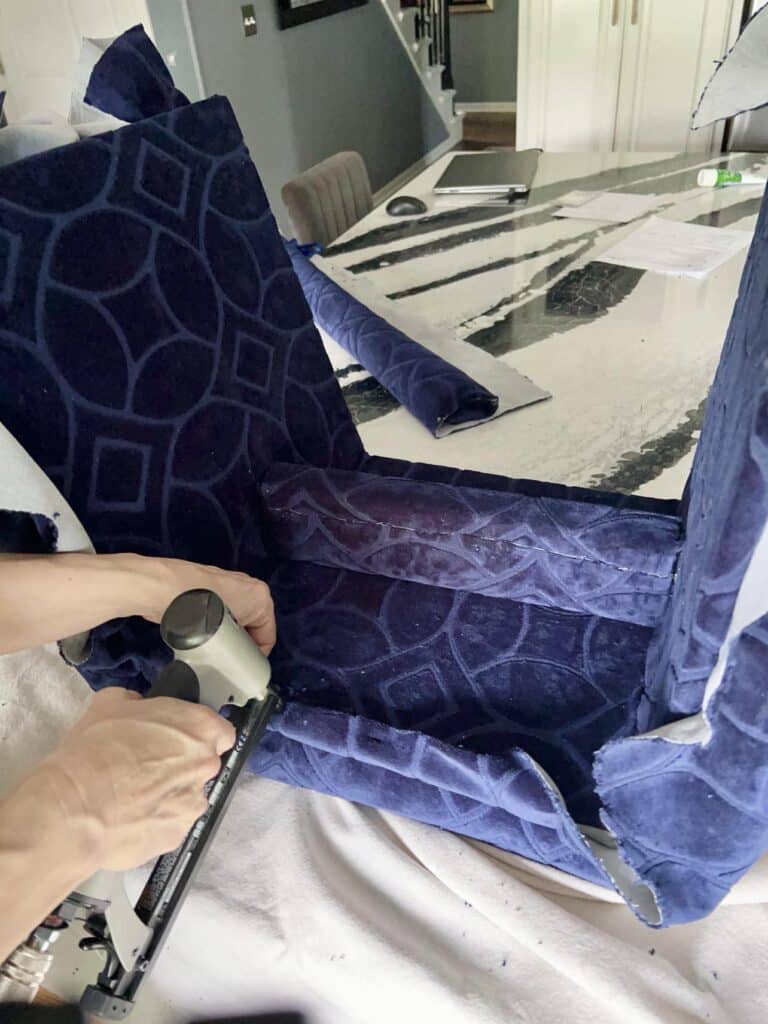
Tufted Channel Upholstery with Pool Noodles
This next part does take a little patience but it is where the magic happens! We’ll transform the wooden base into a comfy channel tufted table or footrest!
You will need a very large piece of your fabric, ideally around 50 inches by 50 inches. It’s hard to give you an exact measurement as the stretch of your fabric will affect how much you need for the entire table. It seems like a large amount of fabric for a smaller project. But don’t worry, you’ll need it all!
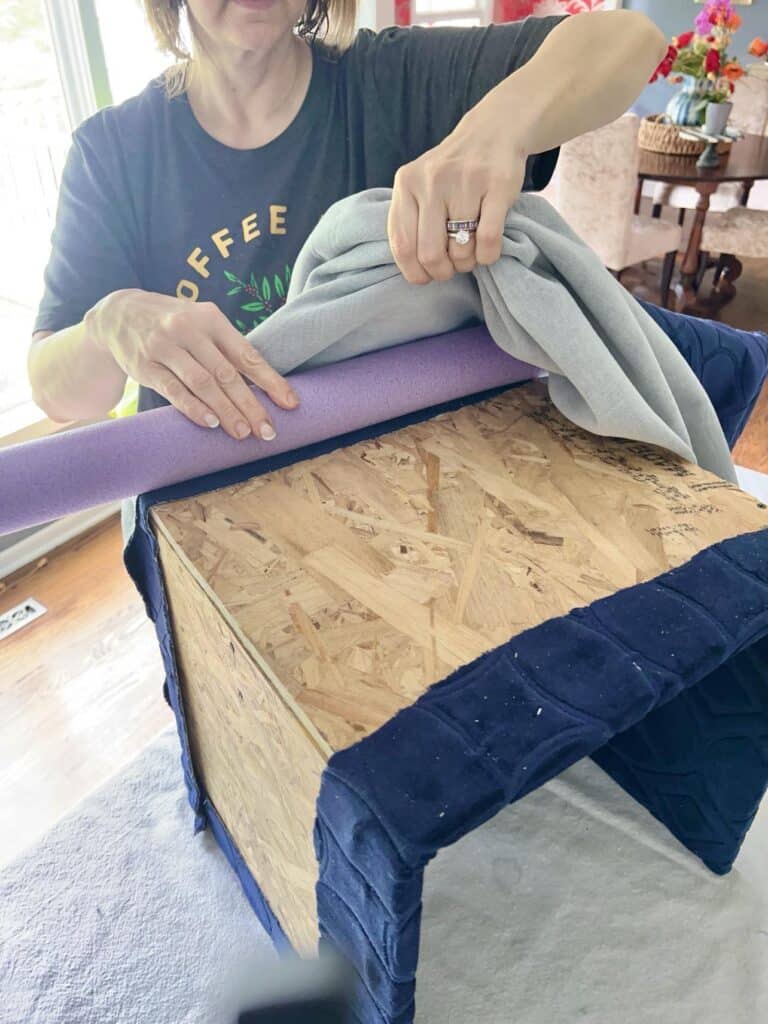
Set the Fabric
Set the U-shape with the center board as the table top and the sides as table legs. Place the edge of your fabric about 2″ from the edge with the wrong side of the fabric facing UP.
Staple this 2″ fabric edge to the top of the ottoman. Start in the center and work your way to the edges and down the side of the table. Keep the fabric nice and even as you go, pulling it taut to avoid wrinkles.
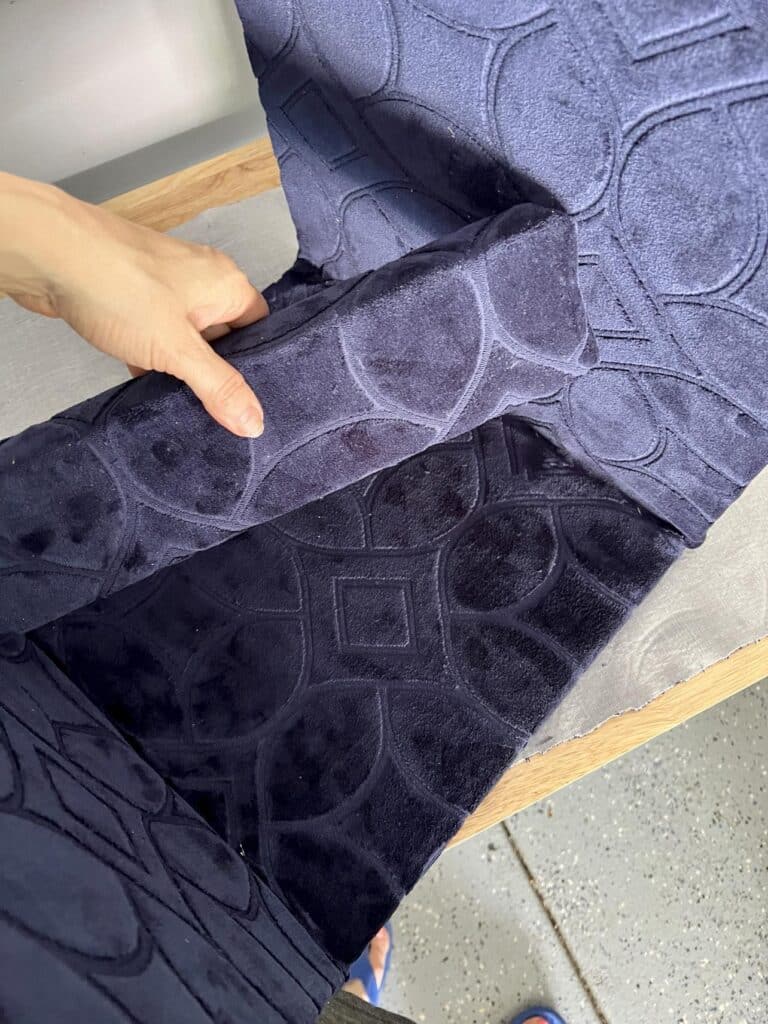
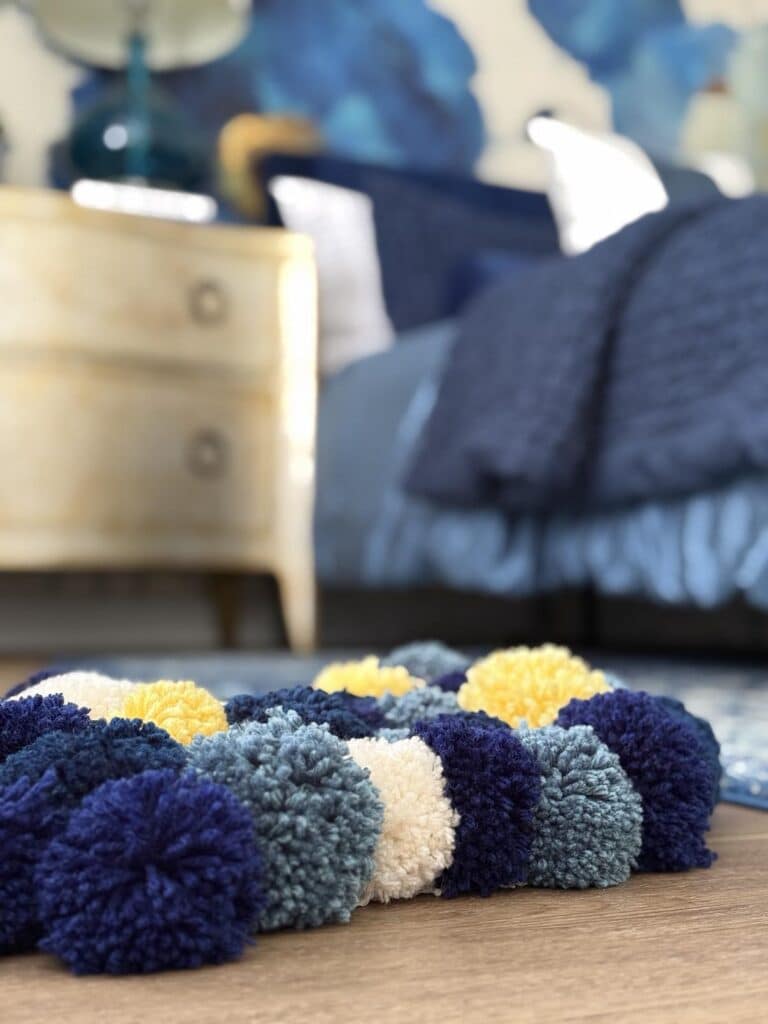
Tuck in the Noodles
Now it is time for the pool noodles! Take a noodle and give it some twists and turns to loosen it up. Then, center the noodle on the top edge of the stapled fabric. Pull the fabric over the top of the noodle and “tuck it in” the noodle so it is encased with the fabric.
Staple the noodle in place by starting in the center and slight underside of the noodle. Work your way down one side and then repeat on the opposite side.
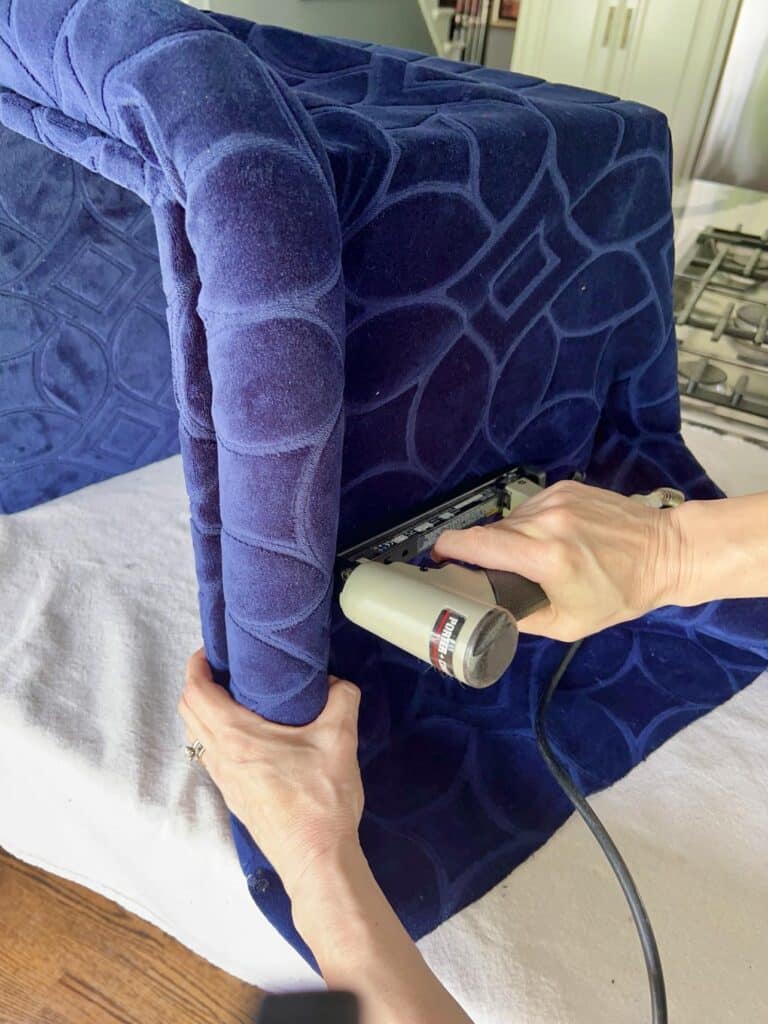
Continue this process with all 6 of the pool noodles. Wrap, pull taut, staple, repeat!
Don’t be afraid to cheat! If you need to tuck, fold, and overlap fabric underneath to create a smooth finish on top…do it!
The Reality: This process of wrapping the pool noodles, smoothing it out and stapling takes time. And it can be frustrating! Sometimes the pool noodle will not want to cooperate! And sometimes the fabric might not stretch like you want. It can feel like a wrestling match!
Finishing it Off
Once all the pool noodles are covered, pull the remaining loose fabric at the end over the edge of the ottoman wood pieces.
Staple this fabric securely along the inside edge of the side pieces. Again, you may need to nip an tuck to get the clean edge that you want.
Finally, use scissors to cut away any excess fabric.
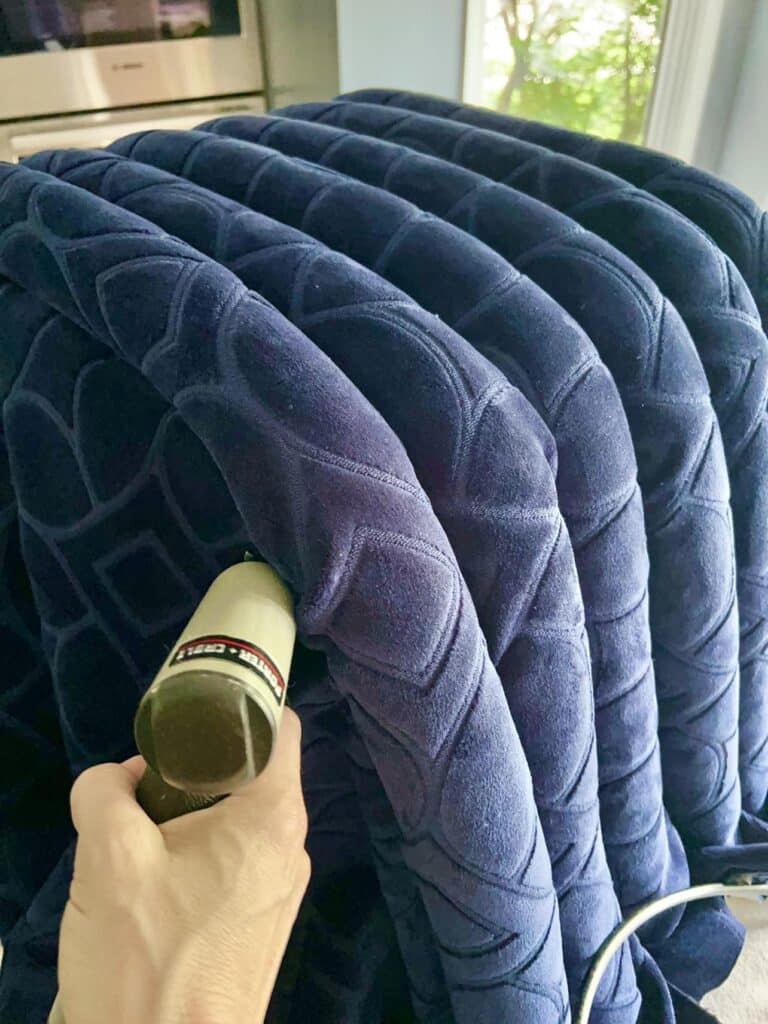
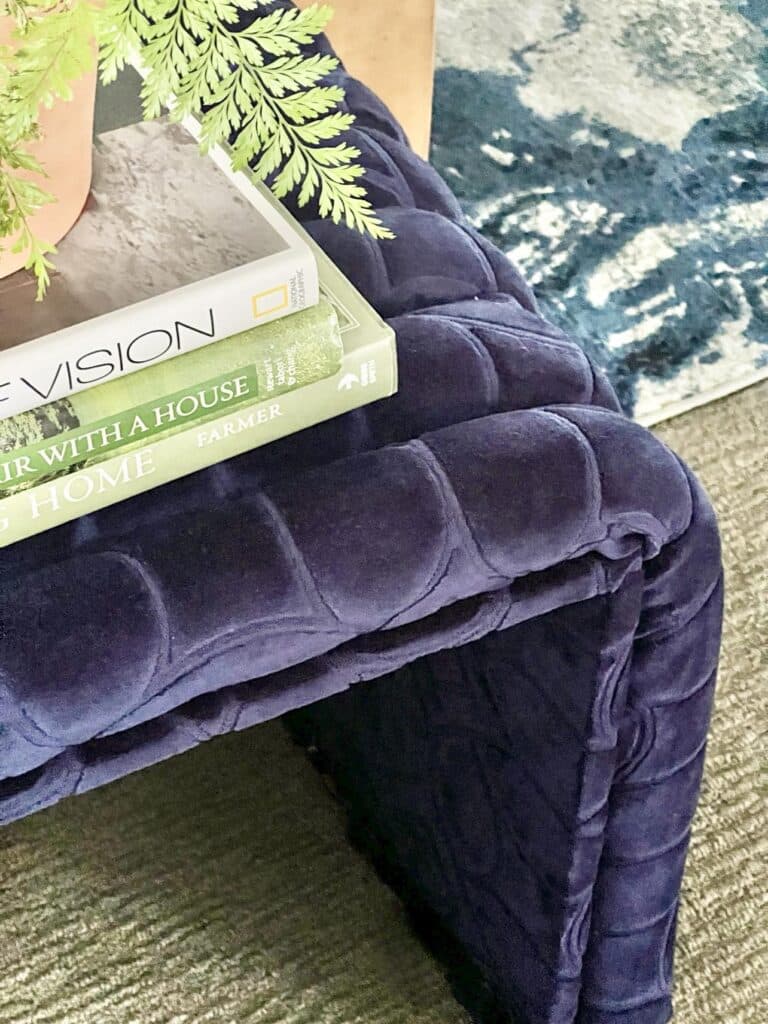
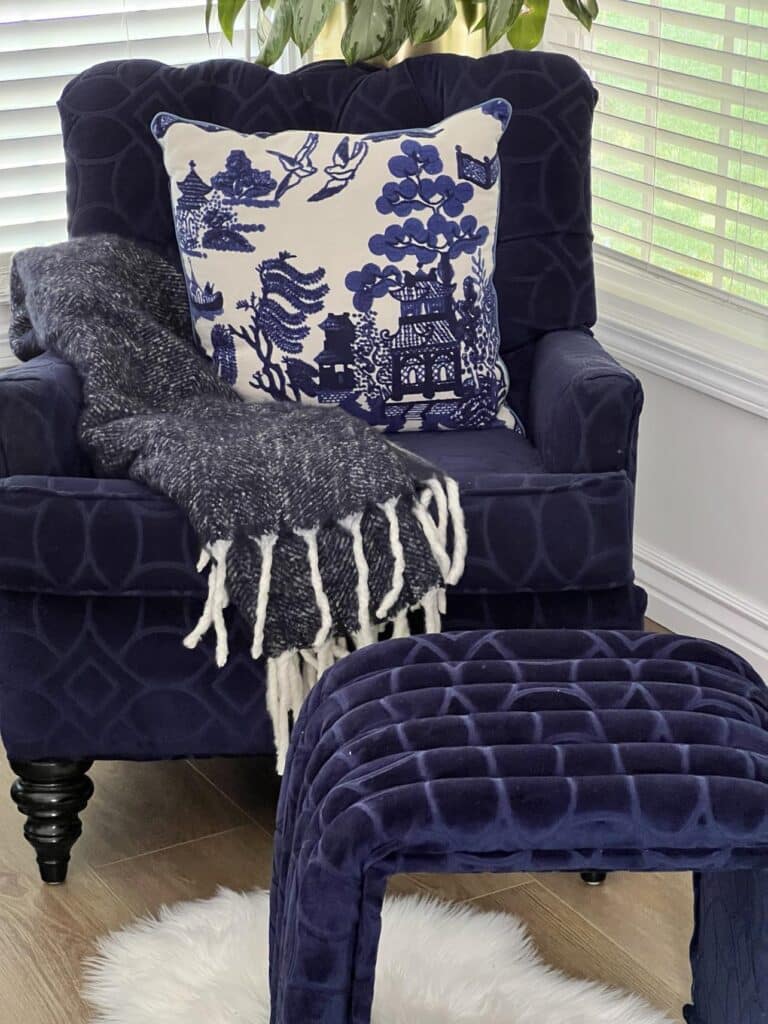
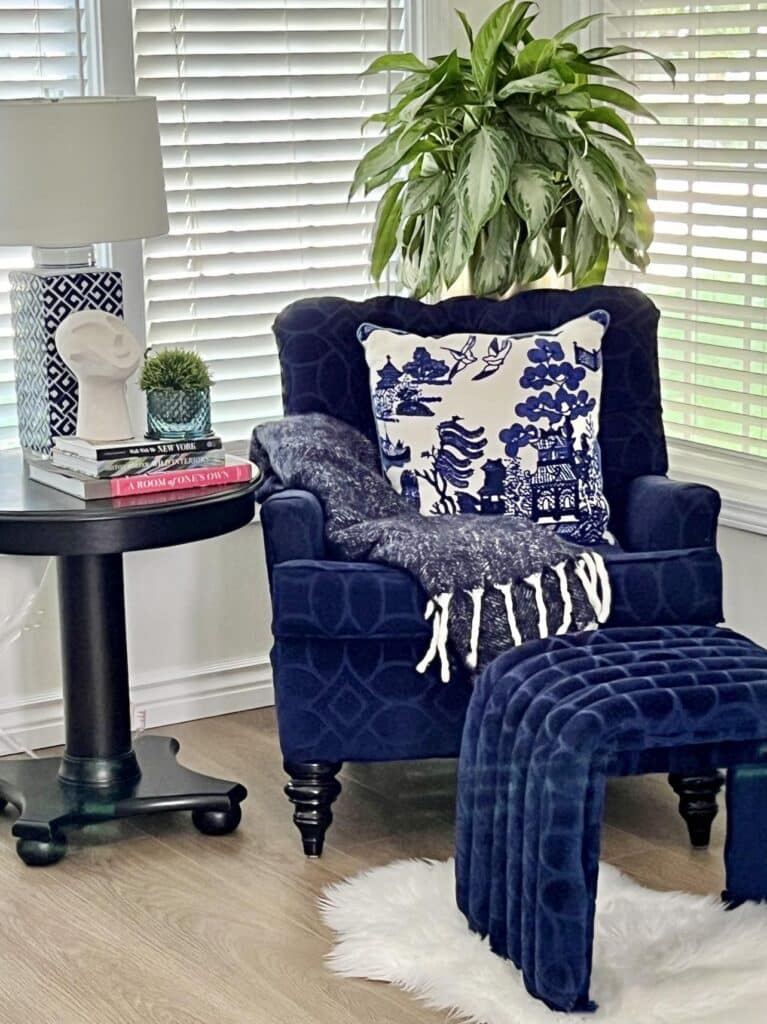
Voila’! A DIY channel tufted ottoman that can also be used as a portable side table!
What to Put on an Ottoman for Decoration?
Your upholstered ottoman can be so much more than just a place to rest your feet!
Think of it as a mini decorating island in the middle of your bedroom, family room, or guest room.
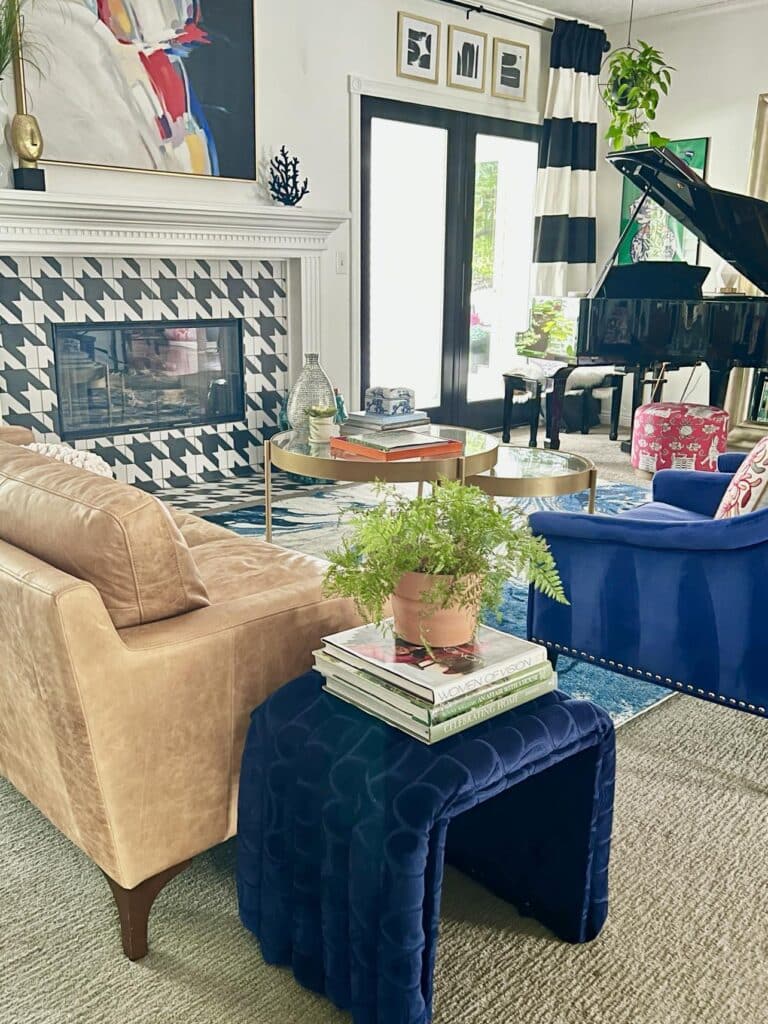
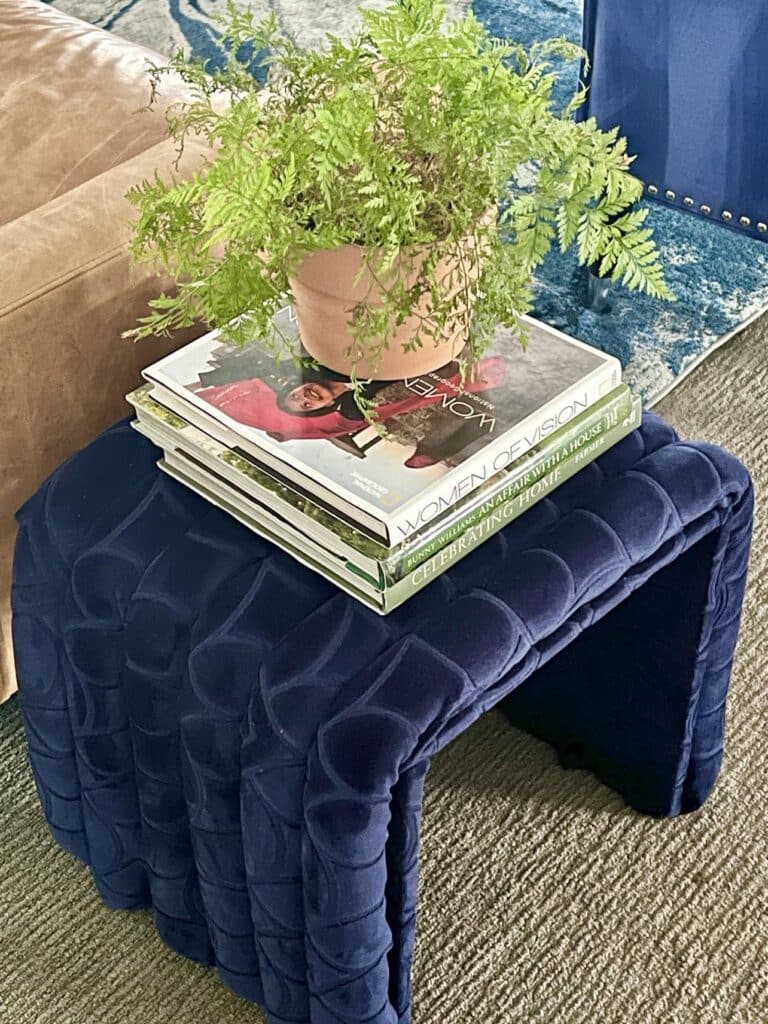
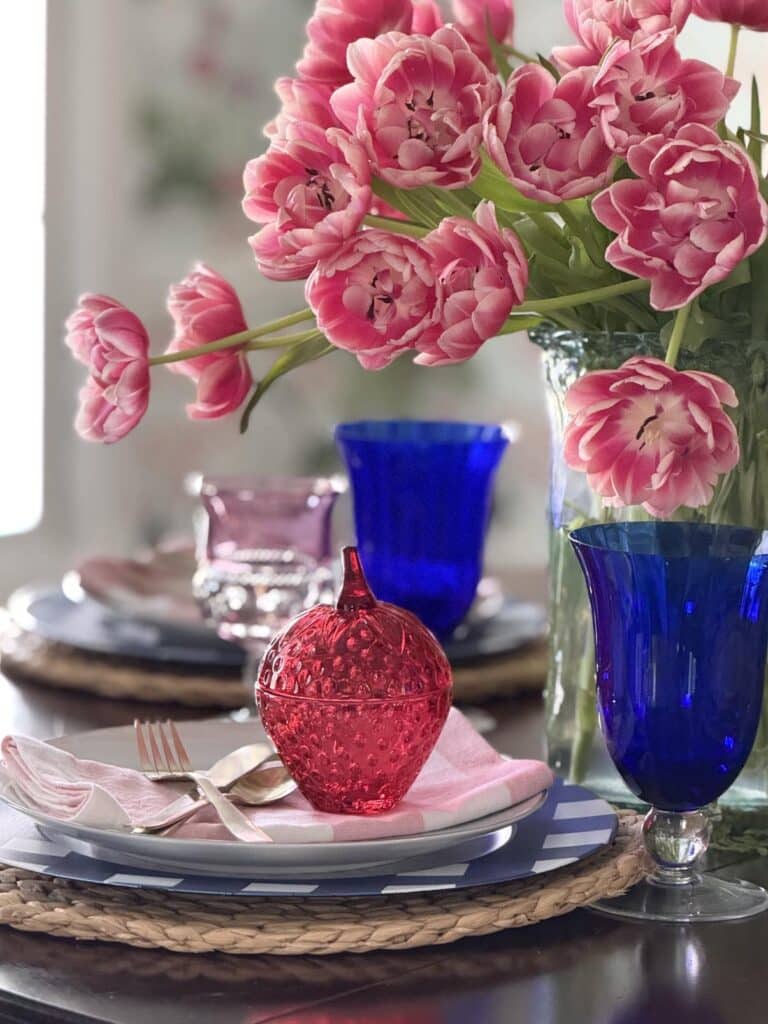
Add a decorative tray on top of the table to keep coasters, candles, and a cute little plant company.
Drape a soft throw blanket over it for an extra layer of cozy texture.
Or stack some colorful coffee table books for a stylish touch that doubles as a conversation starter.
This versatile piece of furniture can even transform into extra seating when you have a houseful – bonus points for comfy lounging!
Put Your Feet Up!
And there you have it! Your very own DIY coffee table ottoman.
The fun part is just beginning – style up your finished ottoman with a tray, throw blanket, or anything that reflects your taste. Then step back and admire your finished creation.
Isn’t it amazing what you can accomplish with some pool noodles and a little bit of wood?
Who knows, maybe this project will inspire you to tackle something even grander with pool noodles!
For now, relax, put your feet up on your beautiful (and functional!) ottoman, and enjoy the satisfaction of having crafted this entire thing yourself – complete with beautiful channel tufting, of course!
Cheers!

Don’t forget to pin this for later!
Pin the image below to your boards on Pinterest (just click the Pin button in the top left corner). You can also follow along with me on Pinterest!


Well executed Original idea
Thank you, Gail!
So creative Missy! I love it. I am sorry to hear about Brian, I hope all is well.
Thanks, Wendy. It’s been quite a week but things are settling down!
How amazing!! Who would have thought?!!! Great job!
Wow! I had to come visit and see how you made this with pool noodles in the title. Thanks for sharing with Create-it link party.
Love the color, the pattern, amazing! You’ll be feature on #Home Matters Linky Party. Thanks for linking up, every week!
Wow, that is so amazing. Great tutorial. Love the color. Congratulations, you are being featured on TFT. I hope you stop by. https://www.eclecticredbarn.com/2024/07/diys-and-yummies-on-tft.html
Hugs,
Bev
What?! Pool Noodles?! This is brilliant and beautiful. Featuring when my link party opens. Thank you for sharing!
Awww! Thank you so much, Carol! It was a fun project and I’m thrilled to be featured!
I am stunned! 🙂 I can’t believe how creative and unique this ottoman is, and that it’s made from pool noodles. This is so fun. It’s gorgeous! Visiting from the Love Your Creativity linkup.
Thank you so much, Jennifer! I really appreciate it!
How incredibly clever! Pinning.
Oh wow, wow, wow! That is so neat! I love how it turned out.
Thank you, Joanne!
Wow… I’m just blown away a simple pool noodle can become such a chic looking ottoman! Well done! It looks SO good with your chair!
Thank you! It was certainly less money than buying a new ottoman…and so much more fun!
Thank you for the information, it is very useful for our family.
Glad you found it helpful!