

DIY Wood Box Centerpiece: A Charming Upcycle from Garden Tote to Table
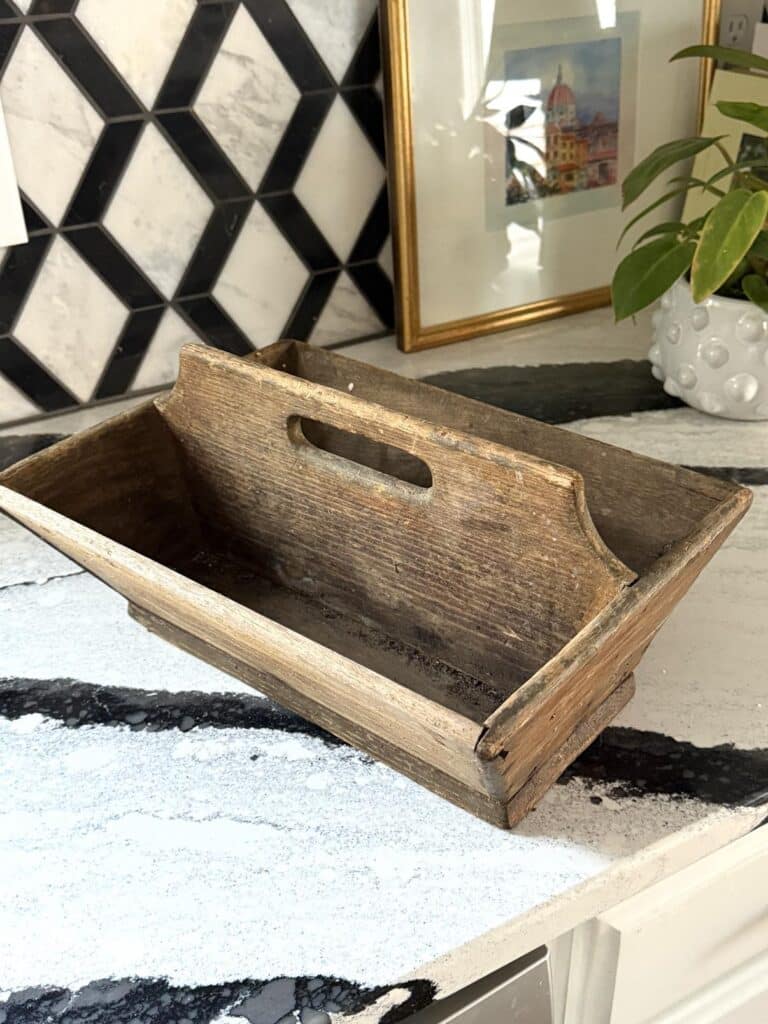
I’ve always believed that the best DIY projects start with something that already has a little history. My sturdy little wood garden tote had spent years carrying garden tools, but today, it’s getting a fresh, stylish makeover—one that will turn it into the perfect DIY wood box centerpiece for my dining table.

This blog contains affiliate links. This means a small commission is earned if you make a purchase by using this link. The price you pay will be the same whether you use the affiliate link or go directly to the vendor’s website using a non-affiliate link. As an Amazon Influencer, I earn from qualifying purchases.
Have you ever looked at an old tool in the garage and thought, “You, my friend, are destined for greatness”?
No? Just me?
Well, today, I’m taking a well-used wood garden tote and turning it into a stunning DIY wood box centerpiece—complete with rattan details, a little leather, and a whole lot of charm.
But before we dive into the fun, let me tell you about this particular tote and why it holds a special place in my heart.
The Handcrafted Society Challenge
It’s time for The Handcrafted Society!
Designed by our host Wendy at WM Design House, this is a group of creatives who takes on a monthly project challenge with a specific medium or theme in mind. This month the medium is…Upcycled garden objects!
As a novice gardner, this challenge was a little tricky for me. I don’t have a lot of tools or garden knick-knacks. But I did have one very special item I could use…
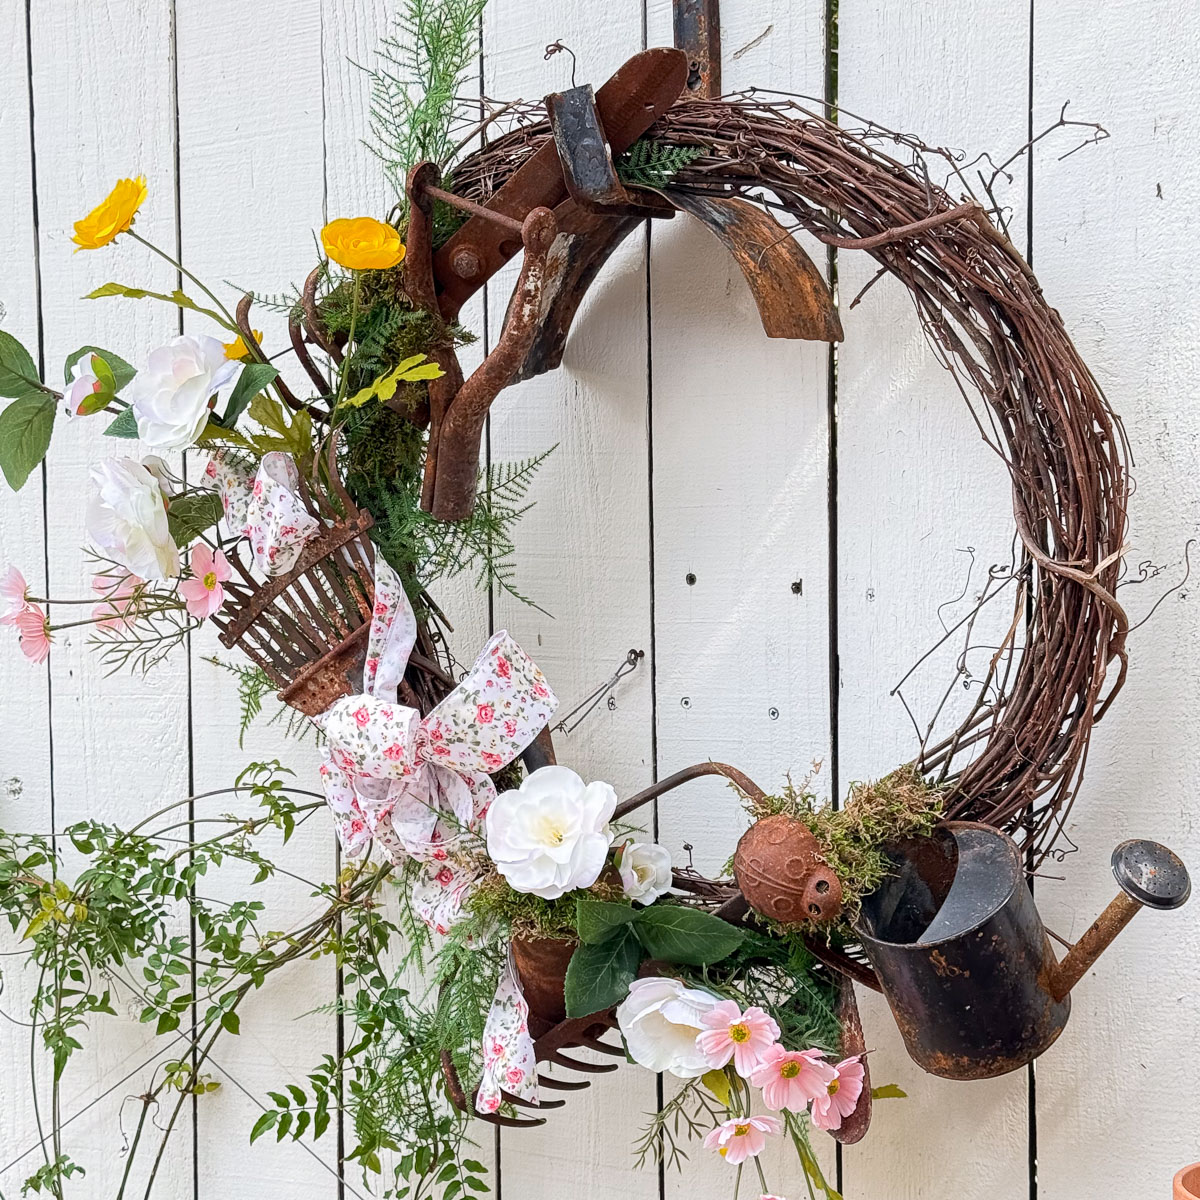
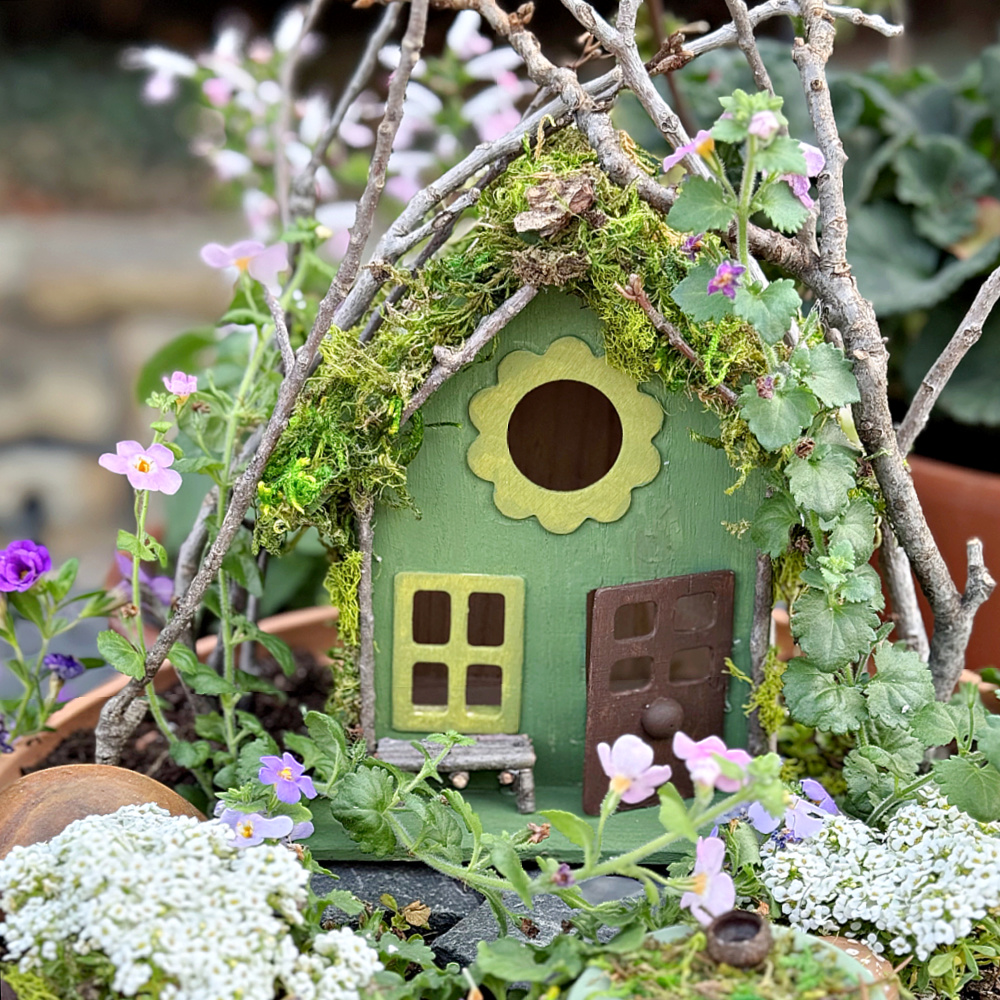
Be sure to read to the bottom of the post to see all of the amazing glass projects by my fellow Handcrafted Society friends!

An Old Garden Caddy: A Nostalgic Beginning
This simple wood box once belonged to my PapaDaddy—yes, that’s what we called my grandfather.
The name came from my older sister when she was a toddler, and somehow, it stuck. I have wonderful memories of taking walks in the neighborhood with my PapaDaddy.
He was tall with very long legs.
And he walked quickly so I was usually trotting so I could keep up with him!
If you kept up with him, you might luck out and get an ice cream cone from Zesto!
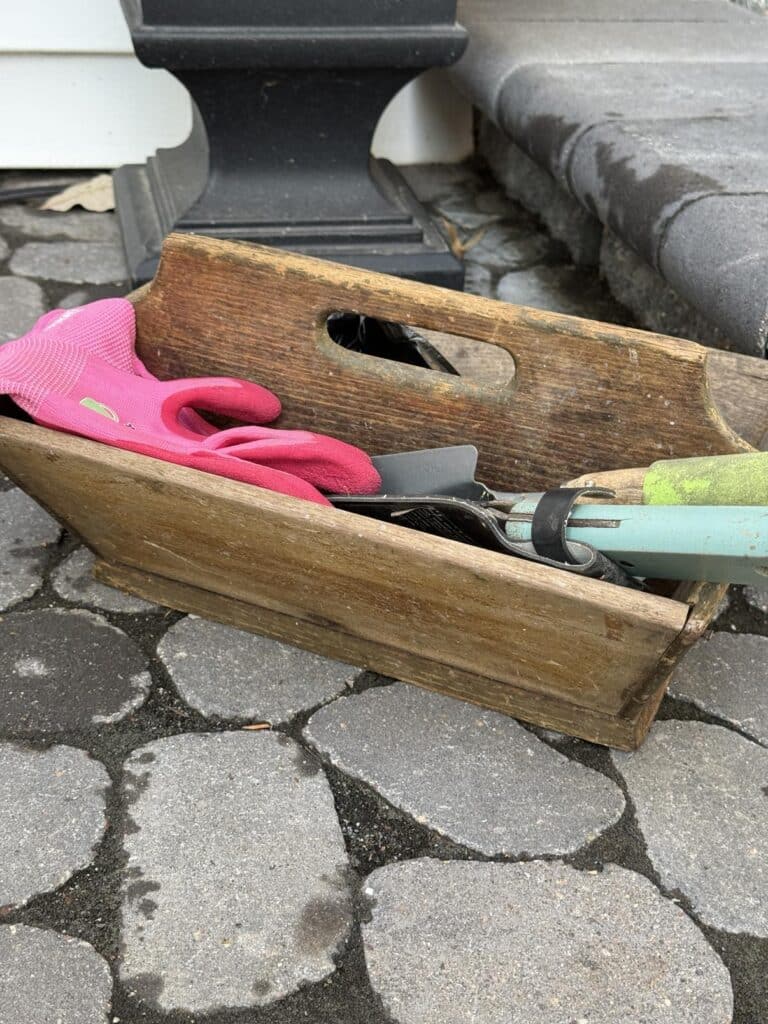
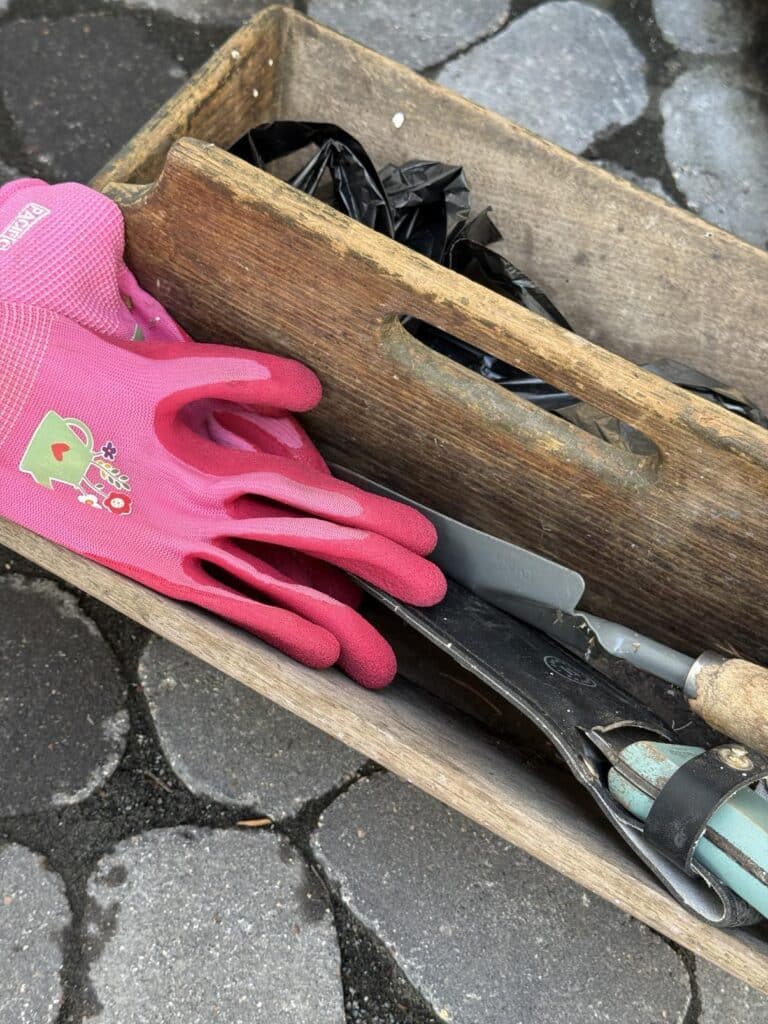
I don’t know that he was an avid gardner. But he did keep small tools in this wood caddy.
For years, I’ve used this rustic wood caddy the same way he did—to hold my garden tools.
It’s worn and dirty. But today, it’s getting a little glow-up and becoming a cute centerpiece for my dining table.
Let’s get to it!
DIY Wood Box Centerpiece Makeover: Step-by-Step Guide
Fortunately, I was able to spiff up this tote with items I had around the house. If you don’t have access to rattan, consider using fabric or other textured sheets.
Supplies You’ll Need:
✔ A wood garden caddy (or any simple wooden box centerpiece)
✔ Murphy Oil Soap
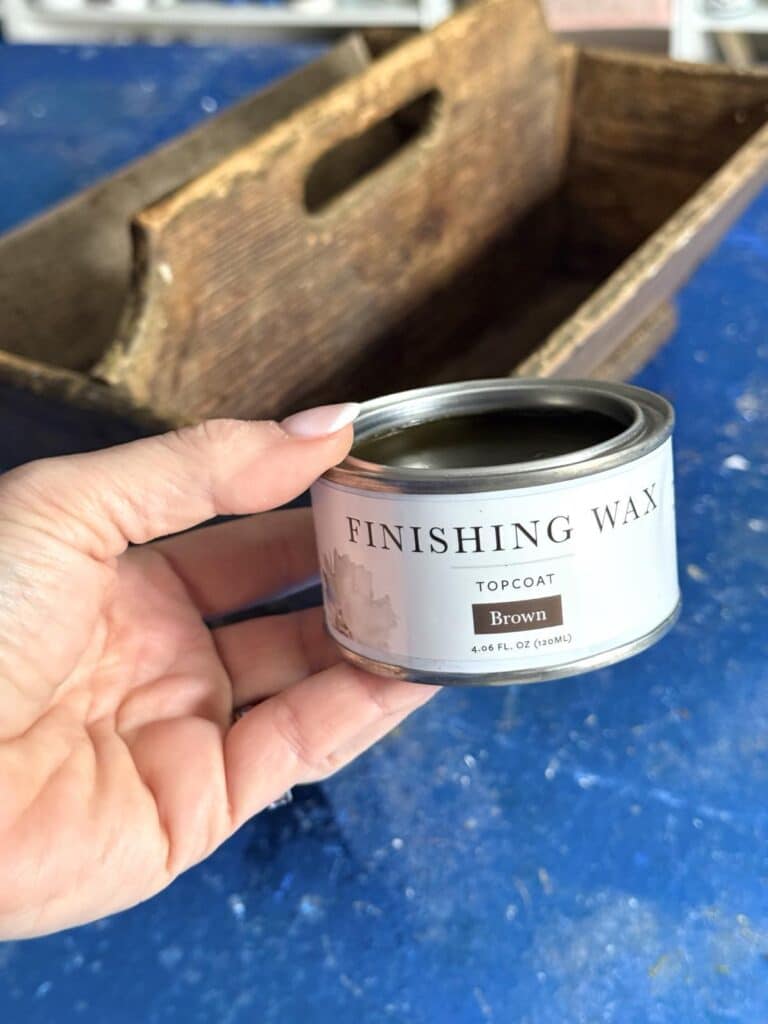
✔ Brown finishing wax
✔ Clean cotton cloth
✔ Roll or sheet of rattan
✔ Brown wrapping paper
✔ Sharpie
✔ Sharp scissors
✔ Spray adhesive
✔ Leather drawer pulls
✔ E6000 glue
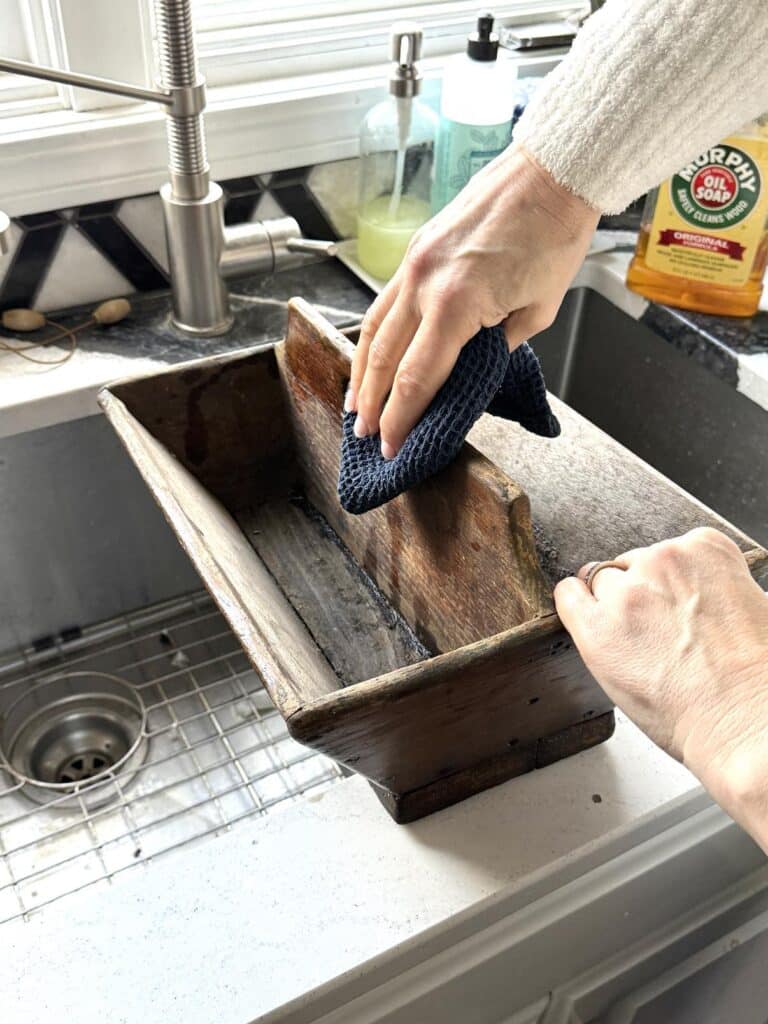
Cleaning and Prepping the Garden Caddy
First things first—this thing needed a good scrub. It had seen years of Nebraska soil, and while that added to its rustic look, I didn’t want to bring that particular charm onto my dining room table.
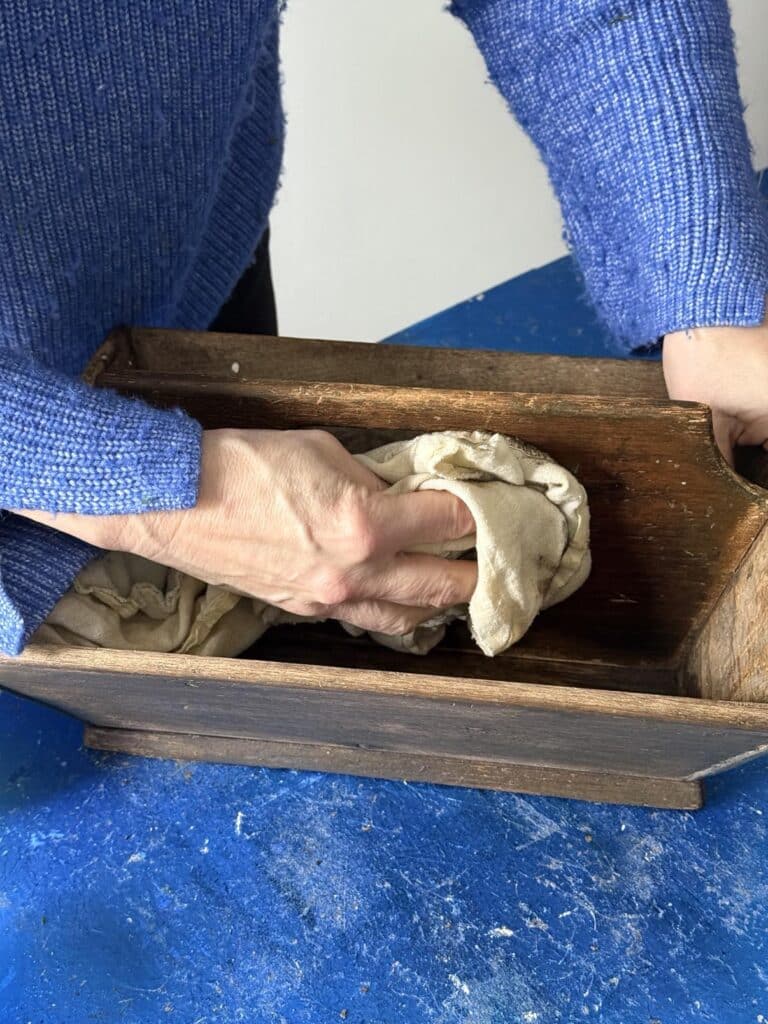
I grabbed my bottle of Murphy Oil Soap and gave it a good wipe-down, making sure to get into every nook and cranny of the side pieces and bottom of the box. After drying, it was time to enhance that beautiful wood grain.
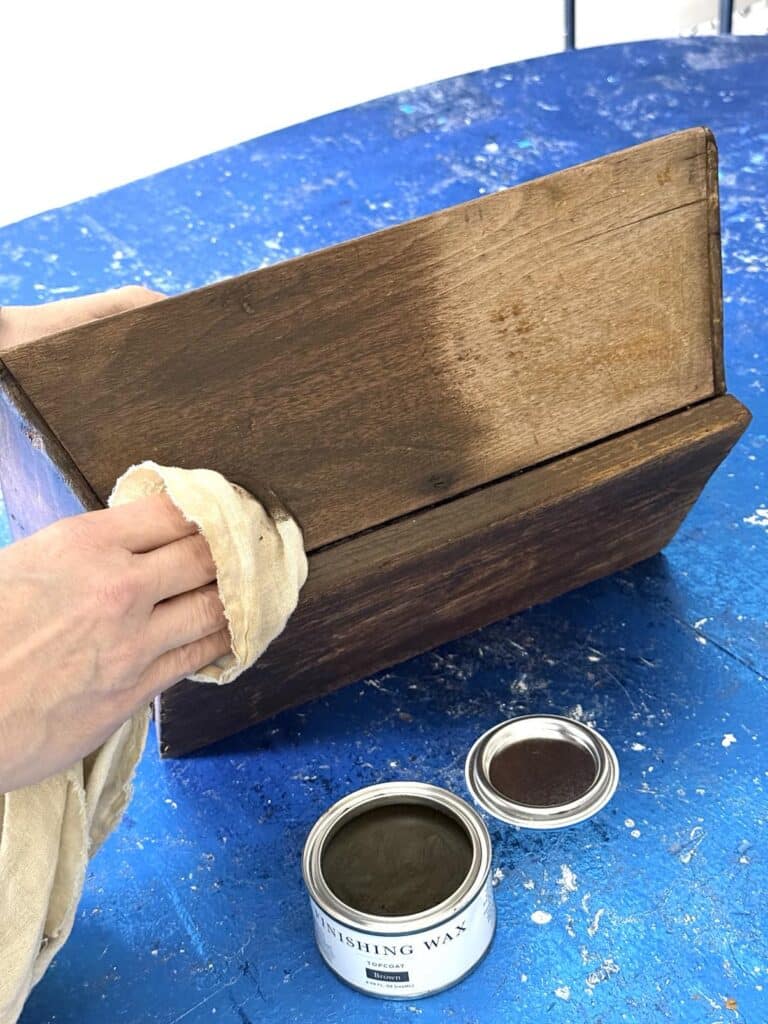
Since I wanted to keep the aged look, I skipped the paint and went straight for brown finishing wax.
I rubbed it all over the long sides, short sides, and end pieces, then buffed it with a clean cotton cloth. The result?
A rich, warm glow that made this wooden centerpiece box come alive with character.
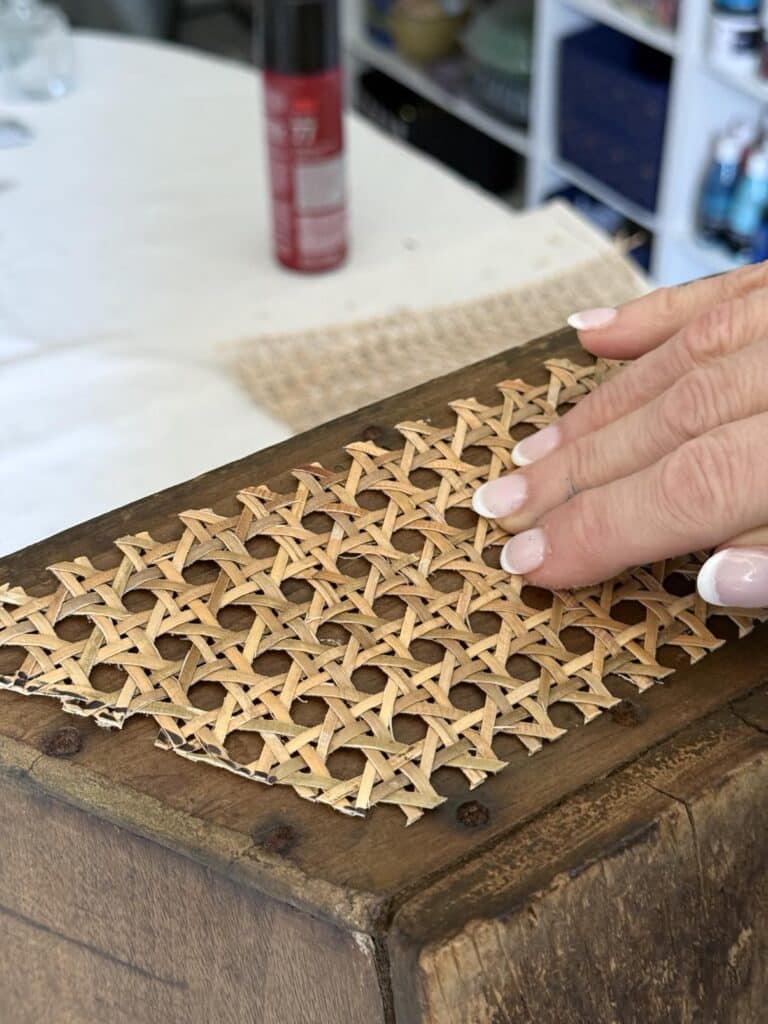
Adding Rattan Detail
I wanted to dress up the sides of the box with rattan for a fresh, textured twist.
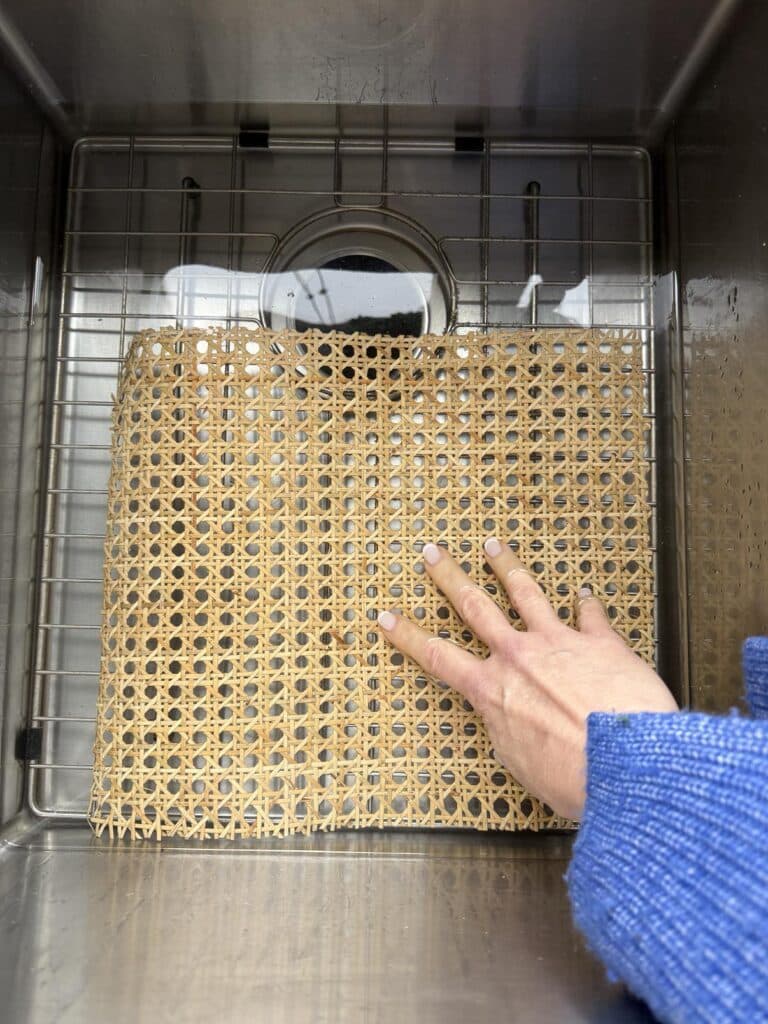
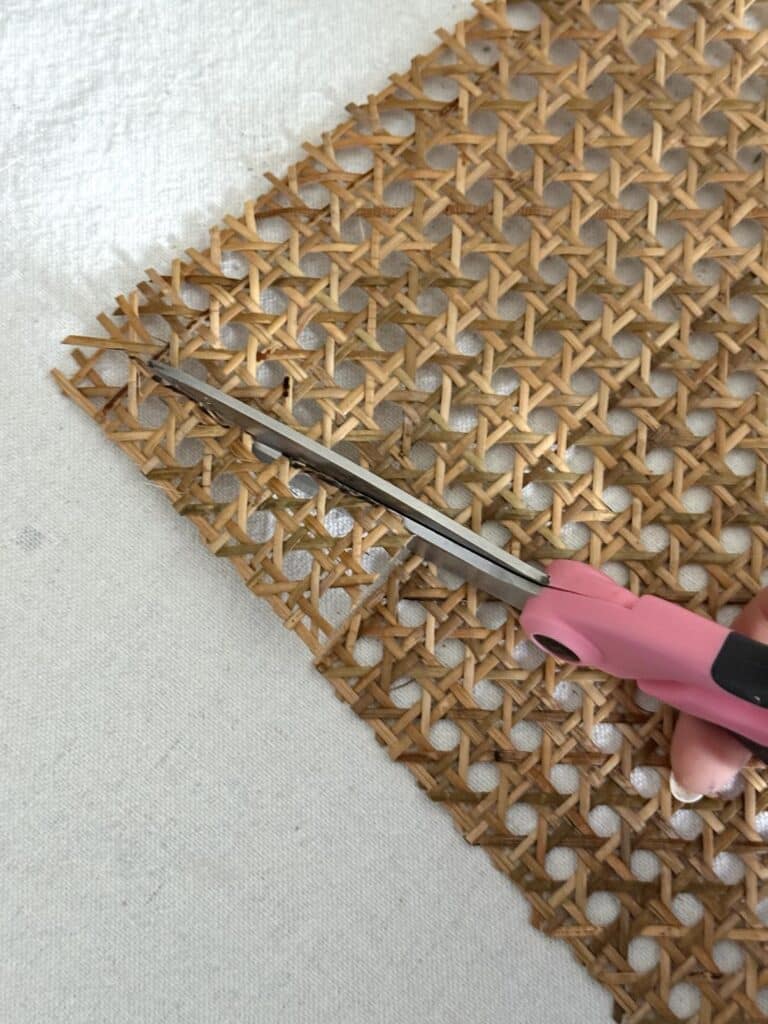
But let me share a little insider tip—rattan is much easier to work with when it’s pliable…
Pro Tip: Soak your rattan in warm water for about 30 minutes before cutting. Trust me, your fingers will thank you.
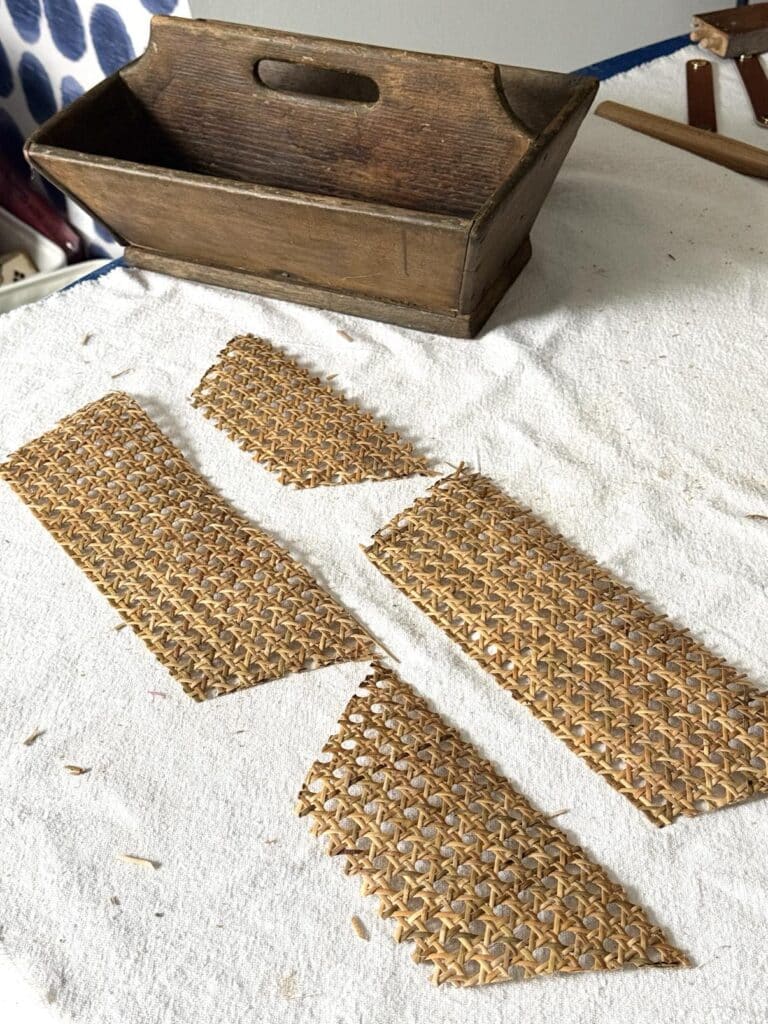
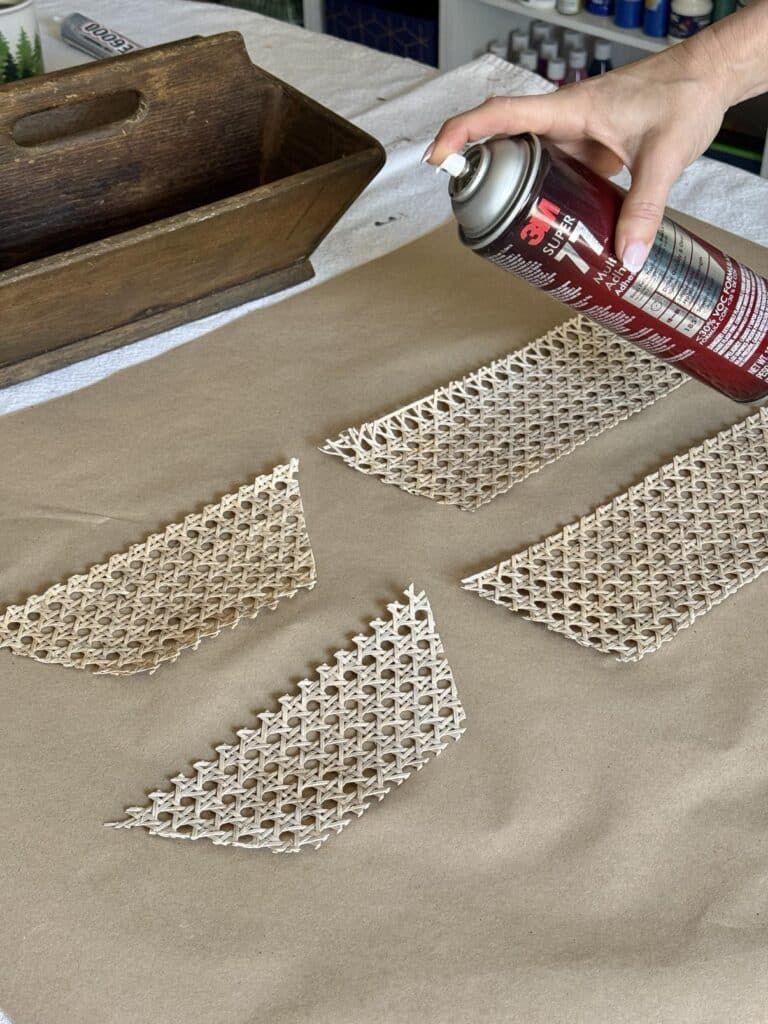
Once the rattan was ready, I made a pattern using brown wrapping paper, tracing it onto the rattan with a Sharpie, and cutting it out with sharp scissors.
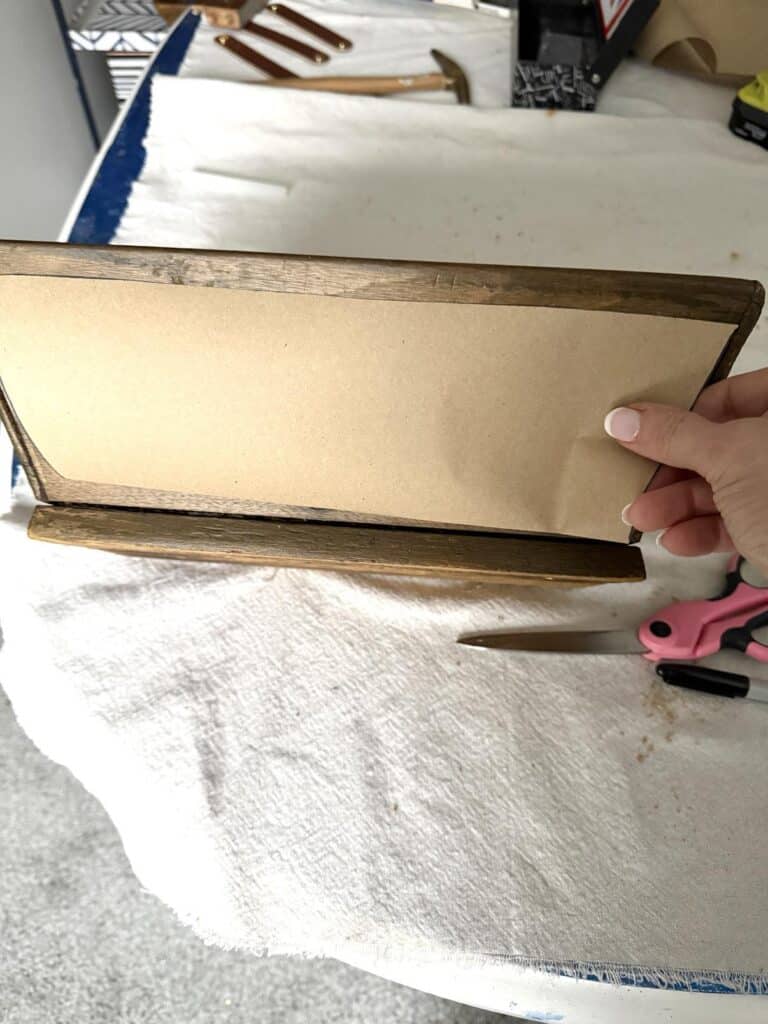
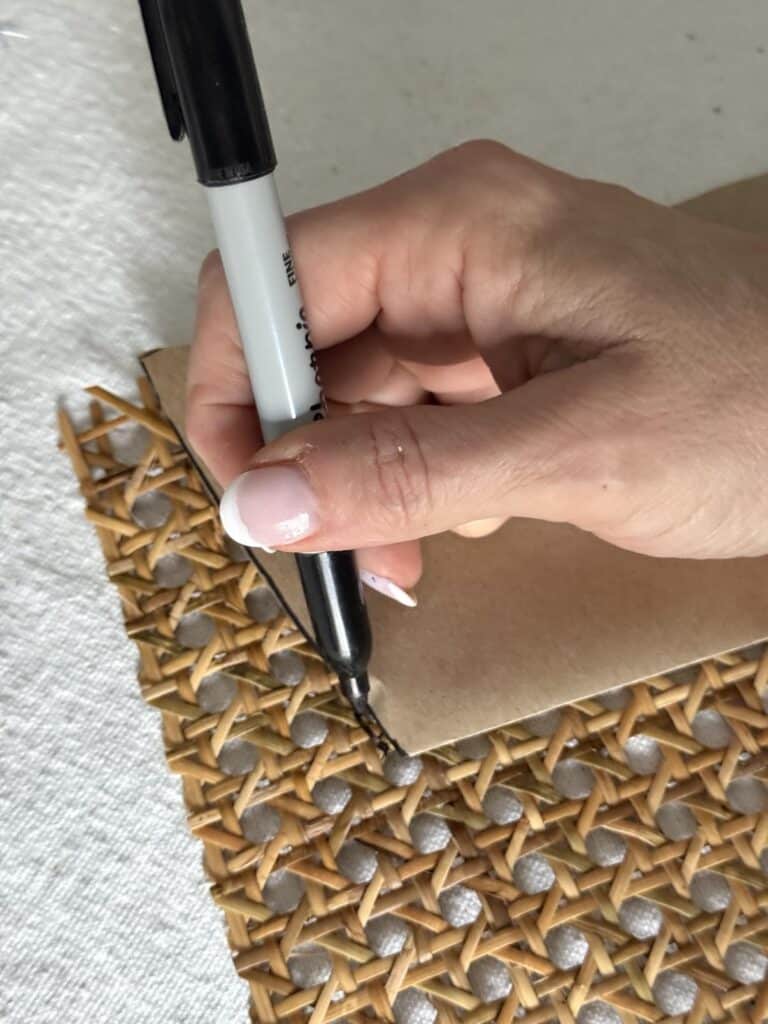
Then, I let the rattan pieces dry completely before moving on to the next step—attaching them to the side pieces of the caddy.
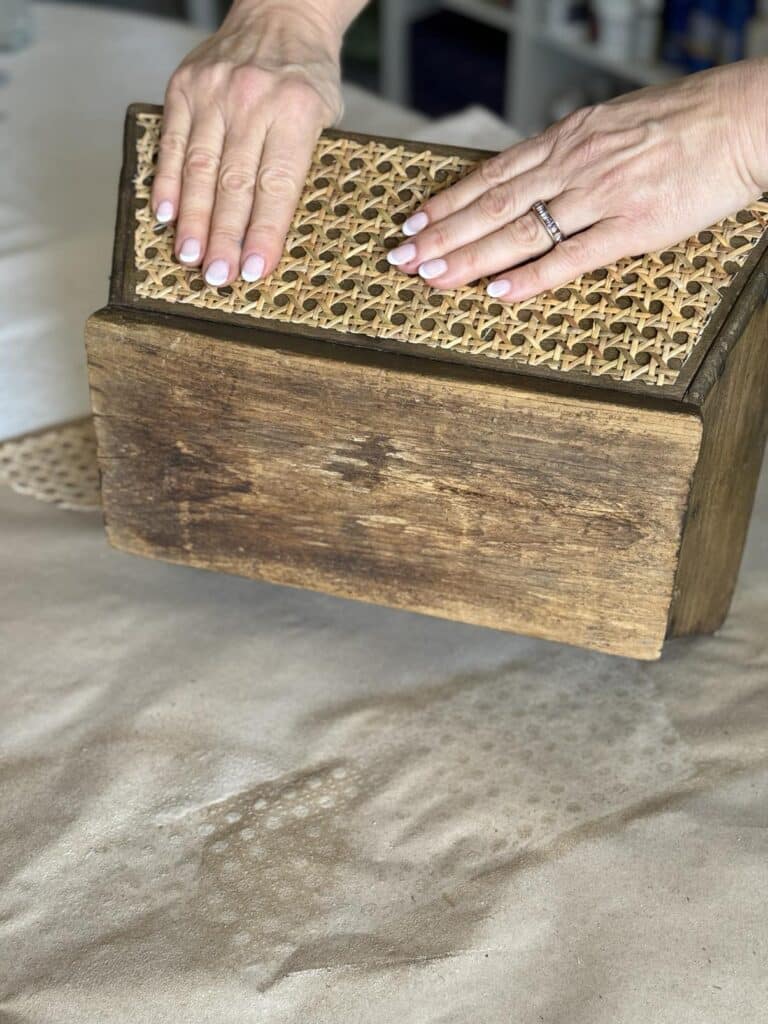
I sprayed the back of each piece with spray adhesive and pressed it onto the long sides, holding it in place for about five minutes to ensure it stuck.
Let’s just say I spent those 20 minutes contemplating how many other things in my house I could cover in rattan. (The dog? No. The side table in the dining room? Maybe!)
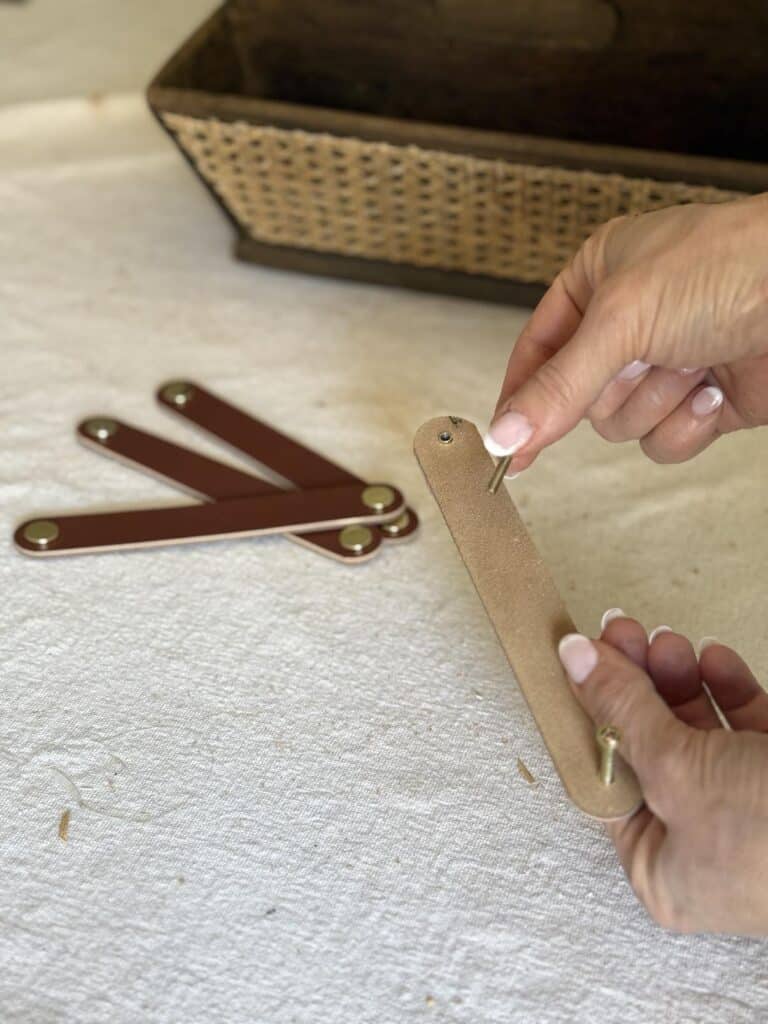
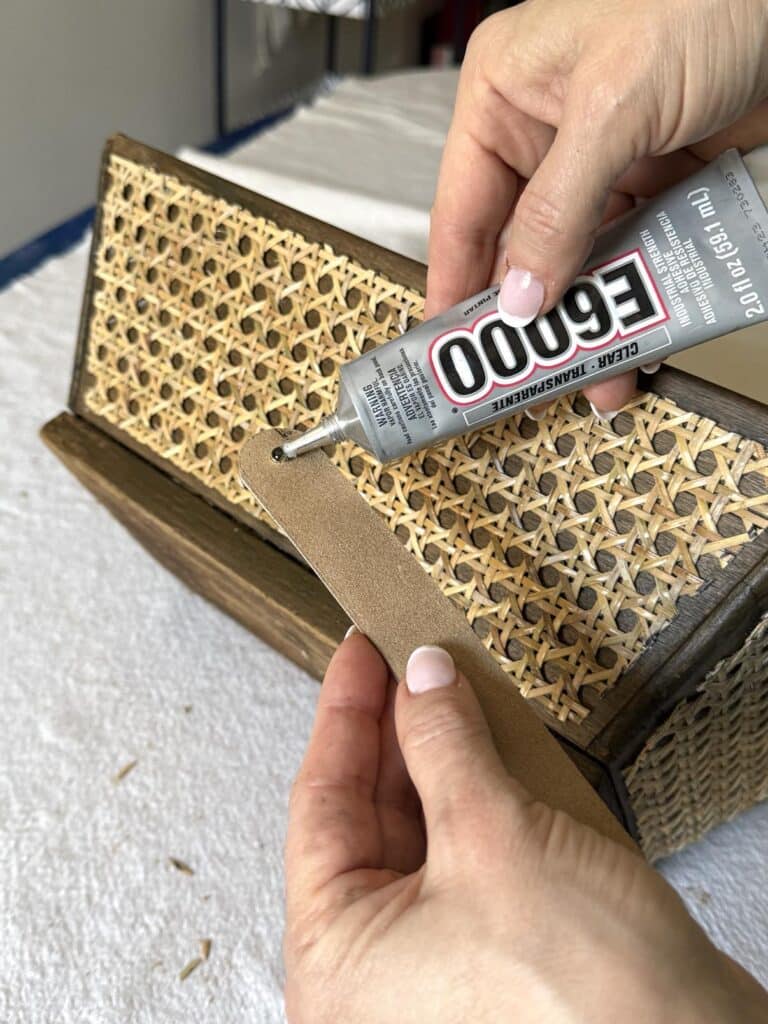
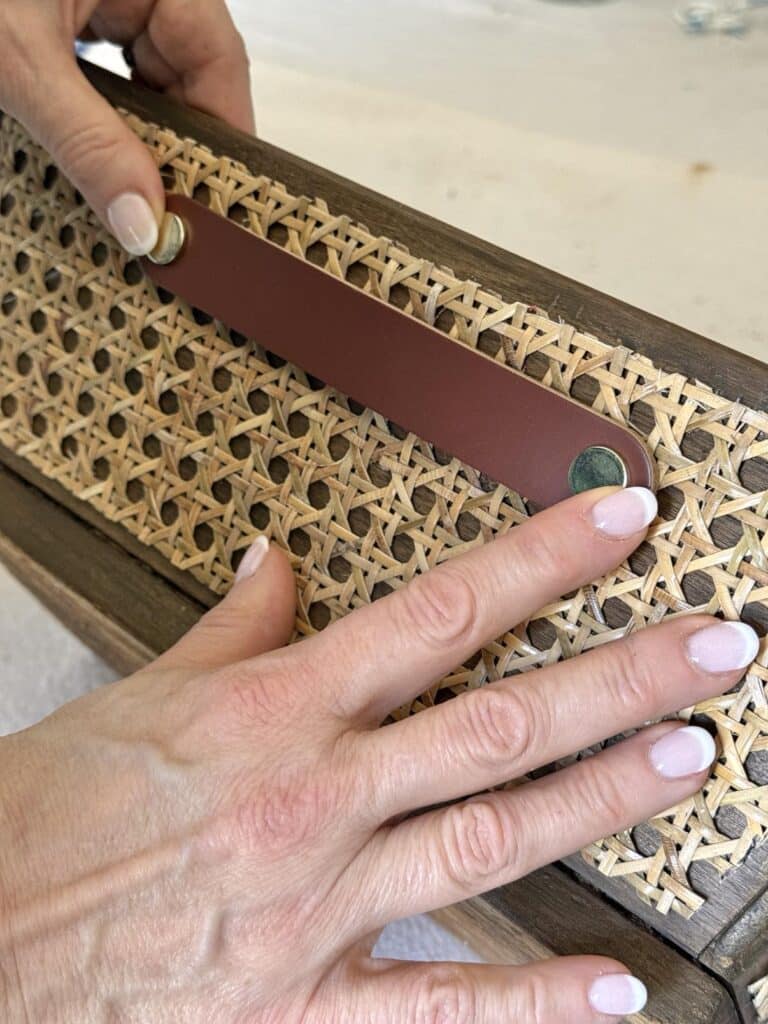
Leather Drawer Pulls for Extra Charm
The last step in this makeover was adding a little extra detail—leather drawer pulls!
I had some leftover from another project, and they were just too cute not to use.
Using E6000 glue, I attached a leather pull to each side piece of the caddy, right near the top edge.
These aren’t meant for functional use (so no carrying this thing around by the straps), but they add the perfect finishing touch.
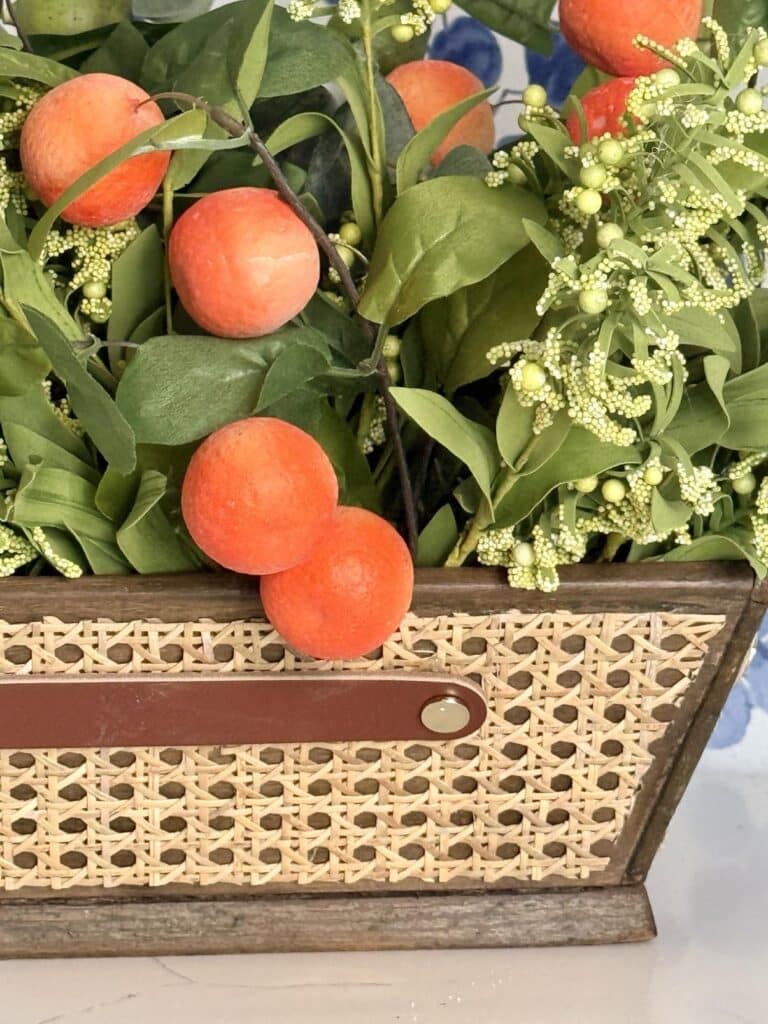
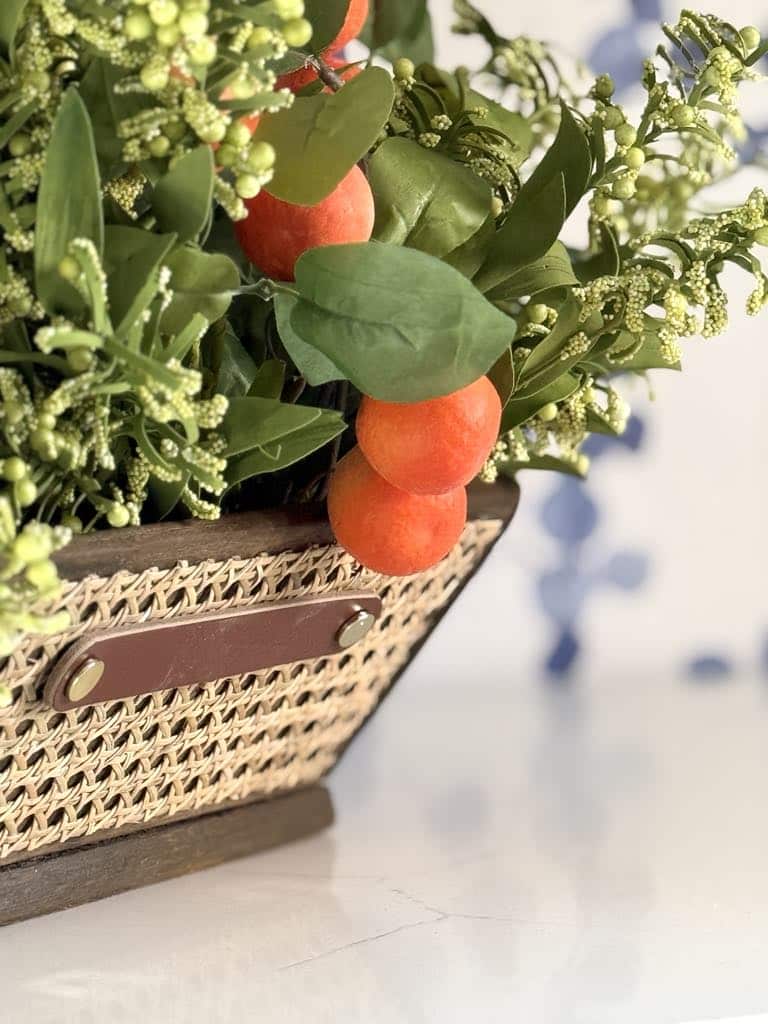
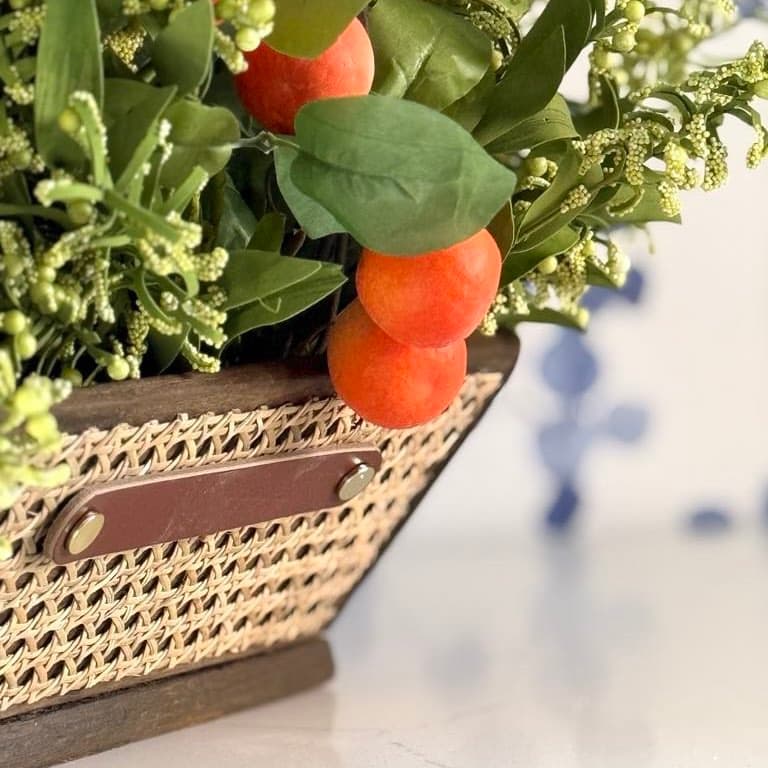
Styling the New DIY Wood Box Centerpiece
Now, for the best part—decorating!
I could totally still use this as a garden tote, filling it with fresh flowers and feeling very Martha Stewart as I stroll through my yard.
But for now, I wanted a table centerpiece that looked like it belonged on Ina Garten’s table!
Keeping it simple is the key!
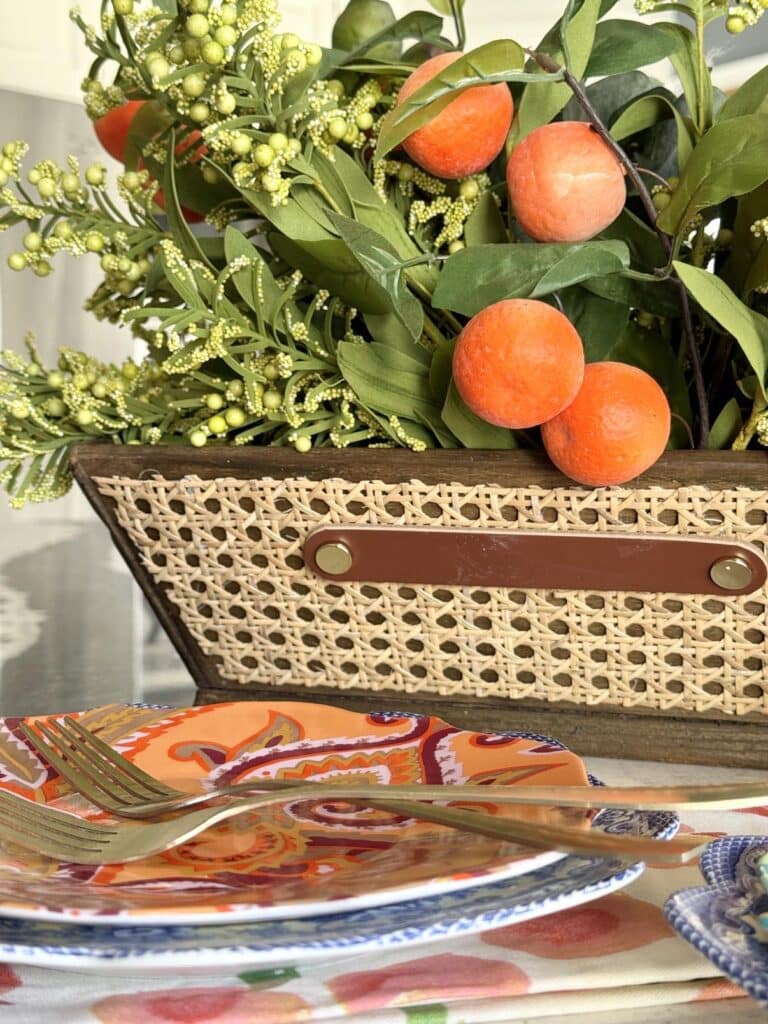
Simple as in faux greenery for a lush base…
And bright faux oranges! Because, why not? (Nebraska doesn’t have orange trees, but we can dream!)
The result? A simple wooden box centerpiece that’s both rustic and refined, perfect for my dining room table.
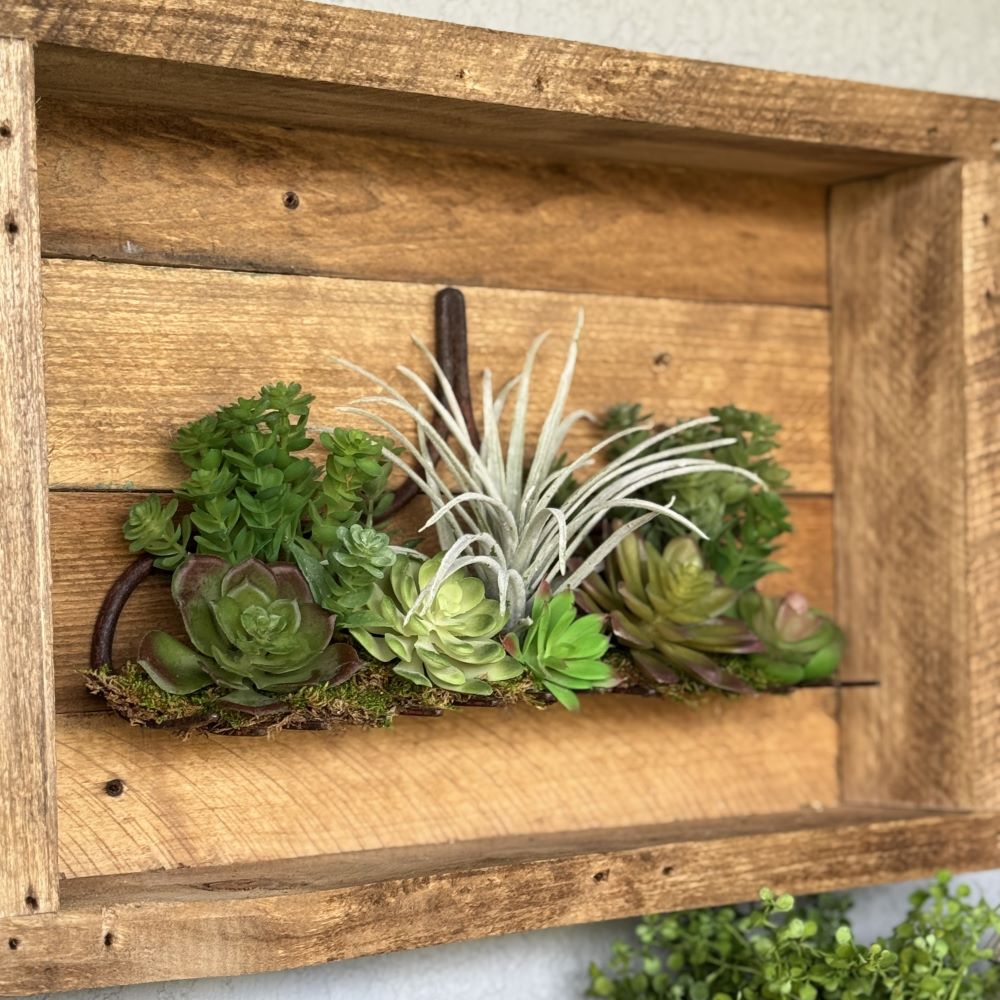
Other Ways to Use Your DIY Wood Centerpiece Box
I love the simple elegance of a rustic box…especially one that is incredibly versatile. Here are a few other ideas for filling your new wooden centerpiece box:
- Place charming mason jars in the box to hold fresh-cut flowers.
- Fill it with candles and fairy lights for a warm, cozy glow.
- Turn it into a stylish napkin and utensil holder for your next dinner party. It is the perfect size!
- Load it up with seasonal decorative items for a constantly changing look.
- Fill the chambers with sweet gum balls and lollipops!
- Small pumpkins to bring in the cozy seasonal feel of fall.
- Swap out the decor for different holidays—mini Christmas trees, Easter eggs, or patriotic flags!
From Garden Tote to Showstopper
This DIY wood centerpiece box started as a hardworking rustic wood garden tote, but now it’s a stunning, stylish statement piece that fits perfectly in my own home decor.
Best of all? Every time I see it, I think of my PapaDaddy—his love of walking, ice cream treats, and his endless love for his family.
And that, my friends, makes this project truly special.
Now, tell me—how would you style your simple wooden box centerpiece? Let’s chat in the comments!
Don’t forget to check out the other Handcrafted Society projects below. The creativity will astound you!
Cheers!

A Little About Me
Hi! I’m missy. So happy to meet you!
“Decorate with Joy! Live with Happiness”
I truly believe that your home should be a reflection of your personality, a space where you feel free to express yourself and create a sanctuary that feels uniquely yours.
I love creating mood boards, hunting down unique home décor treasures, tackling easy DIY projects, and gathering with family and friends. Homes are meant to be enjoyed, filled with laughter, and shared with the people you love!
– cheers –

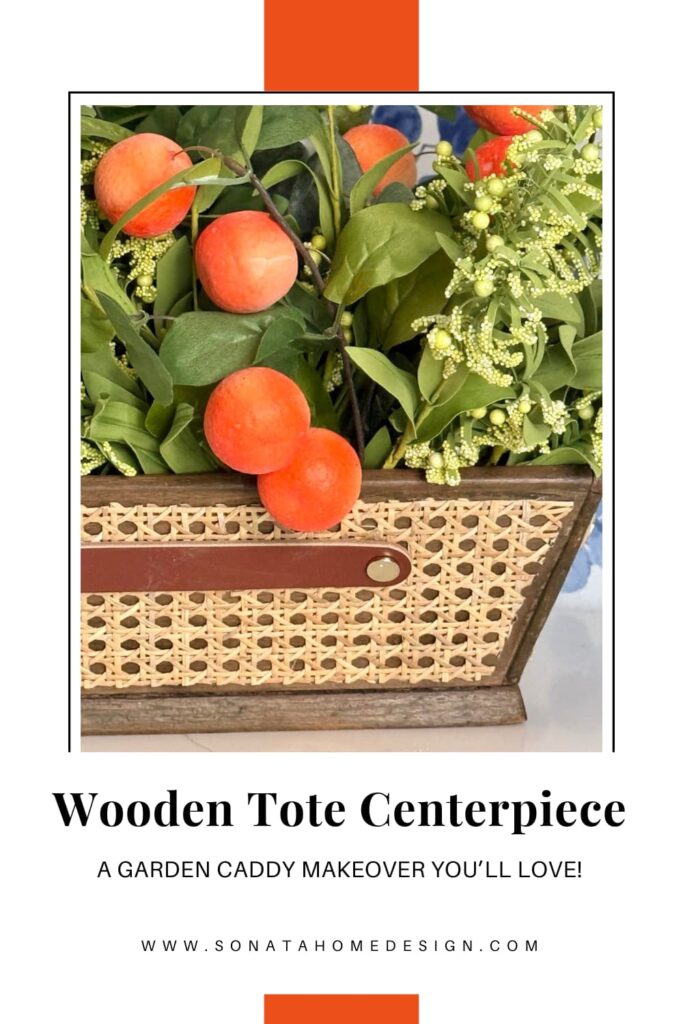
Don’t Forget to Pin It!
Pin the image below to your boards on Pinterest (just click the Pin button in the top left corner). You can also follow along with me on Pinterest!


Shop My Favorites

LOVE!!! Missy this is SO adorable with such a special story behind it. Super great idea! It looks so good styled on your table!
Thank you, Rachel! I really appreciate that. And I appreciate you!
Missy you did it again, and came up with an impressive project. The addition of rattan detail and leather pulls are so smart looking! Good tip on soaking the rattan! I’ll remember that when I give this a try. Pinning!
Thanks, Michelle! I learned the hard way long ago that rattan can be temperamental. Soaking it works like a charm! Thanks so much for another great Handcrafted month!
Masterclass in upcycling/crafting right here!!! Missy, this is so impressive. I love, love, love the rattan and leather combination on the waxed wood.
Thank you so much, Diane! It was fun to put the “bits” I had to good use!
I love the idea of addressing the inanimate members of my Home for Wayward Objects by saying, “You, my friend, are destined for greatness!” I would never have thought of the ideas you came up with for this project; thanks for your inspiring fresh perspective with such an easy upgrade.
Hi Mollie! I’m glad I’m not alone in unique home discussions! Thank you so much for taking a look and leaving such kind words. Wishing you an awesome spring!
Wow, Missy!! This truly is a showstopper! Anything rattan has my heart, and the leather handles are the icing on the cake! Beautiful job, my friend!
Missy – This tote is a complete transformation. I would never have guessed what it started out as. I’m going to steal your idea and make something for Emma’s apartment. She has rattan in several pieces of furniture and something like this would fit right in. Love it!
Hi Missy! I love how you took an item with sentimental value and upcycled it making it even more special! Using rattan is so creative and the leather handles add the perfect masculine touch! I know you’ll enjoy using this in your home for years to come!
Hi Missy! I love this so much. The distressed vintage tote was awesome all on its own but you elevated it to a Ralph Lauren decor piece. Your grandfather would be proud. Pinning this so I can do something similar. Love it!!! XO- MaryJo
Missy, you may just be the queen of upcycling. You took something old and dirty then transformed it into something chic. The caning adds a level of sophication to it. Well done! Now you have me wanting to do caning on something.
Wow! I love this idea! I have caning too. I am going to try this! Thanks for sharing!
This blog showcases a creative DIY wood box centerpiece upcycle, turning a garden tote into a beautiful table decor piece. A must-read for DIY and home decor enthusiasts! best schools in noida for nursery admission | list of preschools in noida
Thank you so much for sharing!