Deck Your Walls: How to Make a DIY Wall Christmas Tree
If you’re looking to save space this holiday season while still enjoying a festive display, a wall Christmas tree might be just what you need! Wall trees provide a creative way to celebrate the season without taking up precious floor space, making them ideal for small spaces, cozy rooms, or as an extra tree in another part of the house.

This blog contains affiliate links. This means a small commission is earned if you make a purchase by using this link. The price you pay will be the same whether you use the affiliate link or go directly to the vendor’s website using a non-affiliate link. As an Amazon Influencer, I earn from qualifying purchases.
Sunday in the Park with Bentley
The freedom of the park!
Our dog, Bentley’s, favorite thing is when I take him to a park, put him on a long leash, and just let him roam.
He loves sniffing and exploring and jumping at who-knows-what. (Seriously, he will jump and try to grab the air!)

A few weeks ago, during a visit to a neighborhood park after a rain storm, we found all sorts of small branches throughout the park. On a whim…I started picking them up.
I can do something with these, can’t I?
Well, with Christmas just around the corner, I sure did!
A wall Christmas tree made from branches! Check it out!
Why Choose a Wall Christmas Tree?
Wall trees offer several advantages over traditional Christmas trees:
- Space Saving: Perfect for apartments or small rooms where a full tree would be too large.
- Unique Style: Wall trees add a whimsical and crafty touch to holiday décor.
- Customizable: Unlike traditional Christmas trees, you can make your wall tree to match any style, from rustic and cozy to sleek and modern.
- Easy to Store: A wall Christmas tree is also easy to assemble, take down, and store for next year.
- Pet Friendly: This type of tree is also perfect if you have a pet who likes to “explore” a regular Christmas tree!

So, if you want the spirit of the season without the hassle or space commitment, a wall Christmas tree is an easy, fun solution. Plus, it’s a quick DIY project, so you’ll have your tree up in no time!
DIY Wall Christmas Tree: Step-by-Step Guide
Here’s how to create your own DIY wall Christmas tree from gathered branches, twine, and simple holiday decorations.
What You’ll Need
- Branches of various lengths (gathered outdoors or from your backyard)
- Twine or strong string
- Red ornaments (or any festive decorations you prefer)
- Command hooks or small nails
- Optional: Fairy lights, ribbon, or mini garland
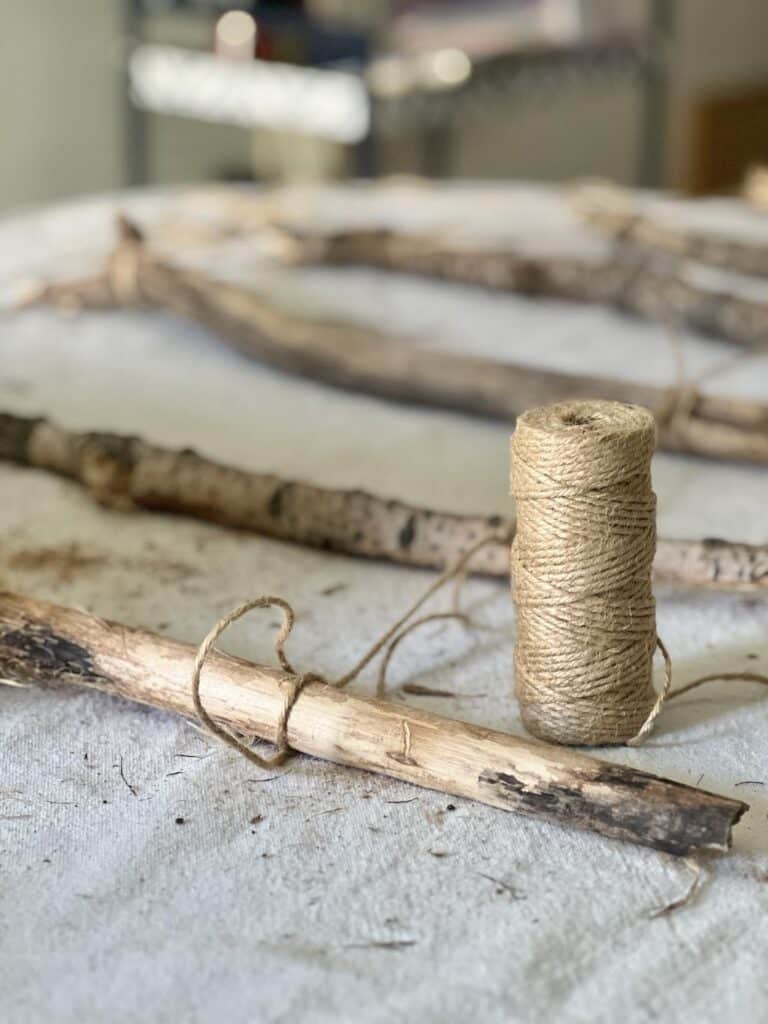
Step 1: Gather Your Branches
For a natural, rustic look, head outside to gather your branches.
Look for sturdy, straight branches of different lengths to create the classic tree shape.
You’ll need about 4-6 branches that progressively get shorter to form a triangle, with the longest at the bottom and the shortest at the top.

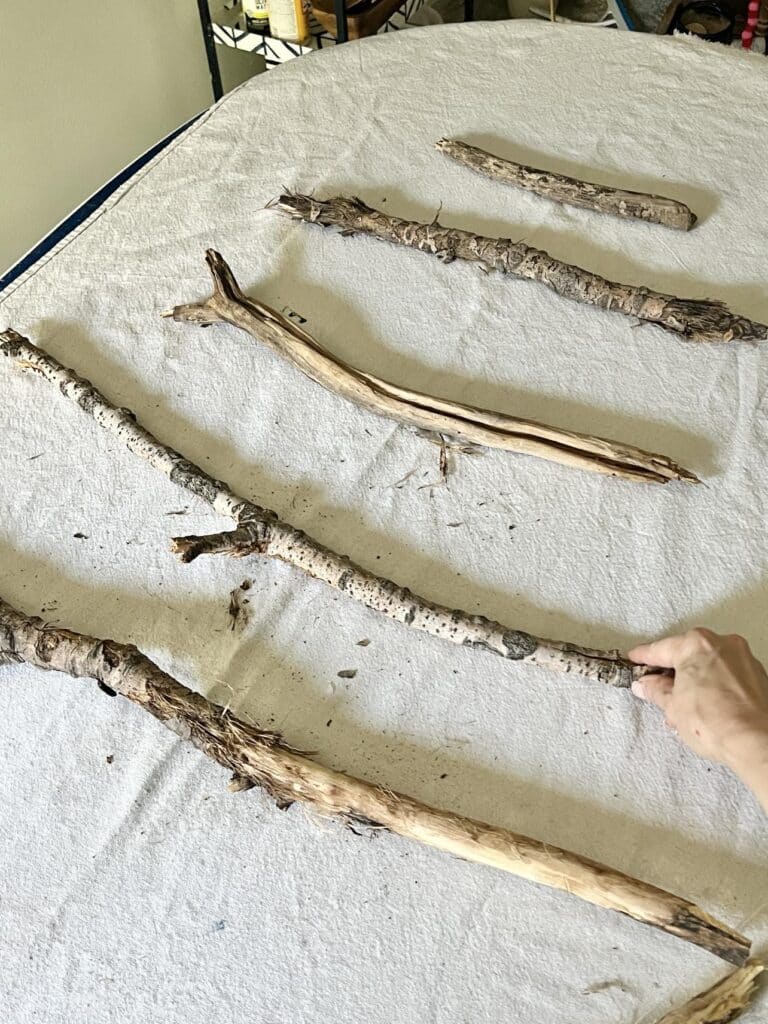
Step 2: Arrange Your Branches in a Tree Shape
Once you have your branches, lay them out on the ground or a large table to arrange them into the shape of a tree.
Place the longest branch at the bottom, and work your way up with shorter branches to form the triangular shape of a traditional Christmas tree.
This layout will help you visualize the finished look and determine the best spots for your decorations.
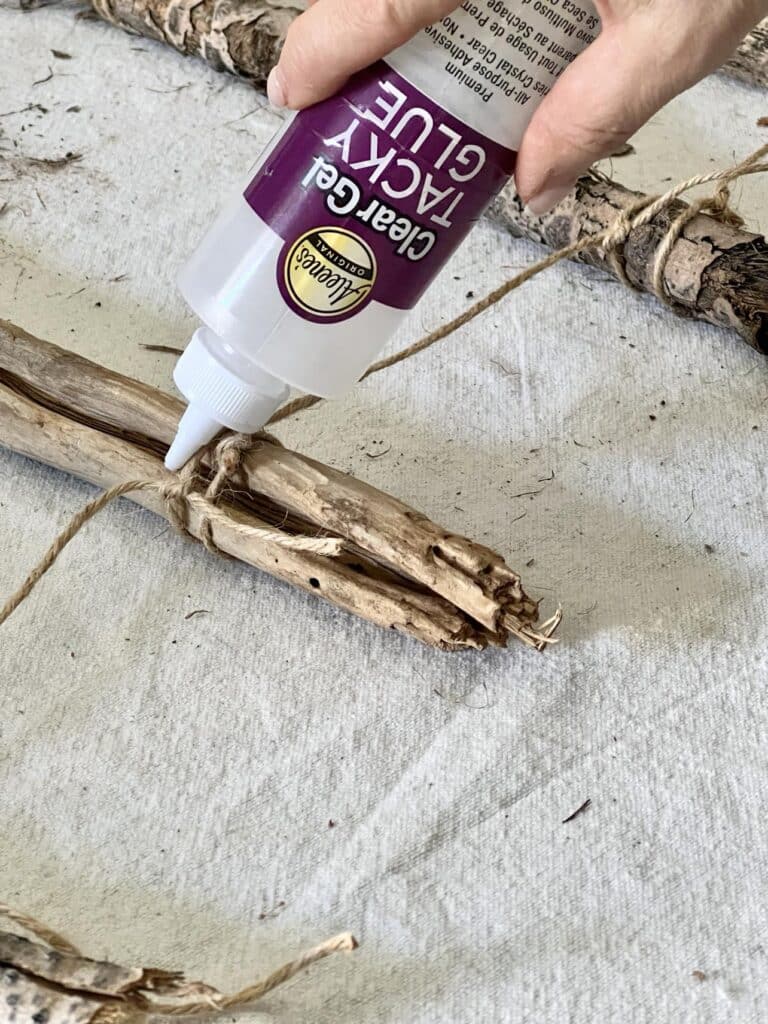
Step 3: Tie the Branches Together with Twine
Now it’s time to secure your branches. Start by cutting a few lengths of twine and tying the branches together. Use knots at each end of the branches to ensure they stay in place.
Wrap the twine around the branches a few times for extra stability, and make sure each branch is securely tied to the one above and below it.

Step 4: Add Ornaments to Each Branch
Before hanging your wall tree, decorate each branch with ornaments.
For a classic look, try adding red ornaments, spacing them out evenly across each branch as you go. If you like a more playful style, mix in various colors, sizes, or types of ornaments, such as bells, snowflakes, or rustic mini pinecones.
You can even also add touches like fairy lights or garlands for a bit of sparkle and holiday cheer. This pre-hanging decorating approach saves time and keeps the wall clean while you work.
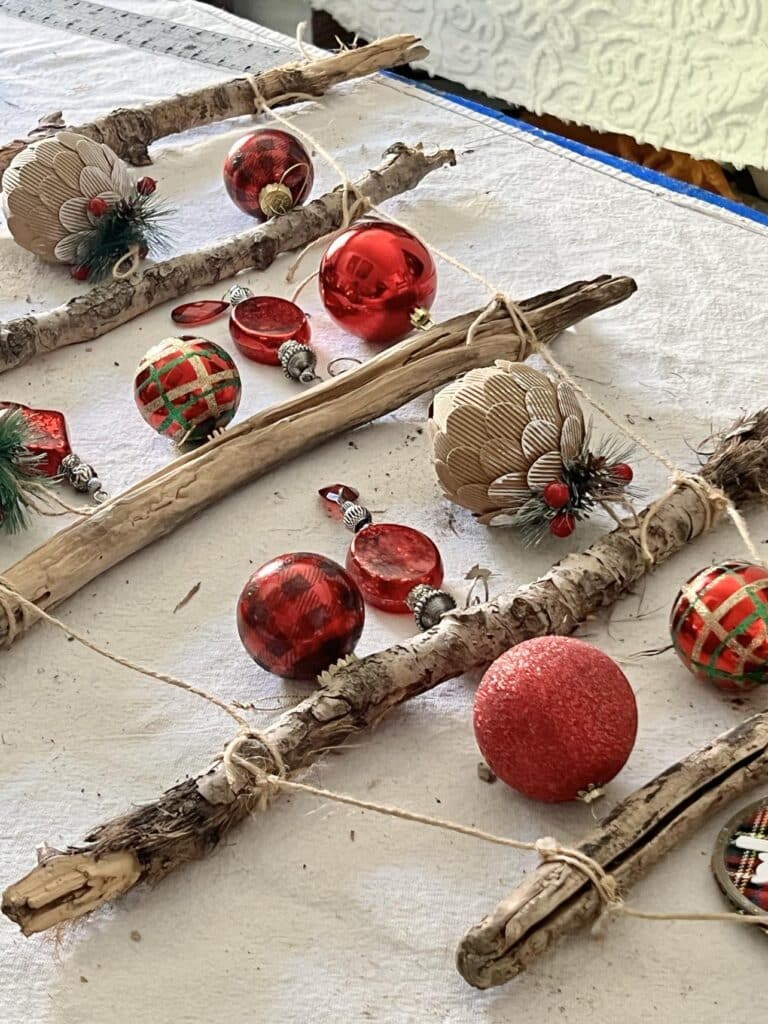
I used a finial-shaped glass ornament for the tree trunk. It is the perfect shape!

Step 5: Hang Your Tree on the Wall
Once your branches are decorated, it’s time to hang your tree!
One small nail at the top center is all it took to hang my tree. But you could also use Command hooks if you don’t want to put a hole in the wall
You can also add additional hooks or nails on either side of the widest branches. This keeps the branches stable and allows your tree to keep its shape.
Simply loop or hang the top branch onto the main hook, then adjust the branches as needed so they hang evenly.

Fun Variations for Wall Trees
One of the best things about wall Christmas trees is how versatile they are. Here are a few variations to personalize yours:
- Evergreen Branches: For a more traditional Christmas tree look, try using real or faux pine branches. These add a lovely scent to the room and make your wall tree feel closer to a classic Christmas tree.
- String Light Tree: Use string lights instead of branches to create a minimalist wall tree. Attach the lights directly to the wall in a triangular shape and add a few lightweight ornaments or a star at the top for a clean, modern look.
- Memory Tree: Make it a wall of memories by hanging family photos, holiday cards, or personal mementos from each branch. This adds a sweet, sentimental touch to your holiday décor and makes the tree unique to your family.
- Washi Tape Tree: For an ultra-simplified version, outline a tree shape on the wall with washi tape. Add lightweight ornaments or paper snowflakes for a fun, easy decoration that you can simply peel off after the season.
- Twine Christmas Wall Tree: This minimalist option takes only twine, paper, and yarn. Definitely budget-friendly!

Enjoy Your DIY Wall Christmas Tree!

With this easy DIY project, you’ll have a beautiful wall Christmas tree to enjoy throughout the holiday season. It’s the perfect solution for anyone wanting festive cheer in small spaces, without the mess or hassle of a full-sized tree.
And best of all, when the season’s over, it’s easy to pack away and recreate next year. So, deck your walls with this creative take on a Christmas tree, and enjoy the cozy, crafty holiday style it brings to your home!
Cheers!

A Little About Me
Hi! I’m missy. So happy to meet you!
“Decorate with Joy! Live with Happiness”
I truly believe that your home should be a reflection of your personality, a space where you feel free to express yourself and create a sanctuary that feels uniquely yours.
I love creating mood boards, hunting down unique home décor treasures, tackling easy DIY projects, and gathering with family and friends for a delicioHomes are meant to be enjoyed, filled with laughter, and shared with the people you love!
– cheers –
Don’t Forget to Pin It!
Pin the image below to your boards on Pinterest (just click the Pin button in the top left corner). You can also follow along with me on Pinterest!








I love this idea, it is a great way to save some space and it looks so pretty too!
You are right, Kim! It takes up no space on the floor! Thanks for checking it out!
This looks amazing Missy! And I love the selection of decorations you have used and the colours too. Beautiful! 🙂
Thank you, Jayne! I appreaciate that. And I appreciate your link party every week! Have a good one!
This is gorgeous! What a great project. The colors are perfect. Pinning! 🙂 Visiting from the Love Your Creativity linkup.
Thank you, Jennifer! Who knew that a walk in the park and free branches could be so fun! Wishing you a great week, my friend!
What a fun project idea! Thanks for sharing on the link parties.
Thank you, Terri! It is always fun to share! Have an amazing day!
This is so beautiful. I’m delighted to be featuring this post today at Thursday Favorite Things!
Thank you so much, Pam! Love your link party!
Missy, this would be the perfect solution for people without space or storage and looks so cute too. Thank you for sharing your DIY wall Christmas tree at Create, Bake, Grow and Gather this week. I’m delighted to be featuring it at today’s party and pinning too.
Thank you so much, Kerryanne! Love your link party!
Missy! I am obsessed with this project and excited to feature it in this week’s Whimsy Home Wednesday No. 109 Edition! Thanks for partying with us!
https://www.artsandclassy.com/category/diy/whimsy-home-wednesdays-linky-party/
You are so sweet, Meredith! Thank you so much! Thrilled to be featured in your link party! As usual, I’ll be there with bells on!
What a great idea! Featuring when my link party opens.
Thank you so much, Carol! I always love your link party and truly appreciate the feature!
I really like this project! I don’t think I have a wall to spare, but I like the rustic charm of the branches. I was actually thinking that it might take too many nails, but I like your idea of just the one at the top.
Very cute!
Thanks for sharing this last week at the Sunday Sunshine Blog Hop. Your post is featured this week at the hop!
Blessings,
Laurie
Hi Laurie, Thankfully, the twine holds the branches together beautifully and only one little nail is needed. Thank you so much for the feature. Love your link party!