Creating a Craft Room: Stage One of “The Dot Room”
Have you dreamed of creating a craft room that gives you space, storage and an artistic jolt? Follow the journey of my craft space creation. Here is the first stage…
I am good at making a mess.
Do you remember when I painted abstract pumpkins using nail polish? (You can see it HERE.)
Or, when I decoupaged a boring, round mirror? (You can see this one HERE.)
And, what about the time I created wall art from wrapping paper? (You can see it HERE.)
What do all of these projects have in common?
I created them all on our kitchen island…
…and made a mess…
…which took up space…
…and disrupted the entire household!
Creating a dedicated craft room for projects has become a pretty important mission of mine.
Not surprising that I have the support of my husband to take the crafting chaos somewhere else!
Won’t You Join Me?
And so the journey begins in creating a craft room out of an empty room!
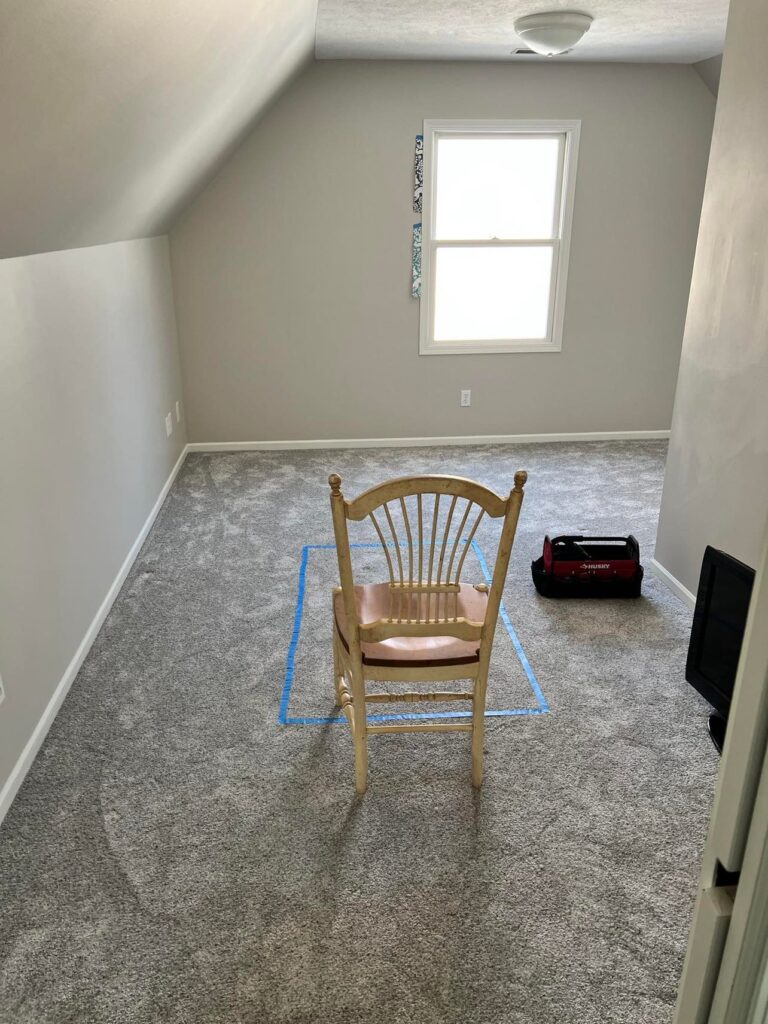
Here is the room. It is a bonus room that sits adjacent to a guest room. To be honest, its role in the past has been to hold junk. (Not sugar-coating this. This room has held various forms of chaos for the past 18 years.)
It is an odd shape.
L-shaped with a sloping wall on one side.
But it has a great window, new carpet, and, most importantly, no functional claim in the house!
A craft room it will be!
This room creation has to be done in stages. The calendar currently allows for the “drip method” in transforming the room. The same holds true for the budget. (I have landscaping to buy soon!)
But, I would love to show you how the room transforms with each stage.
Nerdy Teacher Alert!
As a teacher, I love two things dearly…Lists and School Supplies!
Put the two together and you can see how I plan out the steps in a room makeover.
Each step gets its own sticky note.
Each sticky note gets its place of honor on the wall and then…
…ceremoniously removed when the stage is complete.
Go ahead…watch the video. SO SATISFYING when I can pull a sticky note off the wall!
Stage 1 – Ceiling, Walls, and Floor
Fresh paint does wonders!
First, the ceiling!
Painting an old white ceiling with new white paint is a revelation. Ceilings can turn dingy with age and you don’t even realize it! I highly recommend repainting your ceilings every once in awhile! I used Home Depot’s Interior Flat Ceiling Paint and Primer in Ultra Pure White. You can see it HERE.
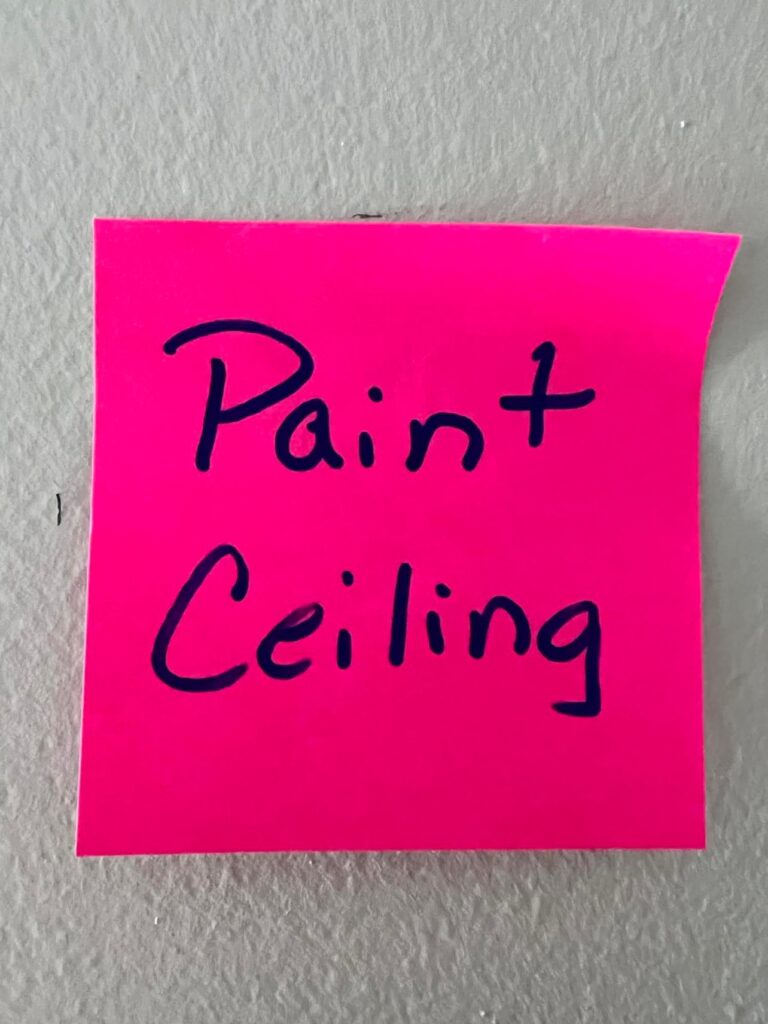
Second on the list, painting three of the six walls. (Remember…this is an L-shaped room so there are lots of walls.)
Wanting to brighten the room as much as possible, I chose Home Depot’s Behr Paint in Ultra Pure White for the walls.
Third…WALLPAPER!
You know I had to go there.
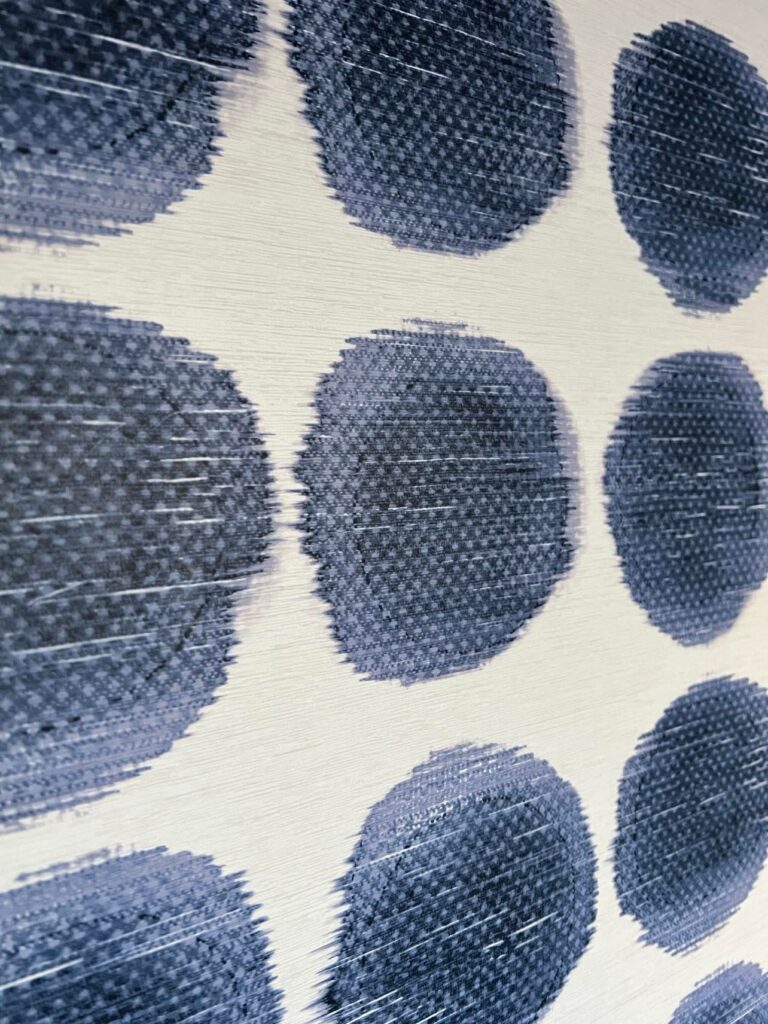
Check out this wallpaper! It is from Target and is called Opalhouse Textile Dot Peel & Stick Wallpaper in Blue. You can see it HERE.
I love wallpaper and I love these navy blue dots! Charming, whimsical, and great backdrop for the room.
Plus, it was really easy to work with!
After hanging the wallpaper, I found myself calling the space the “dot room.”
I think the name sticks…literally!
You might think me a little “dotty”, but here we go!

So as not to go totally crazy in the room, I decided to wallpaper three of the walls. Two of which are part of the “nook” that is part of the room L shape.
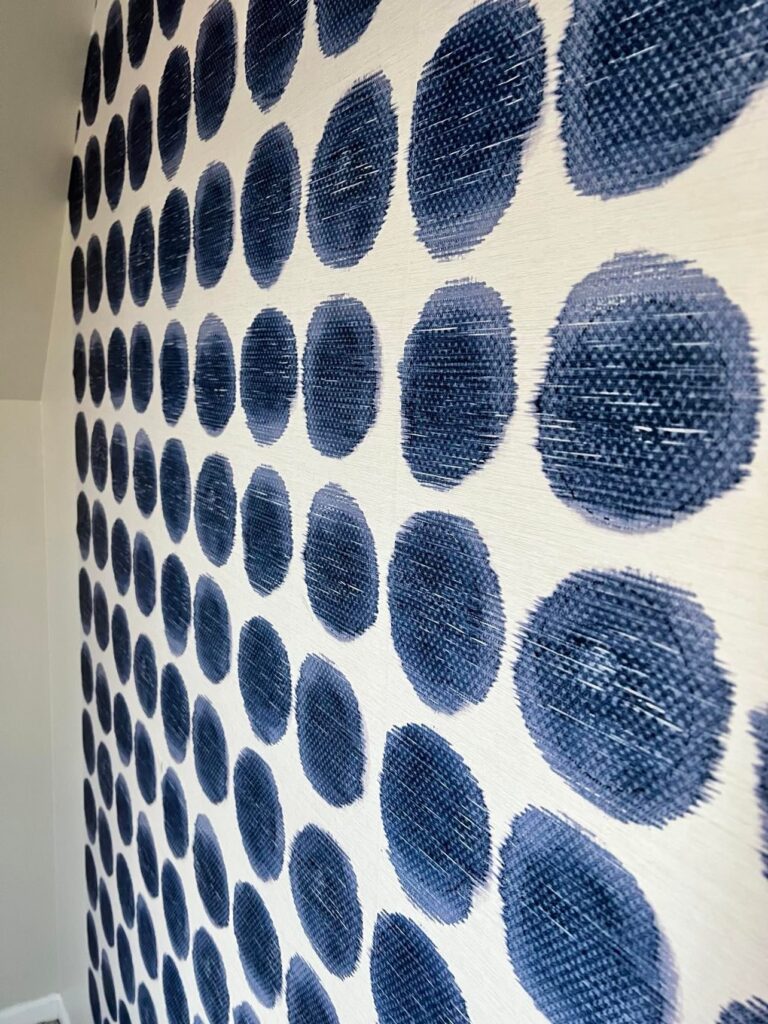
Ran into a bit of an issue (Ok, a big issue!) when I had one corner left to paper and NO long strips of paper left!
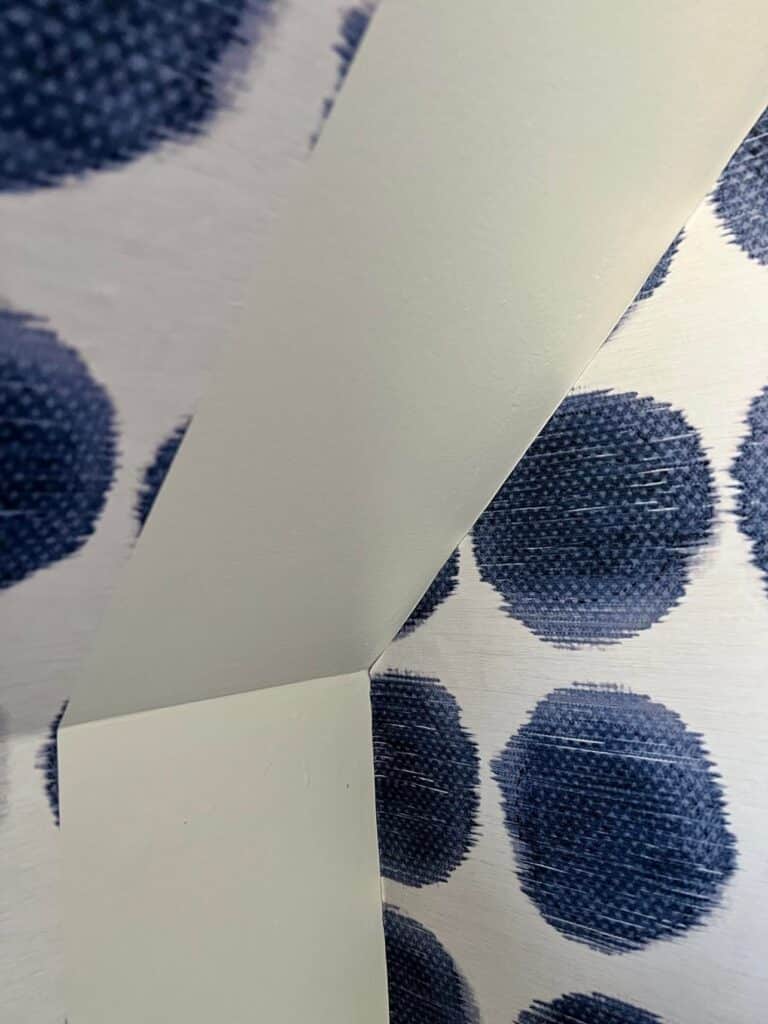
With some detailed eye-balling and a lot of patience, I managed to piece the corner with scraps of paper.
Kind of proud of this!
Busy? Yes. Don’t worry…by the time I add furniture, wall art, and accessories, the busy dot pattern will become a more neutral backdrop.
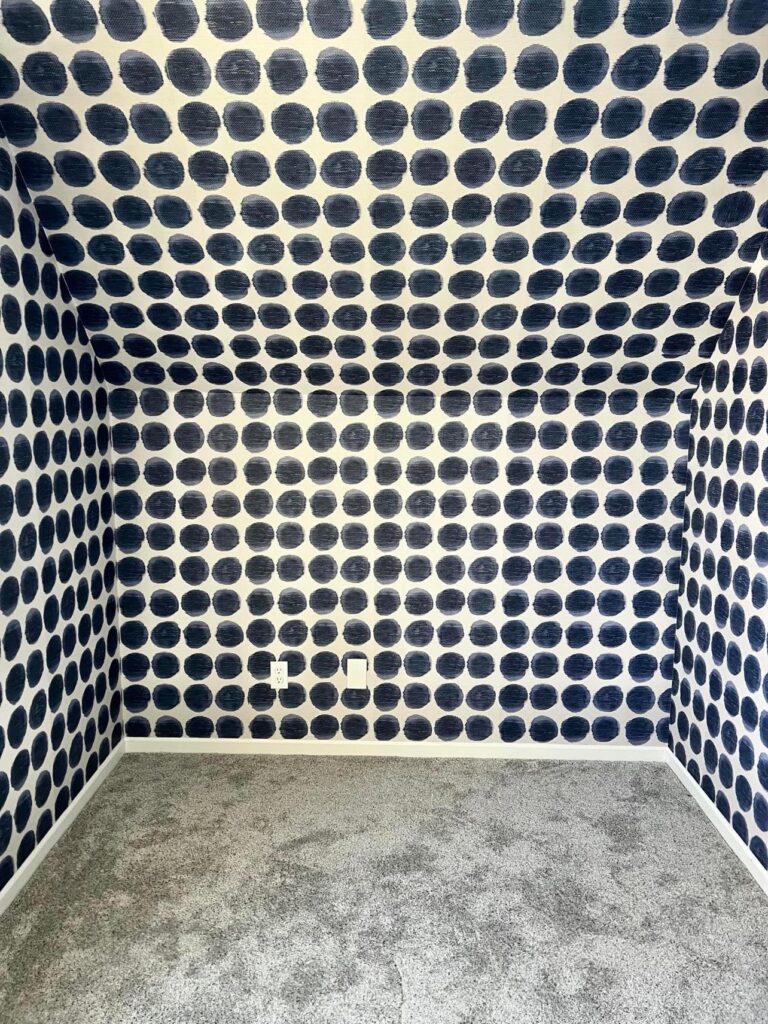
***Blog Update: Want to see how this space is ultimately decorated with furniture and some amazing wall art from Urban Garden Prints? Click Urban Garden Prints in a Suburban Home: My New Love Affair
On to the Floor
Fortunately, we did include this space when we re-carpeted the 2nd floor.
I don’t mind the light grey carpet but, since I have carte blanche to decorate this as MY project room, I want to add some color…and pattern…and DRAMA!
Say hello to my new rug…“Timeless.” (You can see details of the rug HERE.)
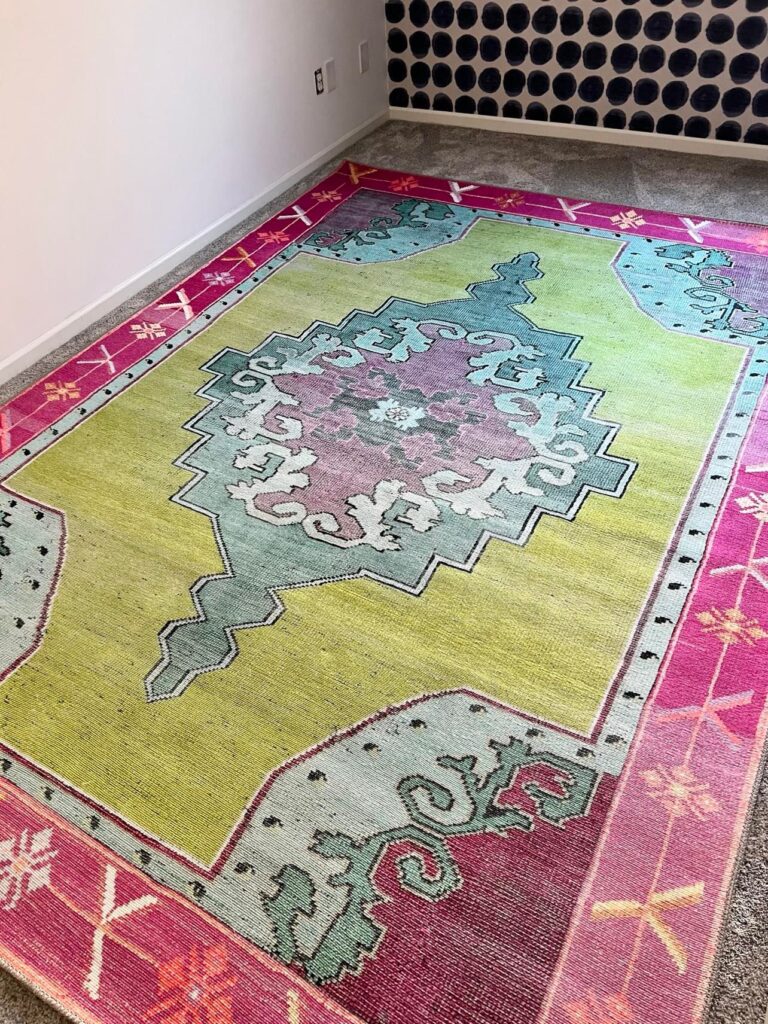
Timeless in the pattern but joltingly modern in its color!
And with the dot wallpaper, I can’t think of a more invigorating space to kick my creativity into gear!
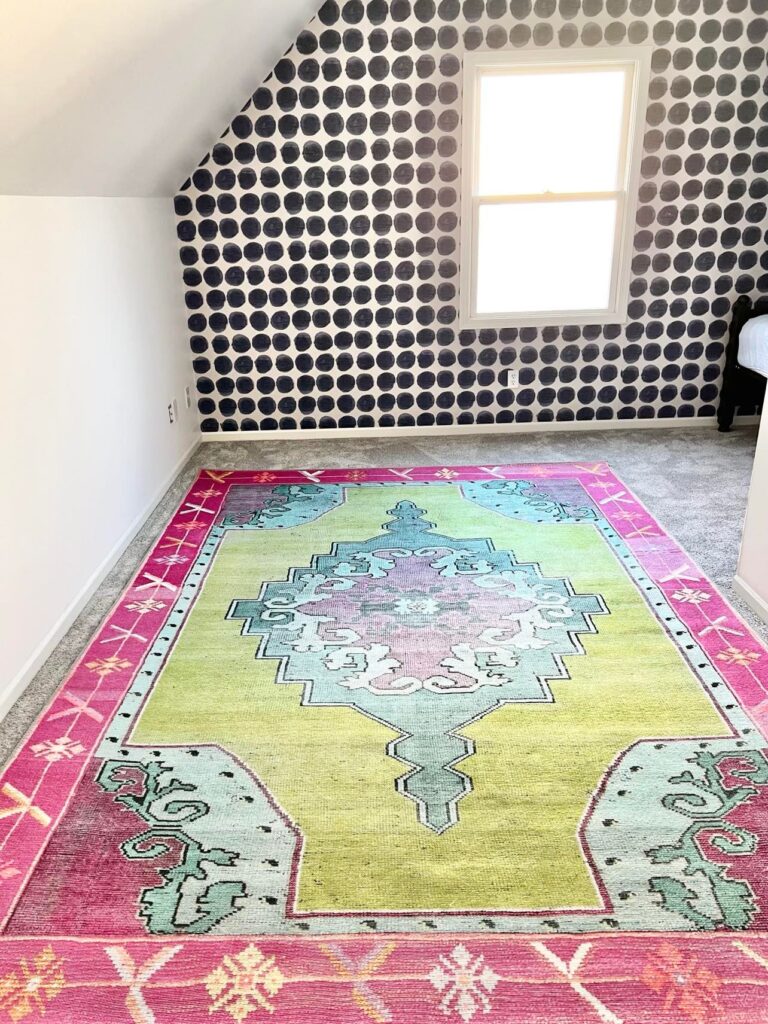
With the walls, ceiling, and floor taken care of, I can move on to the next steps.
I can’t wait to start the next stage and share it with you! Stay Tuned!
Cheers!

***Affiliate links are included in this post for your convenience.


Woohoo! So cool! Can’t wait to see the rest.
Thanks, Rebecca! I am now working on storage for the room. Tricky with angled ceilings but a nice challenge. Thanks for reading!
Wow, girl! You certainly know how to add color and pattern to a room. This is awesome. I would love it if you would share this on The Fabulous Friday Link Party this Friday. https://www.peacockridgefarm.com/category/fabulous-friday-link-party/
Hugs to you.
Hi Renae! Oh, you are so sweet! Congratulations on your next link party! I would love to share! Would it be better to share this in process post or wait till the room is complete? You are doing such amazing things with your business!