Check Out My Latest Dresser Makeover
See how I give an old, worn dresser a quick, colorful, and dramatic makeover in just a few transformative steps!
You know the phrase “trash to treasure?” Well, this old dresser was headed to the trash until I decided to give it a makeover.
Now this “treasure” is a useful, functional, and eye-popping focal point in my craft room!
I’m not quite sure how we came to own this dresser.
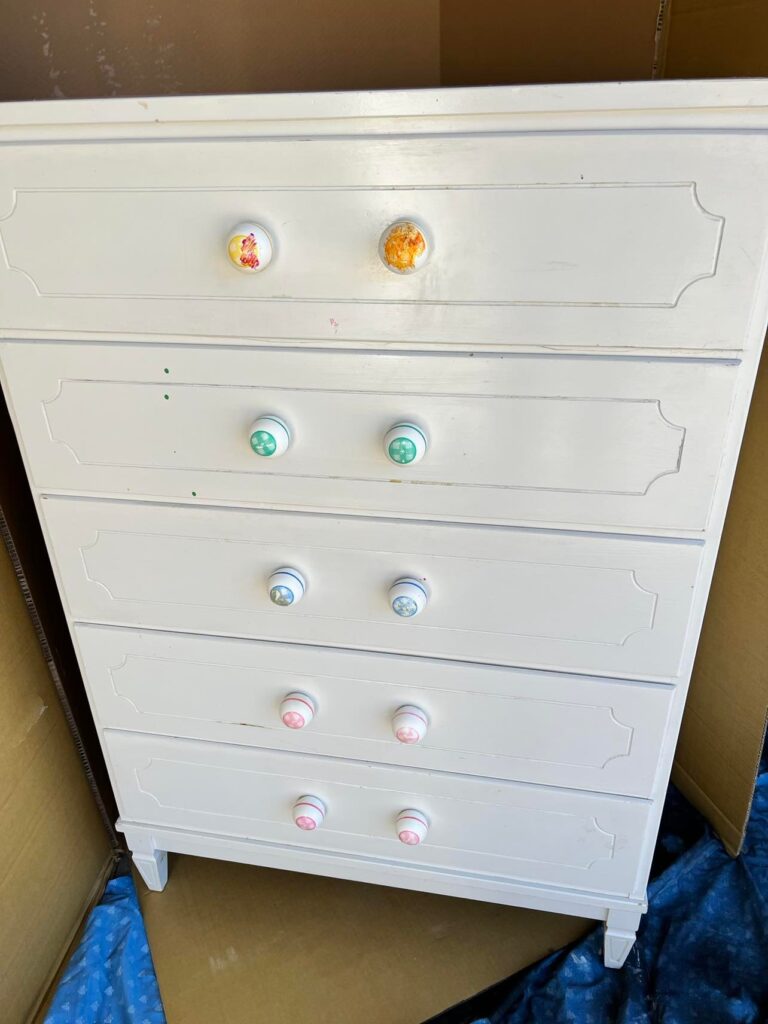
I do know that it was a sweet hand-me-down dresser that I painted white and added some charming drawer knobs…27 years ago!
Cue the BEFORE photo!
***This post contains affiliate links that help to buy me coffee in my retirement. (Have a cup with me!) Sonata Home Design is a participant in the Amazon Services LLC Associates Program, an affiliate advertising program designed to provide a means for us to earn fees by linking to Amazon.com and affiliated sites. Additional affiliates links are also included for your convenience.
You see, this was the dresser that we used in our twin daughters’ nursery.
And their childhood bedroom…
And, then my nieces’ bedrooms…
Finally, it landed back in our garage a few months ago.
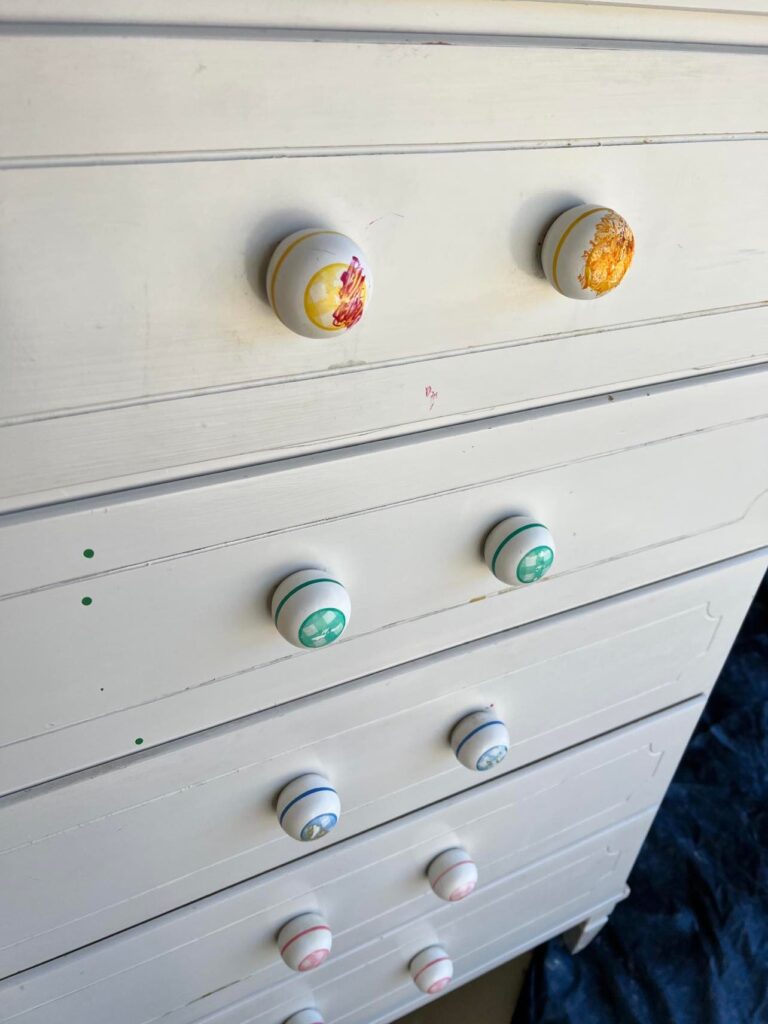
You can tell from the photo that it has been well “loved!” The dresser does bring back some wonderful memories!
Not sure which child got artistic with a marker!
The Dresser Makeover
I had two goals with this dresser. It needed to be dramatic and it needed to be inexpensive!
The dresser itself is not high quality. However, despite its particleboard backing, it has withstood time and heavy use. It deserves another round of life!
Paint is always my first go-to when looking for an inexpensive dramatic change.
As with any painting project, it is important to do some prep work.
Prep steps include:
- Remove current knobs and hardware.
- Thoroughly clean the dresser with a sponge and some soapy water.
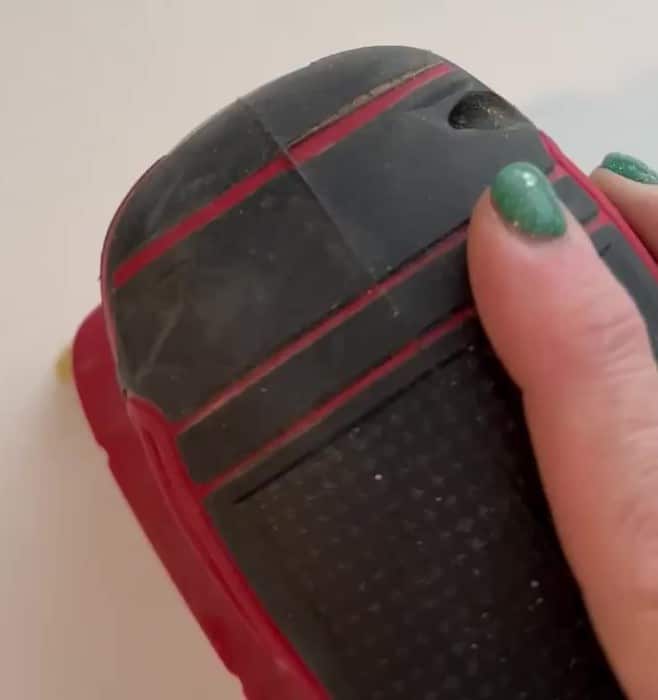
- Sand the dresser in order to help paint adhere. This dresser has a laminate surface but I was still able to rough up the surface a bit by using a palm sander. Wipe off dust when finished.
Painting the Dresser
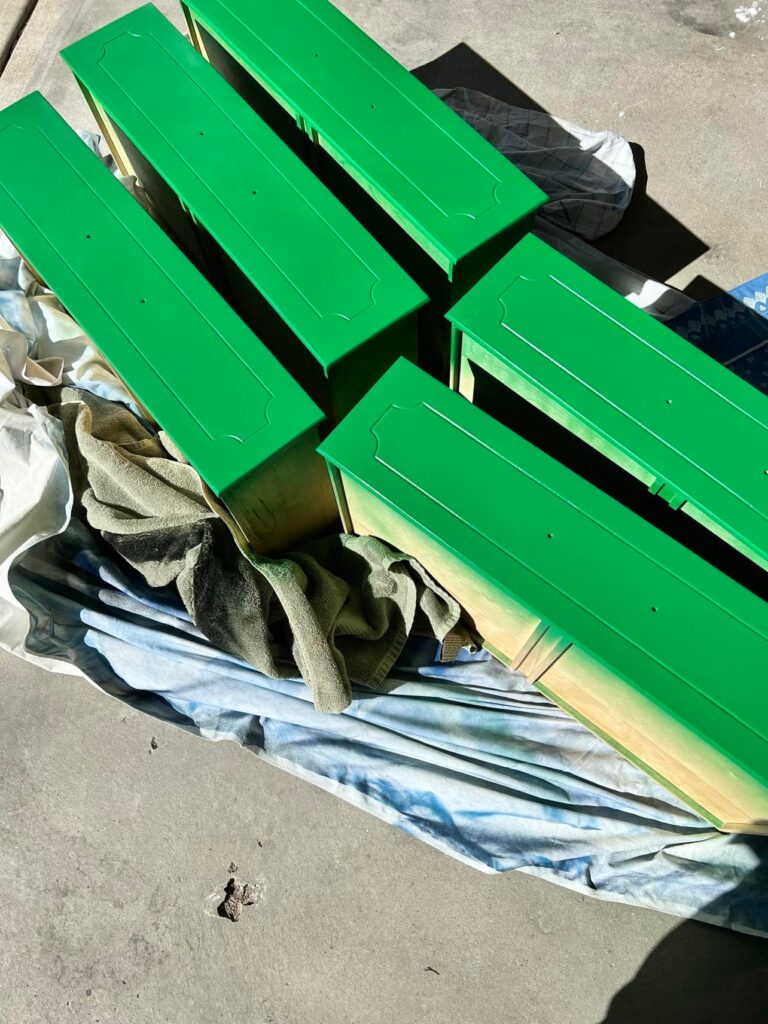
Because of the laminate surface, I chose to spray paint the dresser using Rust-Oleum Painter’s Touch 2X Paint and Primer spray in “Meadow Green.”
What a gorgeous color! I plan to use this color in lots of future projects!
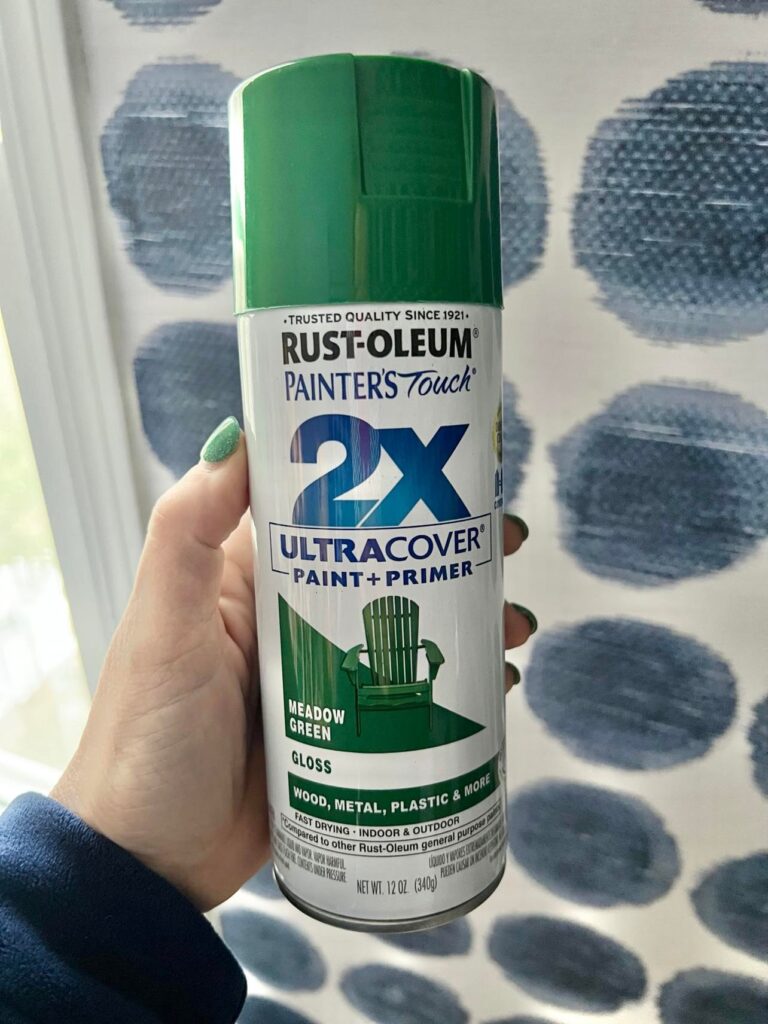
Bonus! This spray paint takes care of the painting and priming in one step!
When spray painting furniture, begin off to the side of the piece. Use an even side-to-side sweeping motion across the surface with the spray paint. Overlap your spray pattern by one-fourth to one-third with each sweeping pass.
To get a smooth finish, use several light coats of paint (not one heavy coat) and let dry thoroughly between coats.
Patience, my friend! Patience!
Dresser Jewelry!
Hardware is the jewelry of any cabinet or drawer and this dresser is no exception.
Gold touches I think!
I found these beautiful knobs on Amazon. Brushed brass with a lovely pearlized white center. This is a great find as I was able to get a set of 10 knobs (the exact number I needed!) for under $20! (This set also has LOTS of different center colors.)
You can see these Brushed Brass Knobs HERE.
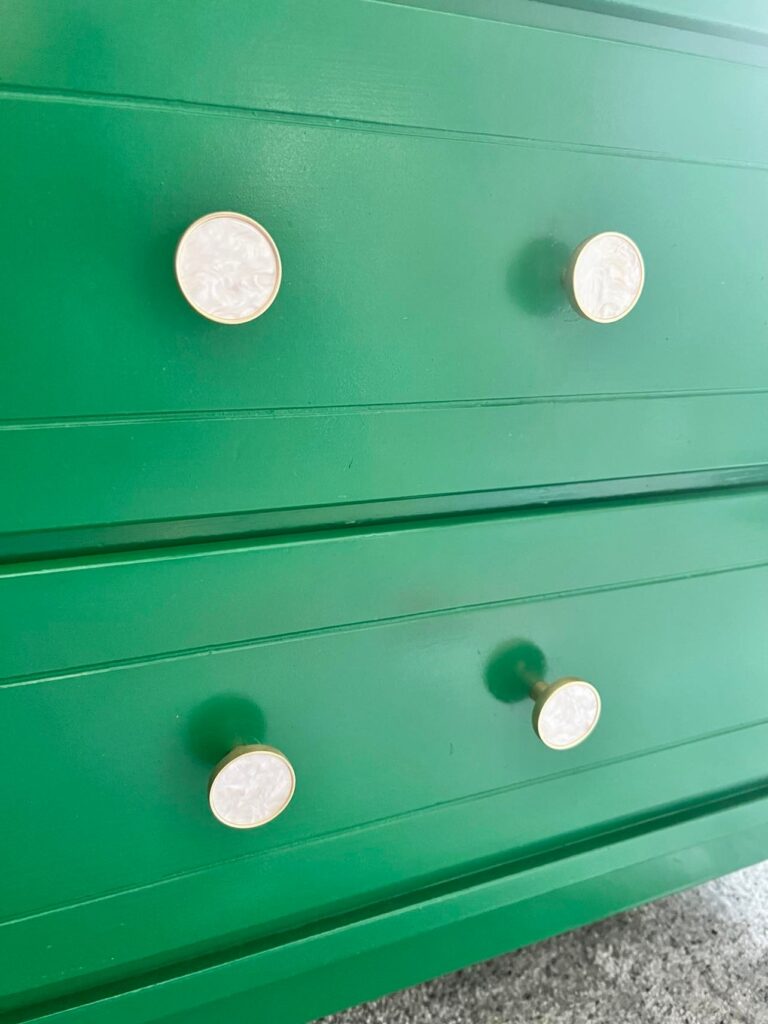
Looking good…
…but I want more!
How about some backplates!
This took a little bit more research but I found some AMAZING brushed brass backplates on Etsy.
Oh, I am in love!
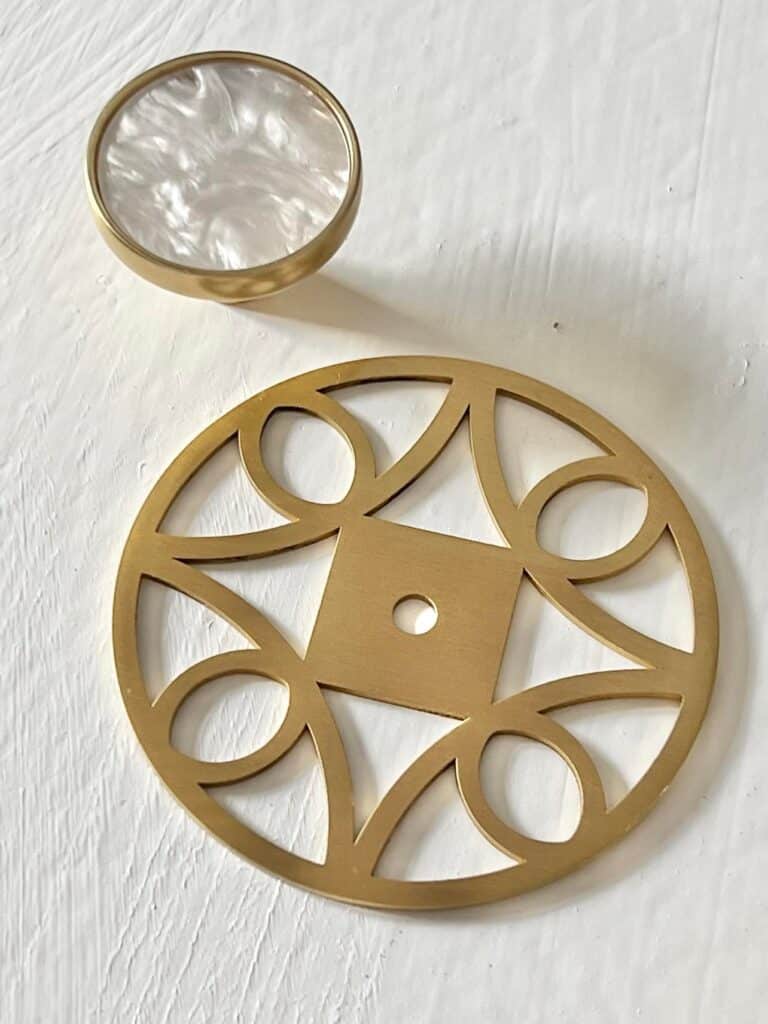
These were super easy to attach to the drawers. Simply place the knob on top of the backplate and screw in from the inside of the drawer! Tighten with a screwdriver.
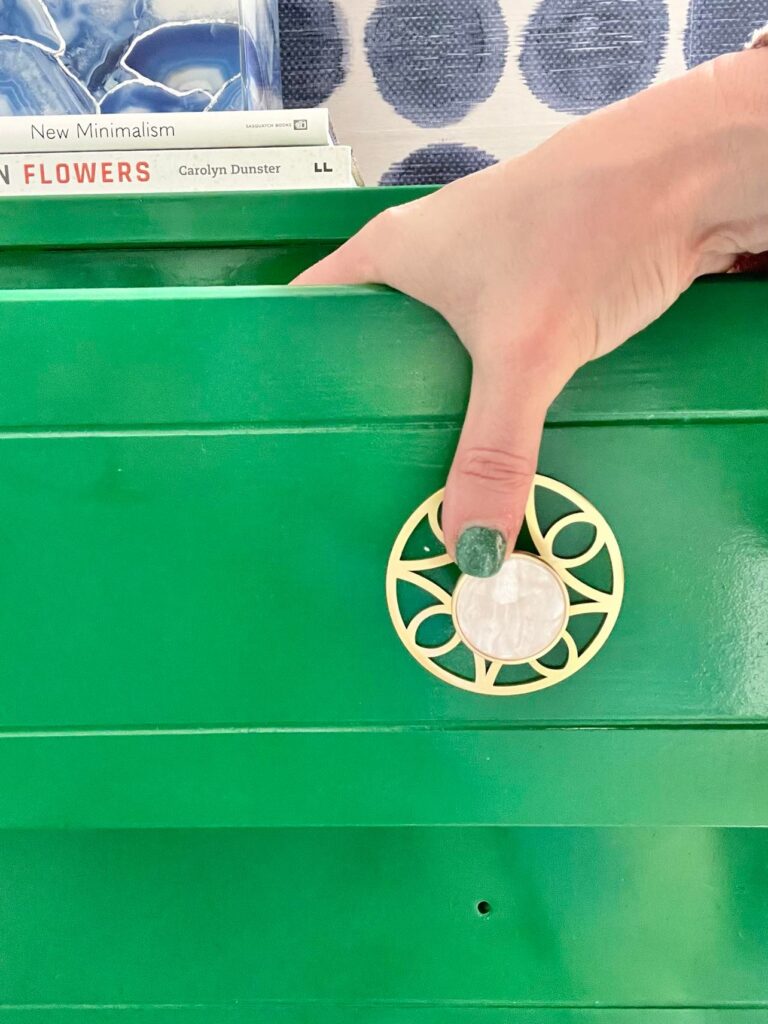
Sigh. Lovely!
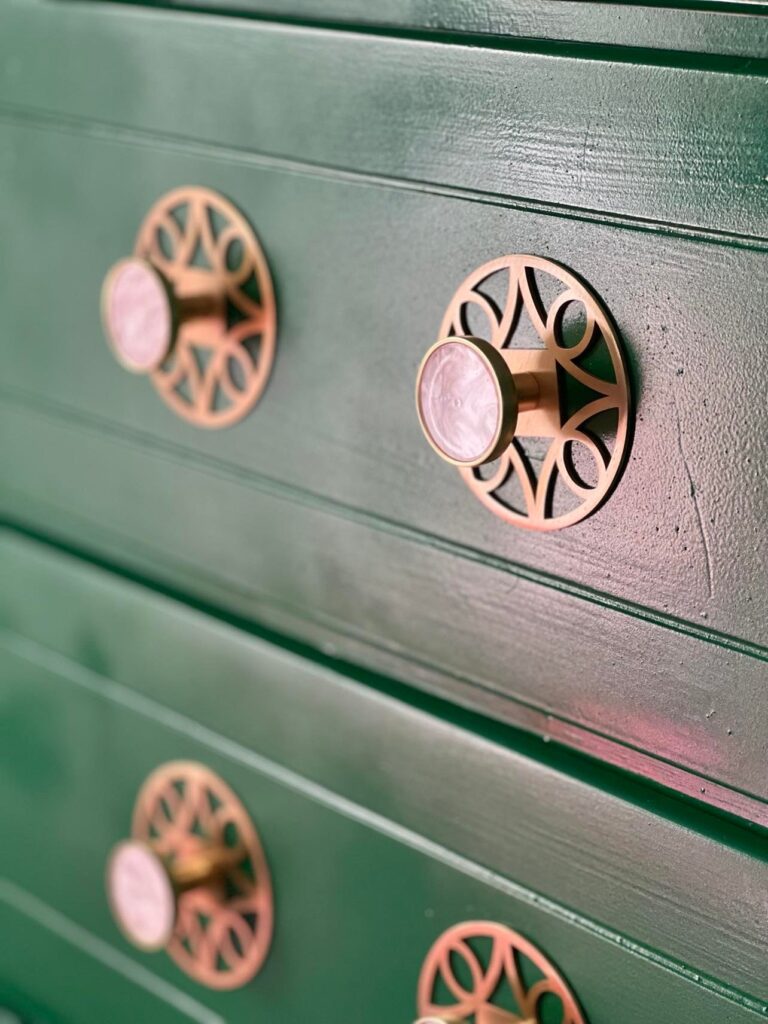
Let’s add some more “jewelry” by hanging a colorful pom pom tassel to one of the knobs.
I have used this tassel on so many projects! Here are a couple of the them.
An Unexpected Way to Decorate Your Front Door
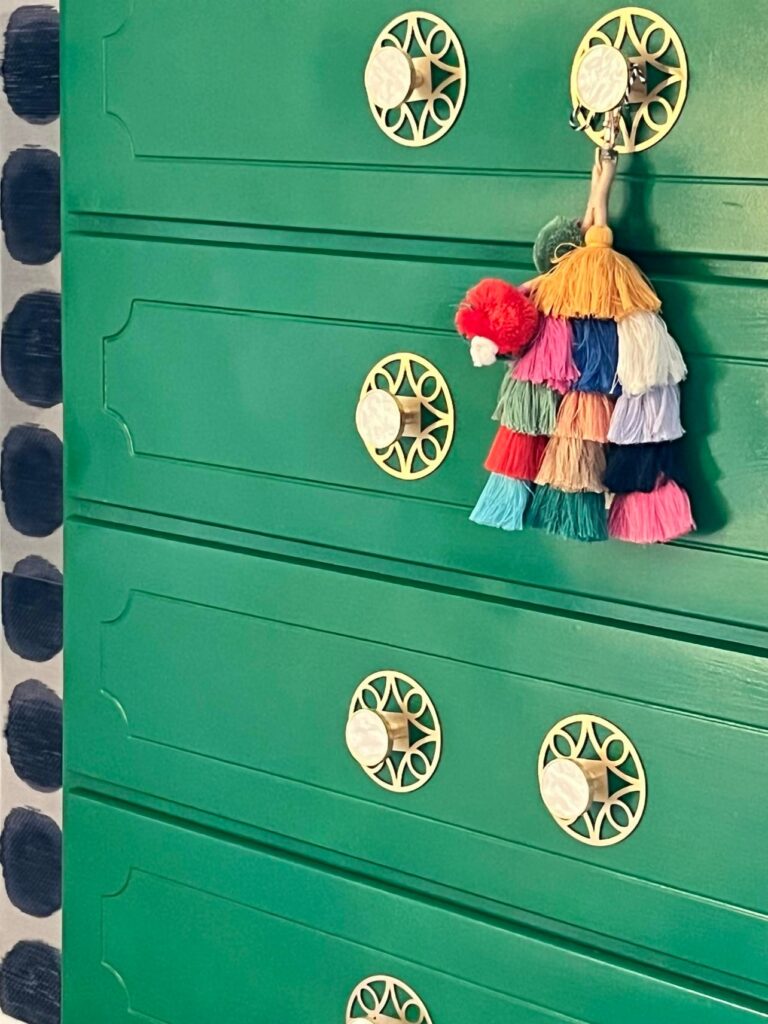
This dresser will be fantastic storage in my craft room. I plan to store fabrics and other craft supplies as well as some smaller light equipment in the drawers
The green dresser is so fun placed in front of the dot peel and stick wallpaper!
A whimsical camel print from Katie Kime ties in perfectly with the pom pom tassel!
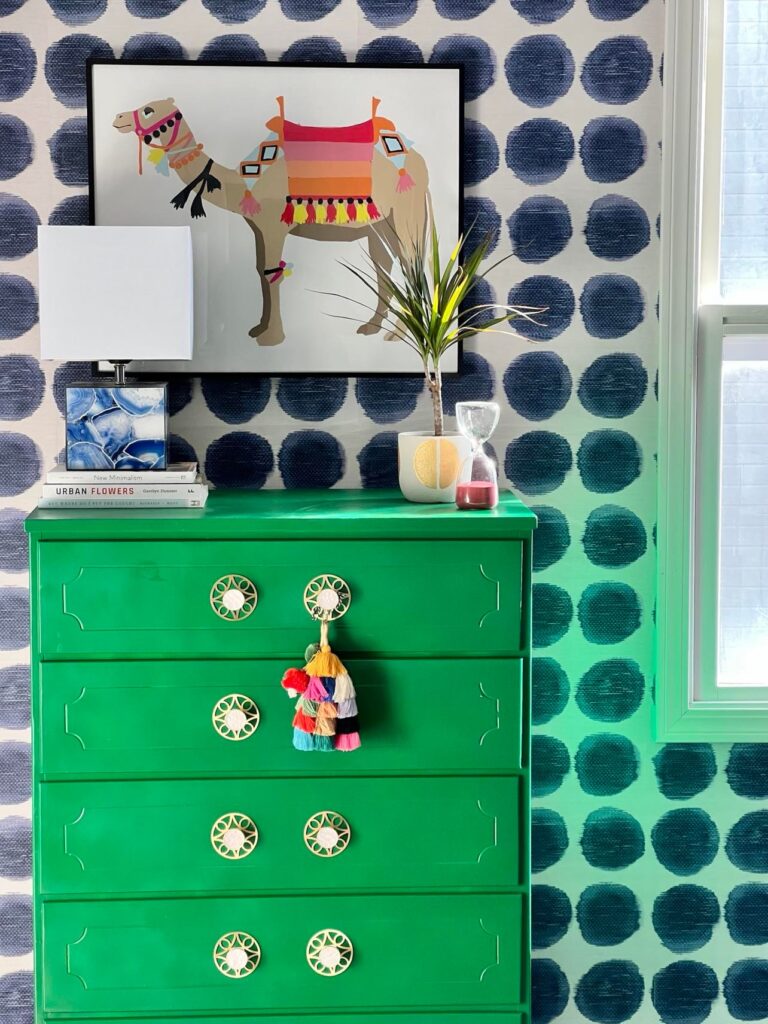
It is amazing the difference that some spray paint and new hardware can make! Dresser makeover complete!
Cheers!

P.S. My new craft room is really taking shape! Follow along with the projects!


Love this paint color and you did an amazing job on this piece! Love the wallpaper too! I have to have color!
I’m with you, Pat! I crave color and like a healthy shot of it in every room! Thank you so much for reading and commenting. I appreciate you!
Those back plates are amazing! I would never have thought to do that! Your style is so beautiful. I am more the plain white and tan type but I love your bold colors. I just wish I had the eye and boldness to do what you do!
Hi Maureen! You are so kind! While I tend to go for a profusion of color, I do love to add small pops of color to beautiful white and tan decor. Color just makes me happy! Great to hear from you, Maureen! Thank you for reading!