Build An Easy Raised Garden Bed with Toja Grid
Dream of a flourishing garden but lack the time or know-how? This post unveils how Toja Grid’s system makes building a raised garden bed a breeze. Get ready to grow your green thumb with minimal effort!
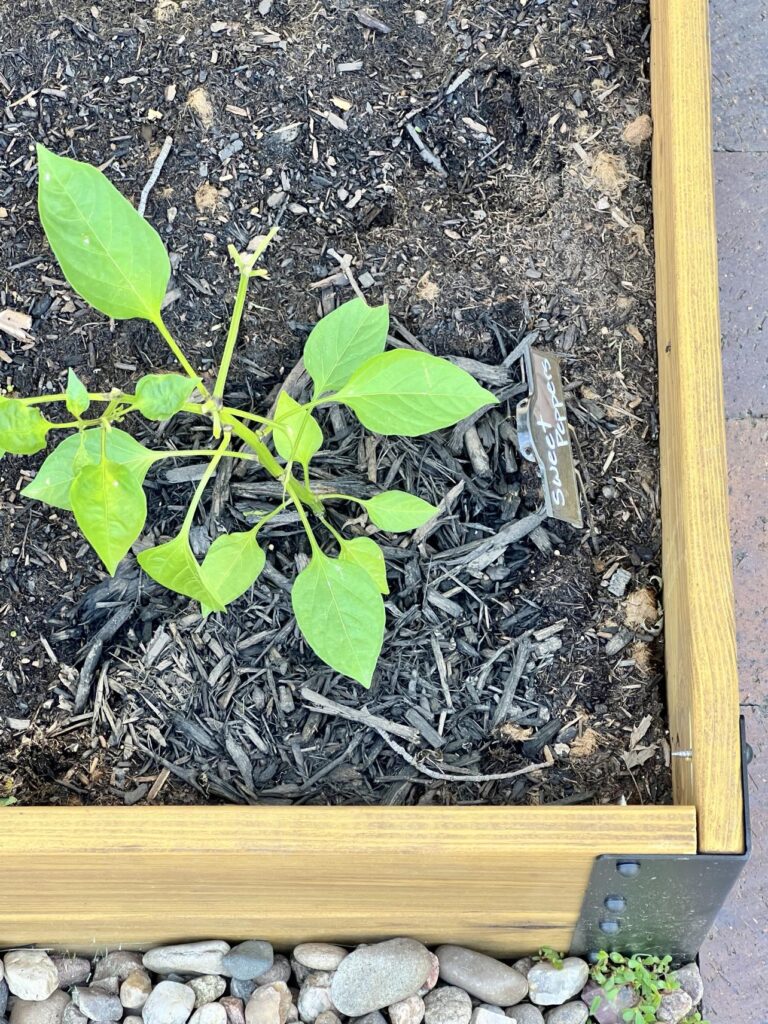
Toja Grid gifted me several DIY raised garden bed kits that I am so excited to share with you. This sponsored post highlights the amazing raised garden bed kits that Toja Grid offers. Thank you, Toja Grid!
This blog contains affiliate links. This means a small commission is earned if you make a purchase by using this link. The price you pay will be the same whether you use the affiliate link or go directly to the vendor’s website using a non-affiliate link.

Welcome Back, Toja Grid!
When you’ve got a good thing going, you go back for more!
One year ago, I teamed up with Toja Grid to transform my daughter and son-in-law’s patio with a beautiful DIY pergola kit.
Their broken and worn patio deck was replaced with a Toja Grid pergola that was easy to assemble and put the “Wow” in “Wowza!” when you see their new patio lounge area.
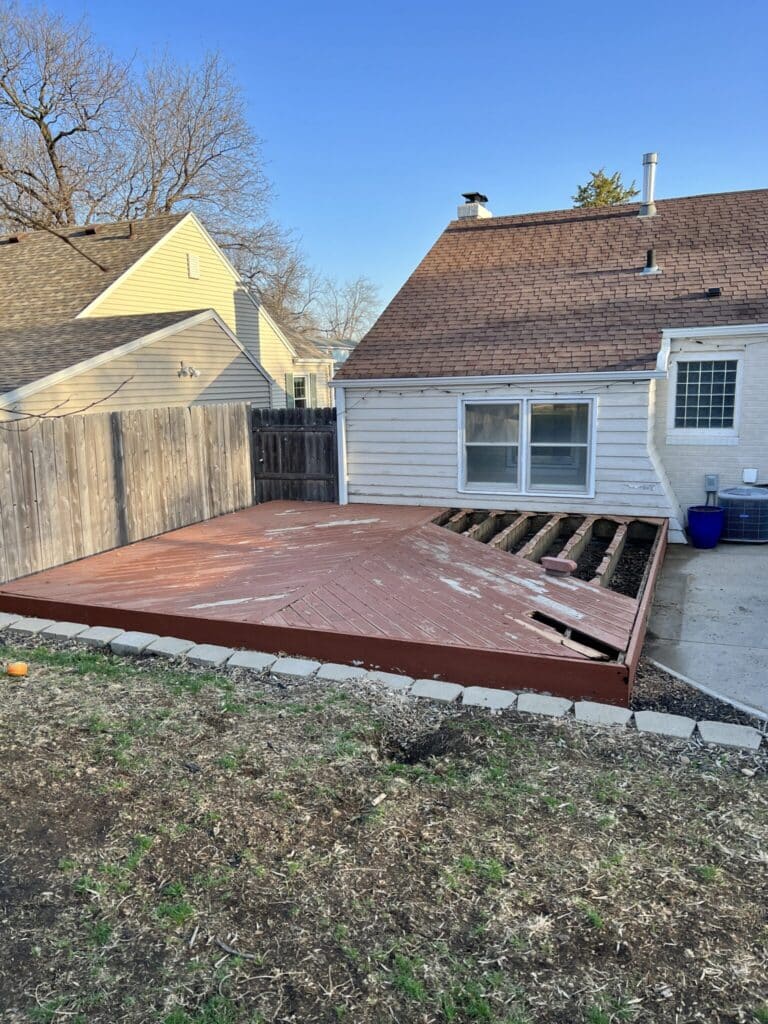
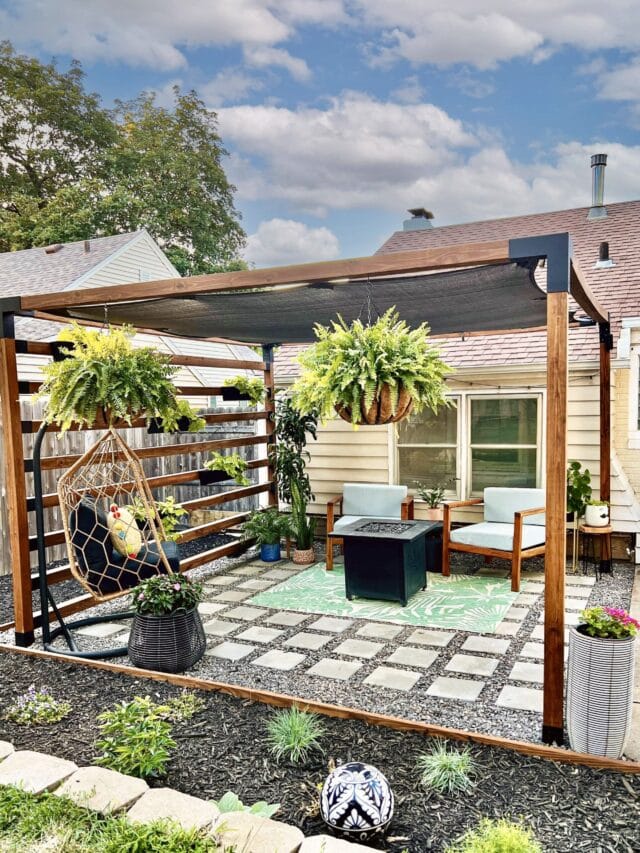
And, this pergola held up beautifully to our cold, windy, and snowy Nebraska winter.
So I raised my hand again…and Toja Grid called on me!
This time to build a series of raised garden beds in their expansive (and a little barren) backyard.
I’m thrilled to be collaborating with this amazing company once again. And so excited to show you the result!
Why Build a Raised Bed Garden?
Ever crave a thriving garden but struggle with pesky weeds or less-than-ideal soil?
Raised garden beds come to the rescue!
They offer a contained space filled with fresh, nutrient-rich soil, keeping weeds at bay and giving your plants a fantastic head start.
Plus, raised beds often warm up faster in spring and drain better, meaning happier plants and a longer growing season for you!
And how fun to grow your own food in the backyard!
My daughter, Madeline, has the green thumb in the family.
Fortunately, my son-in-law loves seeing her green thumb in action!
They love their Toja Grid pergola and are thrilled to be adding Toja Grid raised garden beds!

Madeline had planted some perennials along the backyard fence. But weeds were a problem and the family dog, Arlo, really likes to dig!
Raised bed gardens are a great way for her to grow an abundance of vegetables and flowers without some of the headaches of the traditional garden plot.
Plus, they just look amazing!
Toja Grid Raised Garden Bed Kits
There are three reasons why I went back to Toja Grid for these garden bed kits: Quality, Durability, and Classic Style!
Their innovative system takes the guesswork out of creating a beautiful and functional garden, making them a fantastic choice for both seasoned gardeners and beginners alike.
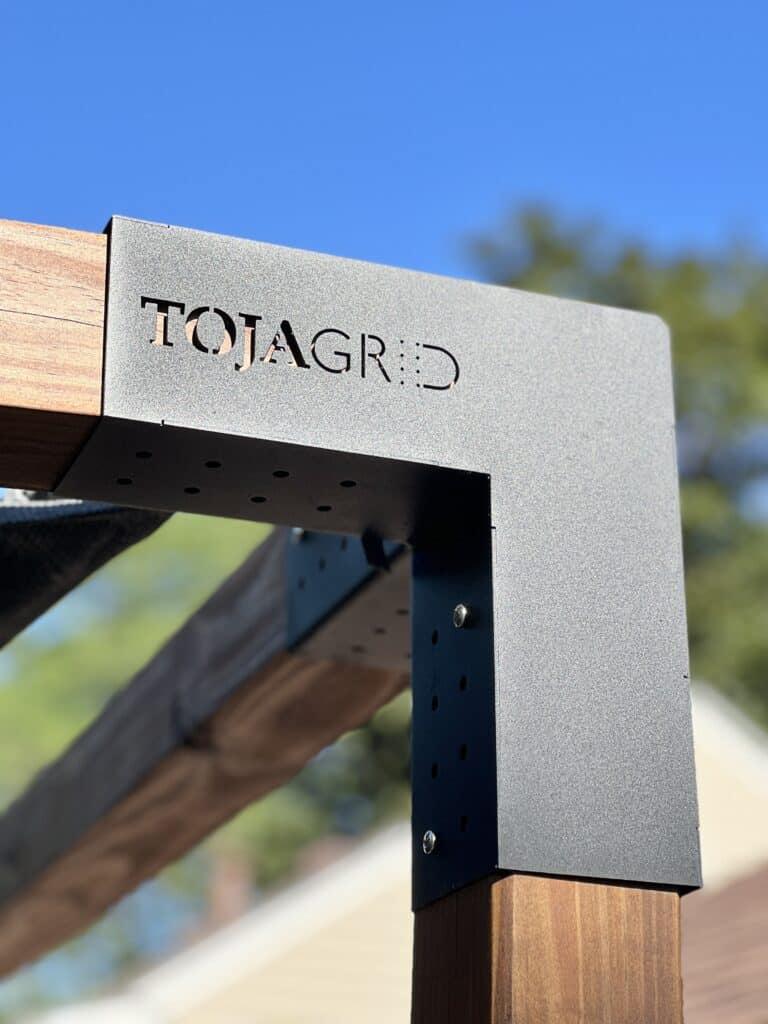
Here’s why Toja Grid stands out from the crowd:
- Built to Last: They prioritize quality, using high-grade steel with weather-resistant coatings. Their Canadian-made brackets ensure sturdy construction, so you can rest easy knowing your raised beds will thrive for years to come.
- Effortless Assembly: Forget complicated instructions and hours of frustration. Toja Grid’s system boasts fast and easy assembly, allowing you to get planting in no time. No special tools are required, making it a breeze for anyone to tackle this project.
- Adaptability is Key: Life changes, and so can your garden! The beauty of Toja Grid lies in its modularity. Want to expand your growing space? Simply add on additional components. Need to replace a weathered wooden section? No problem! The modular design allows for easy maintenance and customization, ensuring your raised beds stay perfect for every growing season.
With Toja Grid, you’re not just buying a raised garden bed kit, you’re investing in a long-lasting, adaptable system that empowers you to create the flourishing garden of your dreams.
This simple project is perfect for both the expert and beginner gardener!
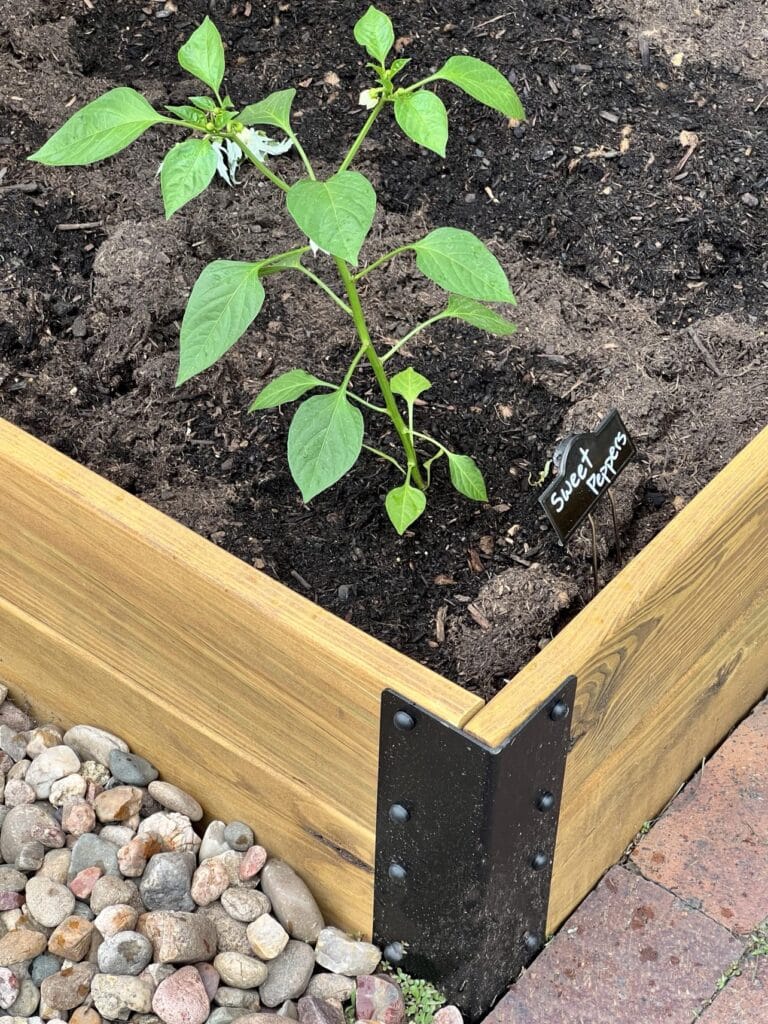
The Garden Spaces
The backyard is big and open….plenty of room for Arlo to run and play frisbee with the fam.
And room for two locations for the garden beds. Prime raised garden bed real estate!
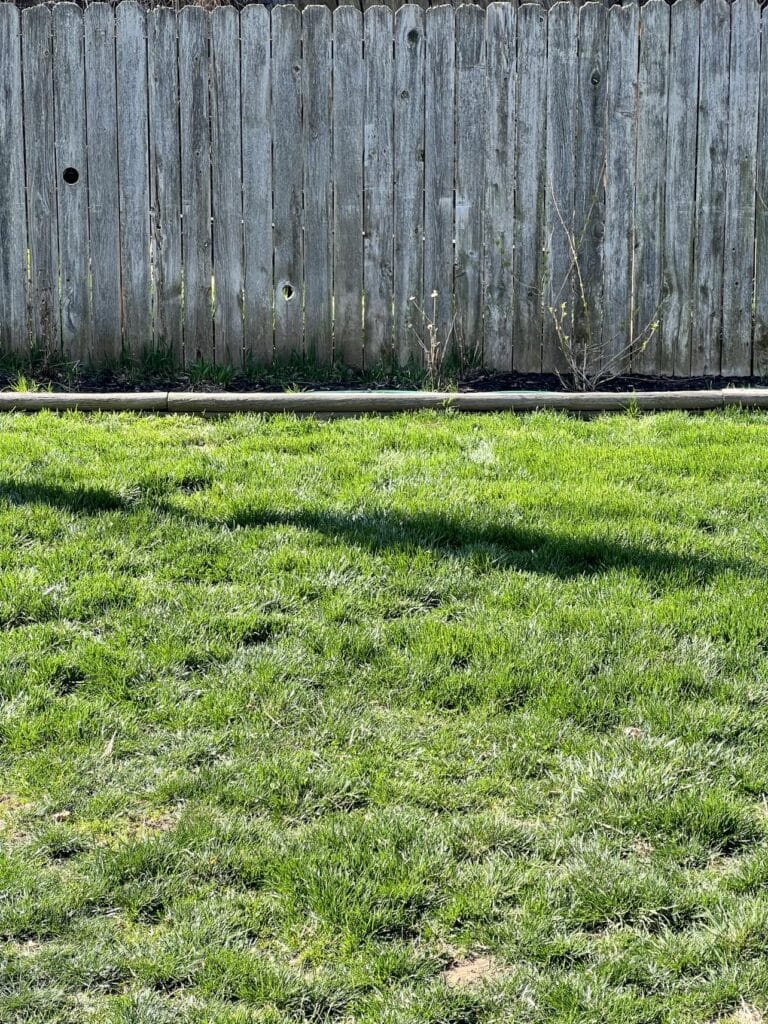
It was decided that one garden area would be located behind the garage. This used to be a chicken coop area! Compacted dirt, weeds, bricks…not exactly a nurturing space for veggies!
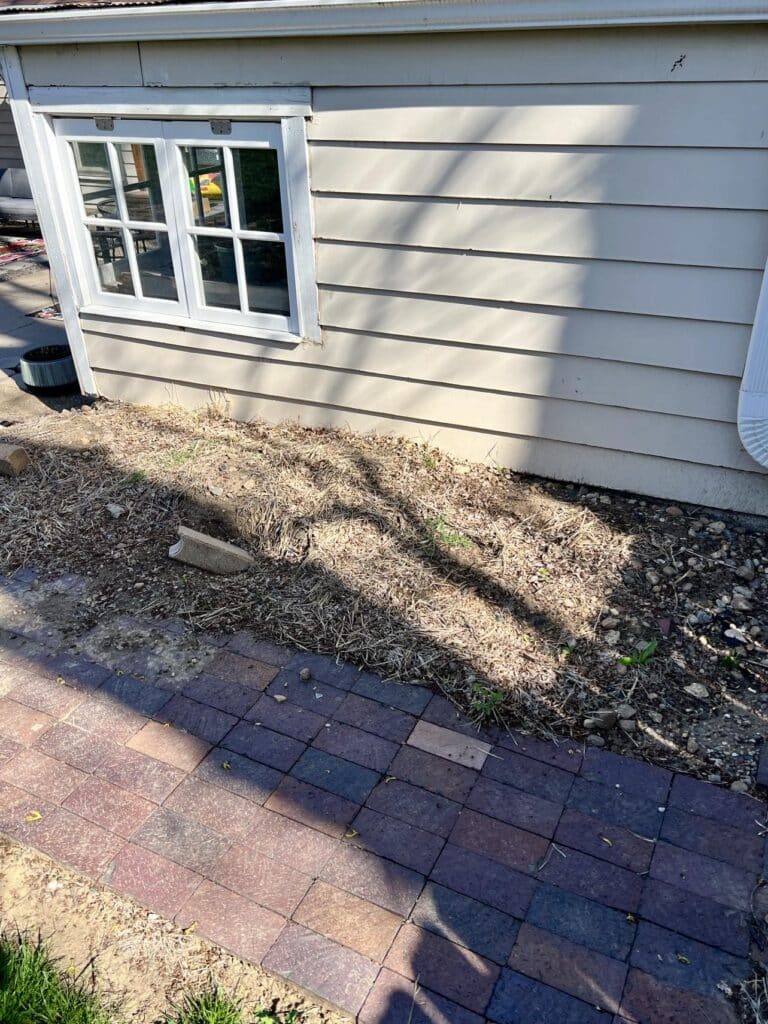
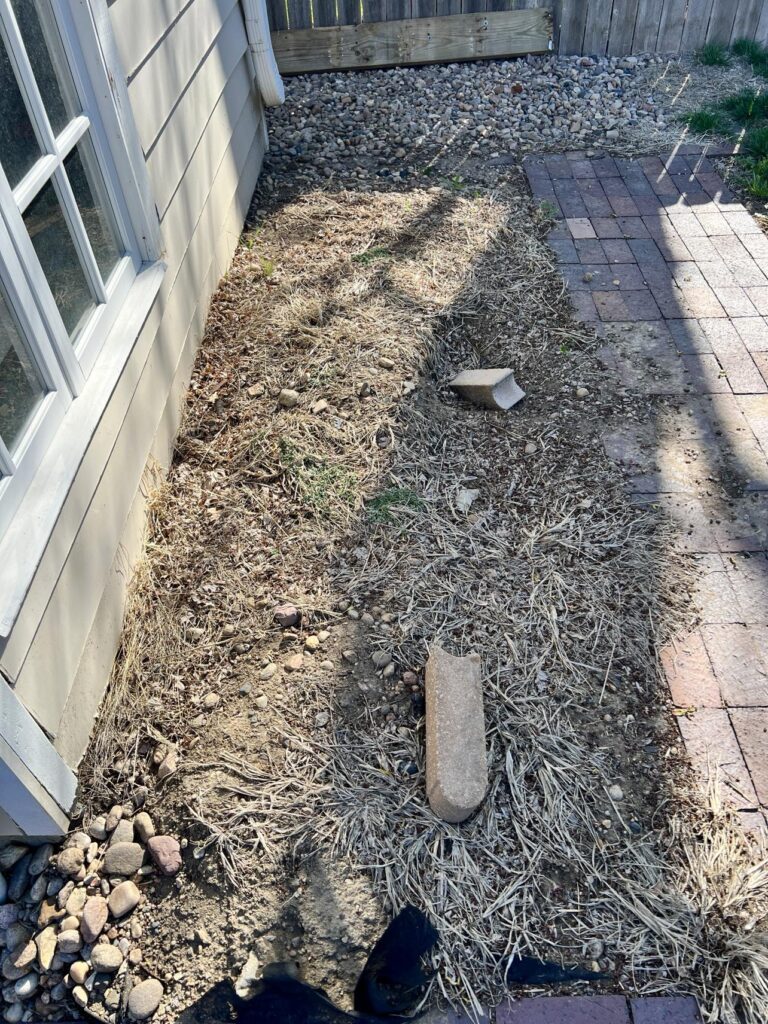
The other location is in the back of the yard along the fence line. Here, there were some transplanted perennials yearning for a place to grow and shine. Small wood beams were the only thing that designated any sort of planting.
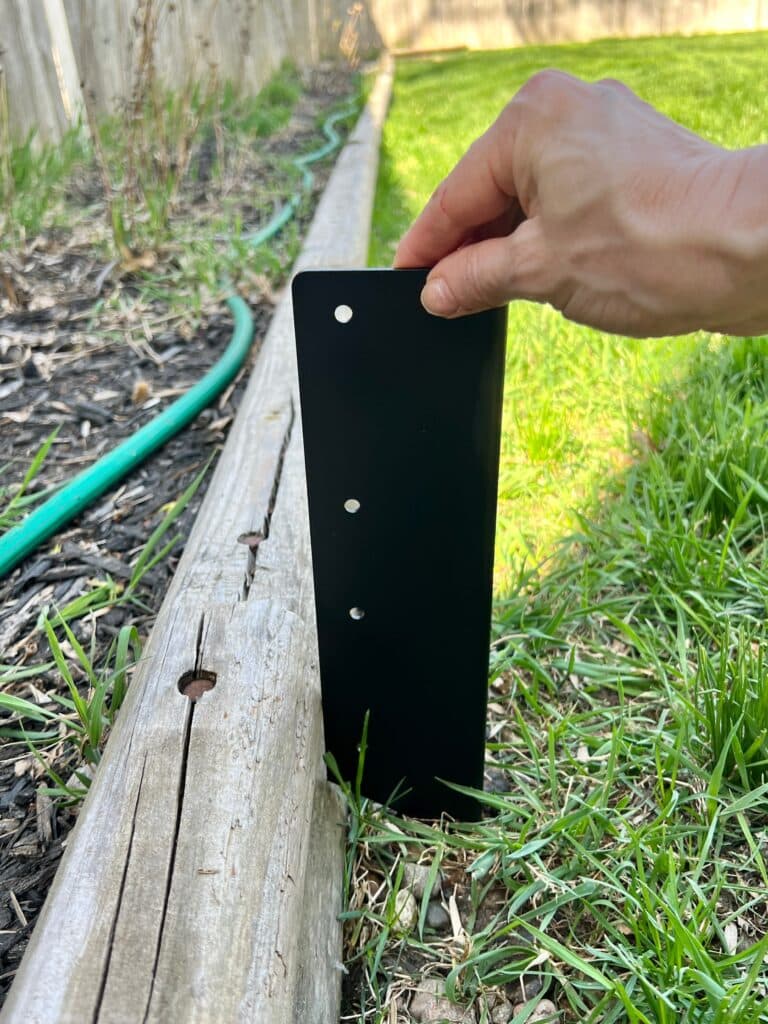
The open space allowed us to dream and enabled the happy couple to play with different shapes for their ideal garden bed design. This area is truly the best place for raised garden beds!
Supply List for a Toja Grid Raised Garden Bed
The beauty of these Toja Grid kits is that there are very few things you need. Here is the supply list rundown:
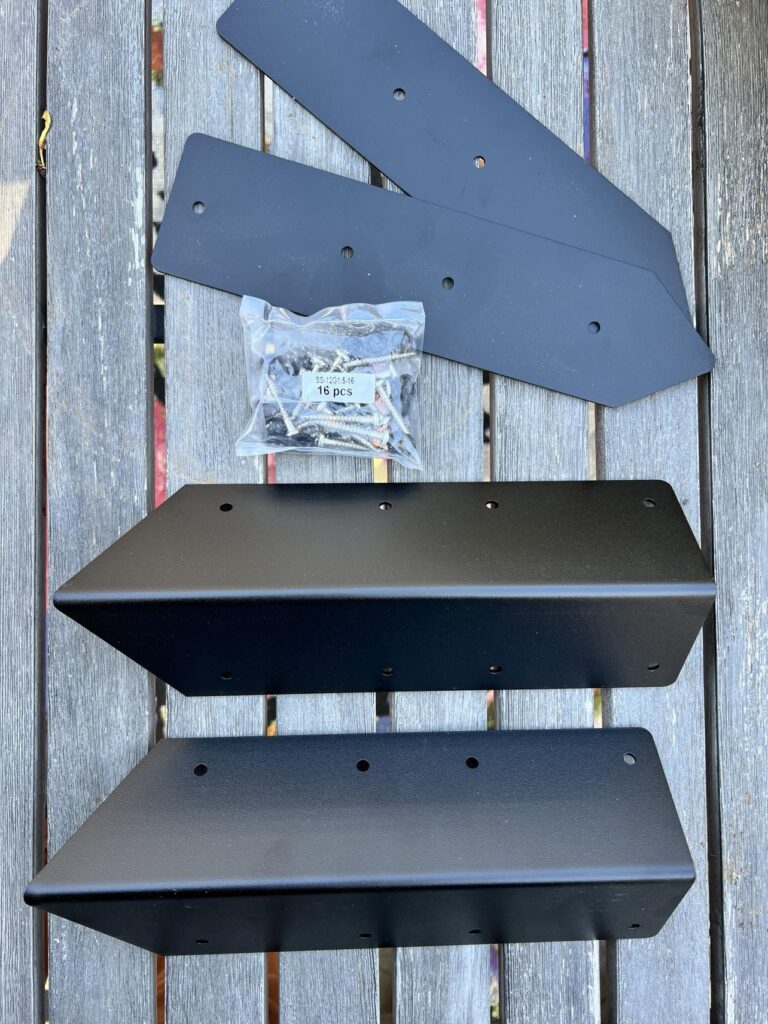
- Toja Grid Raised Garden Bed Kit: One kit per garden bed. We opted for the Double Raised Planter Kits with Supports.
- -2 x 6 Cedar board wood planks: Again, we used a double raised kit so each bed’s side was two planks high.
- Circular saw
- Wood stain
- Paintbrush
- Mallet
- Landscape fabric or newspaper
- Organic matter: grass clippings, compost material, etc.
- Garden soil
Prepping the Wood
The kind of wood you use is very important!
Toja Grid strongly recommends that you use cedar wood instead of pressure-treated lumber.
Unlike pressure-treated wood, cedar lets you create a beautiful garden bed without any nasty extras like harsh chemicals.
Plus, cedar is a rot-resistant wood and fights off pesky insects naturally, making it a low-maintenance dream.
And let’s not forget how gorgeous cedar looks – it adds a touch of rustic charm to any patio or yard!
In the battle between cedar and pressure-treated wood, cedar wins hands down!
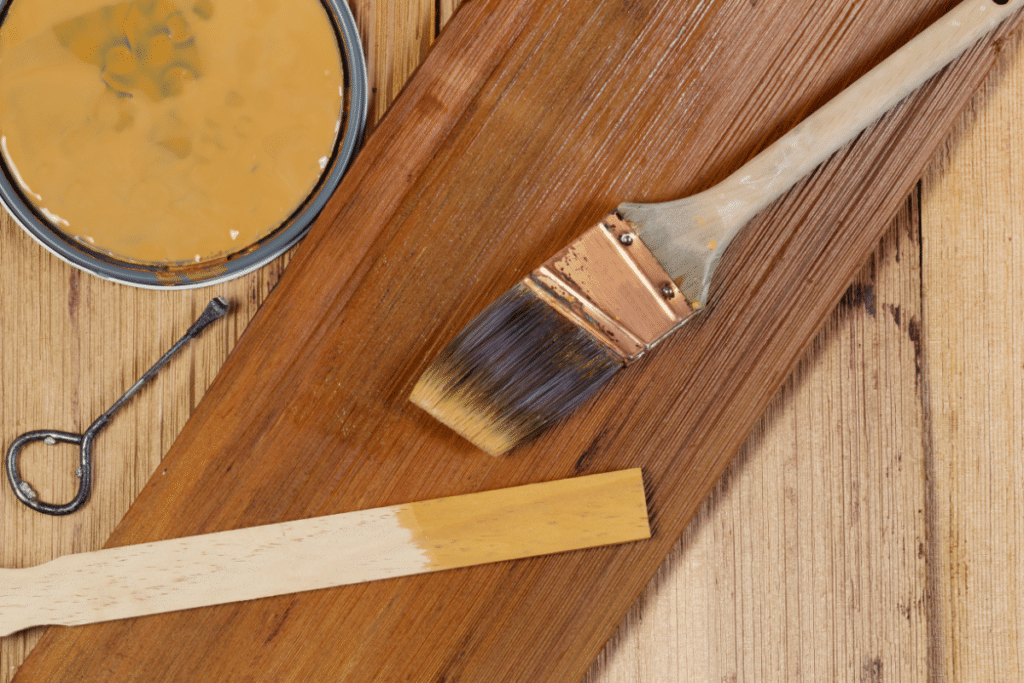
The first step in creating their little garden was to stain the cedar wood planks. Each plank was stained using the same stain that was used on the Toja Grid pergola wood beams.
We like a cohesive garden!
Assembling the Garden Bed Planters
Building your dream garden with Toja Grid is a breeze. It didn’t take much time at all to assemble the beds…only about 15 minutes each!
Their clever system requires no special tools and features easy-to-follow instructions. Here are the steps:
1. Cut each piece of wood to the desired measurements. Again, the versatility of Toja Grid kicks in here because you can customize the size of your garden beds to fit your space!
2. The next step is to sand each piece of wood. Whoever invited the palm sander has all of my love!
3. Be sure to wipe down each piece of wood with shop rags to get rid of wood dust.
4. Next, stain each piece of wood. We used the same stain we used on the Toja Grid pergola last year so all the wood has a cohesive look.
5. Let the stained wood dry overnight.
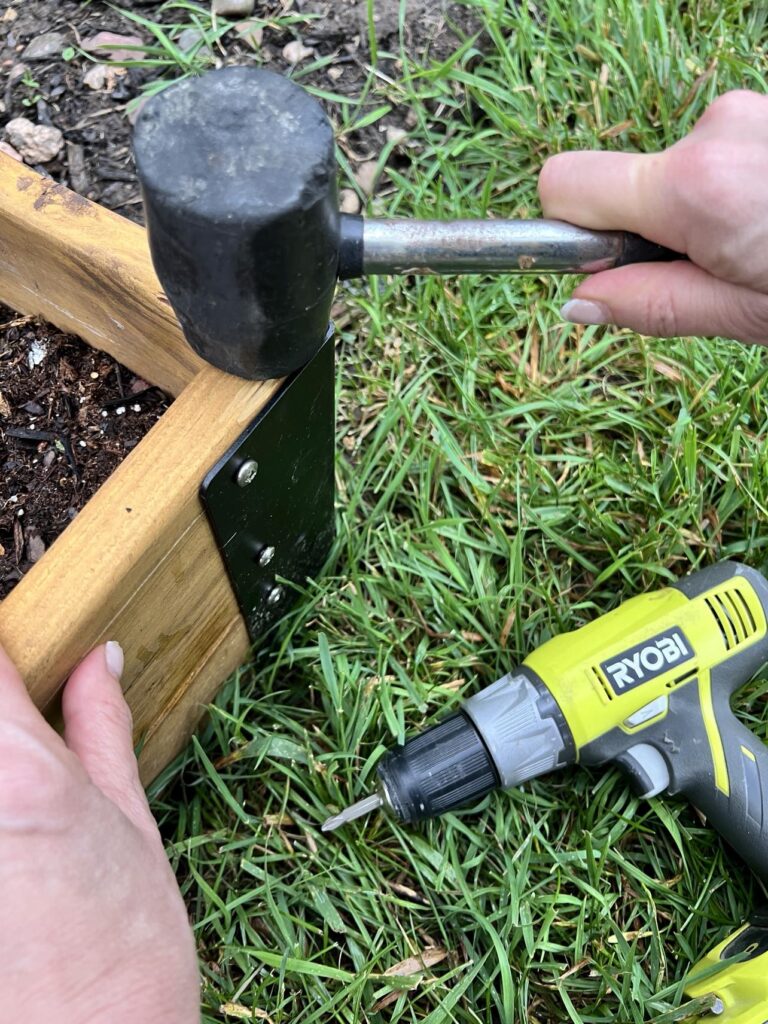
6. The assembly of each garden bed was much easier with two hands. One person can hold the pieces together while the other screws each corner piece with a drill.
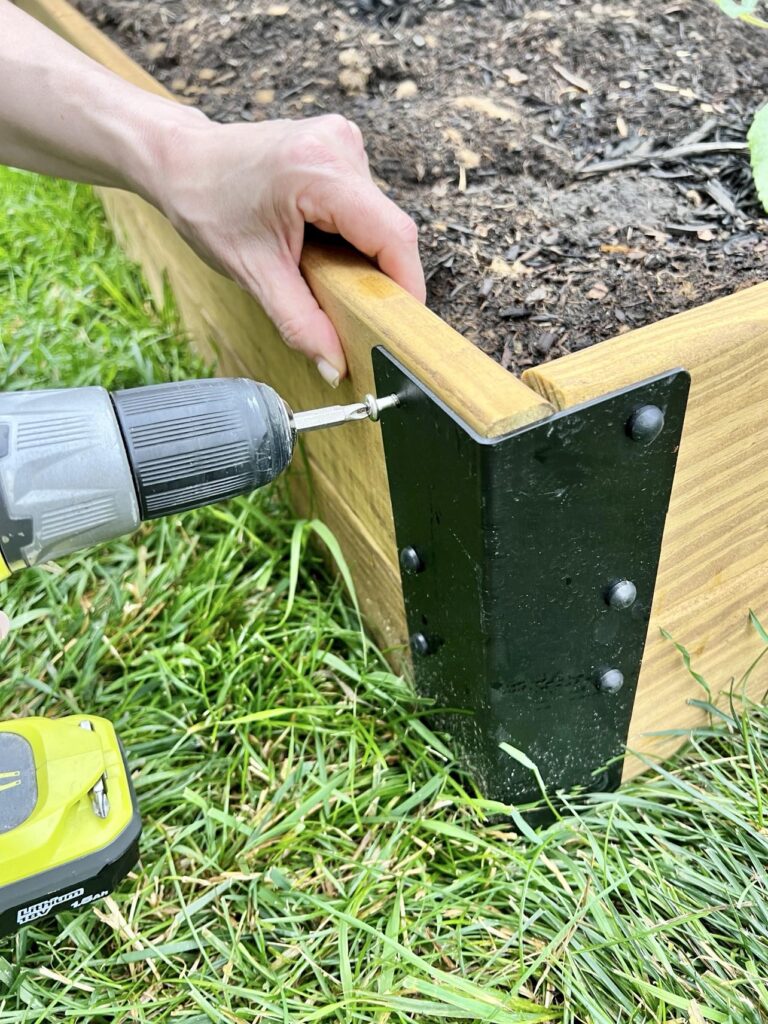
7. Once the metal pieces were secure, we added the caps to the screw heads.
8. The final step? Pop the stakes right into the ground with a little nudge from a rubber mallet.
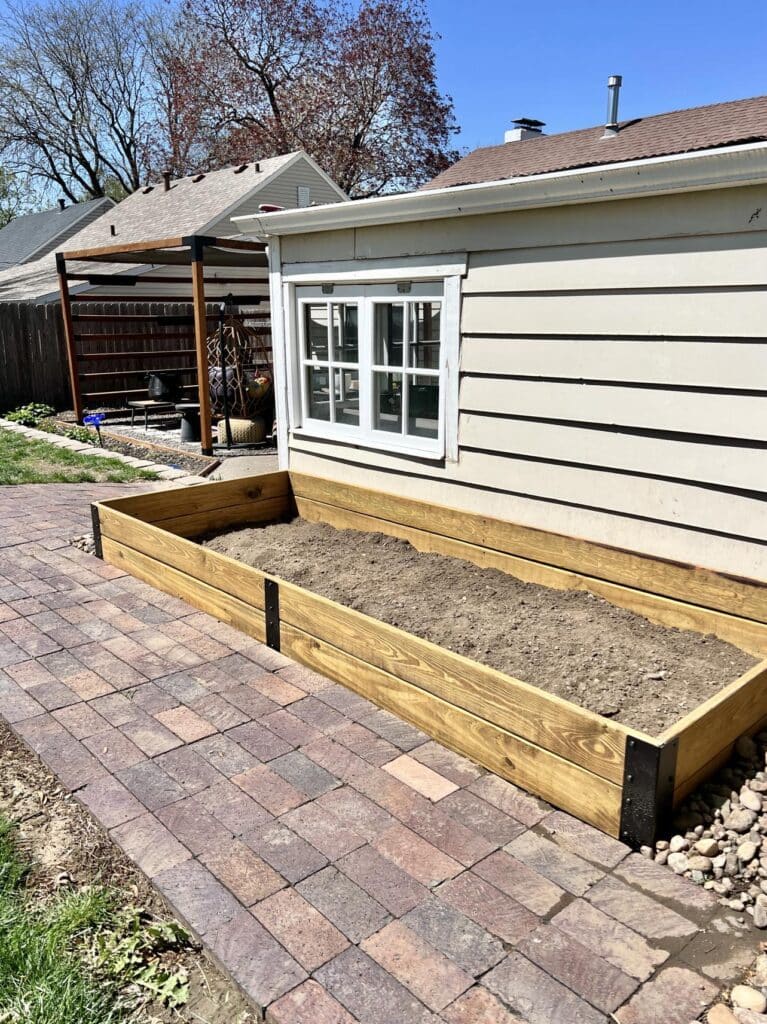
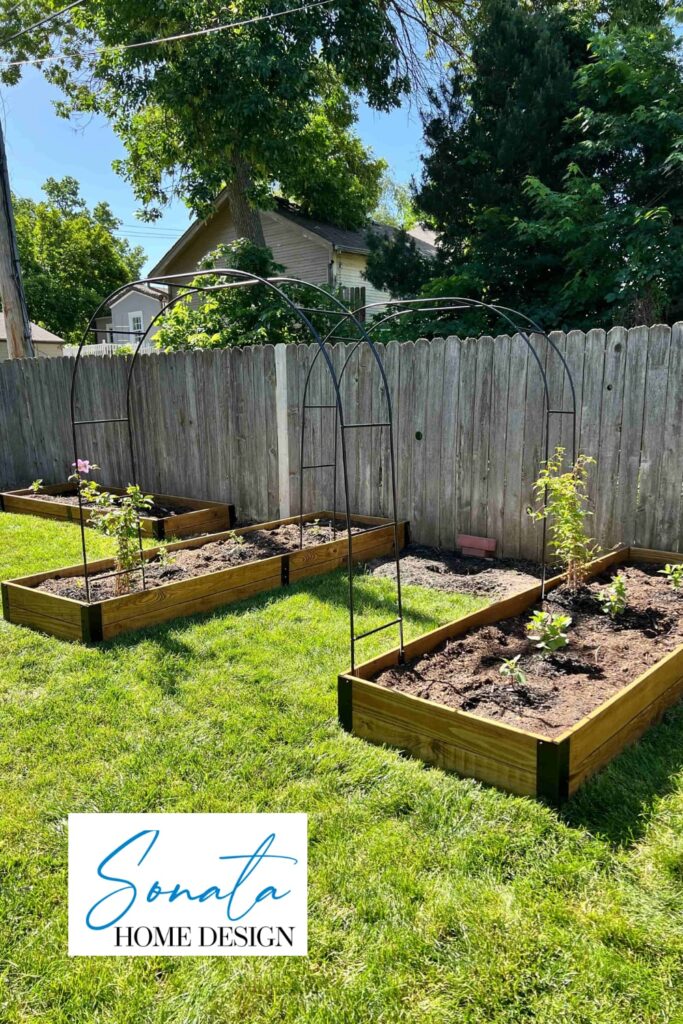
Even without soil and plants, these garden beds are beautiful!
Filling the Raised Garden Beds
Don’t skimp on this step! It is so important to give your new plants a soil environment that will help them flourish.
And to do this you need good soil.
What makes good soil? Lots of organic matter!
To create a plant paradise in your cedar garden bed, think lasagna! It’s all about layering!
Here’s the recipe:
- It’s a good idea to start with a layer of cardboard or newspaper (this acts as a weed barrier)) inside of the bed.
- Follow this with a hefty helping of unfinished compost, grass clippings, and even twigs (yum, nutrients and drainage!).
- Add a layer of aged manure (more food for your plants!).
- Top with a mix of garden soil and bagged compost (the finishing touch!).
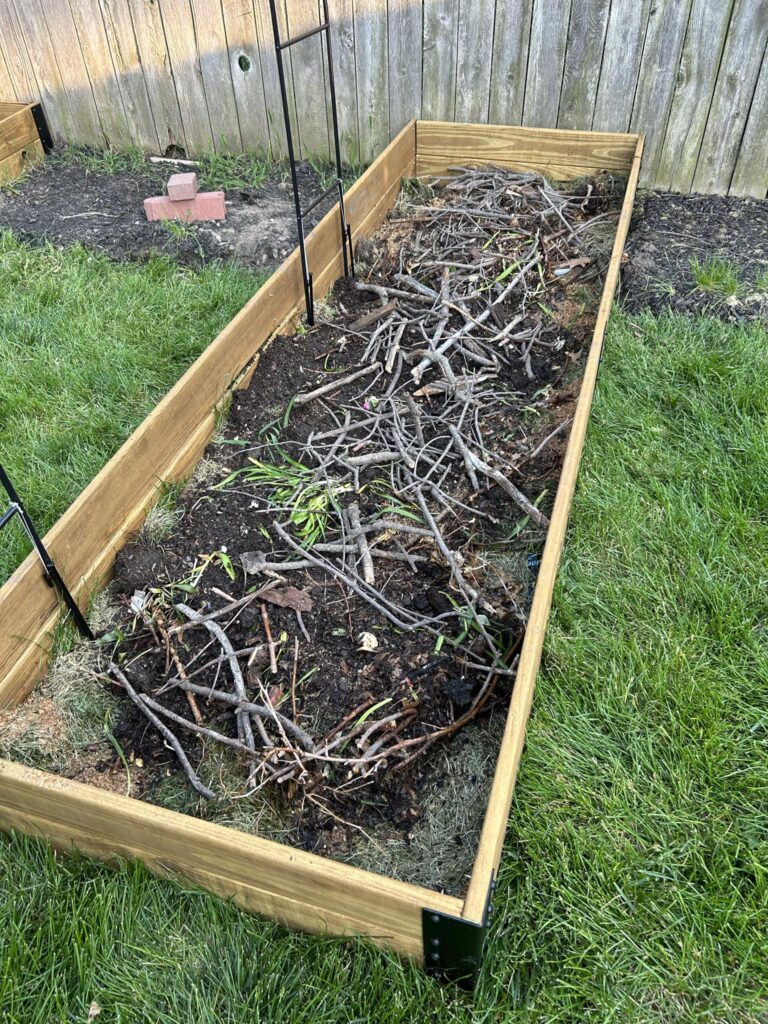
These layers create a fertile environment rich in nutrients and drainage, giving your plants the perfect foundation to thrive!
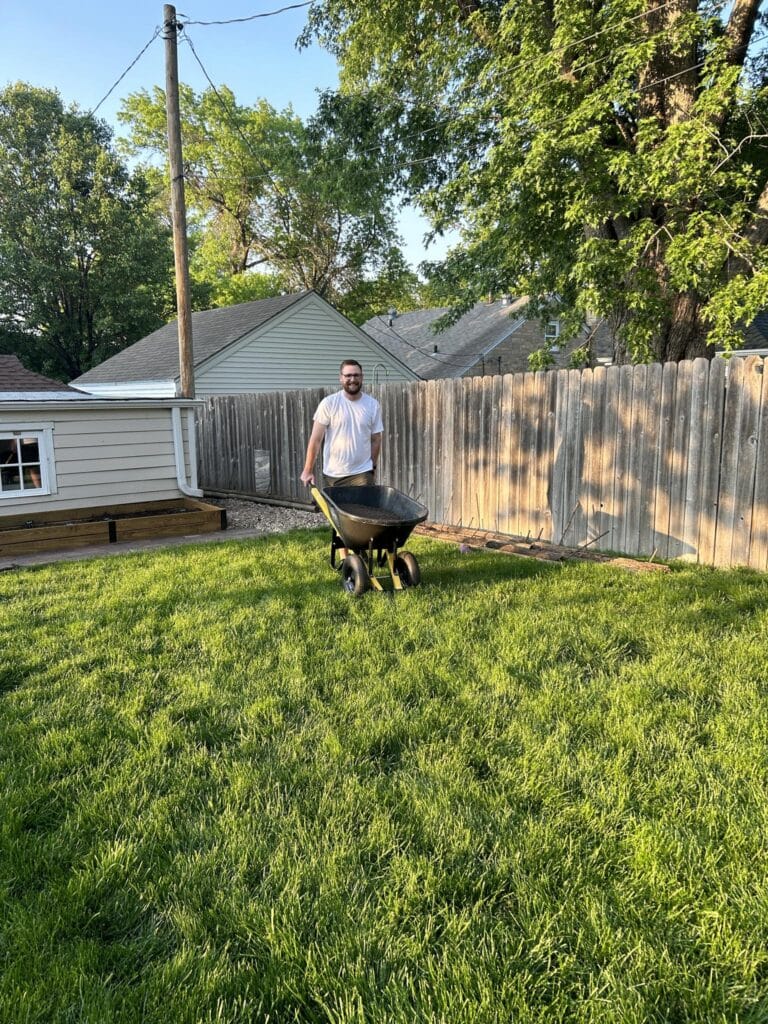
Will looks so happy transporting soil across the yard!
What to Plant in a Raised Garden Bed?
With your beautiful wooden raised bed prepped and ready, the fun part begins – choosing what to plant!
The sky’s practically the limit, but raised beds are perfect for shallow-rooted plants that love good drainage and warmth.
Think herbs like basil and cilantro, flowering beauties like zinnias and marigolds, or even a bounty of juicy tomatoes and peppers.
Madeline and Will decided to plant vegetables in the garden bed behind the garage (closer to the kitchen!) and flowers in the beds along the fence.
As with any new garden, a mindset for experimentation is key!
This is what will go in the garden beds this year. (I’m most excited about the tomato plants!)
Edible Raised Garden Bed Plants
- Sweet Peppers
- Bell Peppers
- Tomatoes
- Oregan
- Thyme
- Parsley
- Ginger root
Floral Raised Garden Bed Plants
- Zinnias
- Dahlias
- Sweet Potato Vine
- Celosia
- Clematis
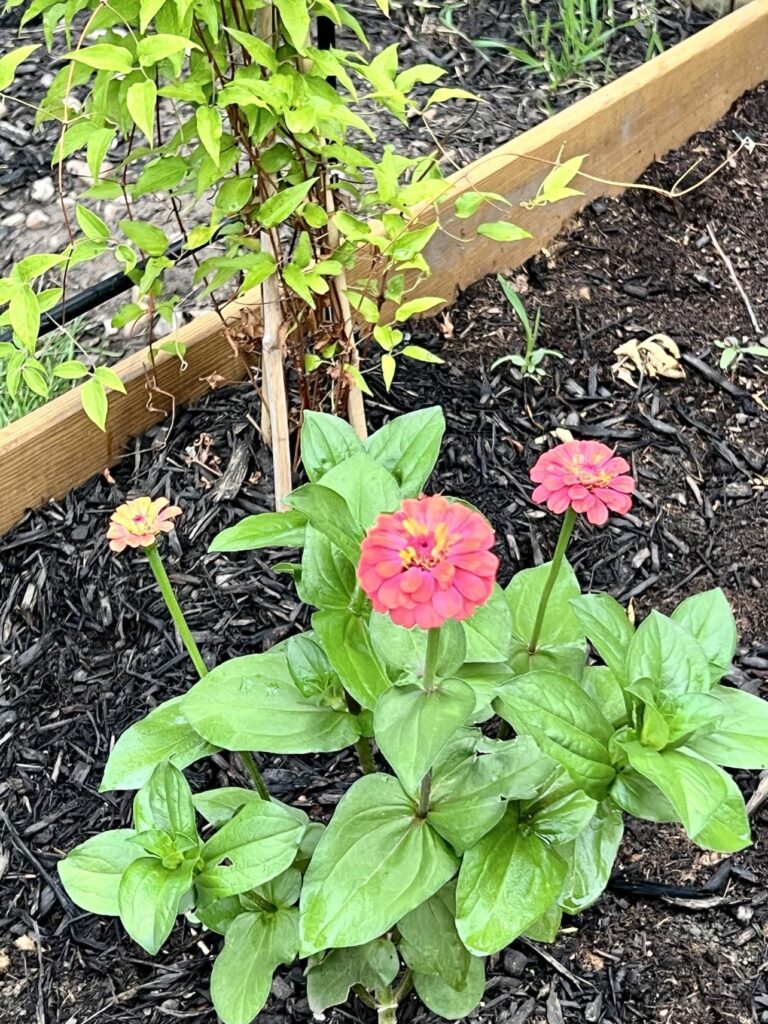
Now we wait…
…and water…
…and nurture!
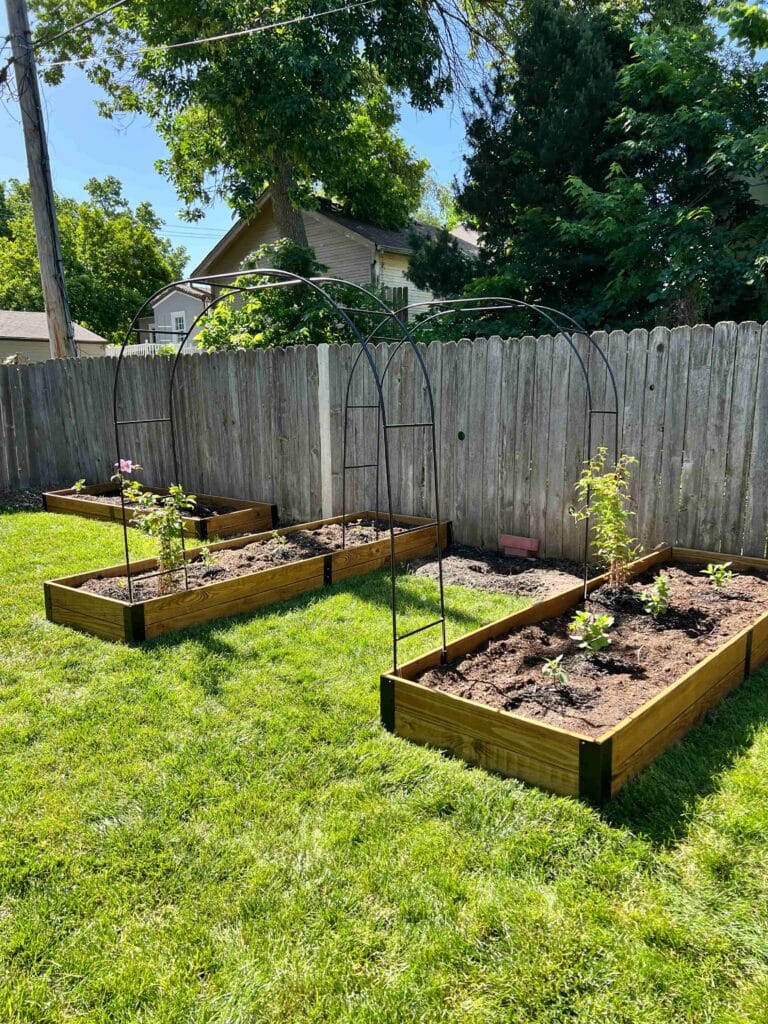
Arlo is inspecting the new gardens. Not sure she knows what to think!
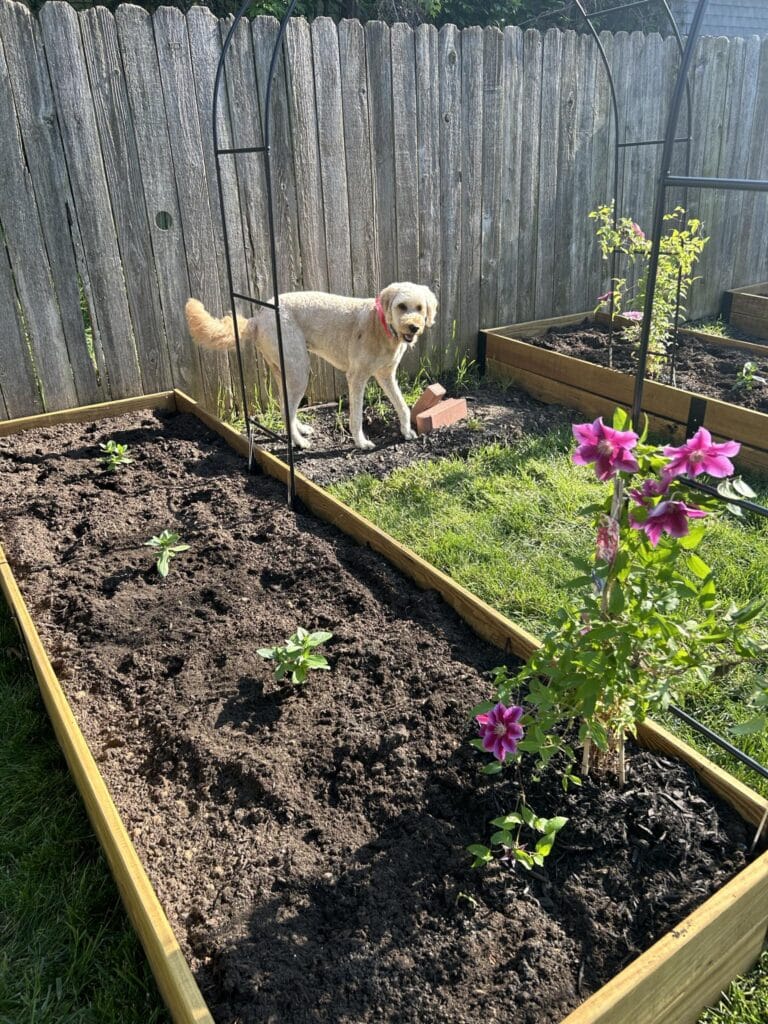
As with any new garden, there will be some experimentation with plants in this first year.
I will update this post as the summer progresses so you can see the plants later in the season.
We are so excited and curious to see the new wooden raised garden beds in full bloom!
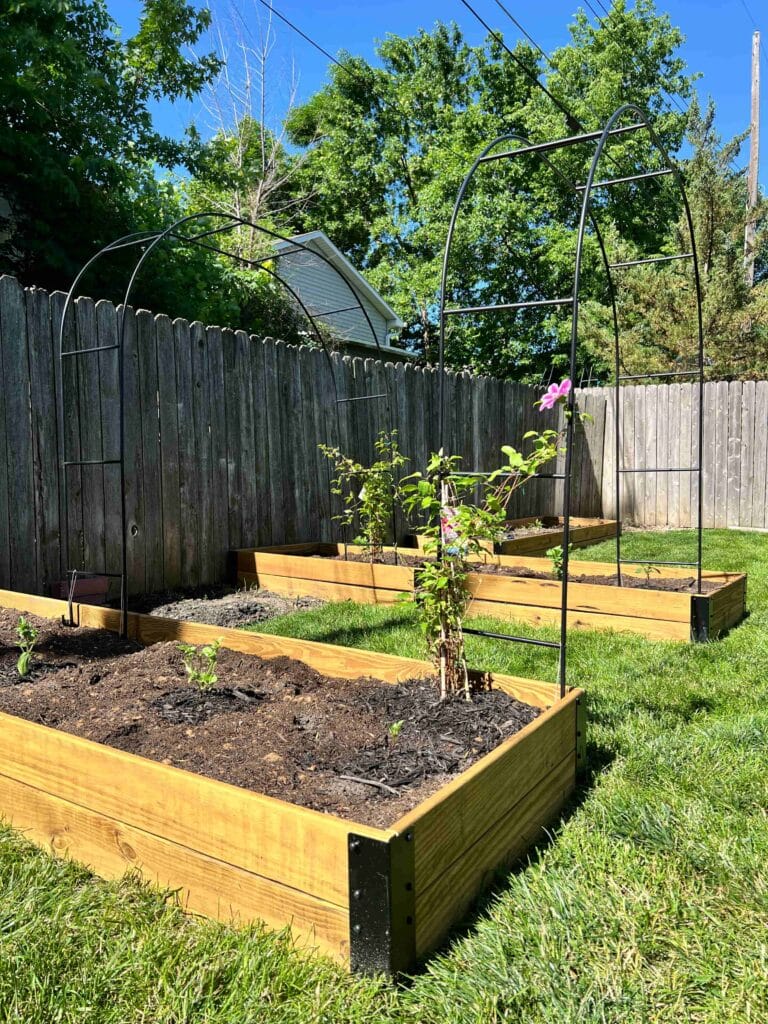
There you have it! With Toja Grid’s fantastic hardware kits and a little green magic, these raised garden beds are well on the way to thriving!
A special thank you to Toja Grid for gifting me these garden bed kits! This DIY project will be enjoyed for years to come!
You too can watch your plants flourish, enjoy the satisfaction of homegrown goodness, and impress the neighbors with Toja Grid raised garden bed kits. Happy planting!
Cheers!

Don’t Forget to Pin It!
Pin the image below to your boards on Pinterest (just click the Pin button in the top left corner). You can also follow along with me on Pinterest!
Toja Grid Flashback
Want to dig into deeper to a DIY Pergola project? Check out this post on building a pergola with Toja Grid!


This looks amazing, what a fabulous garden upgrade. Everything looks so good, those kits look so straightforward to put together.
Hi Julie! I don’t know if we would have tackled this project if we didn’t have these hardware kits. So easy to assemble! Thanks so much for checking it out!
Looks amazing, Missy!! Such a fun yard space!!
Thank you, Rachel! This was a little outside of my usual wheelhouse so it was fun to tackle!