

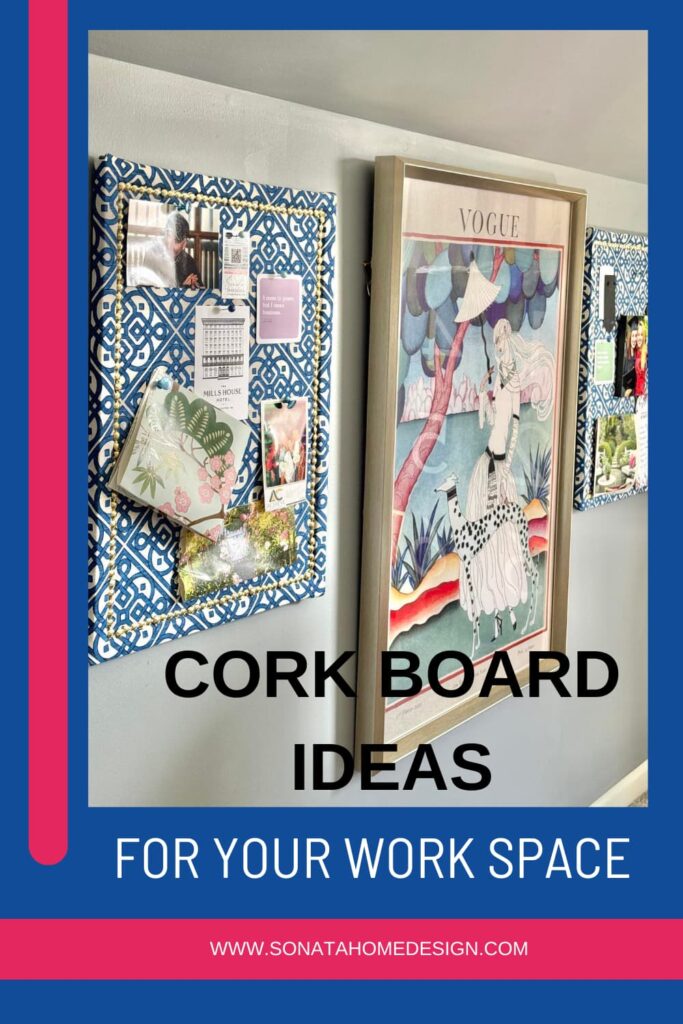
Easy and Creative DIY Cork Board Ideas: Stay Organized in Style
Cork board ideas can be both practical and stylish, turning a simple board into a decorative and functional addition to your space.
With a little creativity, you can transform an ordinary corkboard into a chic memo board that enhances your home office, work space, or kitchen.
This blog contains affiliate links. This means a small commission is earned if you make a purchase by using this link. The price you pay will be the same whether you use the affiliate link or go directly to the vendor’s website using a non-affiliate link. As an Amazon Influencer, I earn from qualifying purchases.
From Boring to Beautiful: Decorative Cork Board Ideas You’ll Love
Have you ever looked at a plain corkboard and thought, Meh, it’s functional, but it’s not exactly cute?
Well, you’re not alone! Cork boards are amazing for keeping track of to-do lists, notes, and inspiration, but let’s be honest—they don’t always scream stylish.
The good news? With just a little DIY magic, you can turn a basic corkboard into a fabulous, decorative piece that actually adds to your space instead of just blending into the background.
Whether you need a chic command center for your office, a stylish memo board for your kitchen, or a fun way to display photos and keepsakes, I’ve got some easy and creative ideas that will have you saying, Why didn’t I do this sooner?
Pinterest in Real Time
The phrase “Pin it” has a very different meaning than it did years ago. When Pinterest opened its door to endless photos of home decorating inspiration, my world turned upside down in the most glorious way!
Creating boards and boards of photos that inspired me kept me busy for hours.
Unfortunately, in the beginning, I was so busy pinning that, often, I did not go back to actually use what I had pinned!
I am a visual person.
Sometimes, I need my inspiration to hit me in the face every day. This is why cork pin boards are a necessity for me!
A basic office cork board, cork board sheets, or cork tiles will do the trick.
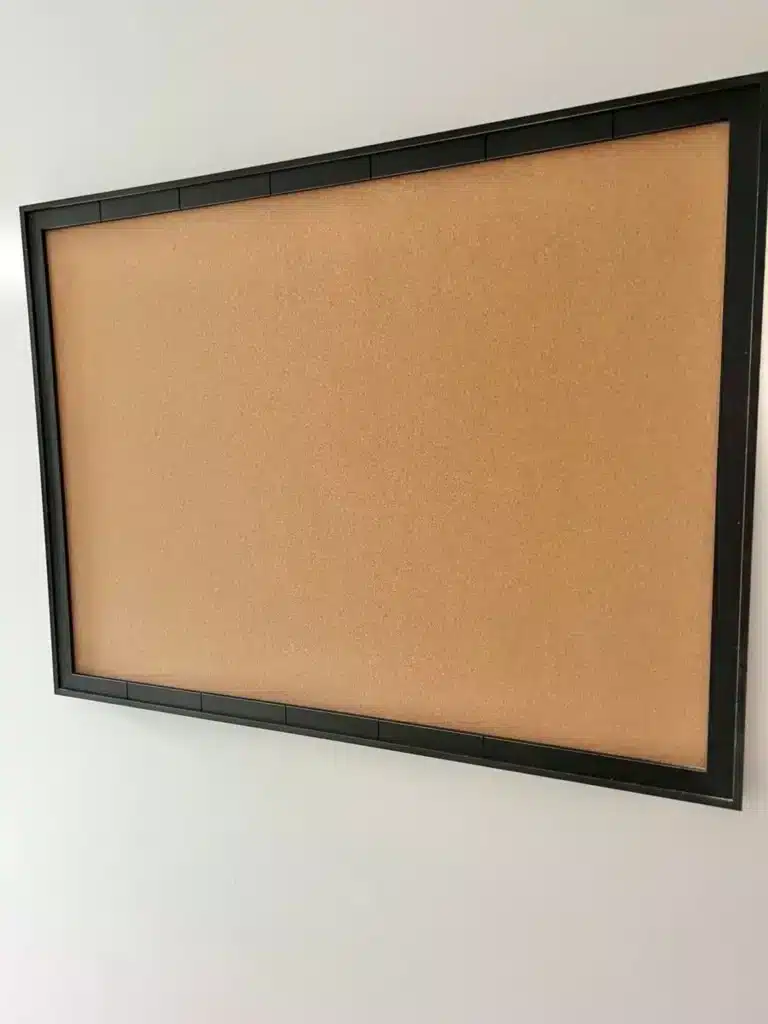
This is a start…
But I want it to be pretty…and stylish…and inspiring!
So, giving a basic corkboard a glow-up seems like a good idea to me!
Fabric-Upholstered Bulletin Board: A Stylish and Simple DIY Project
Ready to take your corkboard from basic to beautiful? A fabric-upholstered bulletin board is an easy and fun way to add some flair to your space. Let’s dive into the easy steps of this simple DIY project!
Fabric Cork Board Supply List
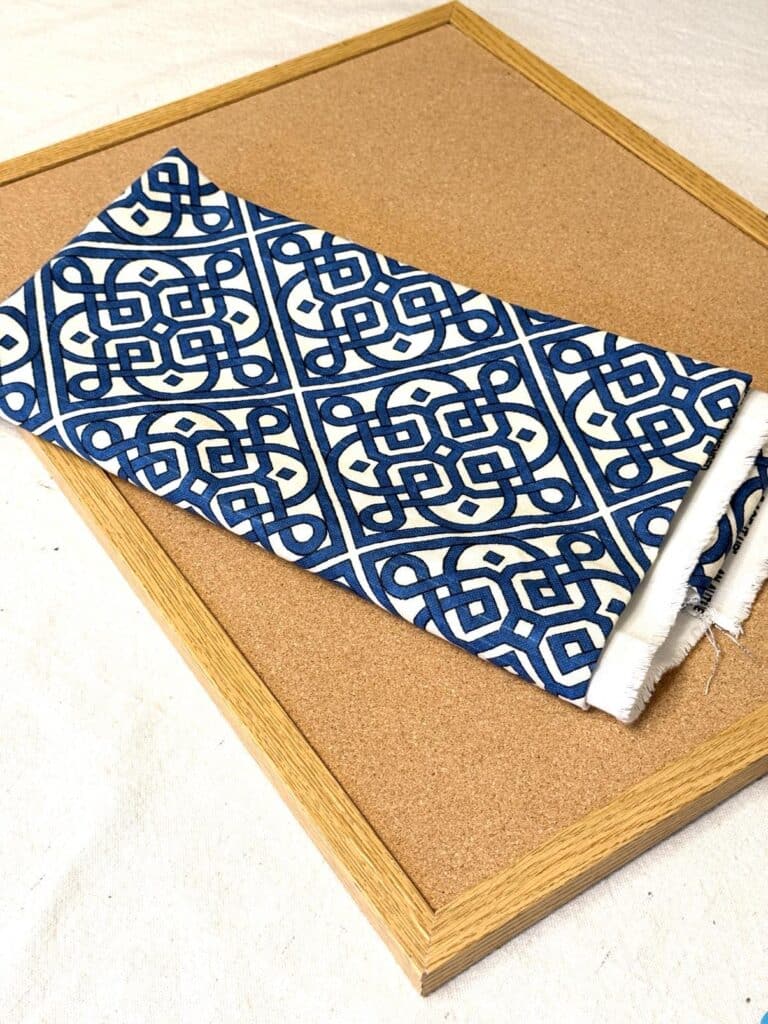
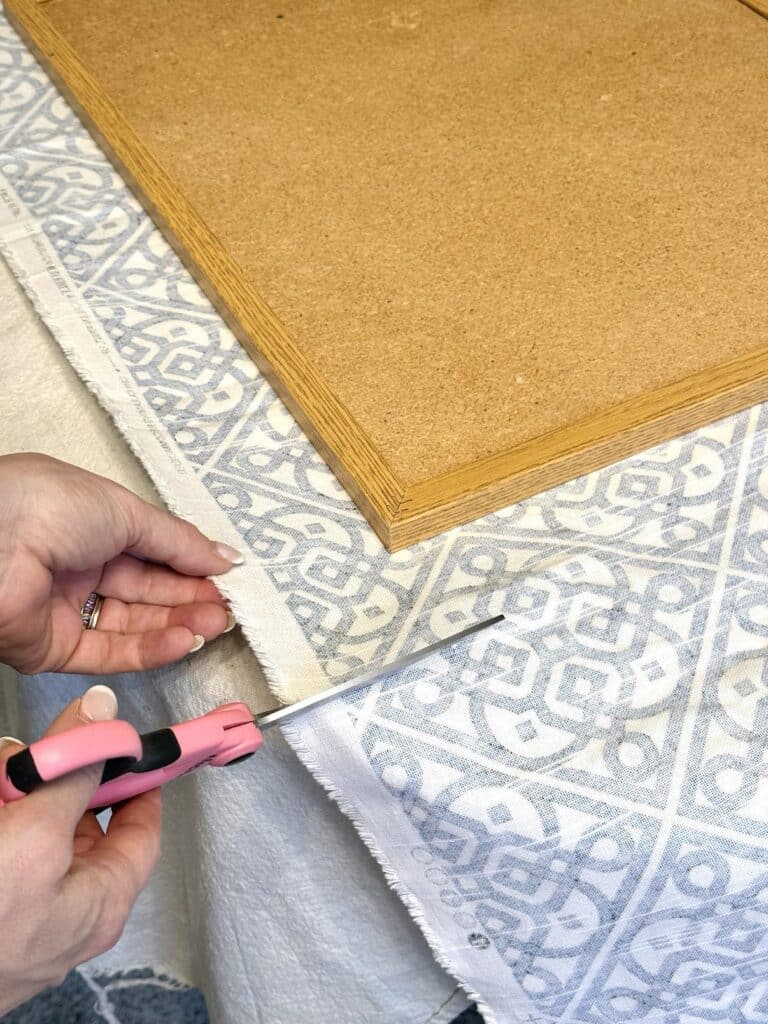
Step 1: Prepare Your Fabric
Start with a piece of scrap fabric that’s at least 3 inches larger than your bulletin board on all sides. If your fabric is too big, simply trim it down so you have that 3-inch border around the board.
Once you’ve got it sized right, flip the fabric over so the front side is facing the board, and arrange the pattern exactly how you want it to look.
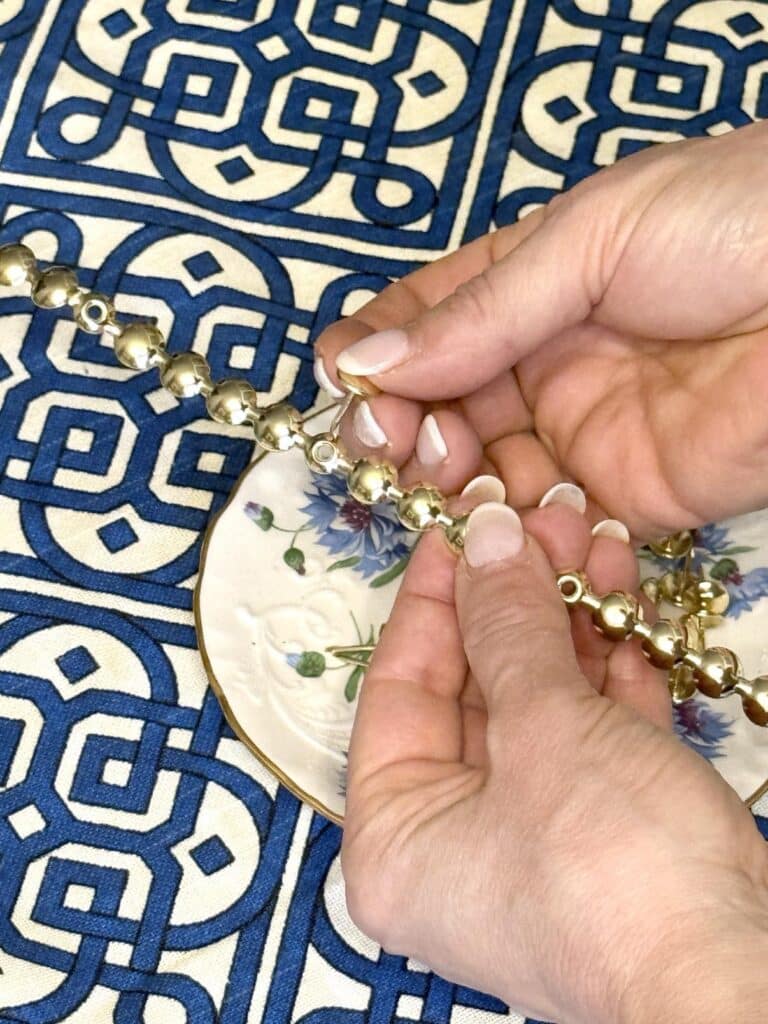
Step 2: The Upholstery Hack
Here’s a game-changing hack I found on Amazon: upholstery tacks that come in connected strips with holes every five tacks.
It includes tacks that you tap into the empty holes to create the illusion of hand-tapped tacks!
Lay one of these strips along the inside edge of your bulletin board frame, tuck the end neatly into the corner, and smooth the fabric underneath.
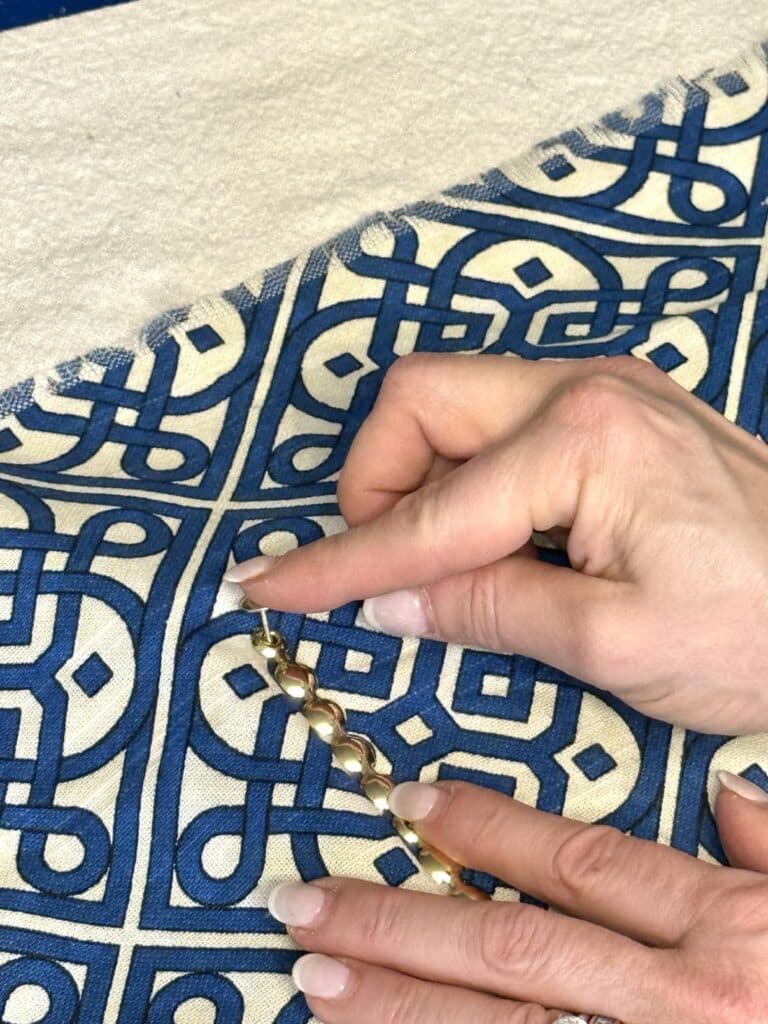
Step 3: Tacking It Down
Now, take one of the separate tacks, place it into a hole in the strip, and gently tap it in with a hammer (an upholstery hammer works best, but any hammer will do if you’re careful). Continue to tap tacks into the strip, working your way down the inside of the frame.
Once you reach the end, cut off any excess tack strip. For the next side, lay a new strip perpendicular to the first one and continue tacking it down. Make sure to keep the fabric taut as you go!
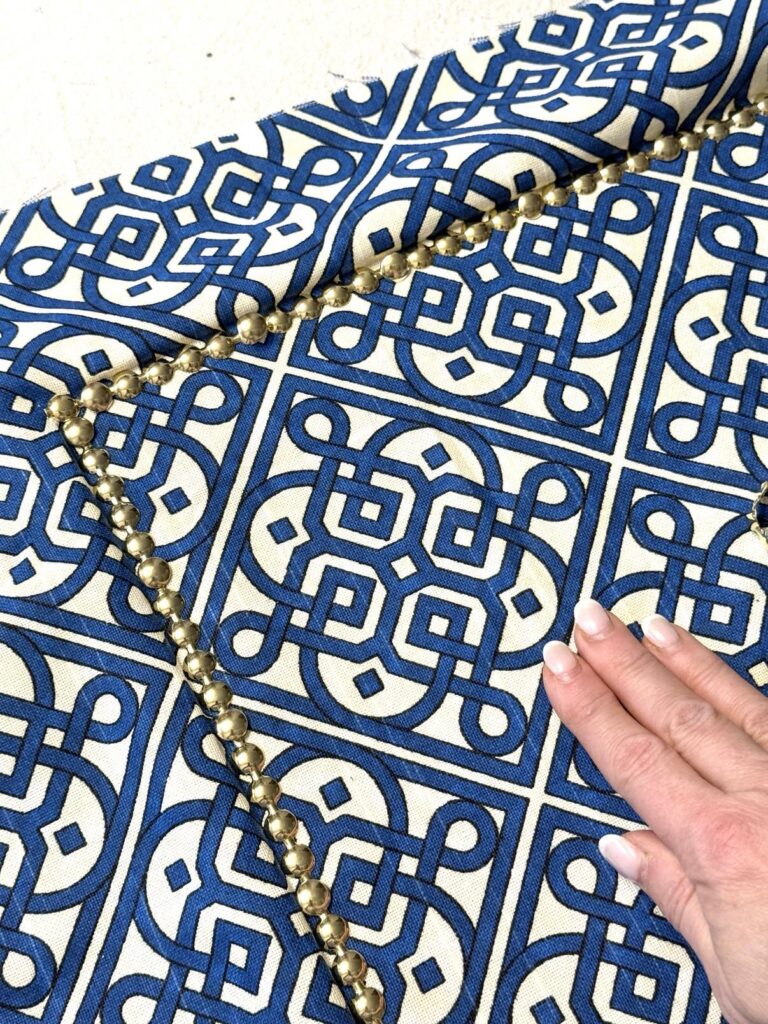
A little tip I found helpful: as you tack down each strip, start by tapping a tack in the middle of the strip and work your way out to the sides. This helps keep the fabric nice and taut as you go.
Step 4: Wrapping and Gluing
Once the strips are all in place, flip your board over. Now, take the excess fabric and wrap it around to the backside of the frame.
Use a hot glue gun to secure it in place—be sure to pull the fabric tight so it stays smooth and secure.
After gluing down one side, trim off any extra fabric that’s not glued down.

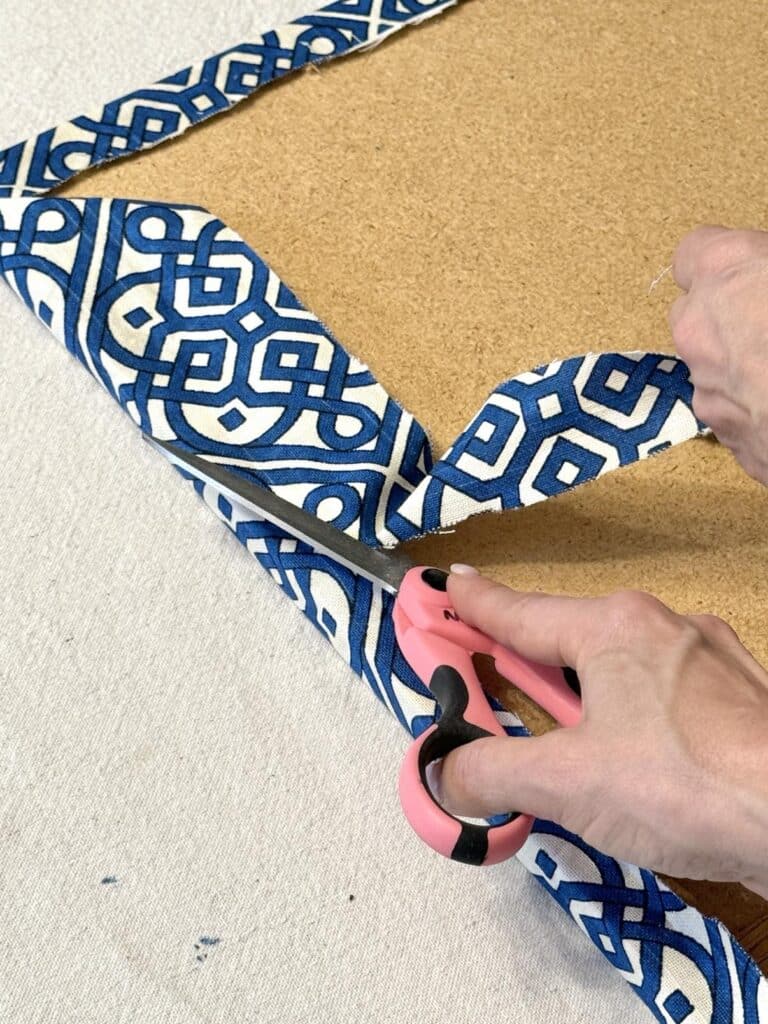
Step 5: Corner Folding Magic
As you move on to the adjoining side, create a tiny fold in the corner of the fabric (think of it like wrapping a gift). Then, glue the fabric around the frame and continue this process all the way around. Keep folding the corners neatly and cutting off any excess fabric as you go.


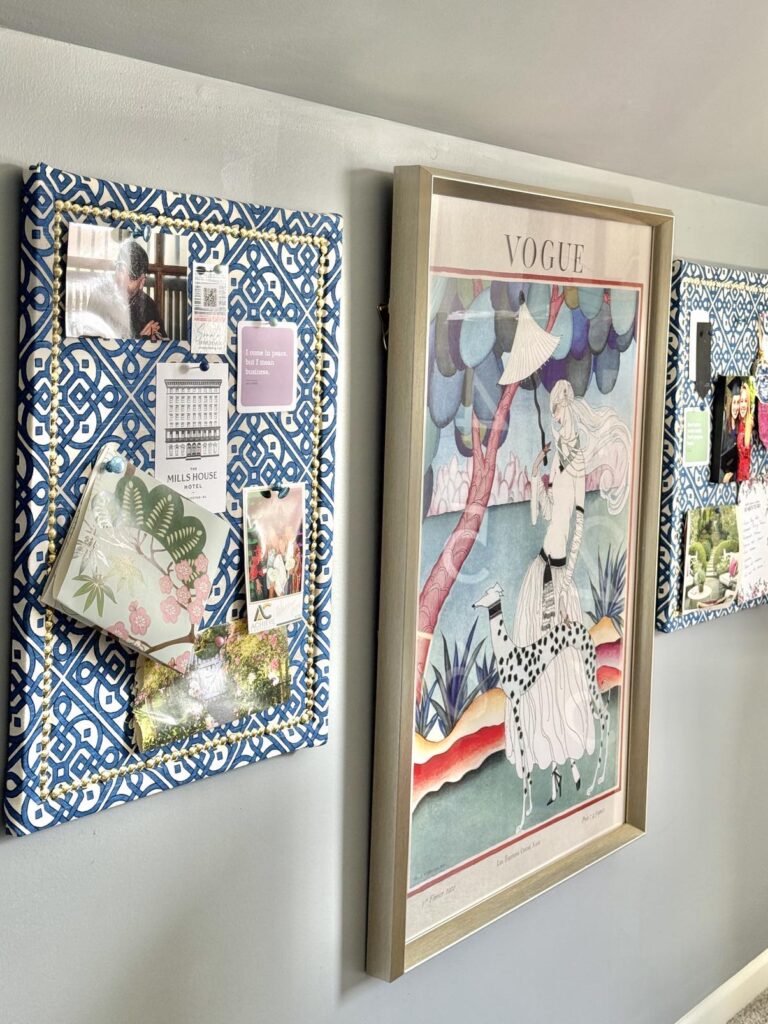
And voilà! You’ve got yourself a chic, fabric-upholstered bulletin board that’s as stylish as it is functional.
This simple DIY will give your cork board a whole new look and elevate your space in no time!

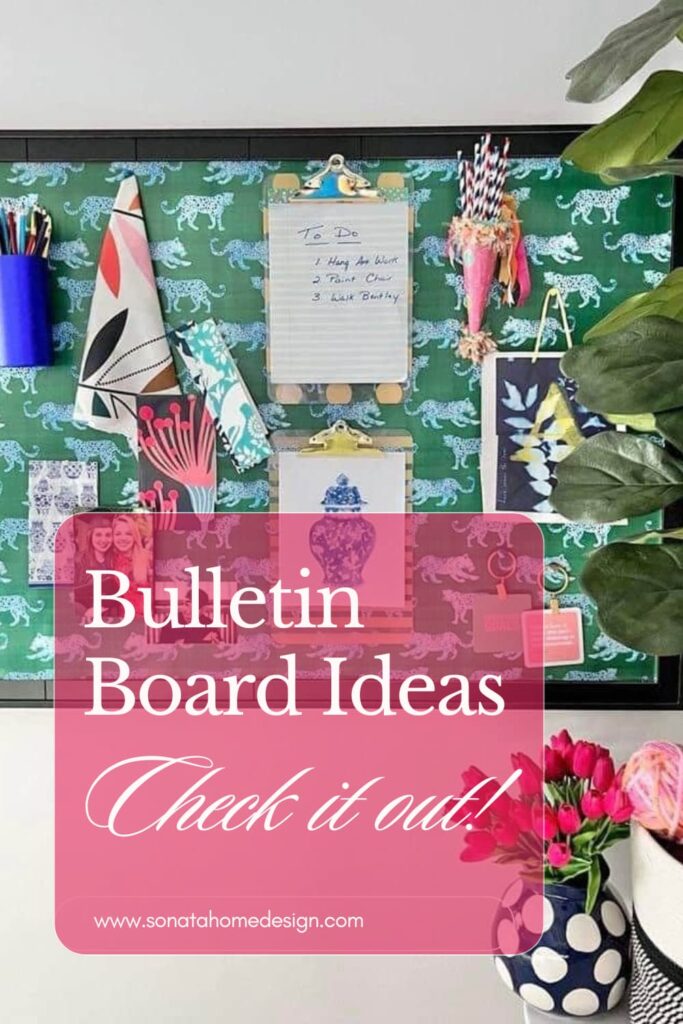
Wallpaper-Covered Cork Board
If you’re looking for a quick way to give your corkboard a major style upgrade, wallpaper is another way to go!
It’s an easy, customizable option that allows you to create a personalized background that you can switch out whenever you’re in the mood for a change.
Wallpaper Cork Board Supply List
- cork board
- wallpaper (can be scraps!)
- scissors
- ruler or straight edge
Step 1: Choose and Prepare Your Wallpaper
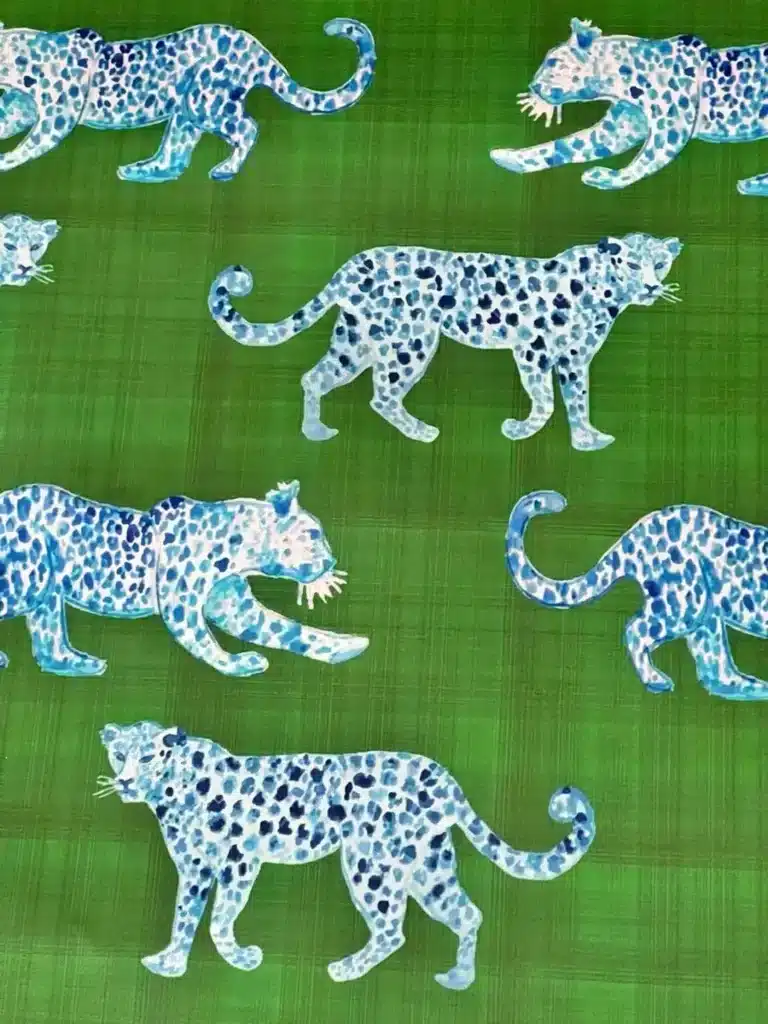
Pick a wallpaper that speaks to your style—whether it’s bold and bright or something more subtle.
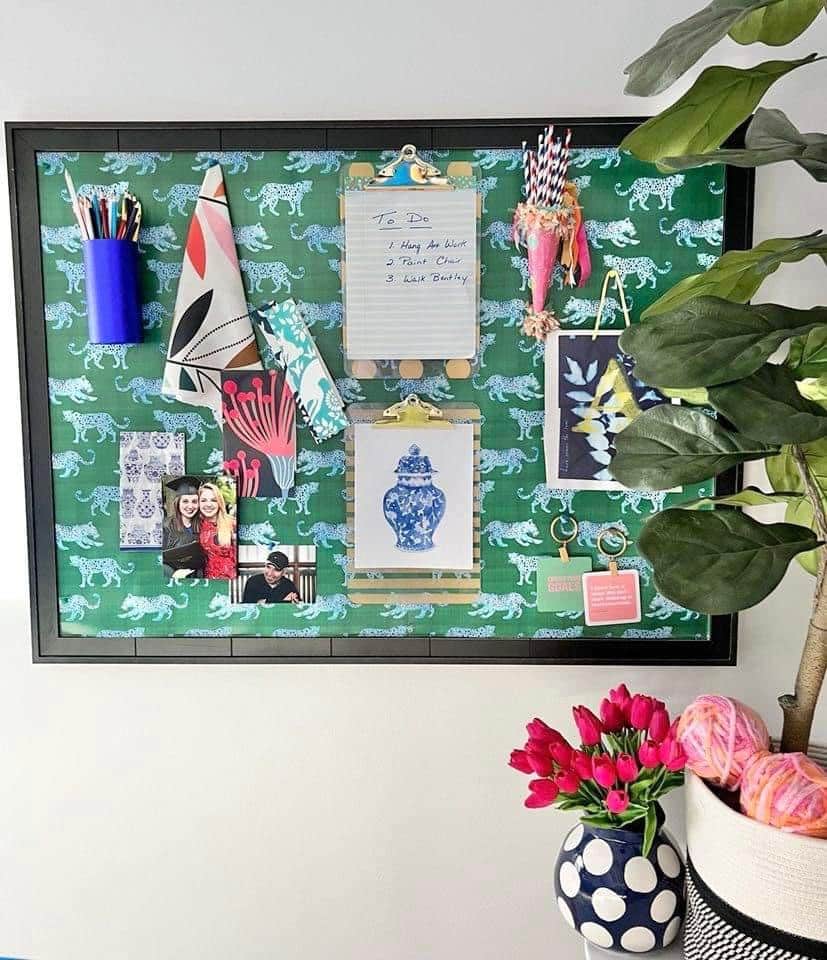
I used Spoonflower’s Leopard on Parade Blue on Green Wallpaper because it tied in perfectly with an emerald green dresser I recently made over.
How did I afford this high end wallpaper? I bought several of the swatches and pieced them together. Massive savings!
Once you have your paper, let it relax and flatten out by placing a few books on the corners for a few hours to remove any wrinkles.
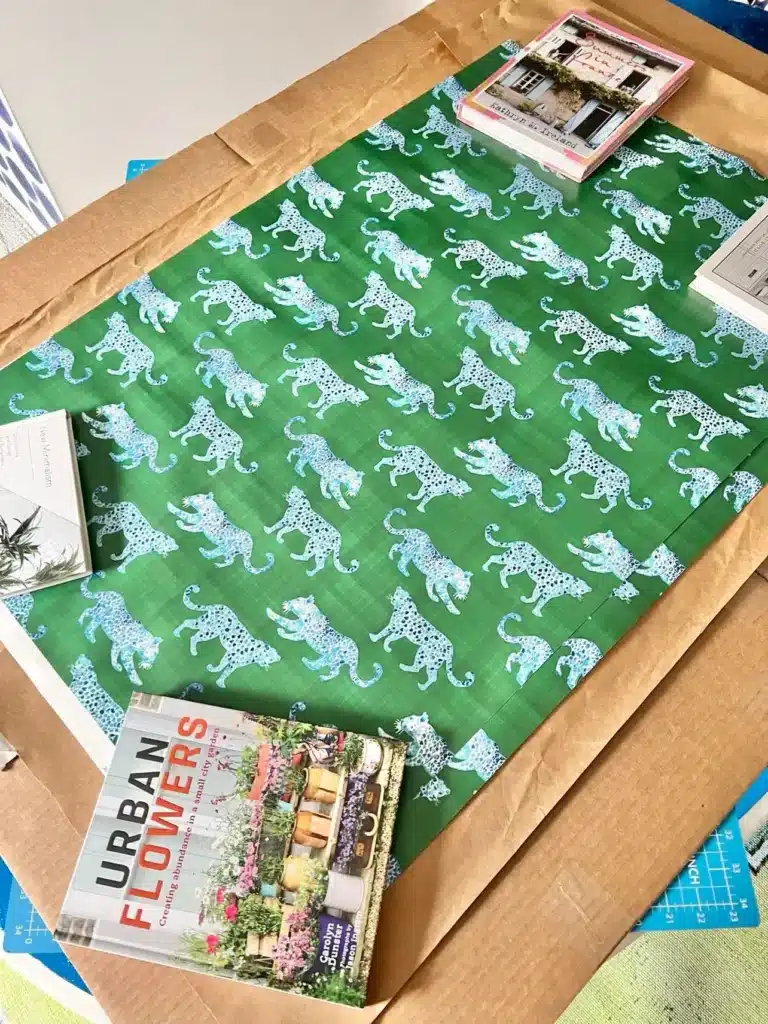
Pro tip: Spoonflower offers smaller 2′ x 3′ wallpaper sizes, which is perfect for a cork board and budget-friendly!
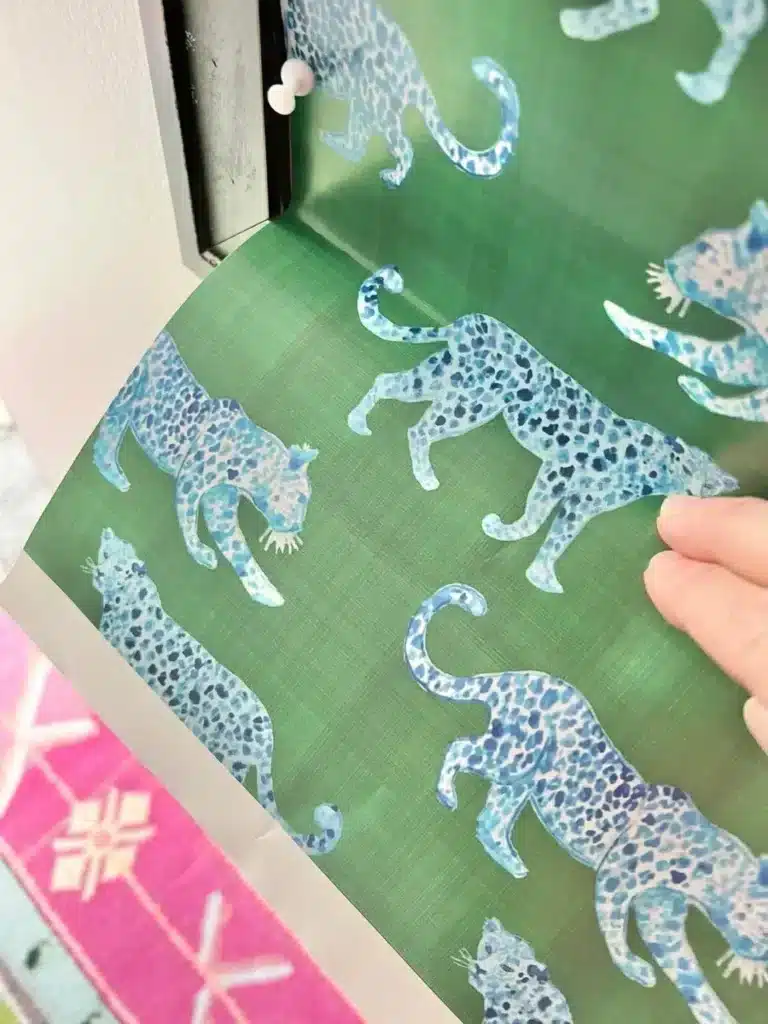
Step 2: Attach the Wallpaper to Your Bulletin Board
Start by tacking down one corner of the wallpaper onto your board with a board pin—green for that matching vibe!
Smooth the paper down the side of the board, and pin the bottom to secure it.
Create a crease at the bottom of the board with a ruler, then use a utility knife or blade to make a clean cut along the edge.
Repeat this on the other side of the board, making sure everything lines up nicely. I used two smaller pieces of wallpaper, so I lined up the design in the center, just like hanging wallpaper!

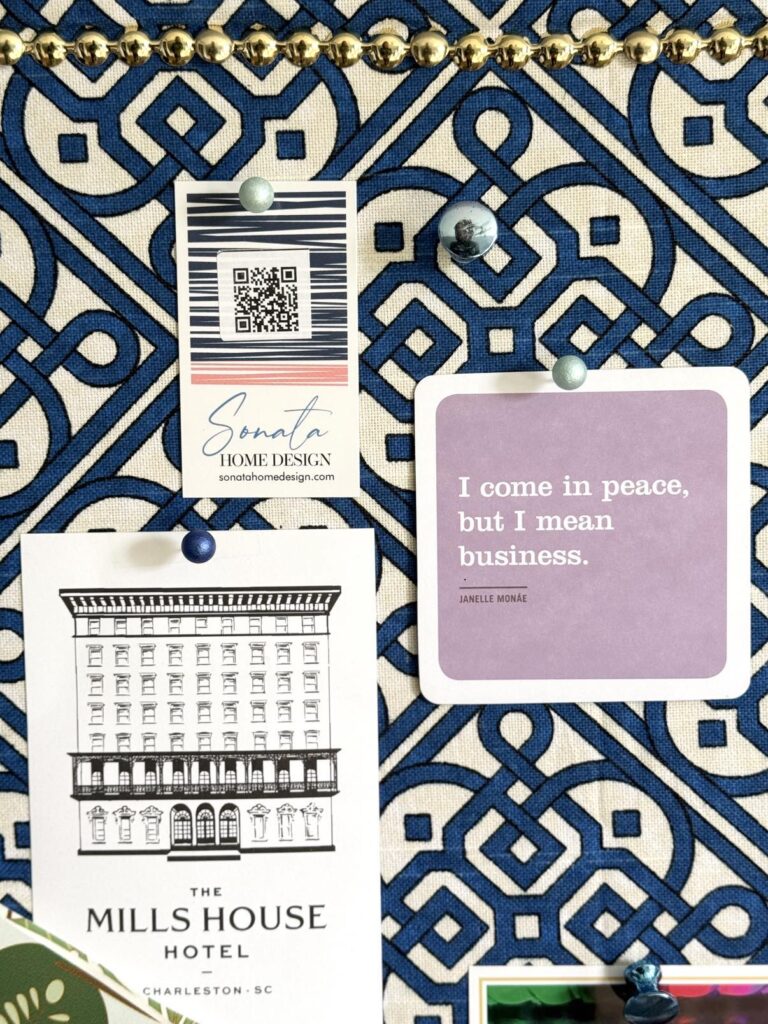
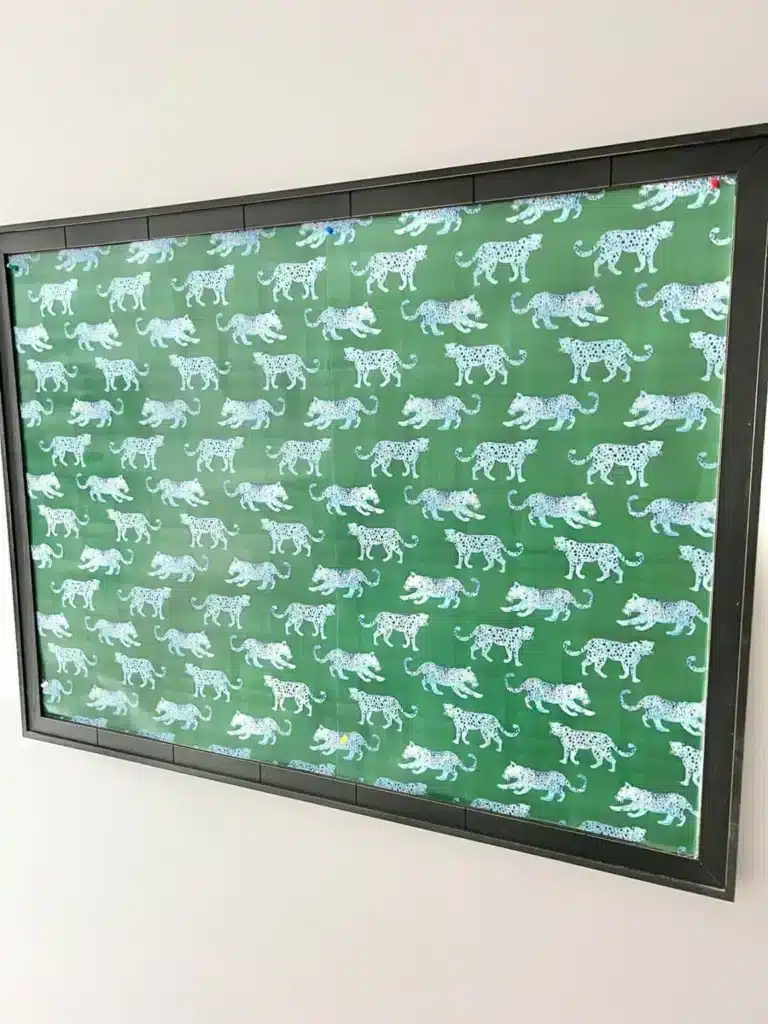
Step 3: Start Pinning!
Now the fun part—start filling your newly covered bulletin board with notes, photos, and whatever inspires you! You’ve created a beautiful backdrop that’ll make your board a focal point in your space.
Aesthetic Cork Board Ideas
What Can You Use a Cork Board For?
A cork board is the perfect place to keep your life organized while adding a personal touch to your space!
It’s a great way to pin important notes, to-do lists, or reminders where you’ll always see them.
Need a display space for favorite photos, postcards, or inspirational quotes? A corkboard makes it easy to create a mini gallery that you can update anytime. You can also use it as a vision board, a meal-planning station, or even a jewelry organizer by adding a few pushpins.
No matter how you use it, a corkboard is a stylish and functional addition to any room!
So, cork boards aren’t just for pinning up reminders—they can be a functional and stylish part of your space! Whether you want to keep things ultra-organized or turn it into a creative inspiration board, here are some fun and unique ways to make your corkboard work for you.
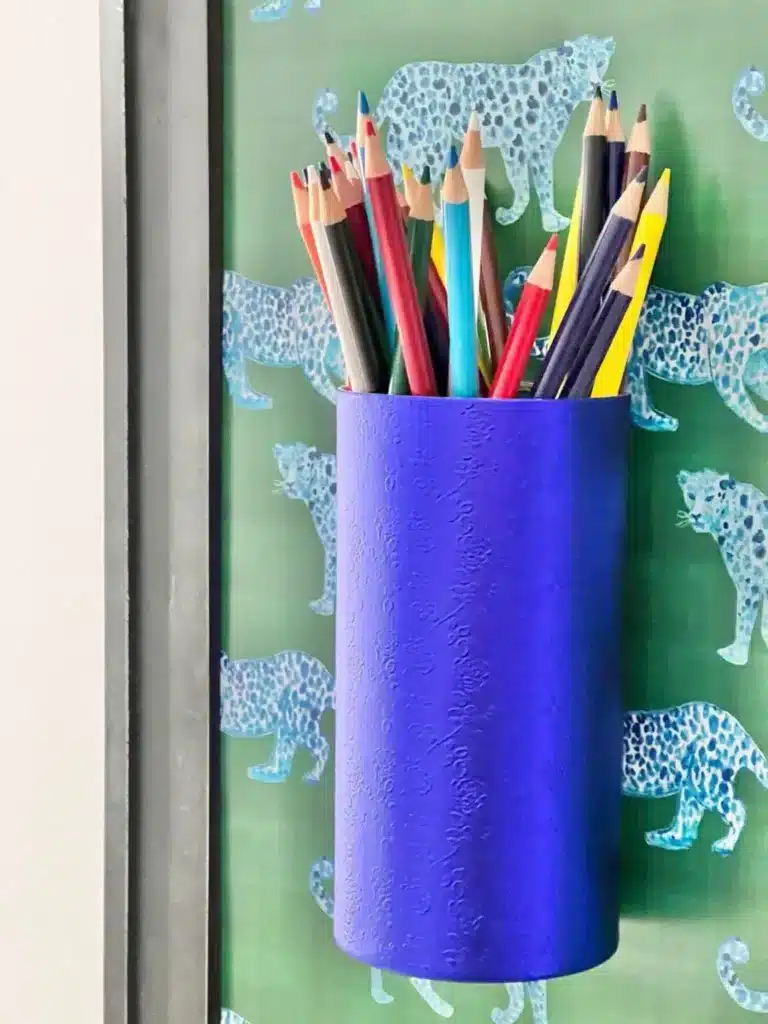
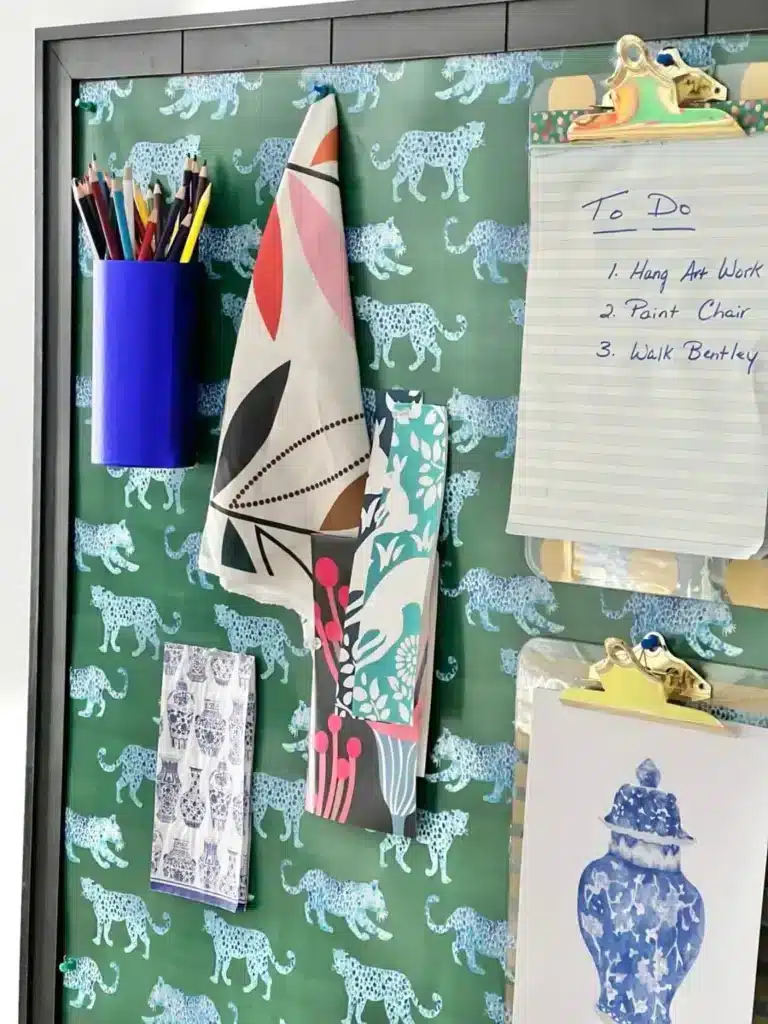
1. Add a Handy Pen Holder
Pin a small cylinder—I found mine at the dollar store—to your board to hold pens, pencils, and markers. This keeps your writing tools within reach and adds a touch of personality to your setup!
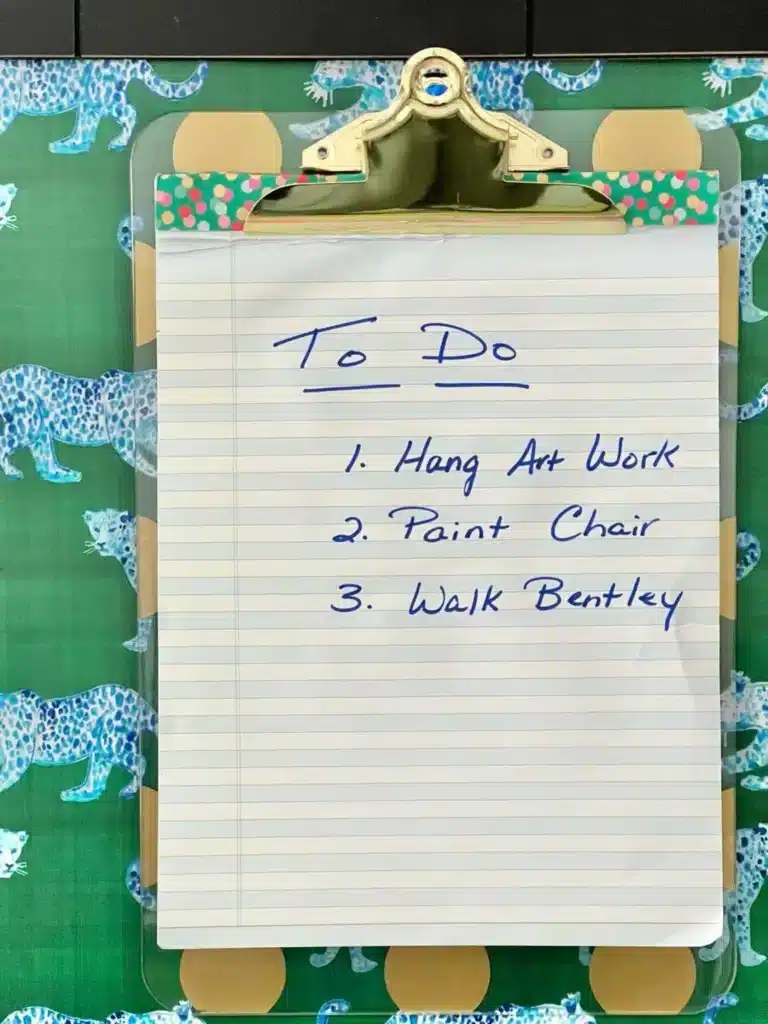
2. Hang a Clipboard for a Moveable To-Do List
Attach a clipboard to your cork board to create a moveable to-do list. You can swap out shopping lists without cluttering your space with extra papers. Bonus: Use a colorful or patterned clipboard for extra style points!
3. Create a Mood or Vision Board
Gather fabrics, papers, artwork, color swatches, favorite shopping bags, or even decorative napkins—anything that sparks creativity. Pin them up to create a dynamic mood board that keeps you inspired every time you look at it.
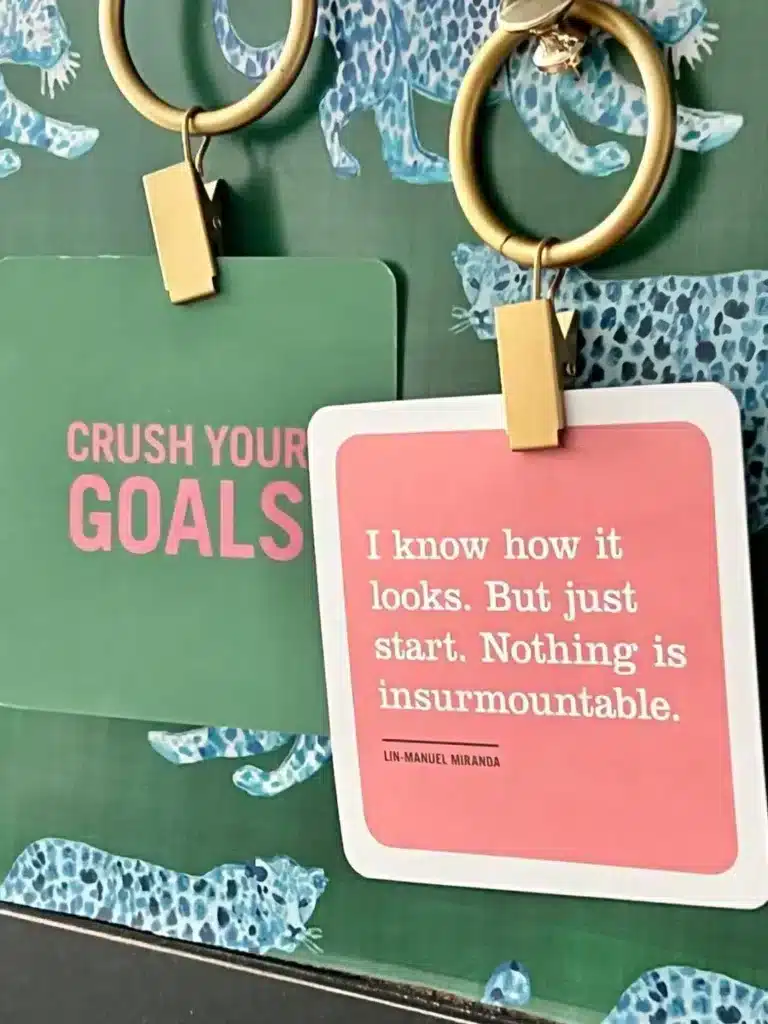
4. Display Quotes and Goals
Pin up quotes that motivate you, inspiring pages from a favorite book or journal, or even handwritten goals to keep you on track. Seeing them daily is a great way to stay motivated and focused!
I take these “Crush Your Goals” inspiration cards and swap them out every few days so I am freshly motivated each day!
Other Cork Board Styling Ideas
- Showcase Photos of Friends and Family: Of course, a cork board is the perfect place for photos of loved ones. Mix and match frames, washi tape, or decorative push pins to create a personalized collage.
- Use Mini Shelves or Hooks: Attach small hooks or mini shelves to hold lightweight items like keys, washi tape rolls, or even a pair of scissors for quick access.
- Pin Up Event Tickets, Postcards, and Mementos: Have a concert ticket stub you love? A postcard from a favorite trip? Pin them up to create a board filled with memories and nostalgia.
- Color-Code with Decorative Push Pins: Use different colors or shapes of push pins to categorize different sections—appointments, goals, personal notes, and inspiration. This keeps everything visually organized while still looking stylish.
Work From Home With Style
With these ideas, your cork board can become more than just a place to pin notes—it can be an inspiring, functional, and decorative part of your home that truly reflects you.
I’ve had so much fun styling mine, and I’d love to hear how you make yours your own! What would you pin on your board? Let me know in the comments below—I can’t wait to see your creative ideas!
Cheers!

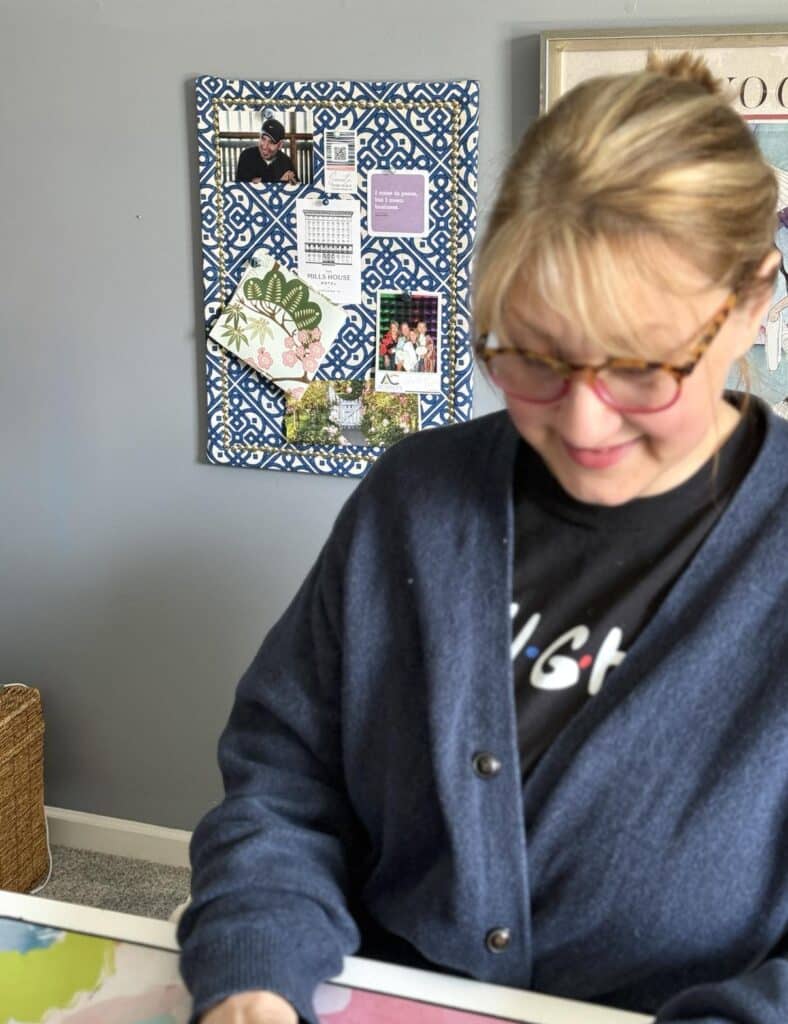
A Little About Me
Hi! I’m missy. So happy to meet you!
“Decorate with Joy! Live with Happiness”
I truly believe that your home should be a reflection of your personality, a space where you feel free to express yourself and create a sanctuary that feels uniquely yours.
I love creating mood boards, hunting down unique home décor treasures, tackling easy DIY projects, and gathering with family and friends. Homes are meant to be enjoyed, filled with laughter, and shared with the people you love!
– cheers –

Don’t Forget to Pin It!
Pin the image below to your boards on Pinterest (just click the Pin button in the top left corner). You can also follow along with me on Pinterest!
My Favorite Work Space Finds

Such a cute board. I love the fabric
Thank you, Rachel! We love ways to make our work spaces pretty, don’t we!
I LOVE this, Missy!! What an amazing way to give those cheap-looking boards a personality! Also, I always see pretty fabric scraps at the thrift store and never know what to do with them…now I can give this a try!! Pinned!
Thank you, Rachel! Yes, this is a fabulous use for thrift store fabrics! Such a great idea!