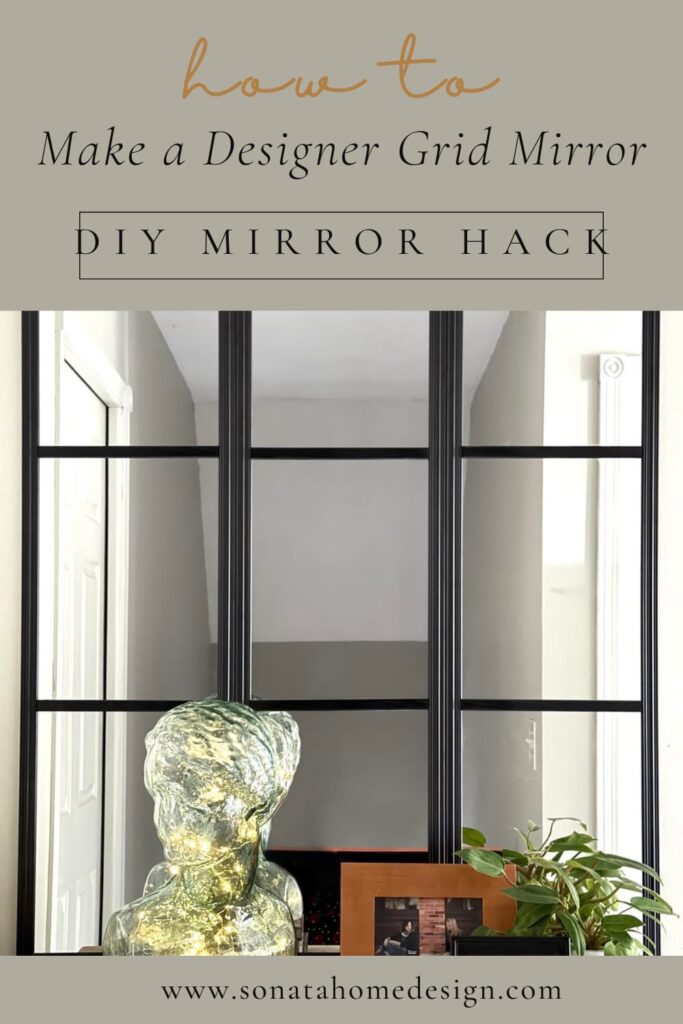
A Brilliant Mirror Hack: How to Create a Designer Grid Mirror for Less
Want to transform an empty wall without spending a fortune? This mirror hack turns simple square mirrors into a designer-style grid mirror that’s perfect for adding light and style to small spaces. It’s a budget-friendly DIY project that delivers big results!
This blog contains affiliate links. This means a small commission is earned if you make a purchase by using this link. The price you pay will be the same whether you use the affiliate link or go directly to the vendor’s website using a non-affiliate link. As an Amazon Influencer, I earn from qualifying purchases.
When a DIY Mirror Comes in Handy
Our upstairs landing is like the forgotten middle child of the house.
Sometimes overlooked and undervalued.
As a middle child myself, I love to playfully lean into this stereotype with my older sister!
Because it is a pass-through space not seen by the public…it is easy to just ignore it as you walk upstairs to the bedrooms.
(I did paint the stair railing that heads upstairs so that does help!)
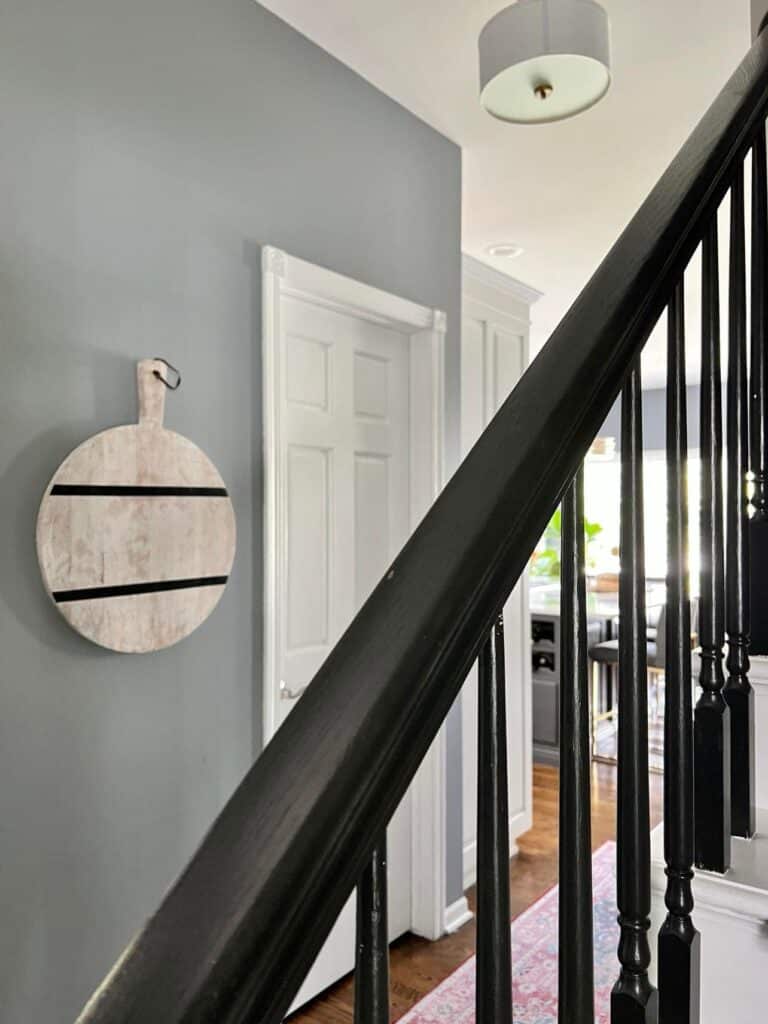
The upstairs hallway is narrow, dark, and I honestly forget about it sometimes.
(Playing an air violin for all of us who are middle children!)
Wanting to bring in some reflective light and personality into the hallway, I’ve shopped high and low for the perfect mirror. But let’s face it: a gorgeous designer mirror often comes with a not-so-gorgeous price tag.
Enter this amazing grid mirror hack that looks expensive but is so budget-friendly!
If you’re ready to turn a blank wall into a stunning focal point, follow this step-by-step tutorial to create a designer-inspired mirror for less!
Supplies You’ll Need:
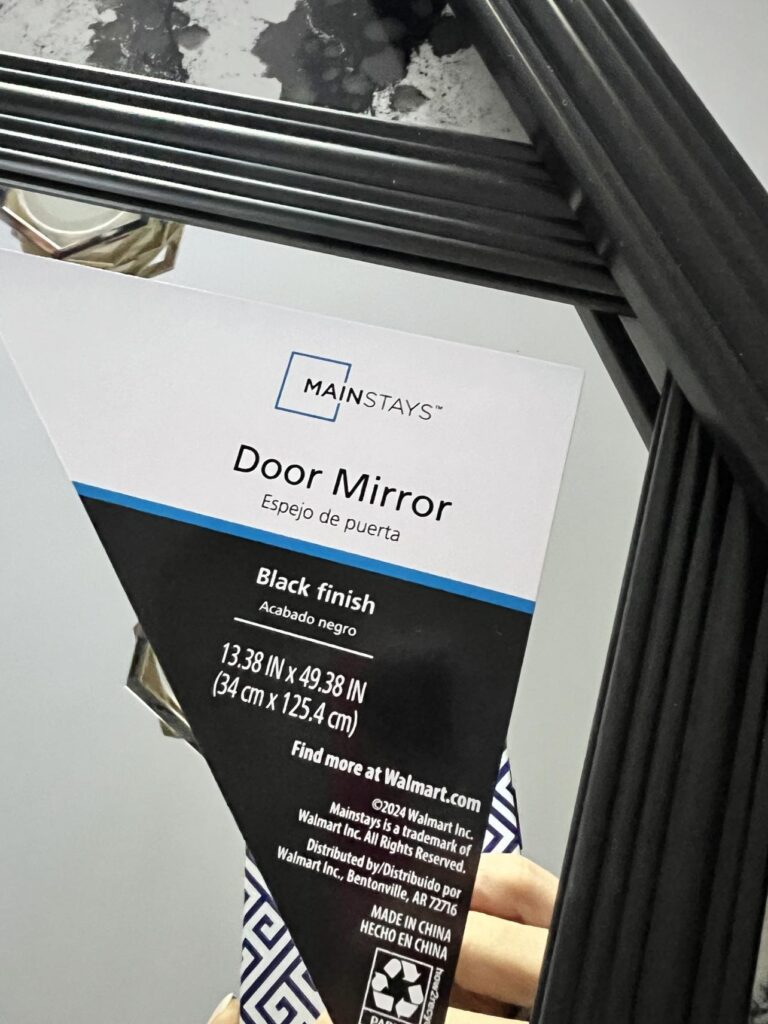
- 3 rectangular mirrors (I used Walmart mirrors, but Ikea mirrors like the Ikea Hovet Mirror or similar mirrors would also work)
- 3/4″ Wood molding
- Grit sandpaper or a palm sander
- Black semi-gloss spray paint (You can experiment with colors for an aged look!)
- Strong adhesive (like E6000)
- Velcro Command strips
- Measuring tape
- Pencil
- Miter box and a hacksaw (or a circular saw if you’re feeling fancy)
- Level
Step-by-Step Mirror Hack Tutorial
Step 1: Measure and Cut the Molding
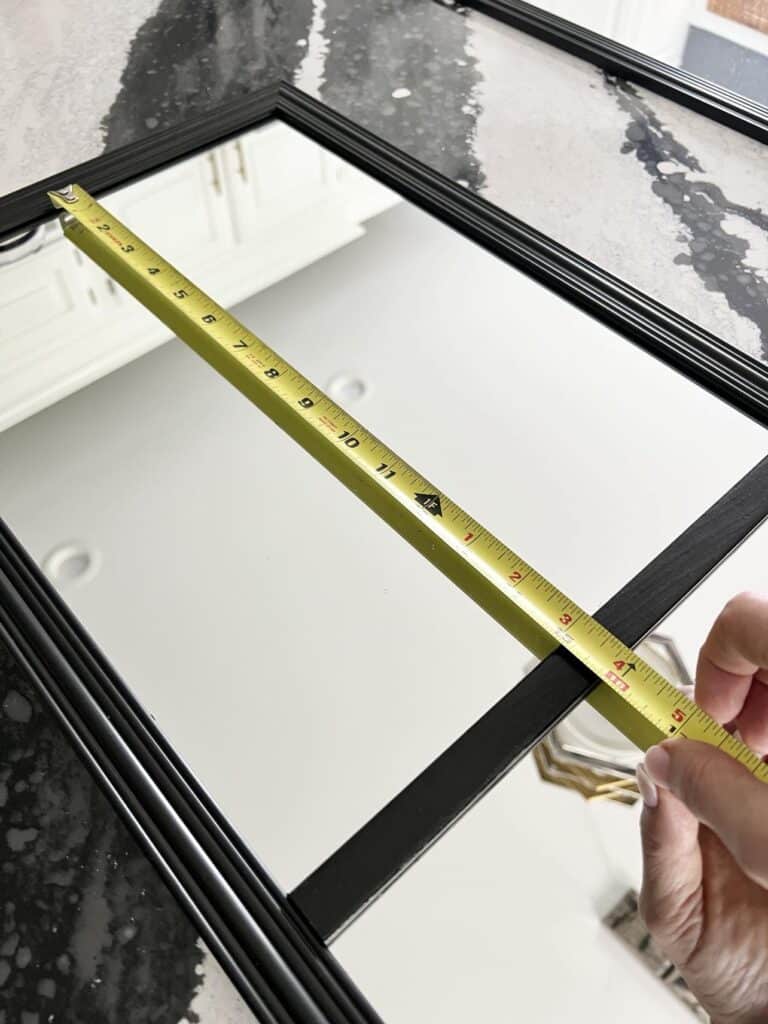
Lay one of your mirrors flat on a work surface. Measure the width of the mirror glass and mark this measurement on your wood molding with a pencil.
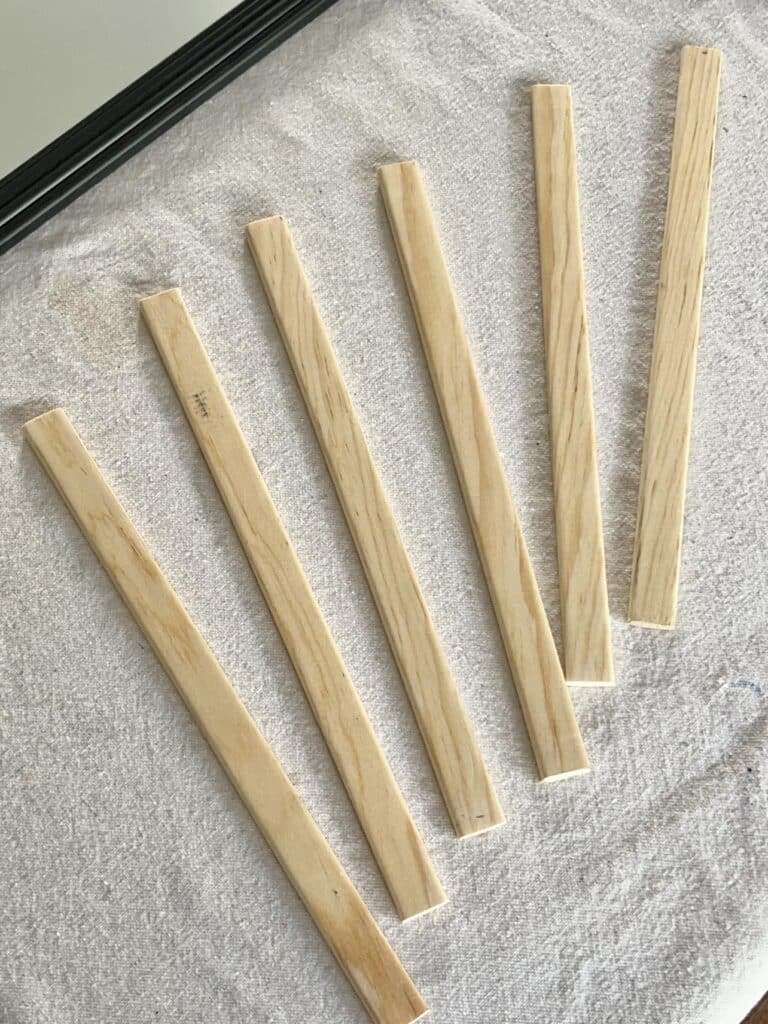
Using a miter box and hacksaw (or a circular saw for those who love power tools), carefully cut the molding into 6 equal pieces.
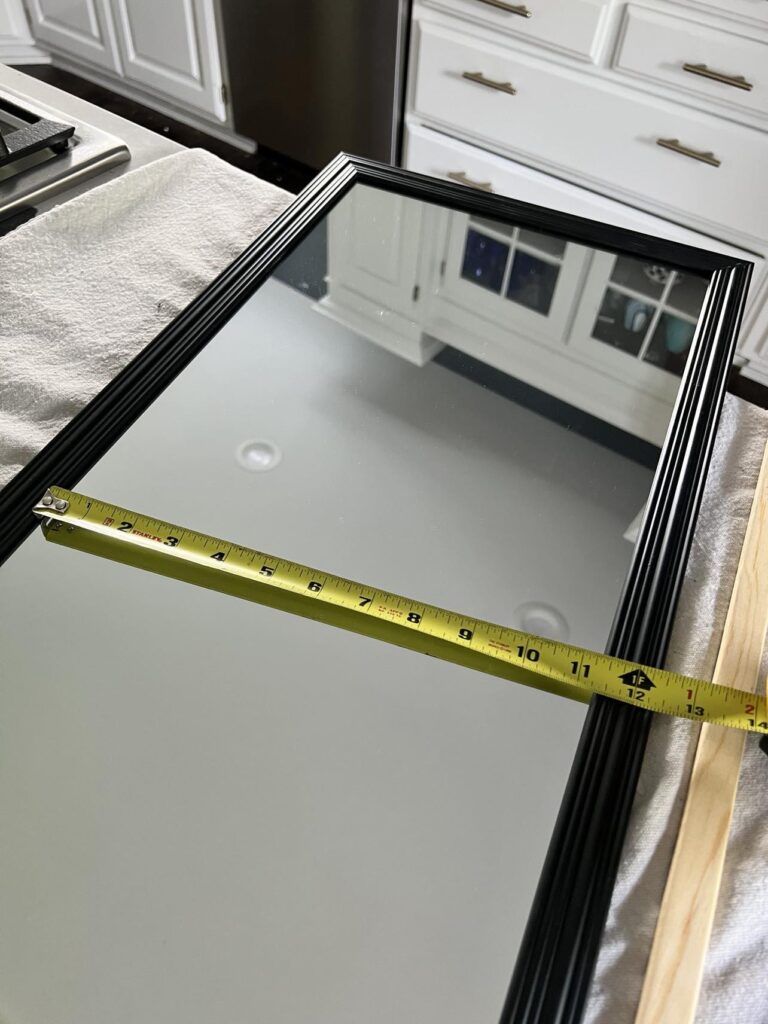
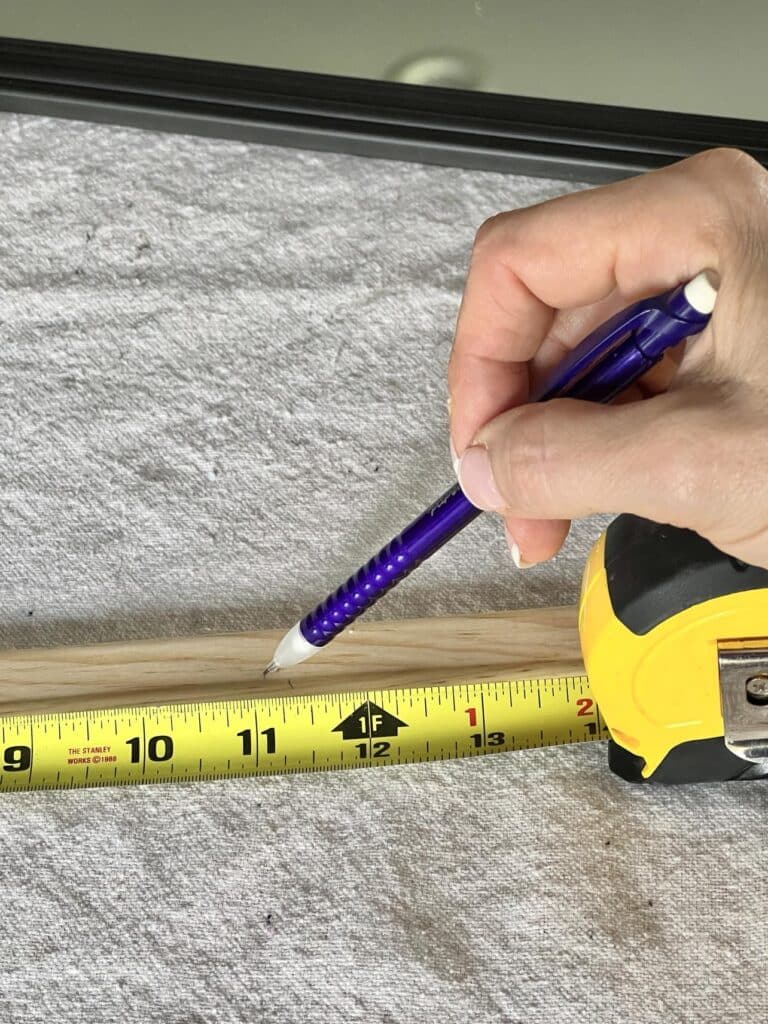
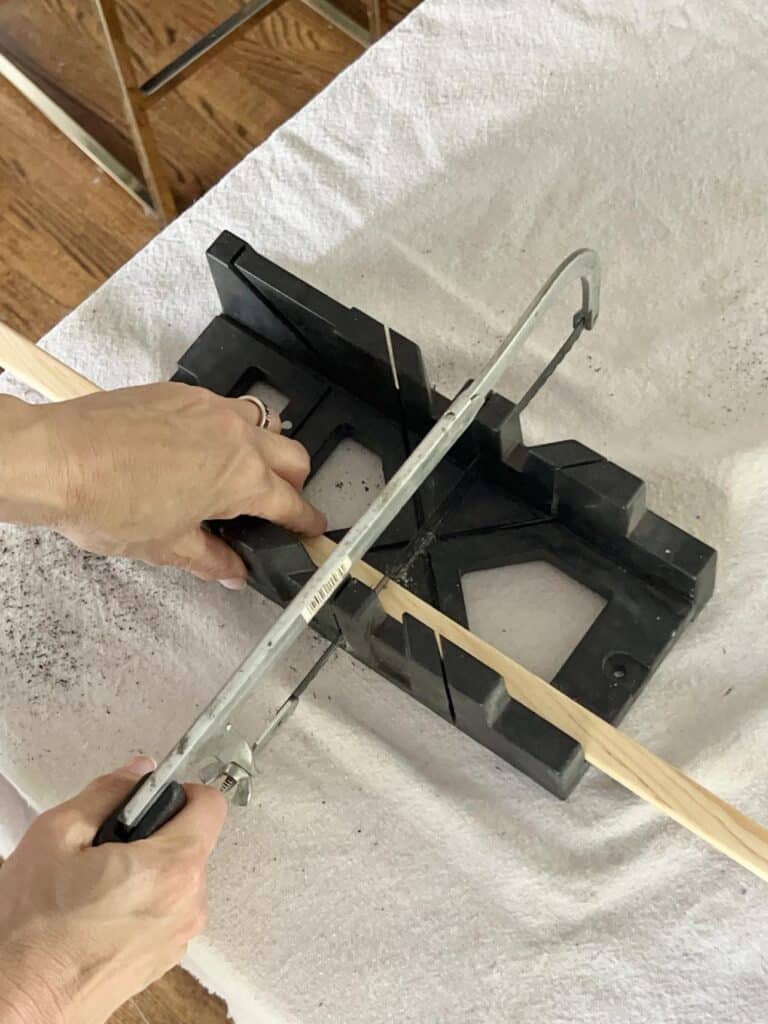
Each piece will serve as one of the horizontal pieces in your grid pattern.
Step 2: Sand and Paint the Wood Molding
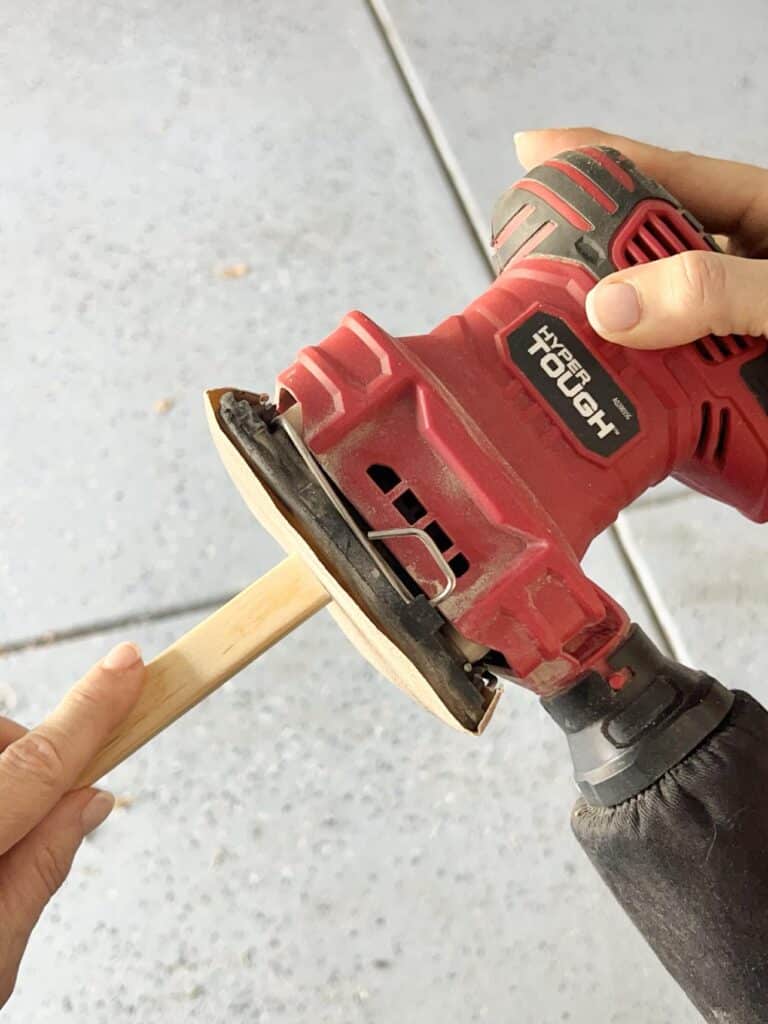
Using grit sandpaper or a palm sander, smooth the cut edges of the molding. This step ensures your paint goes on evenly and gives your DIY project a professional finish.
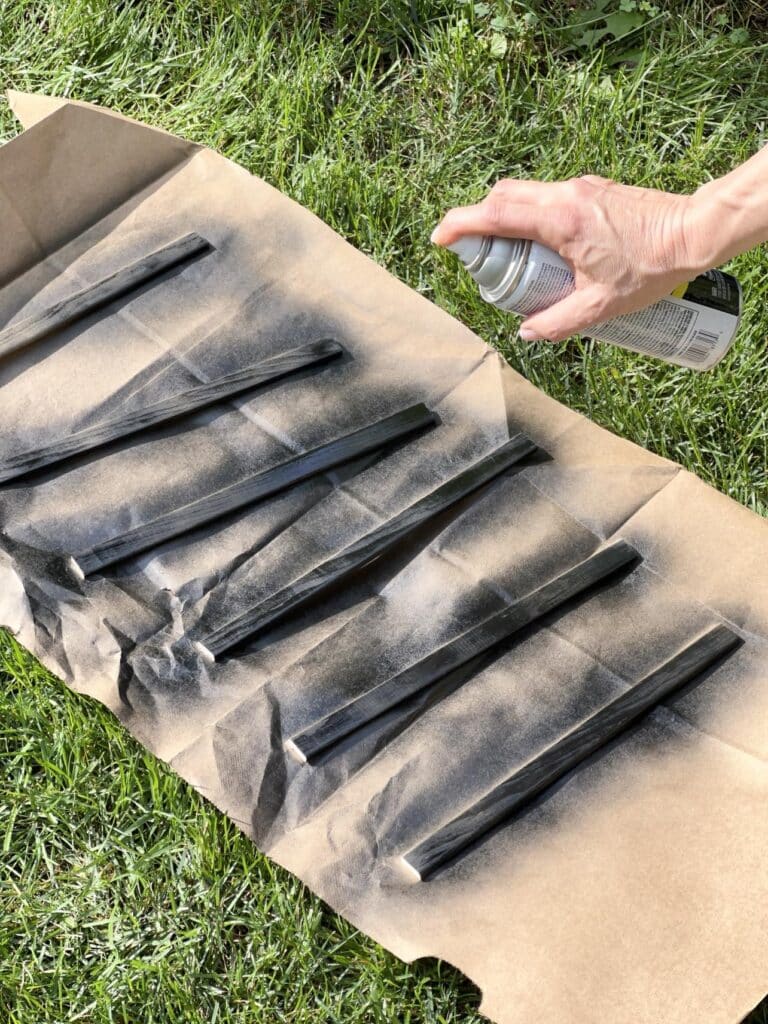
Head outdoors and spray paint the molding pieces with black semi-gloss spray paint. If your mirror is not black, now would be the time to spray paint the frame as well. And, of course, you can choose a color other than black is you want!
Let the paint dry completely. If you’re going for a more rustic or aged look, lightly distress the edges with sandpaper after painting. (I’m all about options here!)
Step 3: Creating the Mirror Grid
Measure the length of your mirror glass and divide it by three. Remember to factor in the width of your molding to ensure accurate spacing.
Apply a thin bead of strong adhesive to the back of one molding piece. Press it firmly against the mirror at your first measurement point, tucking the ends neatly within the mirror’s frame.
Repeat for the second and third molding pieces, ensuring your grid pattern is perfectly straight.
Pro tip: Don’t overdo the glue as it will seep out from under the molding if there is too much. We’re creating a designer mirror, not a sticky mess!
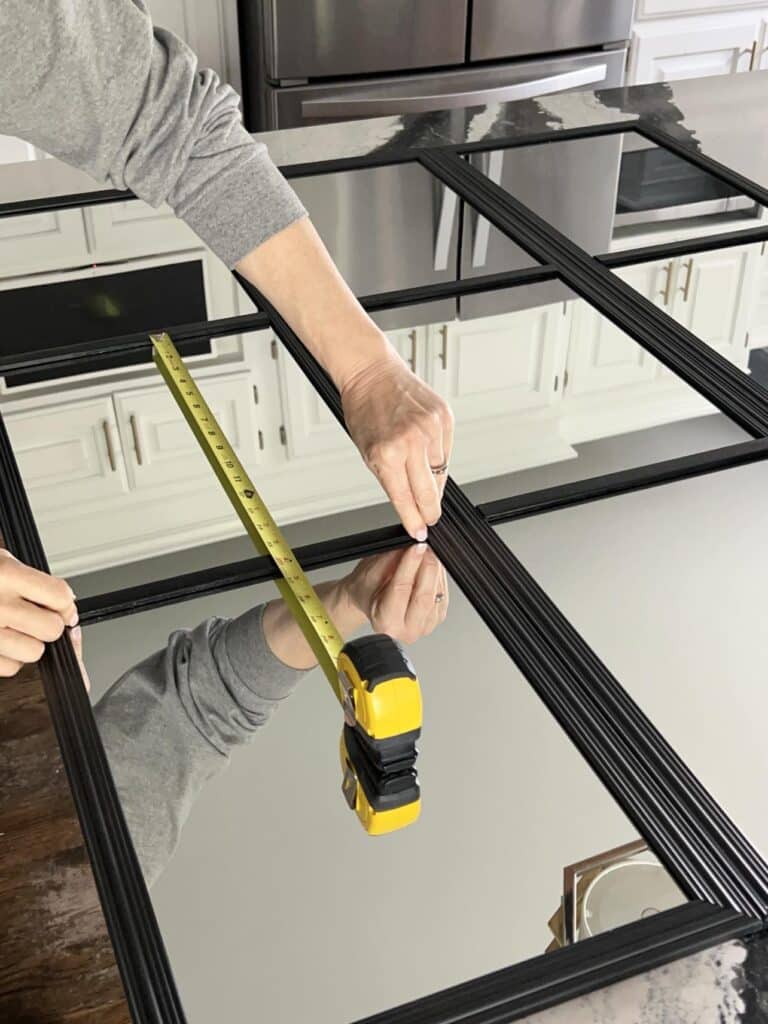
Repeat Steps 1-3 for the other two mirrors. Precision is key here; you want all three mirrors to have identical grid patterns.
Step 4: Hang the Mirrors
Attach Velcro Command strips to the top and bottom of each mirror.
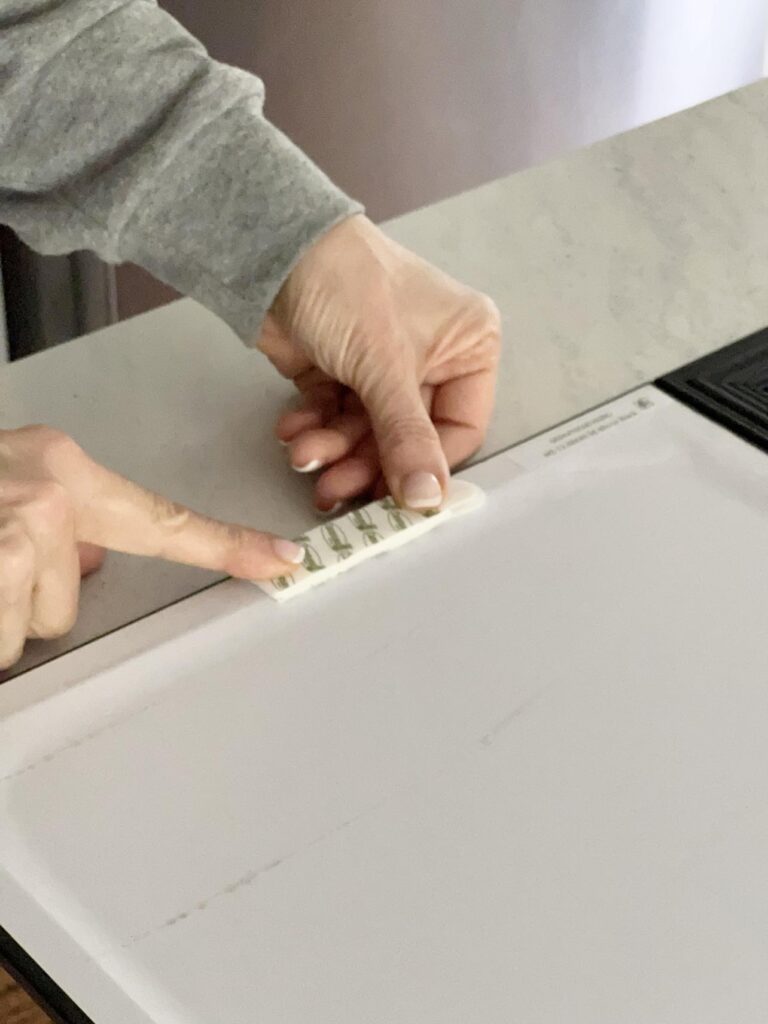
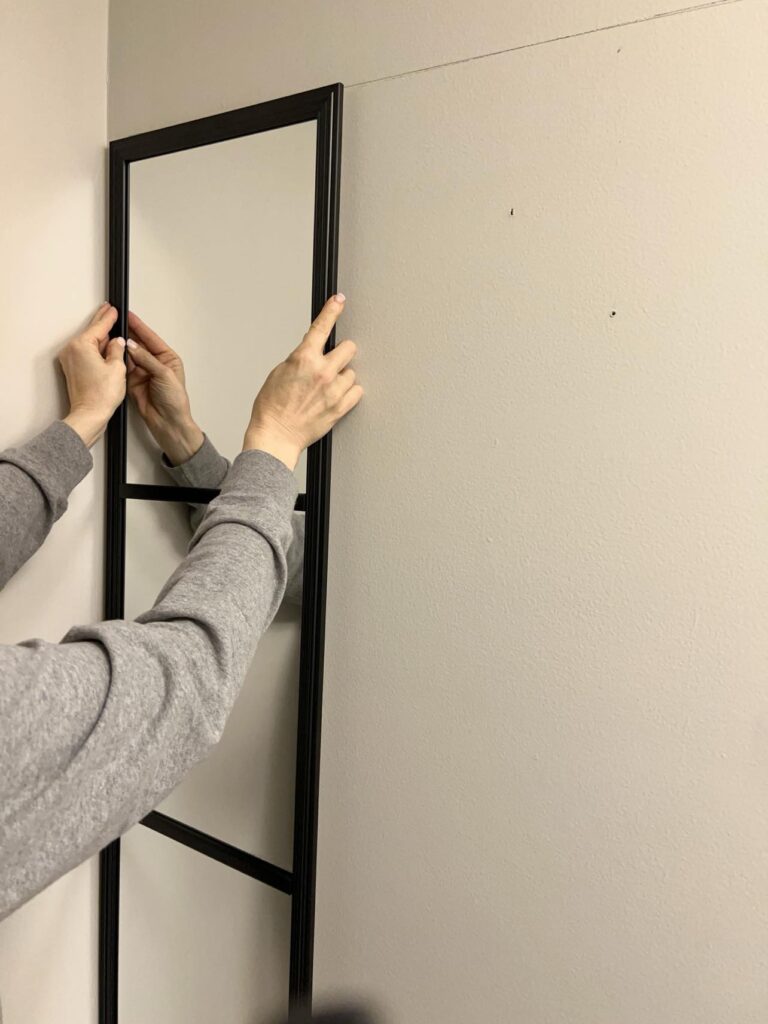
Use a level to ensure the first mirror is straight before sticking it to your wall. I drew a plumb line for the top of the mirrors. This line was very helpful in hanging the mirrors level.
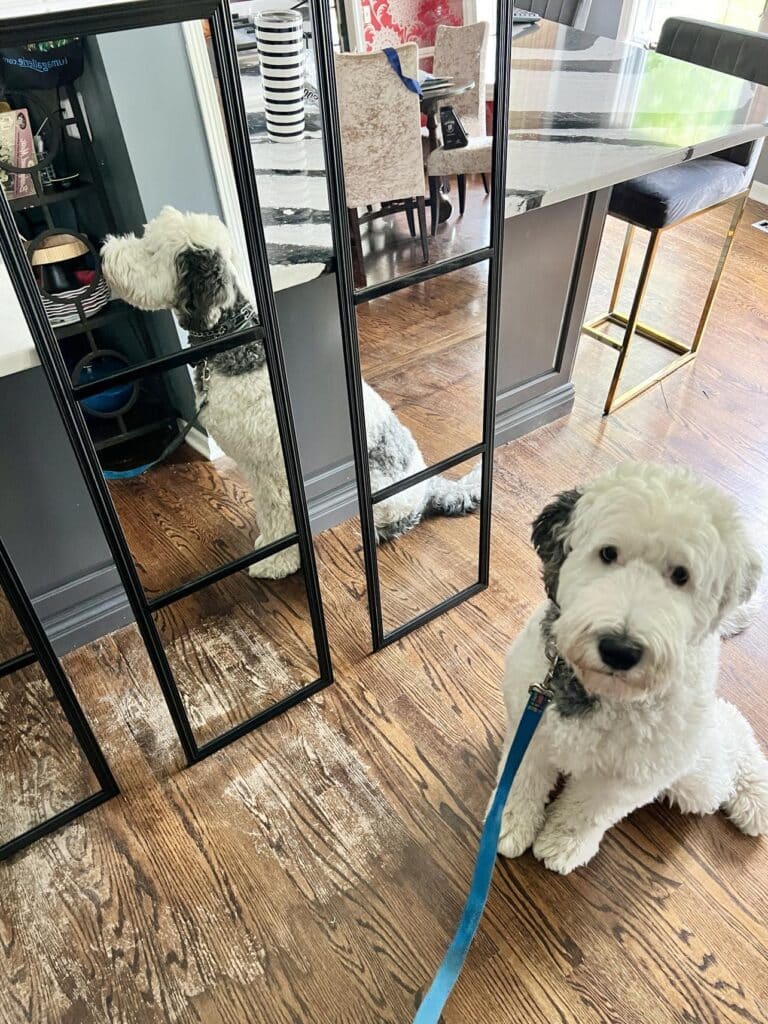
Add the second mirror by butting its side against the first, checking for level, and then repeating with the third mirror.
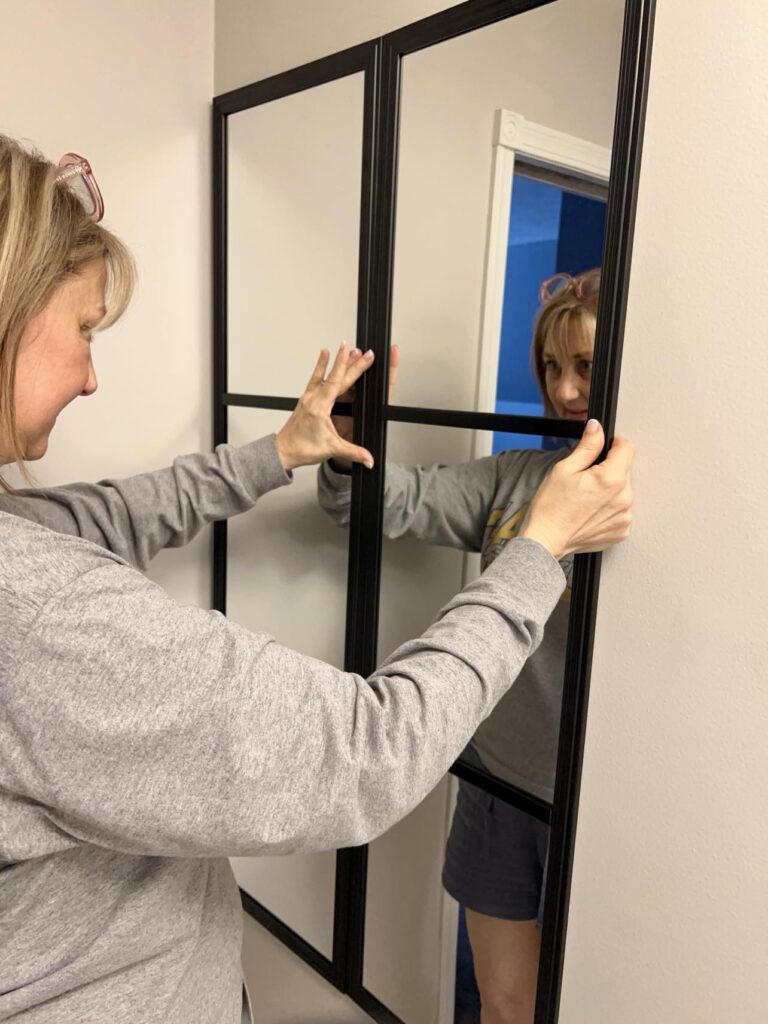
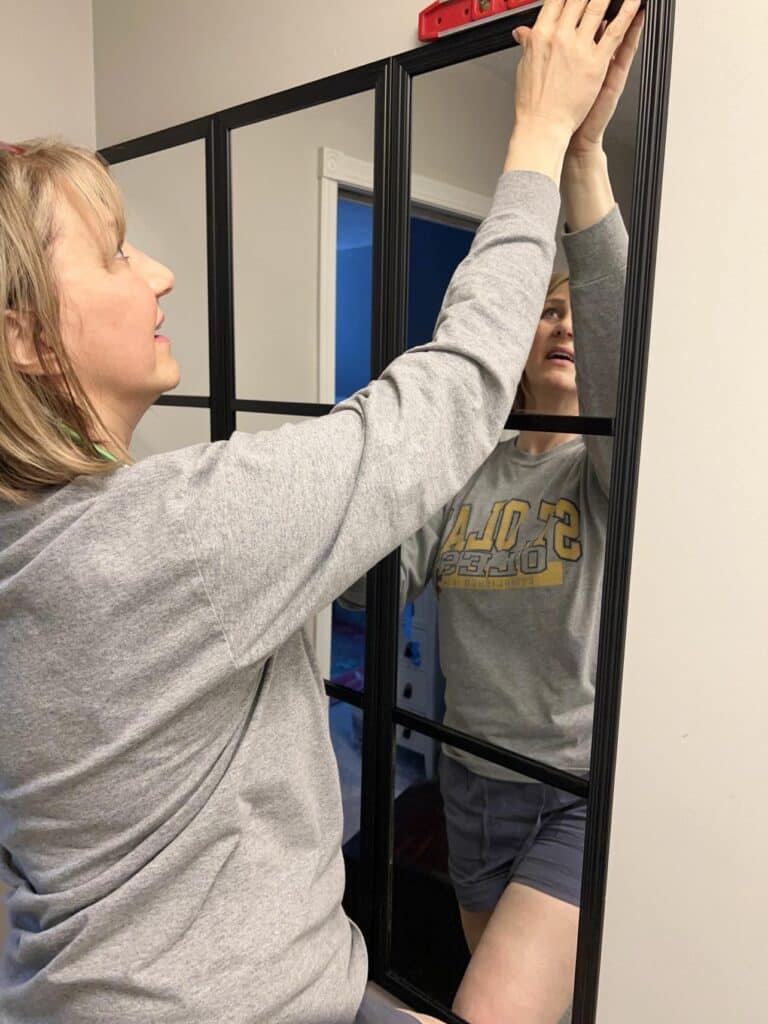
Voilà! Your blank wall now features a designer-worthy grid mirror!
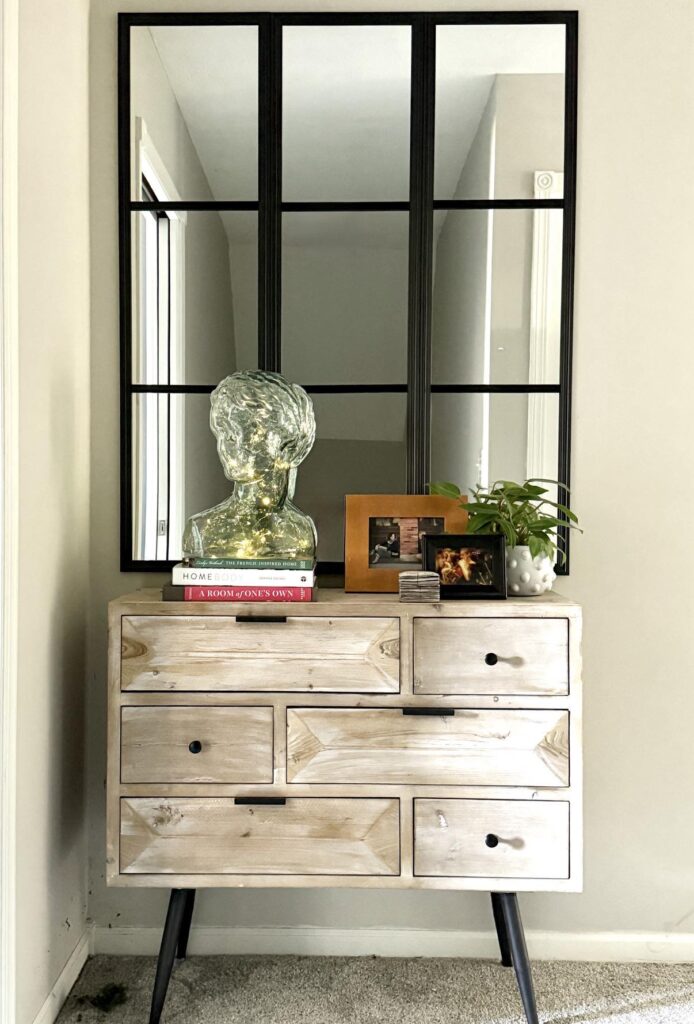
How I Styled My Grid Mirror Hack Project
For this second-floor landing, I paired my new grid mirror with a small side table featuring storage drawers.
I added a few family photographs for a personal touch, along with a unique glass bust of a woman’s head that I’ve been dying to display.
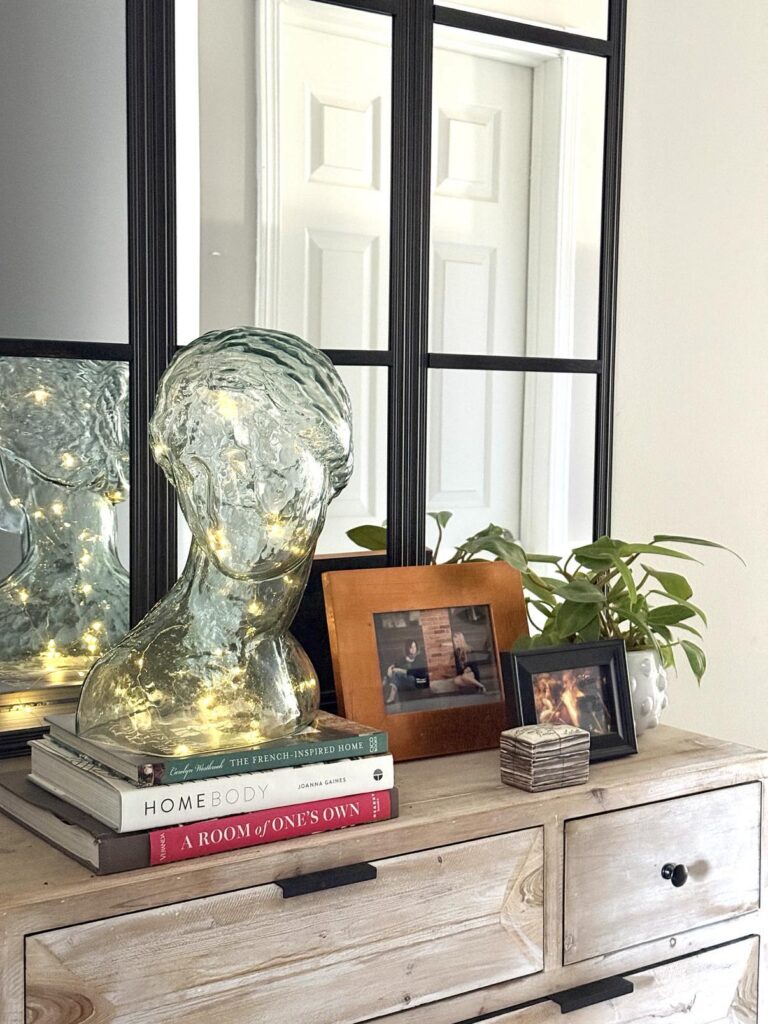
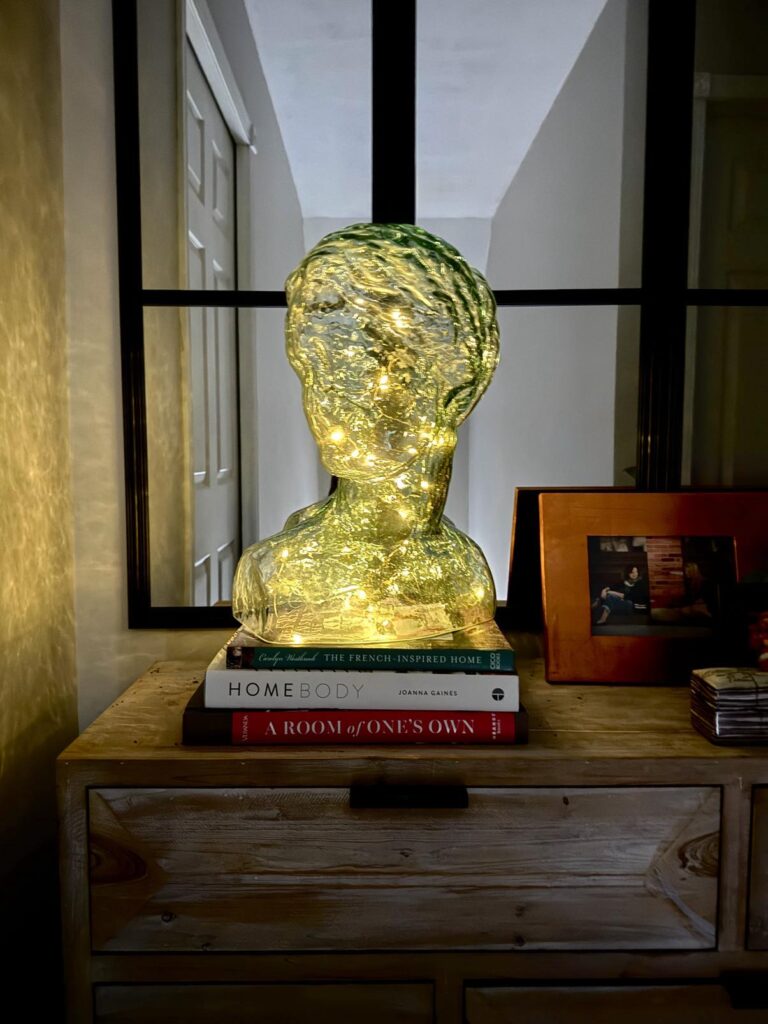
For some evening magic, I tucked twinkle fairy lights inside the bust.
The lights are reflected in the grid mirror and she positively glows and adds magic to the top of the stairs!
Now, every time I walk up the stairs, the space brings me joy. The mirror reflects the natural light beautifully, and the landing no longer feels like an afterthought.
Where to Use This Grid Mirror Hack
This DIY Ikea mirror hack is versatile and perfect for so many areas of your home:
- Above the mantel: A great addition to your living room.
- Entryway: Create a welcoming vibe with light and space.
- Coffee bar area: Reflect the glow of your morning brew.
- Bedroom: A stunning accent for small spaces.
- Gallery wall: Incorporate it as part of a mixed media display.
- Empty wall: It’s the perfect solution for those “what-do-I-put-here” moments.
Why This DIY Project Works
This mirror hack isn’t just about aesthetics—it’s also about practicality. The reflective light makes small spaces feel bigger, and the grid pattern adds a touch of modern sophistication.
Plus, it’s a fraction of the cost of those high-end designer mirrors.
Whether you use Walmart mirrors, Ikea mirrors, or similar mirrors, the results are stunning!
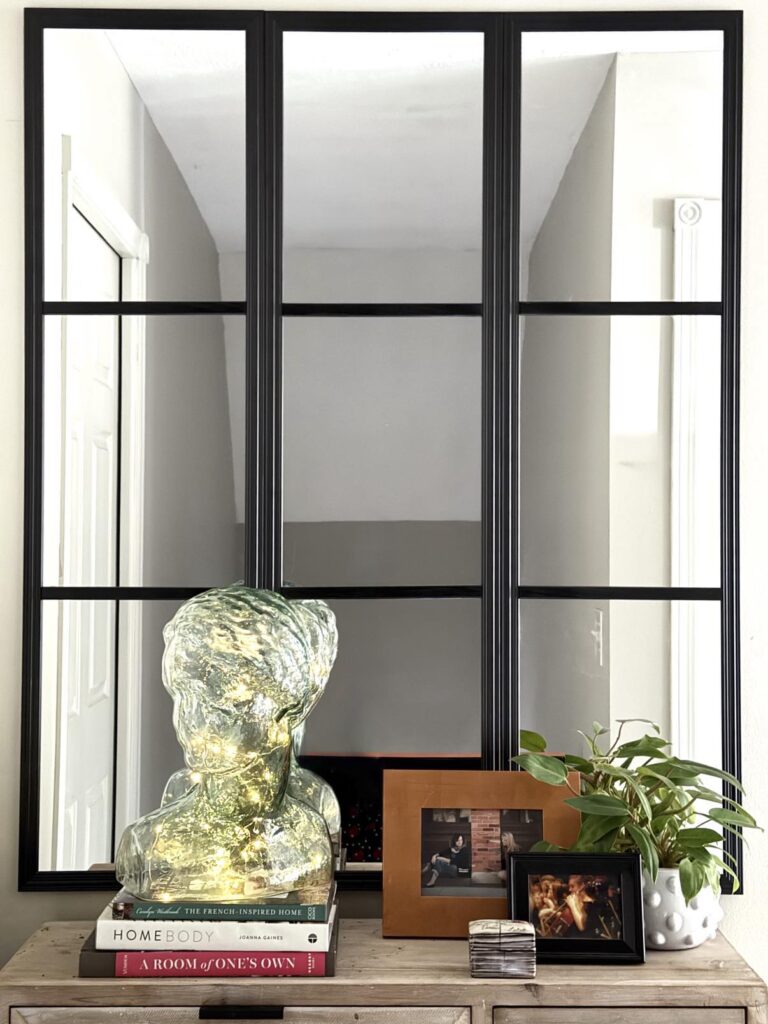
Transforming a space has never been so rewarding!
Dive into this fun and creative project, and before you know it, you’ll have a stunning grid mirror that adds charm, light, and style to your home.
You’ve got this—happy DIYing!
Cheers!

A Little About Me
Hi! I’m missy. So happy to meet you!
“Decorate with Joy! Live with Happiness”
I truly believe that your home should be a reflection of your personality, a space where you feel free to express yourself and create a sanctuary that feels uniquely yours.
I love creating mood boards, hunting down unique home décor treasures, tackling easy DIY projects, and gathering with family and friends. Homes are meant to be enjoyed, filled with laughter, and shared with the people you love!
– cheers –
Reader Spotlight
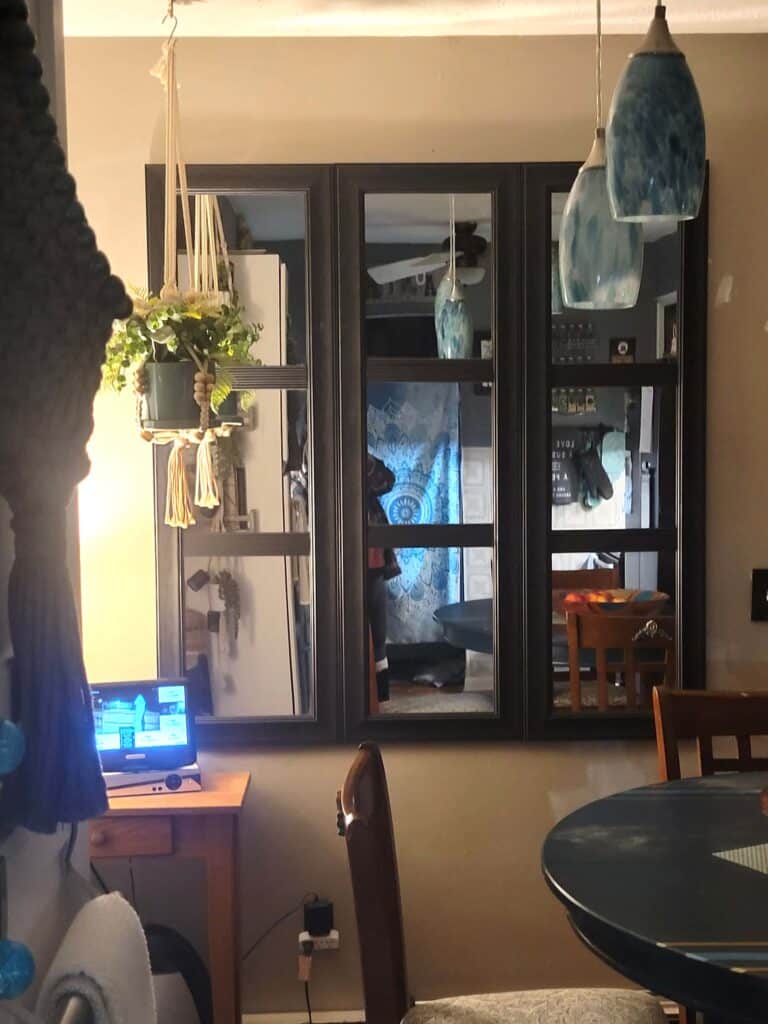
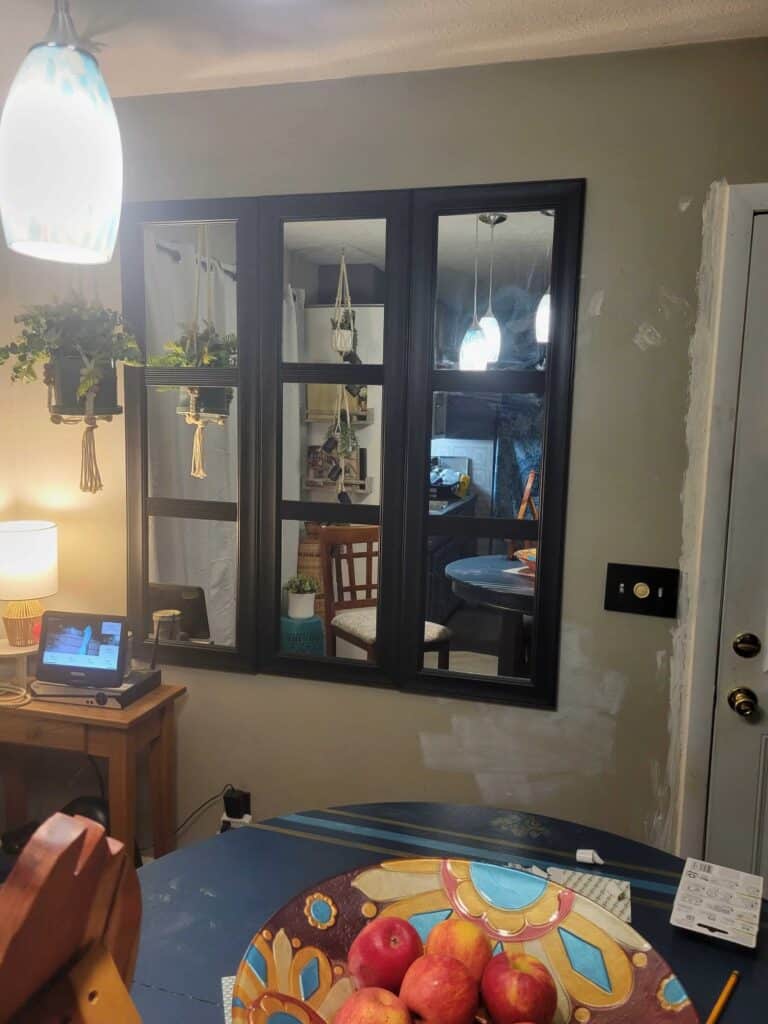
Megan C. took this DIY project to heart and created a stunning grid mirror that beautifully reflects her home’s charm.
I absolutely love how her mirror reflects the room’s warm tones, showcases her unique pendant lights, and enhances her space with an amazing focal point. Megan’s attention to detail and creativity make her version just as inspiring as the original! Well done, Megan!
Don’t Forget to Pin It!
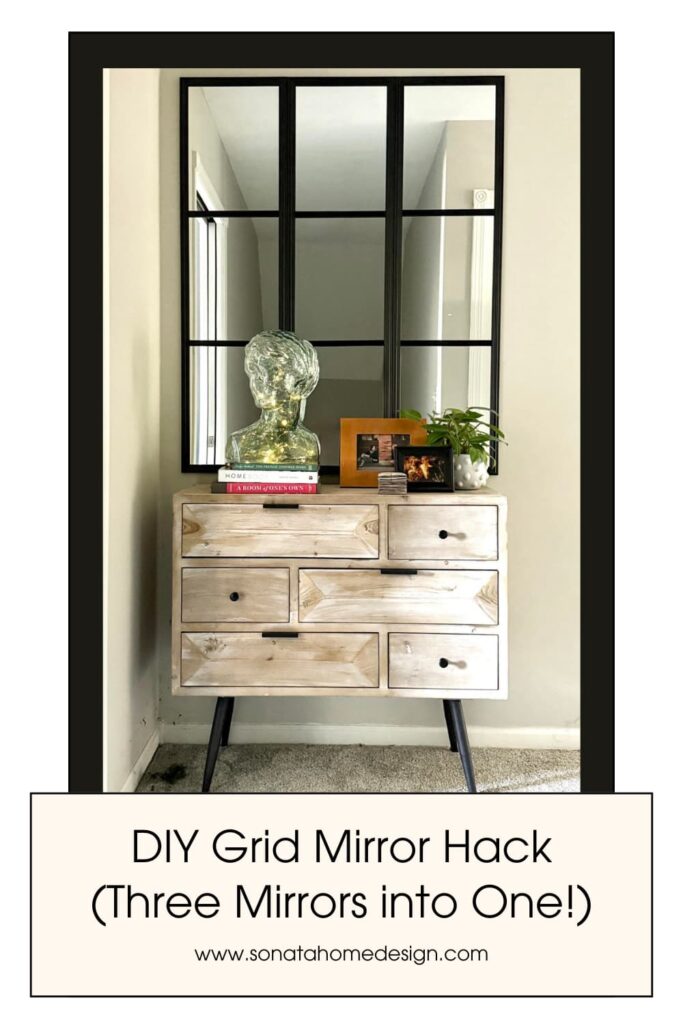
Pin the image below to your boards on Pinterest (just click the Pin button in the top left corner). You can also follow along with me on Pinterest!





Your step by step instructions makes it look fairly easy, I want to try this mirror diy.
I think I need to correct my info. I apologize I did something wrong
What a clever idea, this looks lovely.
Such a genius and budget-friendly idea! I love how it adds both style and brightness to a space. Definitely trying this—thanks for the inspiration.
I’m so glad you like the project! This was a game changer in turning our dark hallway into a brighter, more welcoming space. Thank you for stopping by!
This mirror looks great! I’ve seen DIY versions that have a bunch of individual mirrors laid out in a grid, but this is so much easier with the door mirrors. I love the vignette you’ve assembled in front of it as well.
Thank you so much, Jamie! You are right…this is so easy to do with door mirrors. I really appreciate you stopping by and leaving a comment. Wishing you an awesome week!