Pumpkin Porch Decorations: DIY Fun with Pails and a Tension Rod!
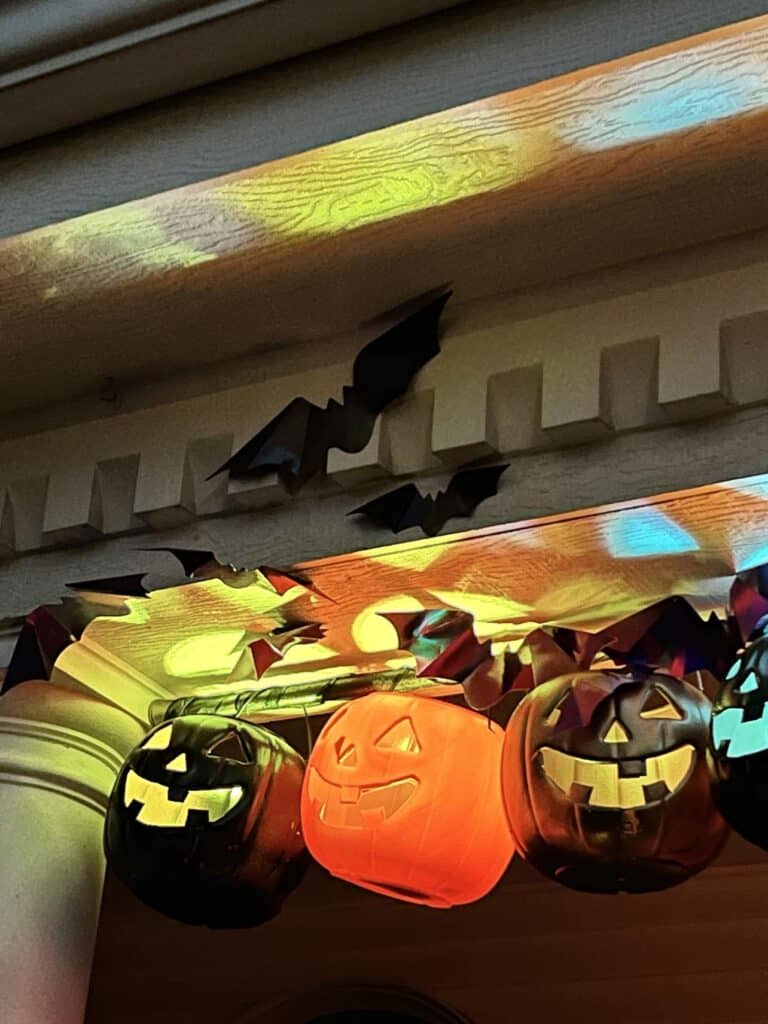
Want to add a little pumpkin fun to your porch this Halloween? I’ve got the perfect DIY project for you! With just a few pumpkin pails and a tension rod, you can create super fun and festive pumpkin porch decorations that’ll have your neighbors stopping to admire.
The best part? It’s quick, easy, and totally customizable! Your porch will be the perfect spot to celebrate a spook-tacular Halloween!
This blog contains affiliate links. This means a small commission is earned if you make a purchase by using this link. The price you pay will be the same whether you use the affiliate link or go directly to the vendor’s website using a non-affiliate link. As an Amazon Influencer, I earn from qualifying purchases.
Pumpkins on Parade
Boo!
With Halloween just around the corner, I wanted something a little different to decorate our front porch this year. There are so many front porch ideas out there, but I wanted something spooky… but still cute and friendly for the neighborhood kids!
I realized pumpkin pails are practically a Halloween staple for trick-or-treaters. So, why not turn them into adorable porch pumpkins?
Let’s get started!
Pumpkin Pails Supply List
First, grab some pumpkin pails before they’re all gone, then gather the rest of your supplies for this fun DIY project.
- Plastic pumpkin pails: I used 8 for my project, but you can adjust the number depending on the size of your display.
- Utility Knife
- Spray paint: I went with gold and black.
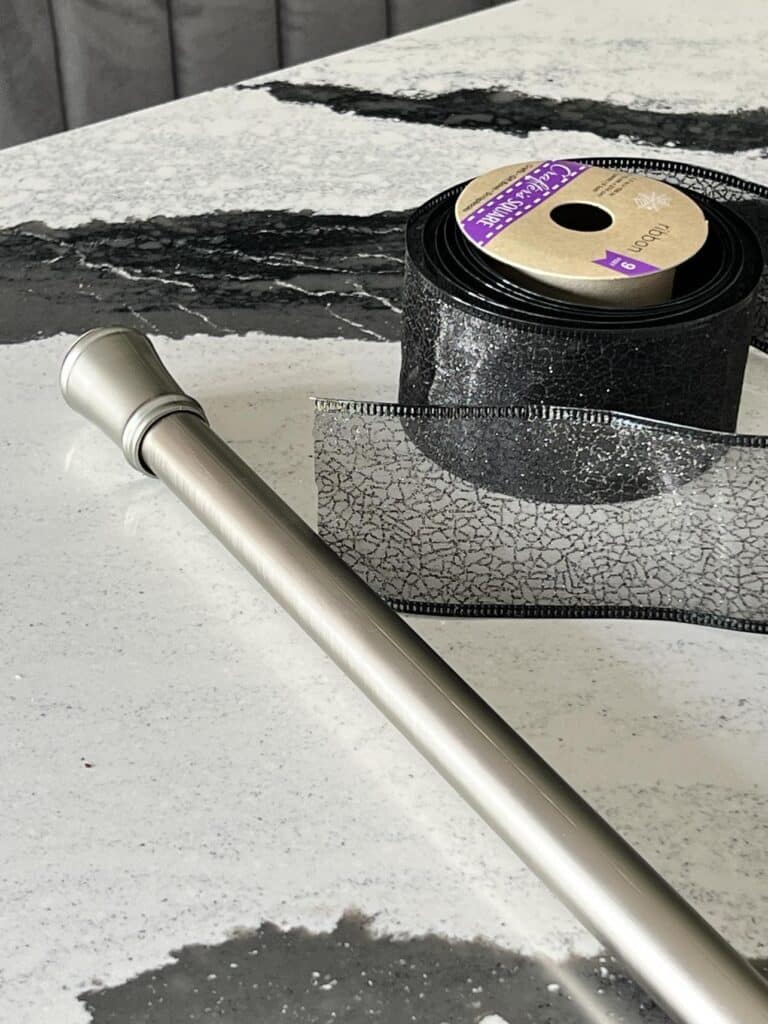
- Tension rod: This will be your hanging base.
- Black ribbon
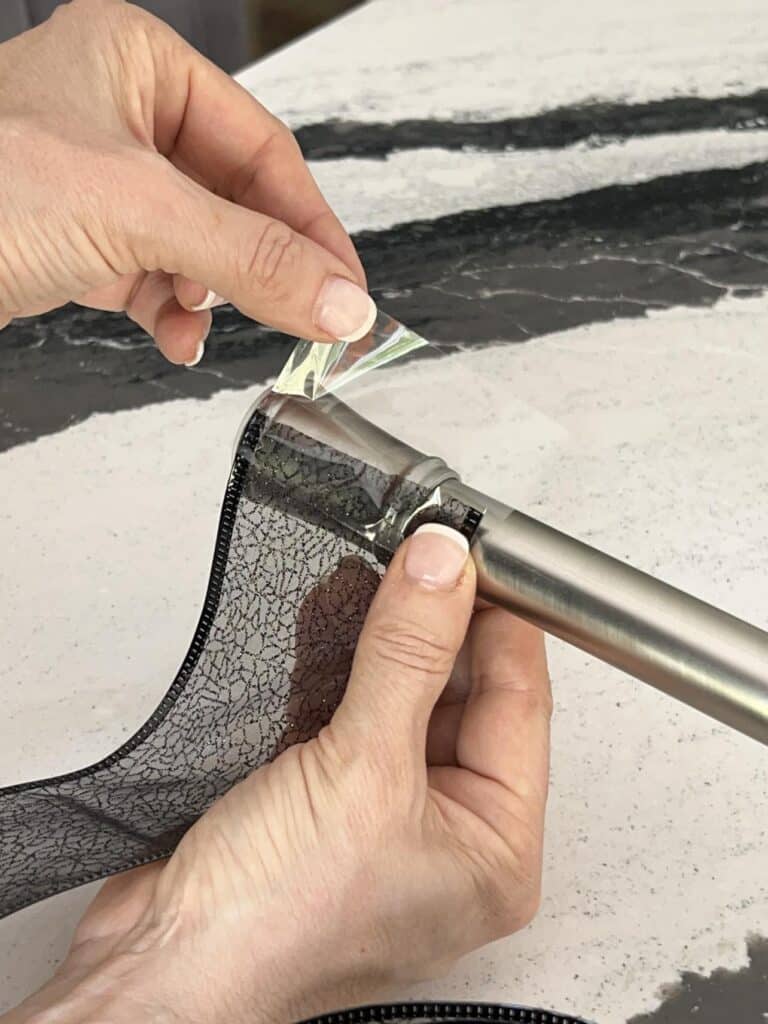
- Packing tape or any other strong tape
- Remote control puck lights
- Faux black or holographic bats (because they’re spooky and cute!)
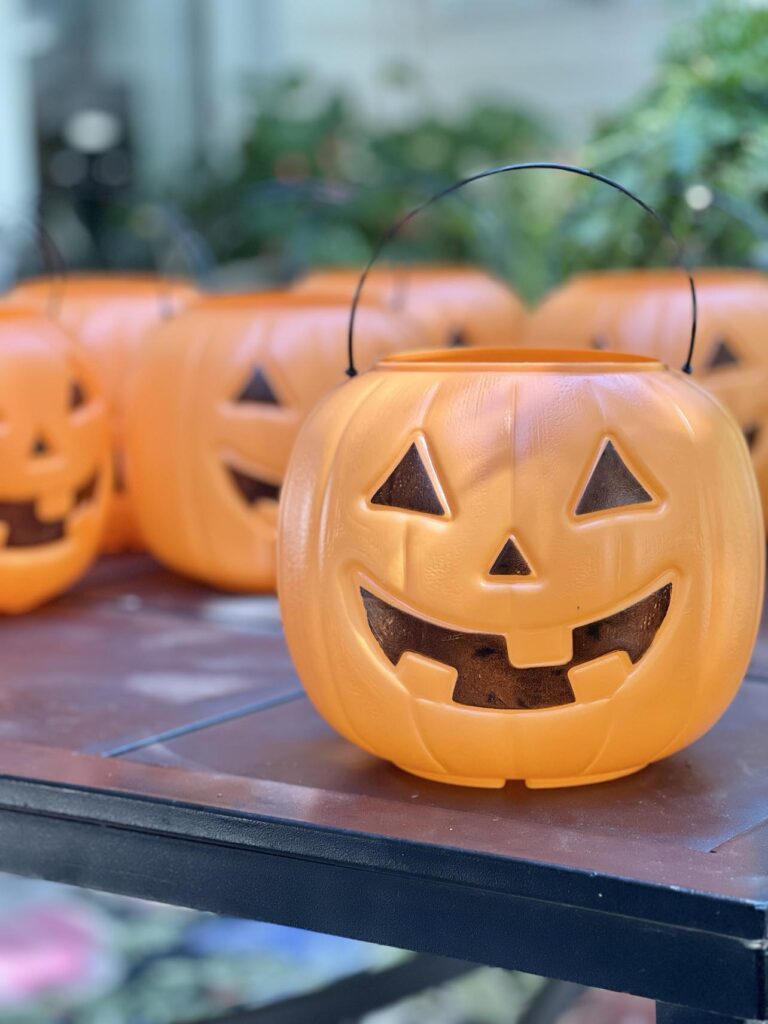
Prep the Pumpkin Pails
The first step is to cut out the eyes, nose, and mouth from your orange pumpkins. Now, I thought this would be tricky, but a utility knife sliced right through like… butter! (Pumpkin butter, maybe? 😄)
Make sure to wear protective gloves since the knife can go through the plastic pretty easily.
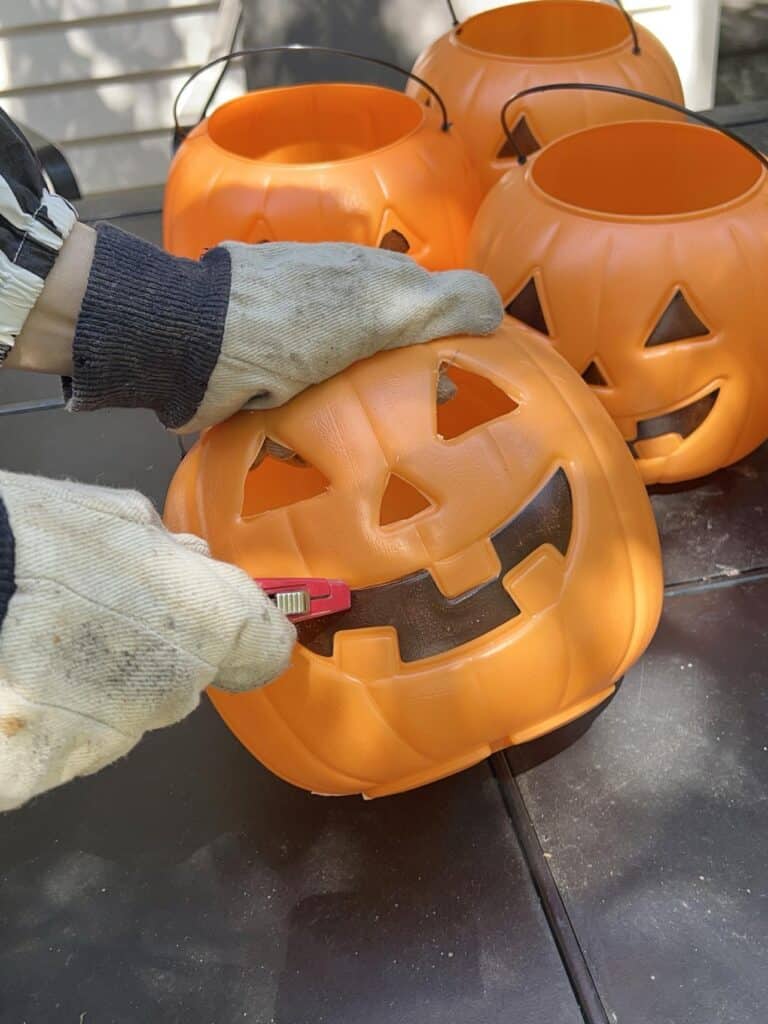
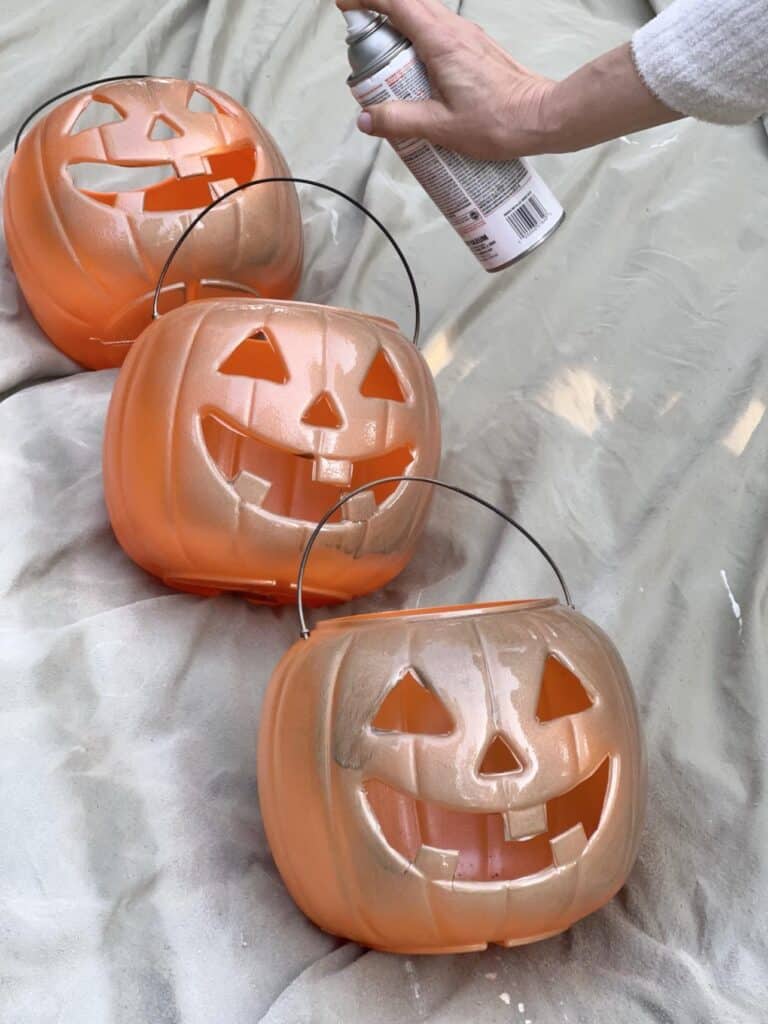
Once you’ve cut out the faces (sounds like a horror movie, right?), it’s time to spray paint!
You can absolutely leave your pumpkin pails in their vibrant orange state. But it is fun to play with a Halloween color palette.
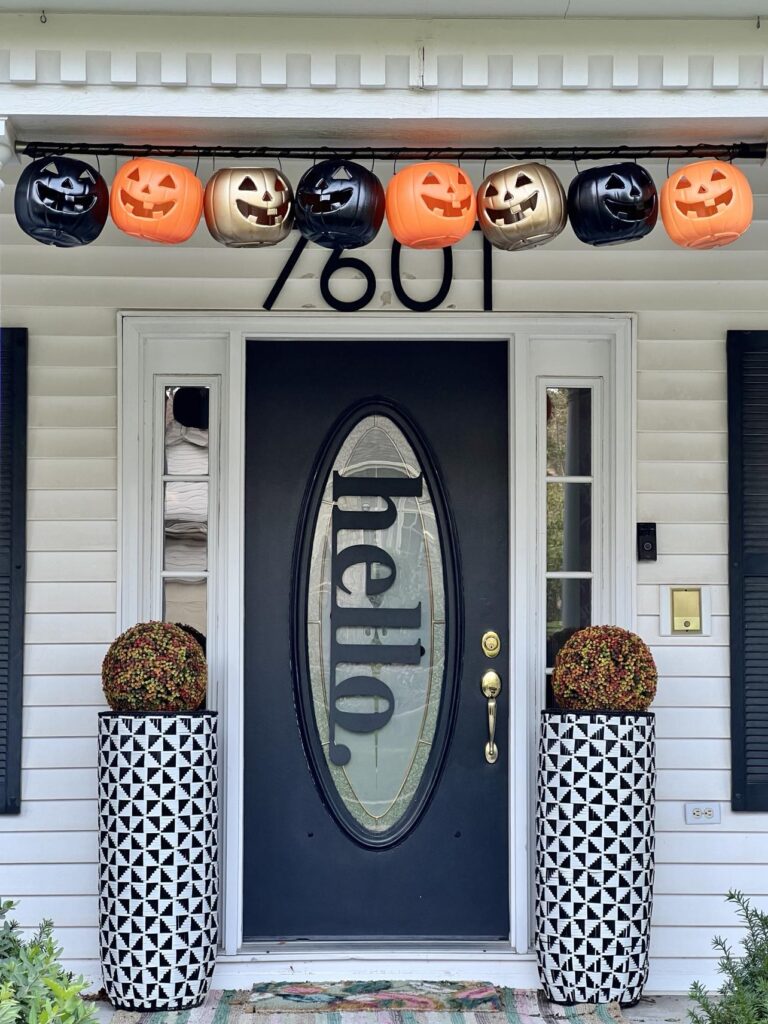
I painted one-third of my pumpkins gold, another third black, and left the rest in their classic bright orange color. I just love the color scheme of orange pumpkins, gold, and black—it gives such a vibrant look to the porch!
Disguise the Tension Rod
If you have a black tension rod, you are good to go! But I decided to give my satin nickel tension rod a little disguise!
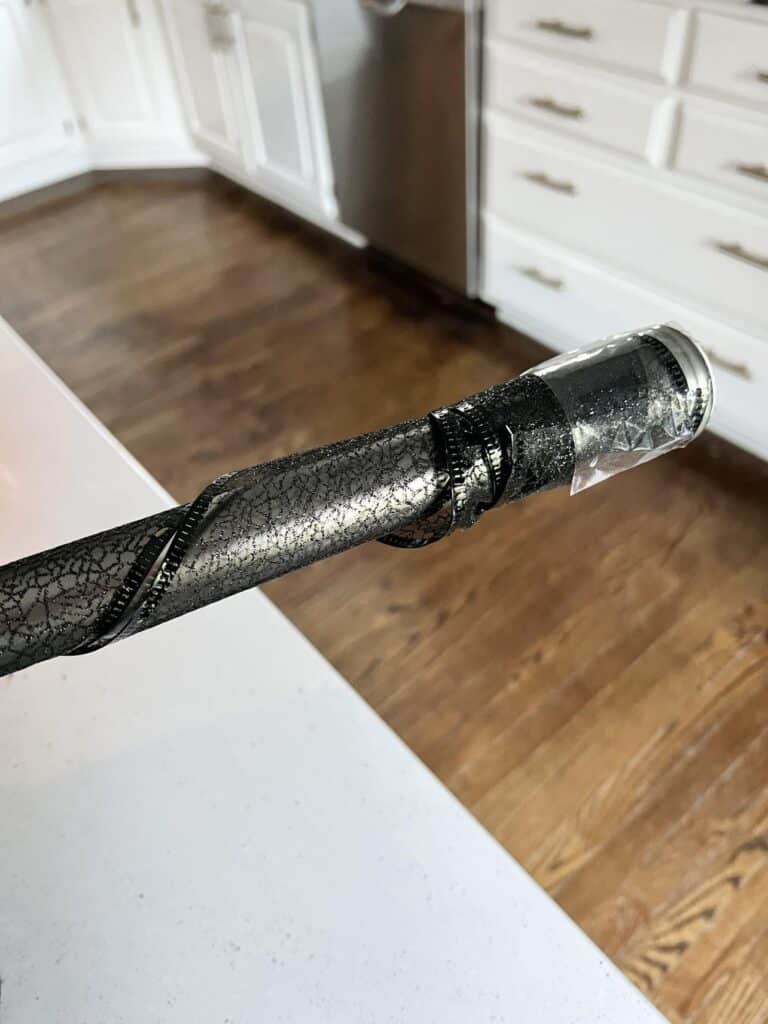
Wrap it up in black ribbon, tulle, or fabric—whatever you’ve got on hand. It’s the perfect way to hide that plain metal and give it a new look.
Just tape one end of the ribbon to the rod, then wind it around until you’ve covered the whole thing. Easy peasy!
Hang the Pumpkin Pails
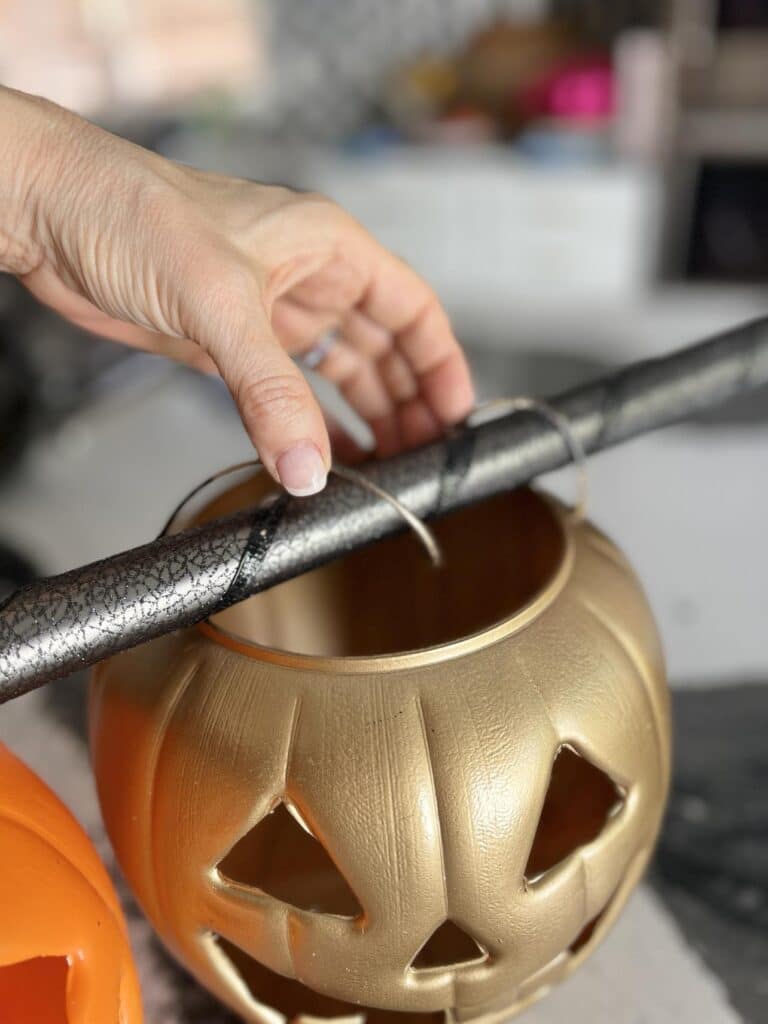
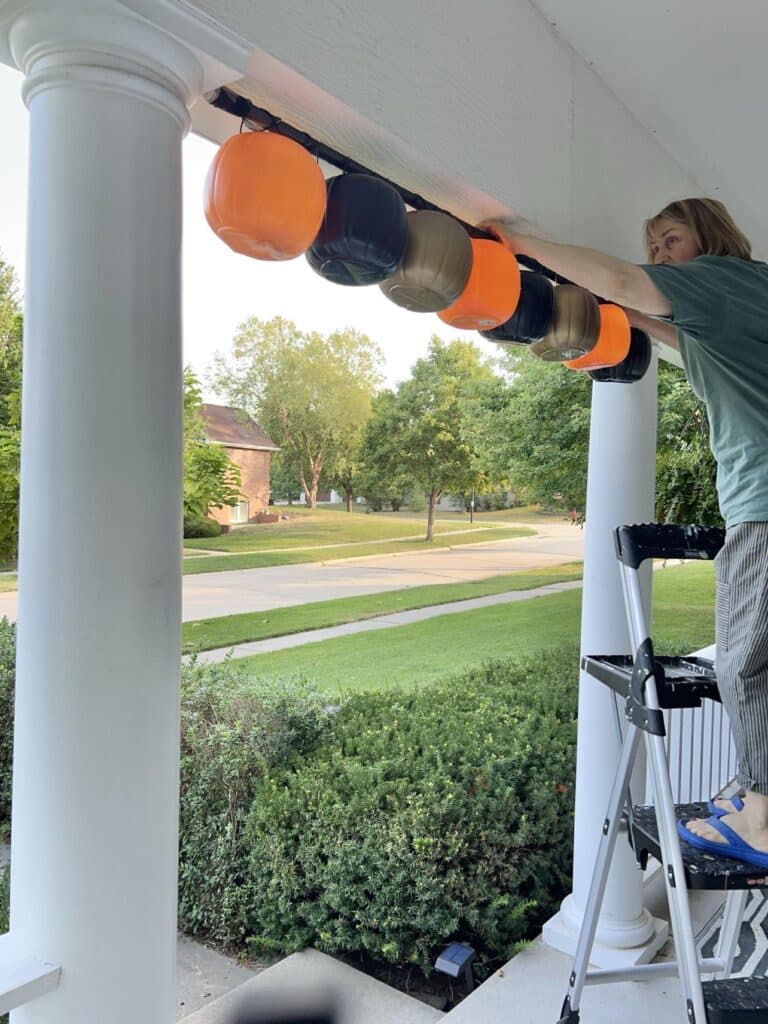
Here’s where things got a little bit tricky. If you just hang the pumpkins by their handles, they’ll tilt sideways, and you won’t see those cute faces!
Instead, twist and loop the handles over the rod. They’re flexible, so this should be easy.
Pro tip: Start threading the pumpkins onto the rod from one end, then push them toward the center as you go. This way, your porch pumpkins will sit nicely spaced, giving you that perfect Halloween display. I recommend using odd numbers of pumpkins for a more balanced look.
Light Up the Pumpkins
Want to add a little glow? Pop a remote-controlled battery-operated light puck inside each pumpkin. Set the timer, choose your favorite light color, and watch your pumpkins come to life as the sun goes down!
Hang Up Your Pumpkin Pails
You just need two surfaces to hold the tension rod. I placed mine between the posts on my front porch, but you can also hang it between a porch post and the side of the house or even between your front door jambs for a cute front door display.
Add Some Spooky Touches
Here comes the fun part—decorating! I went with some faux Halloween bats and stuck them between each pumpkin.
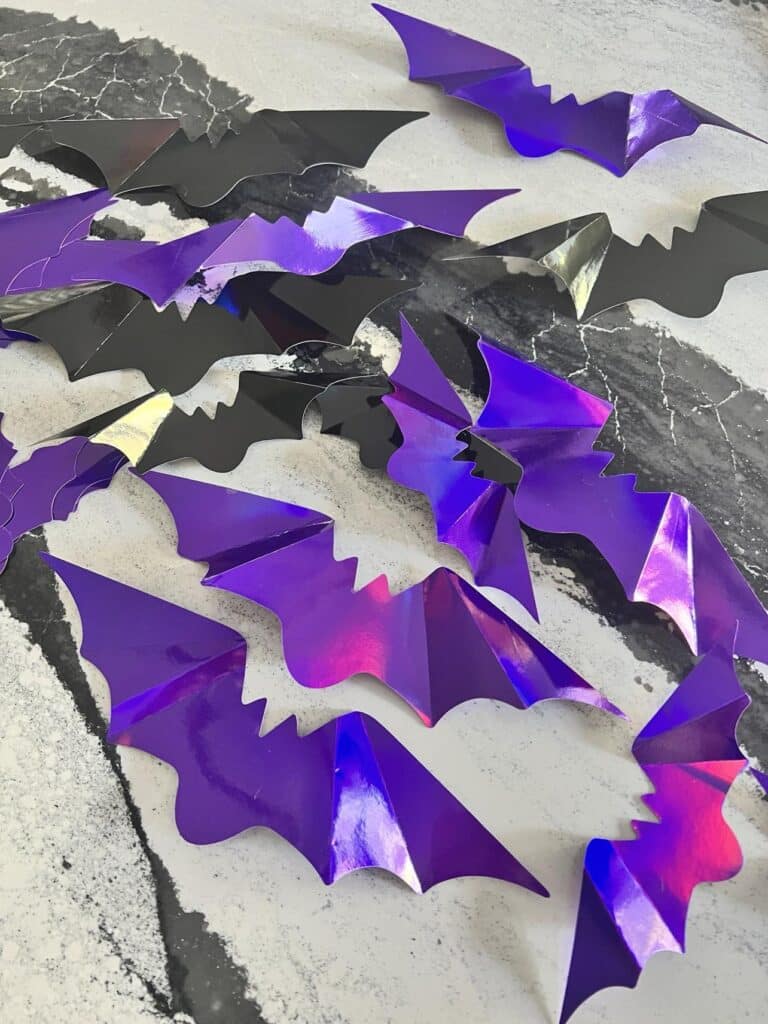
Last year, I used these holographic bats, and they turned all sorts of colors in the light. They were a hit!
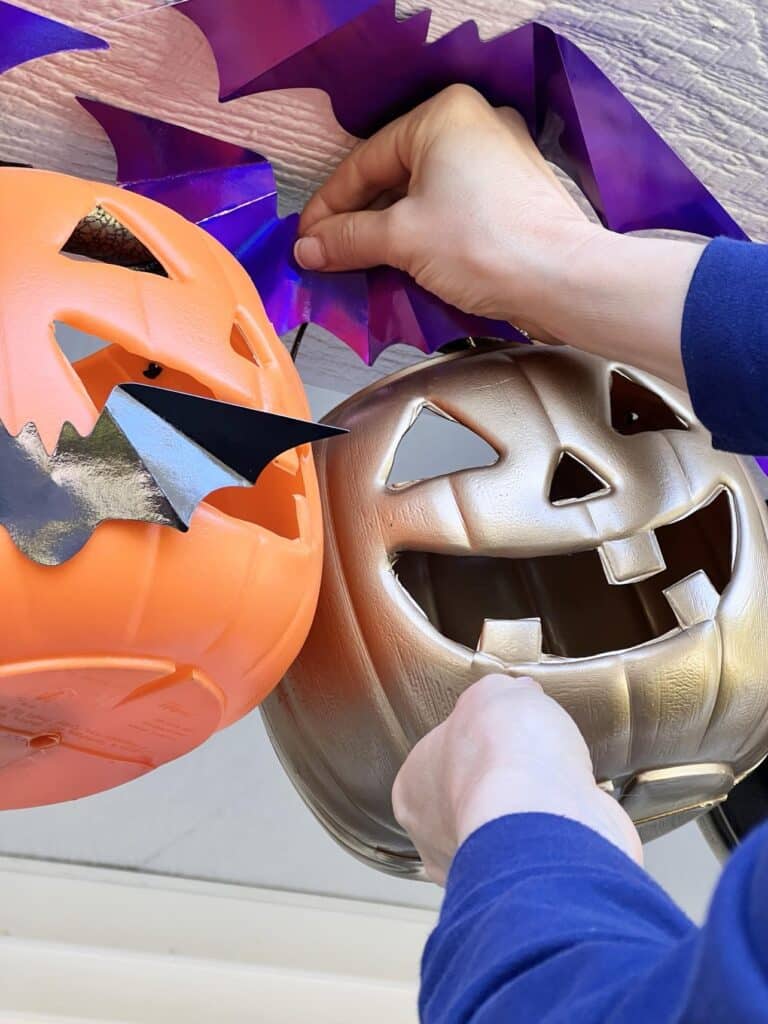
You could also add other fall elements like mini pumpkins, faux pumpkins, fall flowers, corn stalks, or even some toy spiders or cobwebs for that extra Halloween touch. It’s all about creative ways to make it your own!
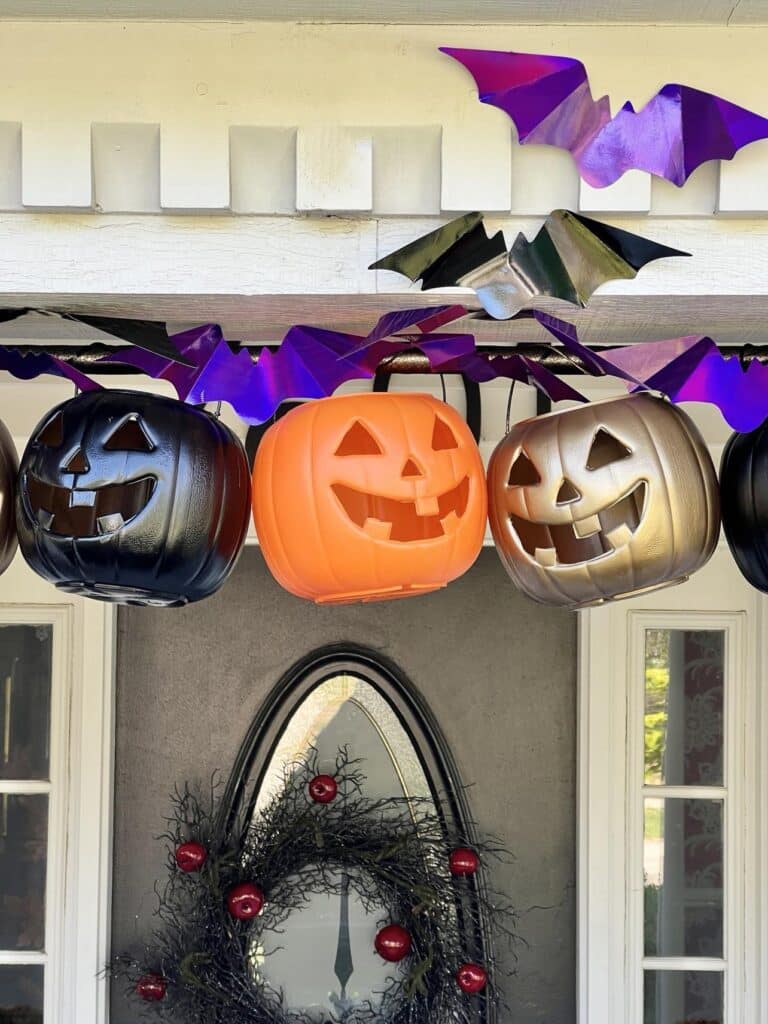
And that’s it! This DIY project is such a great way to bring some festive Halloween vibes to your home.
Whether you’re going for fall porch decor that’s cute, spooky, or both, this is the perfect way to dress up your front porch for Halloween without too much hassle.
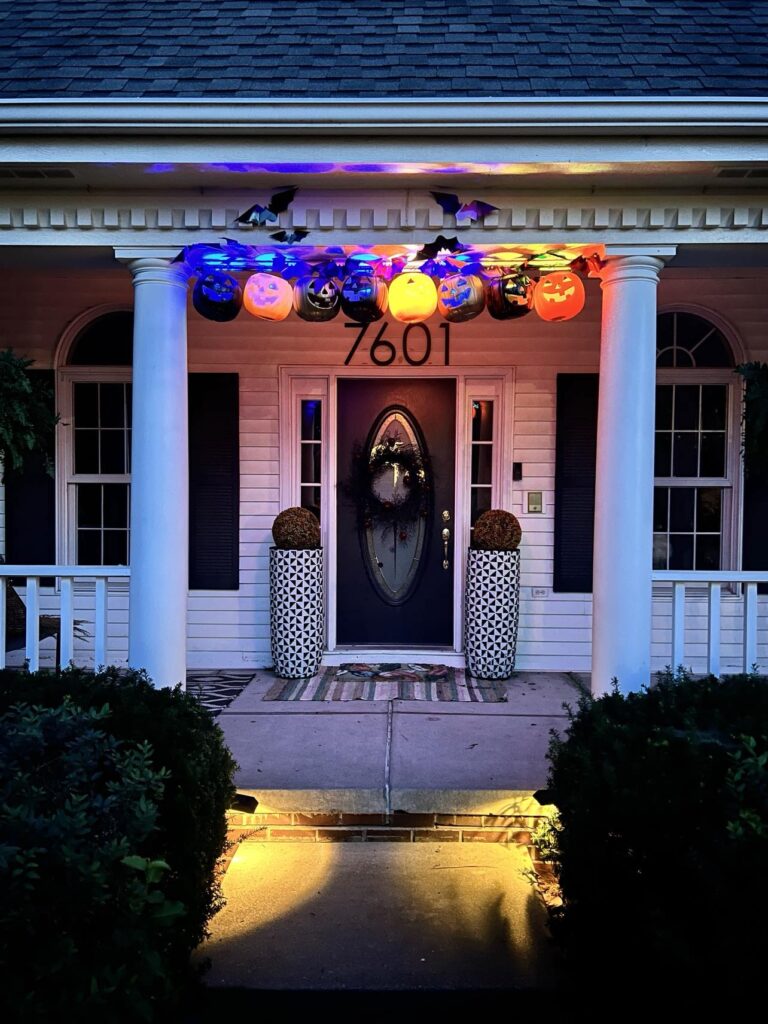
I hope you add this fun project to your list of new front porch decor ideas.
Wishing you a colorful and Happy Halloween!
Cheers!

A Little About Me
Hi! I’m missy. So happy to meet you!
“Decorate with Joy! Live with Happiness”
I truly believe that your home should be a reflection of your personality, a space where you feel free to express yourself and create a sanctuary that feels uniquely yours.
I love creating mood boards, hunting down unique home décor treasures, tackling easy DIY projects, and gathering with family and friends for a delicioHomes are meant to be enjoyed, filled with laughter, and shared with the people you love!
– cheers –
Don’t Forget to Pin It!
Pin the image below to your boards on Pinterest (just click the Pin button in the top left corner). You can also follow along with me on Pinterest!
More recent posts
Boo-tiful Halloween Decorating
Bat Branches Halloween Centerpiece
Decorating a Fireplace with Bats




Super cute Missy!
Thanks, Wendy!
Very cute! Love this idea!!!
Thank you, Susan! Happy Halloween!
LOVE this!!! So cute, Missy!! What a fun and creative way to use those orange pumpkin pails! I totally want to try this on my patio next year. So fun!
Thank you, Rachel! It was a fun project! Happy Halloween!