Get Your Groove On with DIY Disco Ball Cherries
Give your home decor a dazzling jolt with these easy-to-make DIY disco ball cherries!
Every room needs an element of whimsy and these little disco cherries are just the right personal touch for your room. Don’t spend money on expensive boutique disco decor! Make your own with this easy step-by-step tutorial!
This blog contains affiliate links. This means a small commission is earned if you make a purchase by using this link. The price you pay will be the same whether you use the affiliate link or go directly to the vendor’s website using a non-affiliate link. Sonata Home Design is a participant in the Amazon Services LLC Associates Program, an affiliate advertising program designed to provide a means for us to earn fees by linking to Amazon.com and affiliated sites.
The Dancing Queen
They say that trends will eventually come around again.
I was in 7th grade circa 1977 when the one and only discotheque opened in my small midwestern town. And “Teen Night” was the most exciting night of the week!
My friend and I would spend hours getting ready…feathered hair, pre-teen make-up, and my treasured red shiny disco pants complete with a shiny crossbody bag.
The shine of my clothing and Lip Smacker lip gloss matched the shine of my braces!
As a shy, gawky 5’9″ 7th grader, I didn’t hit the dance floor very much…
But I looked like a true “Dancing Queen” as I decorated the wall!
The fun and sparkle of the era is back with fun disco ball hype!
But this time, I’m creating some whimsical home decor that is inspired by iconic disco balls! Disco ball cherries!
How to Make DIY Disco Ball Cherries
You just need a few things to make each cherry disco ball.
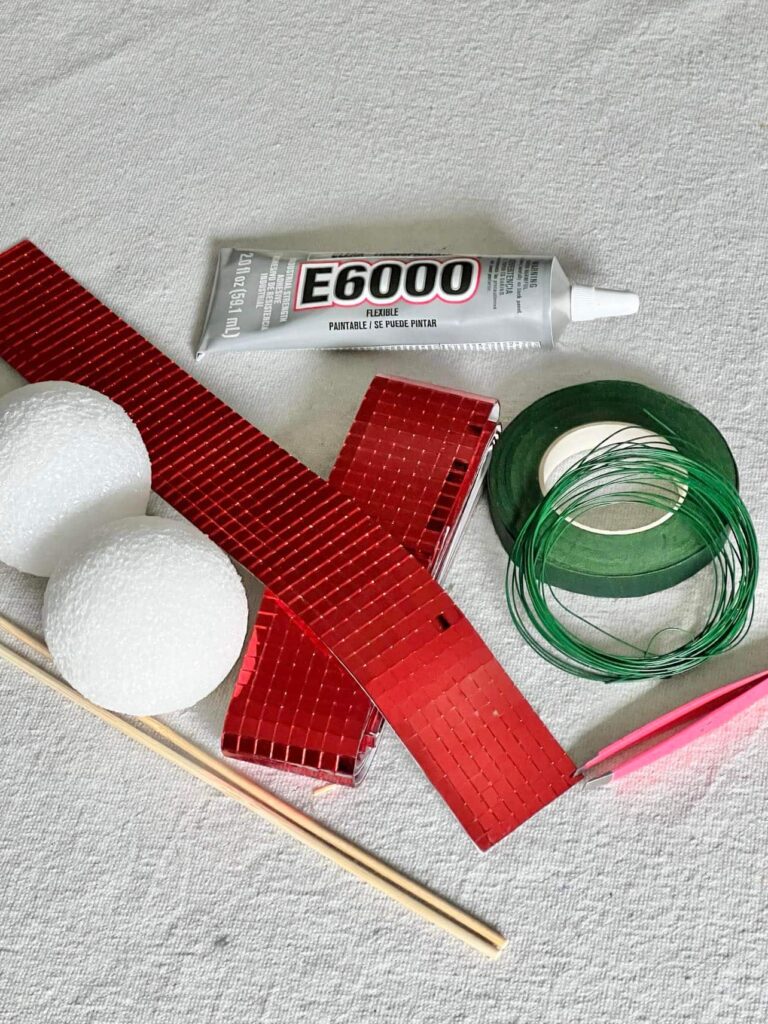
Supply List
- Two styrofoam balls
- Red paint
- Small paintbrush
- Bamboo skewers
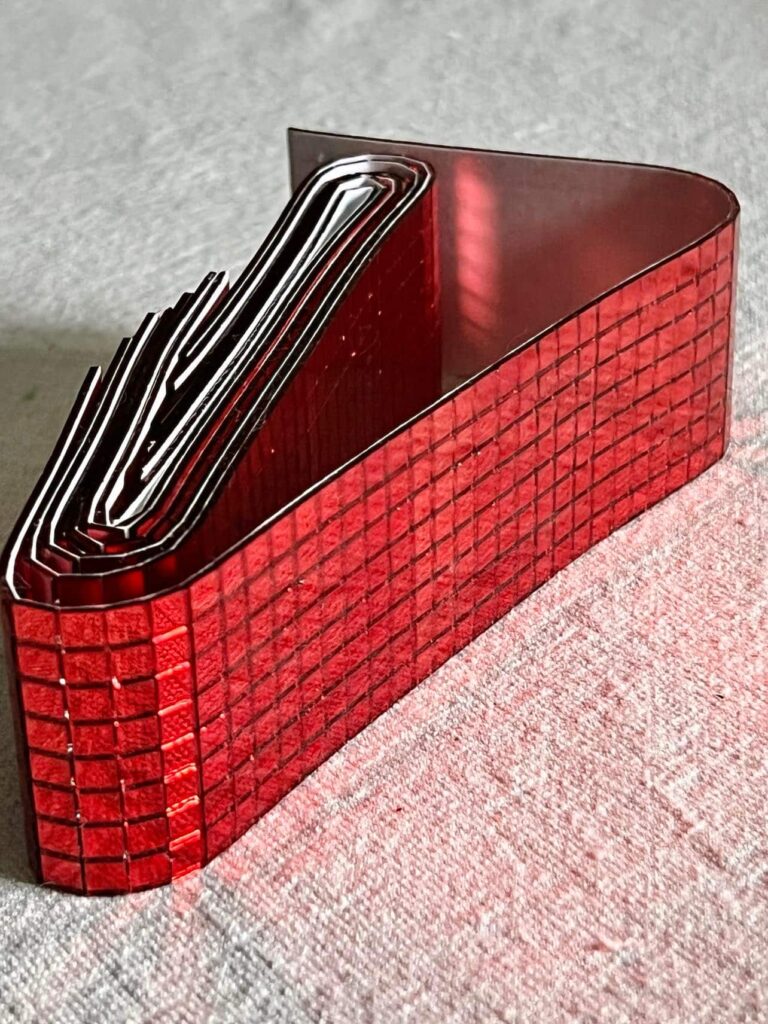
- Red mirrored tile ribbon
- Clear adhesive glue
- Tweezers
- Pipe cleaner
- Faux green leaf
- Green floral tape
- Hot Glue
Prepping the Styrofoam Balls
Since mirror tiles are square and rigid, it can be a little tricky to cover every space on a round ball. So, it is important to paint the styrofoam balls red so there is no unintentional white peeking through.
Stick the styrofoam balls onto bamboo skewers for ease of painting the entire ball without getting paint on your hands.
Using a small paint brush, paint each styrofoam ball with a paint that matches the red shade of the mirror tile.
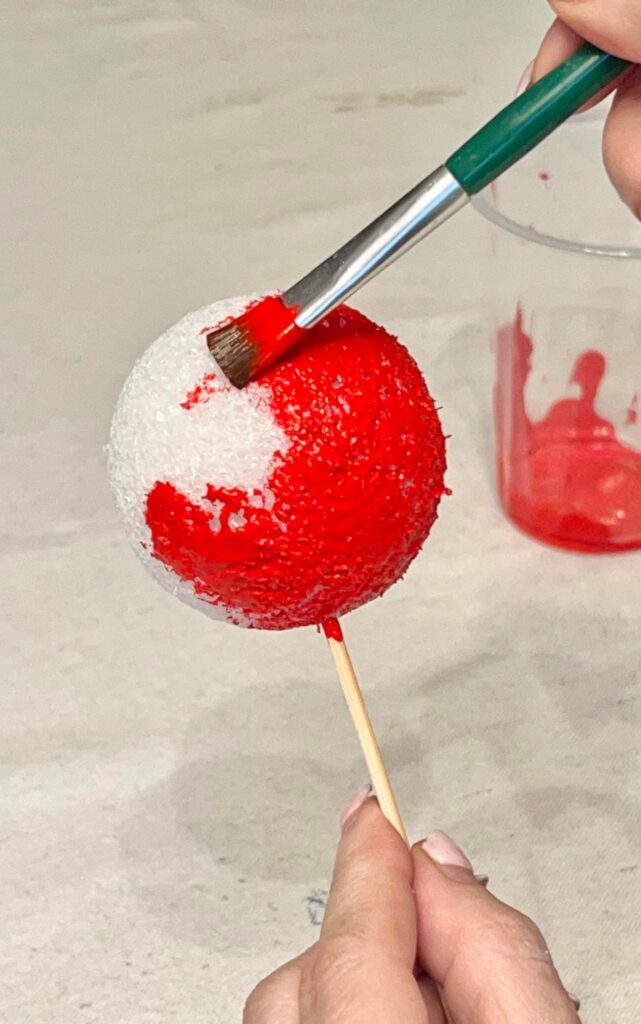
I found that the coverage of the styrofoam was better if I painted and “pounced” the color onto the ball.
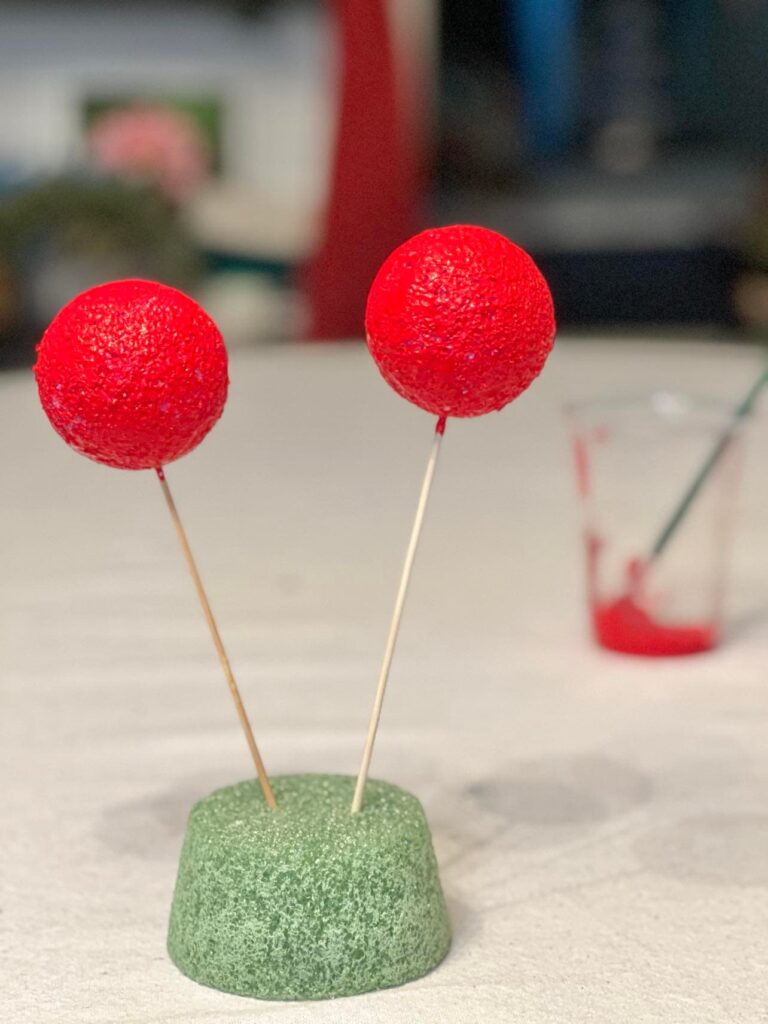
Anchor the sticks into a styrofoam block or box to dry.
I think each painted styrofoam ball looks like a cherry lollipop!
Applying the Disco Tiles
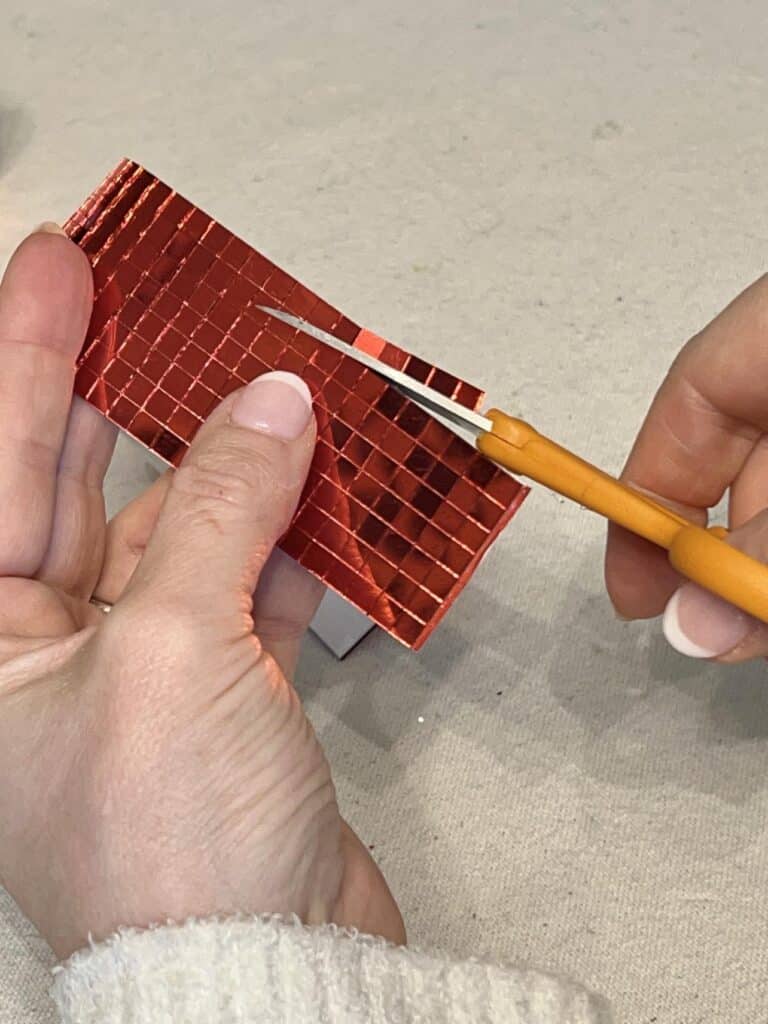
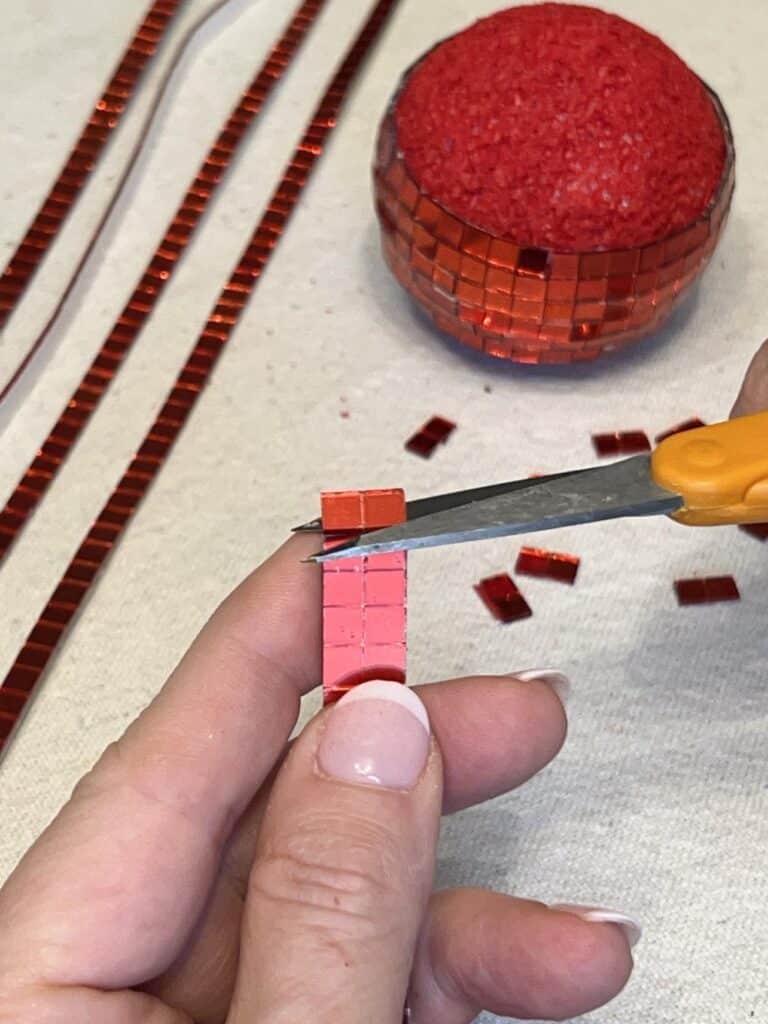
Cut the mirror tile ribbon into strips for application.
Start by gluing the first strip around the center diameter of the styrofoam ball. Take time to make sure the strip is evenly placed around the ball as this is essentially your plumb line for the remaining tiles.
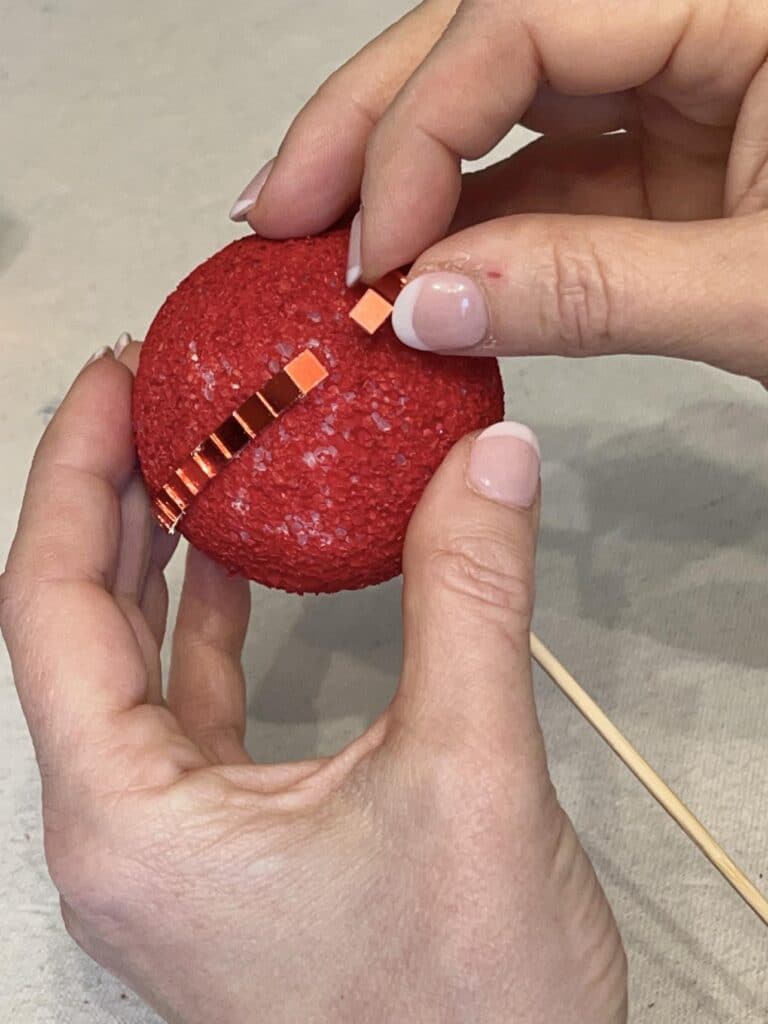
Continue to glue strips around the ball, working your way from the center to each end of the ball.
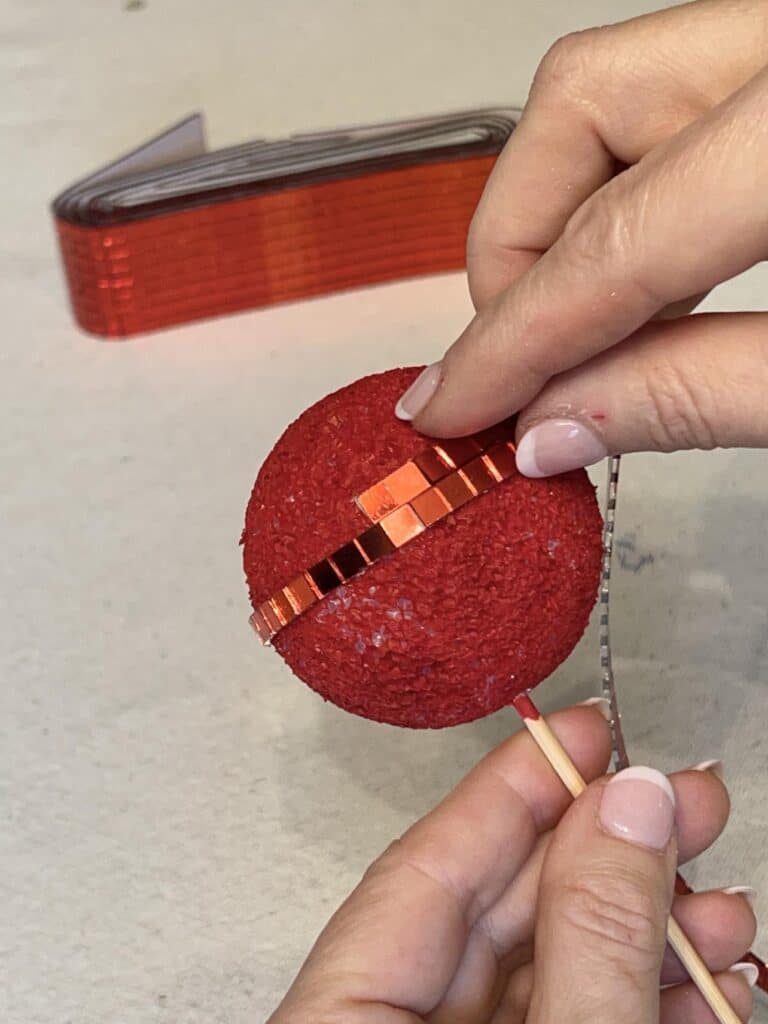
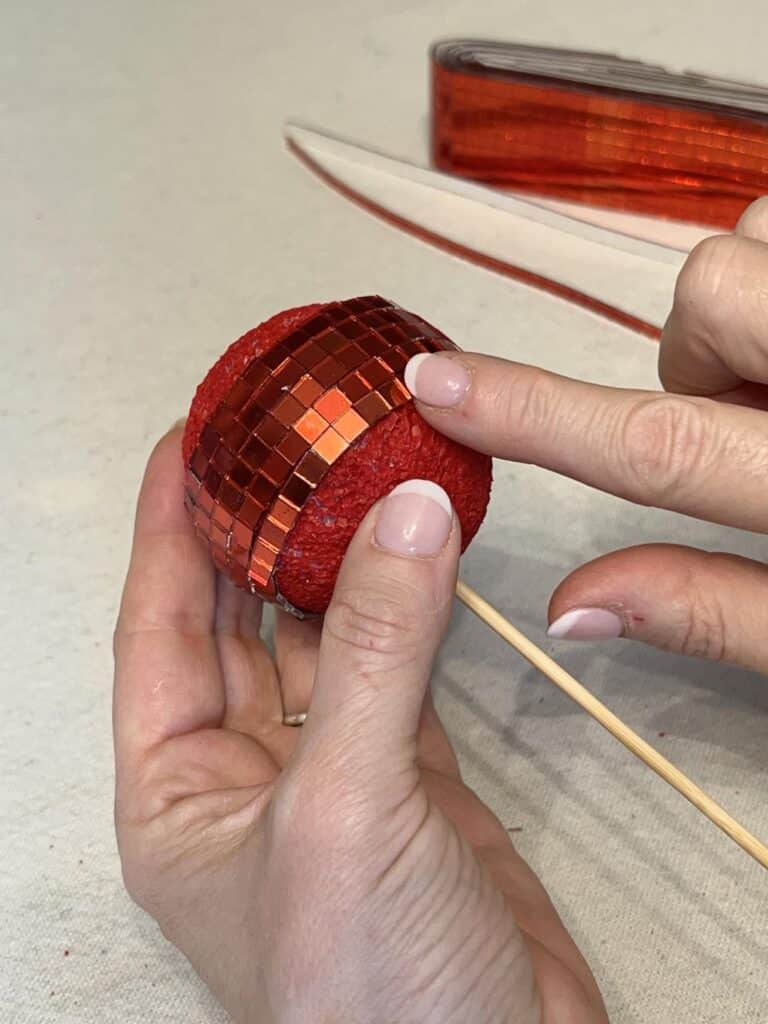
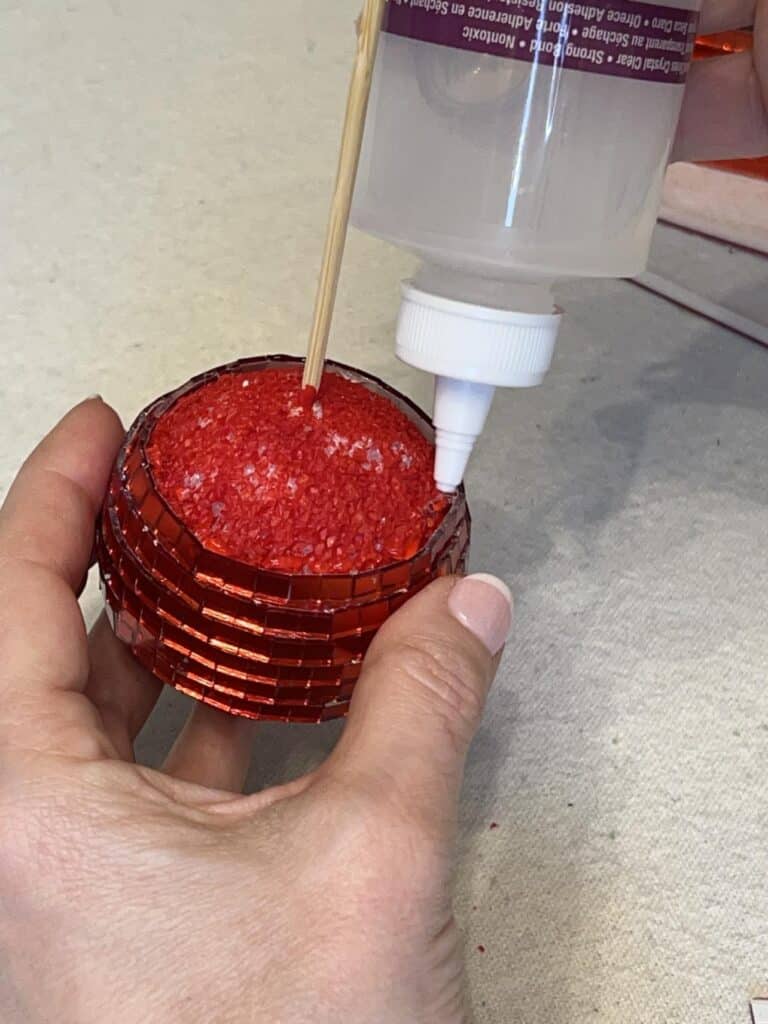
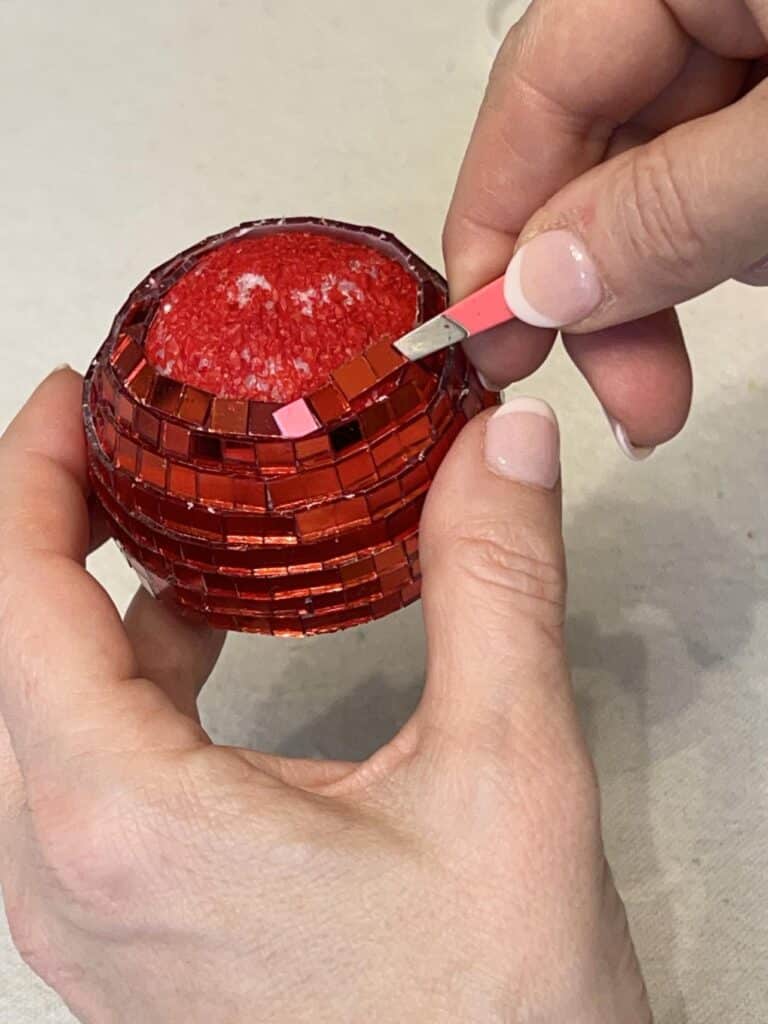
You will find that it becomes harder to glue the tiles as strips the closer you get to the top and bottom of the ball. This is when you can cut and glue individual tiles in order to match the curve and shape of the ball. You may need to angle tiles to fill in curved spaces.
Making the Disco Cherry Stem
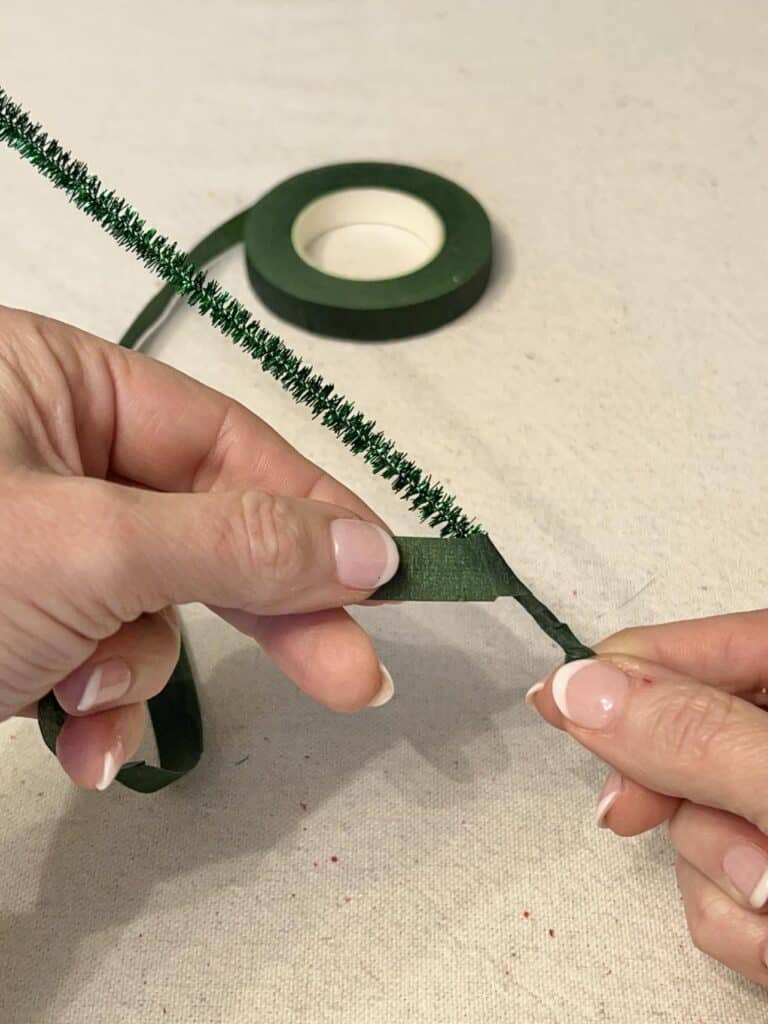
Take a pipe cleaner, preferably a green one, and start to wrap it with green floral tape.
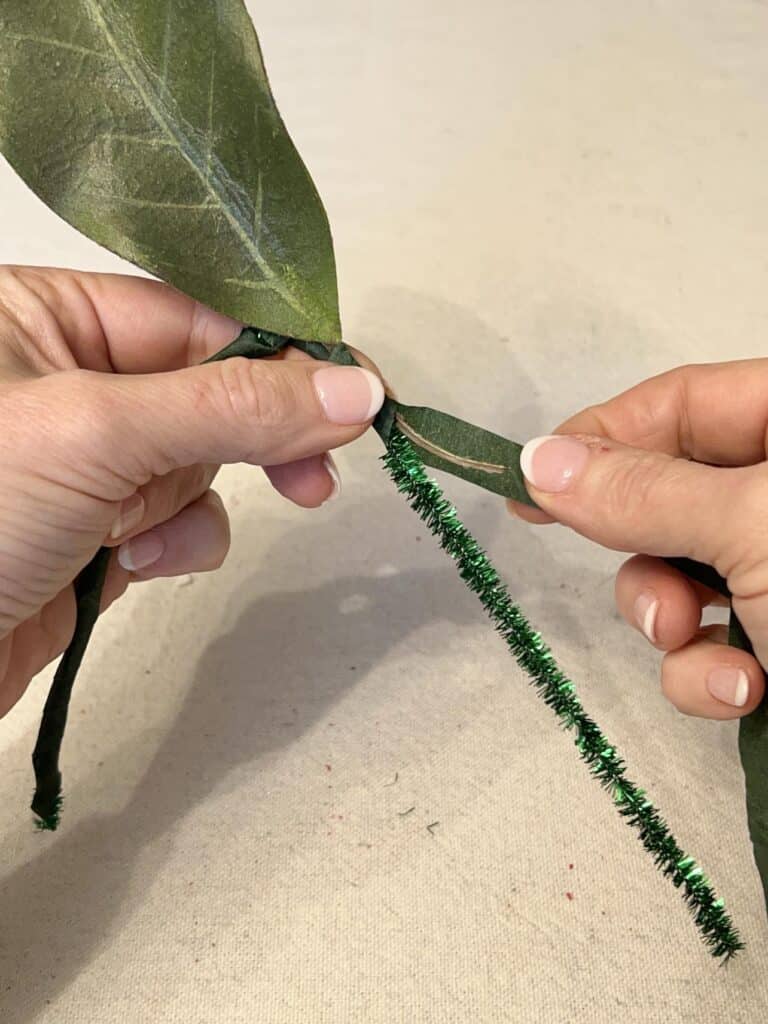
As you wrap, incorporate the stem of a faux leaf and secure it to the pipe cleaner. Continue to wrap the rest of the wire with the floral tape.
Next, bend the wire into an arch, creating two stems. Poke the end of each wire into the mirrored tiled styrofoam balls and secure them with a little hot glue.
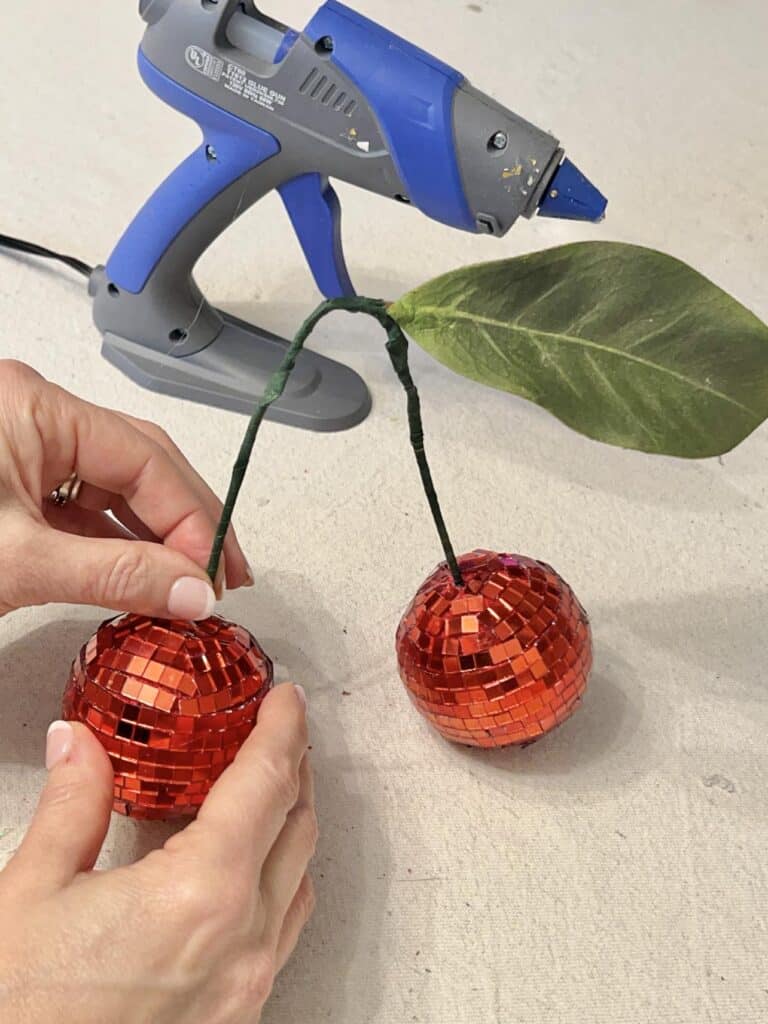
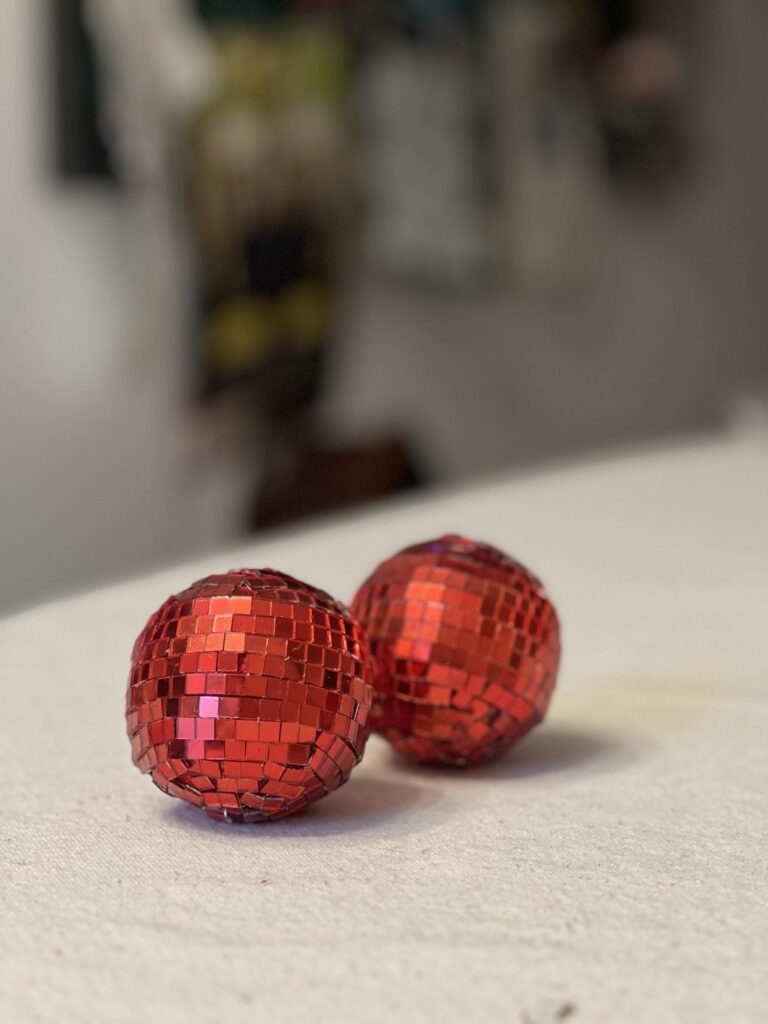
Voila! Dazzling disco cherries!
What to Do with Disco Ball Cherries
Now that you have made your disco ball cherries, you can have fun decorating your home with them. Here are some ideas for how to style these whimsical beauties!
Charming Fruit Bowl Centerpiece
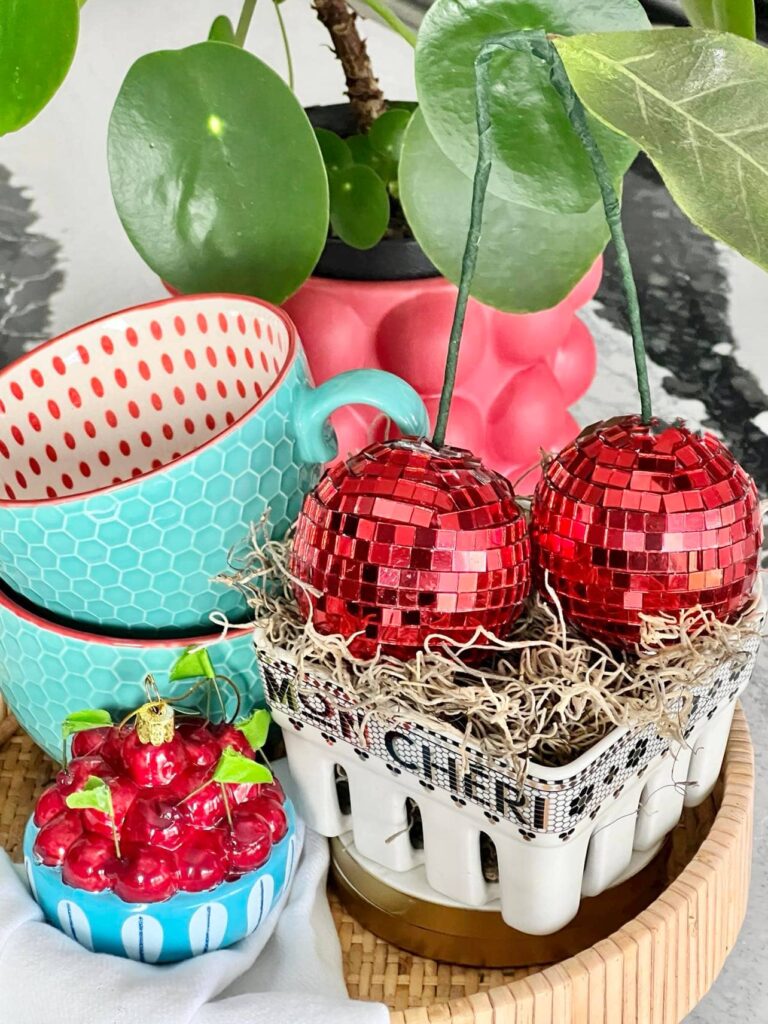
Place your disco cherries in a stylish bowl on your kitchen counter, dining table, or coffee table. The combination of vibrant red and sparkling mirrors will add a pop of color and glamour to any space.
I couldn’t resist displaying my new disco cherries in my Mon Cheri (french for “My dear”) fruit bowl!
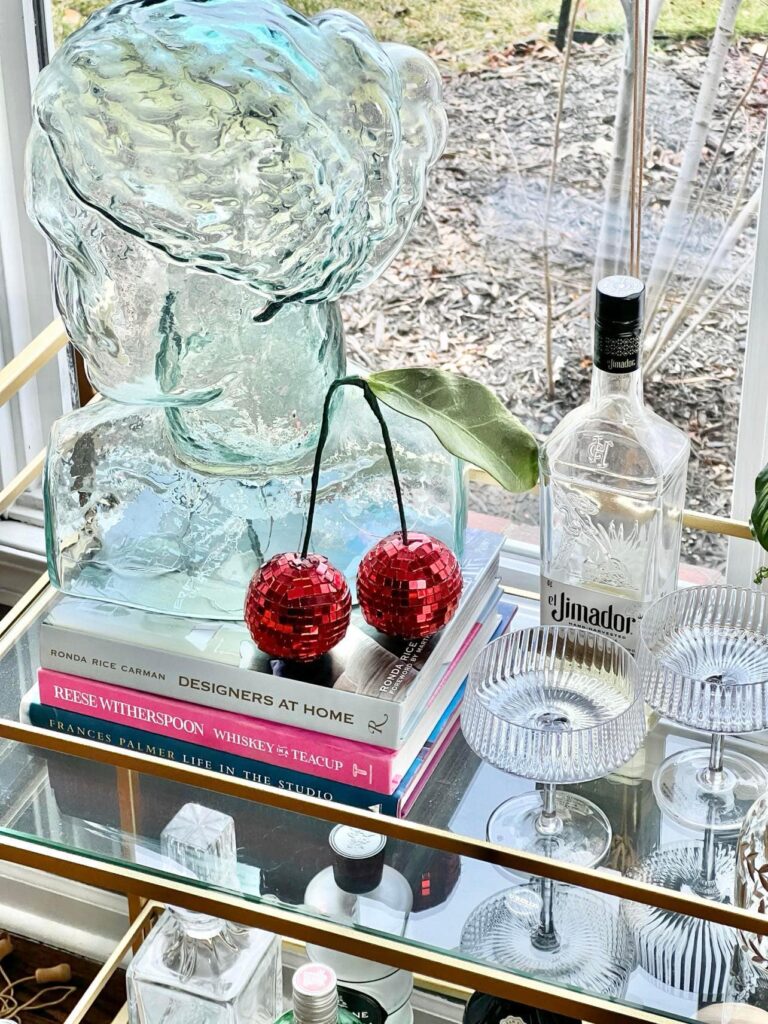
Dress Up Your Bar Cart
Turn your bar cart into a stylish and lively corner by incorporating DIY disco cherries. Place them on trays, or playfully display them in a special cocktail glass.
This playful addition will add a festive touch to your entertaining space.
Styling Tip: Place your disco cherries where natural light will hit them. You will love watching the light play against the tiles throughout the day!
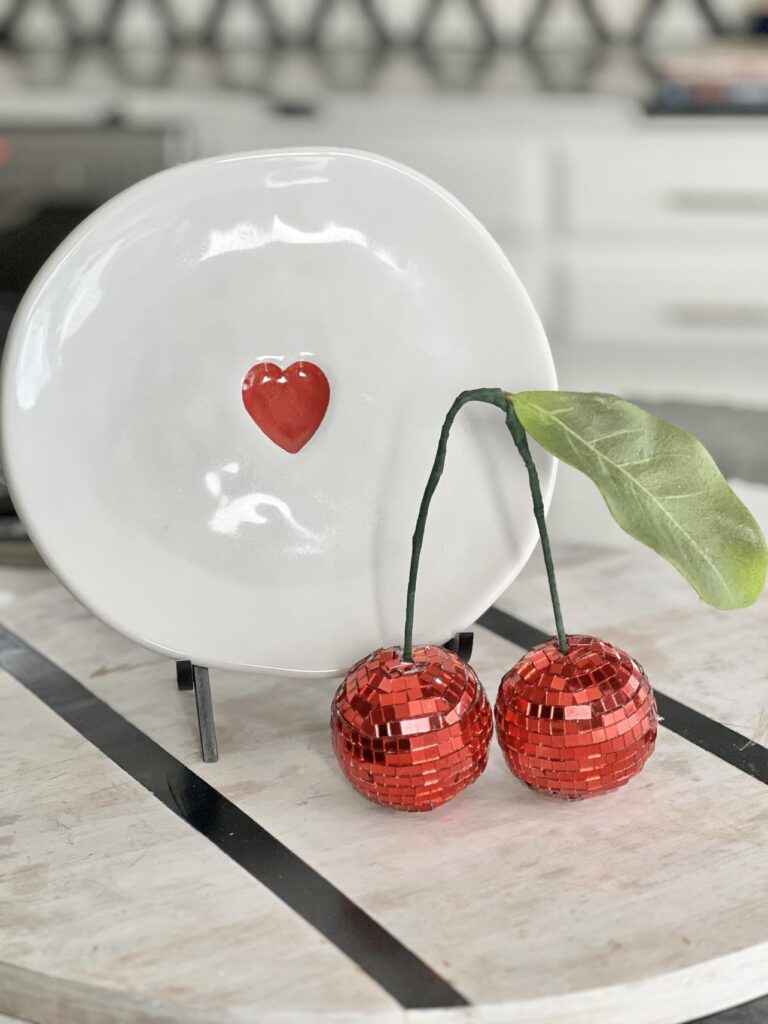
My Valentine, Mon Cheri’
Nothing says “Be Mine” more than a handcrafted Valentine! Give these disco cherries to someone special for Valentine’s Day to let them know how “sweet” they are!
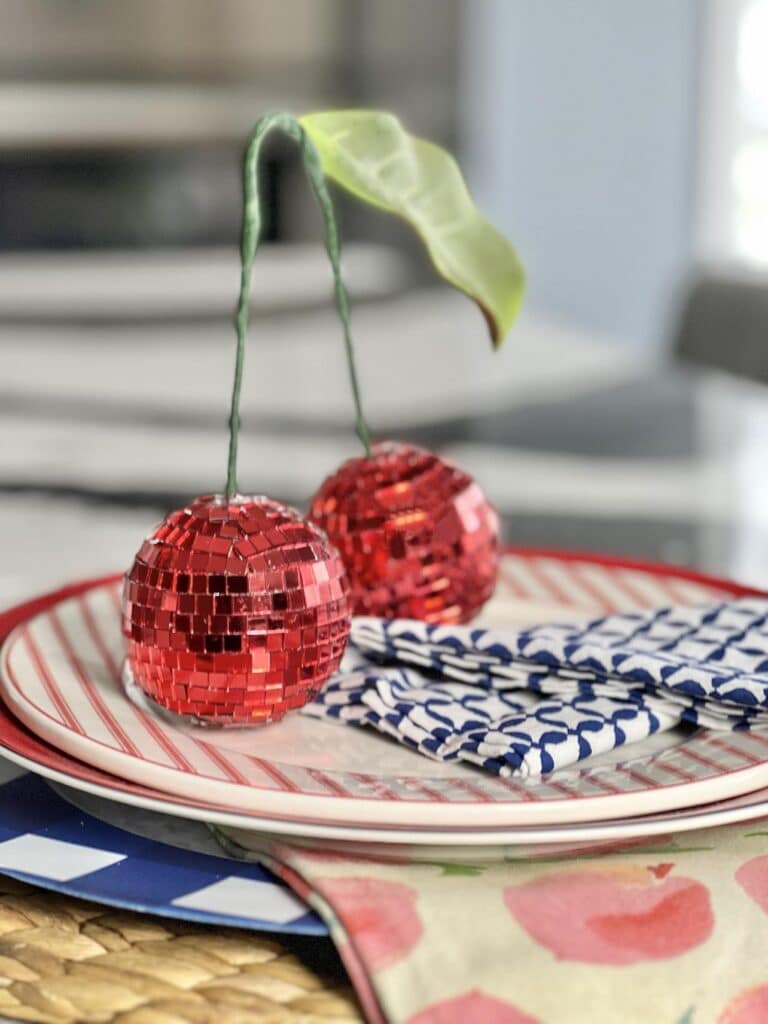
Summertime Vibes
Create a vibrant and playful summertime table setting with the infectious dazzle of your Disco Cherries. Layer your plates with bright summer colors and place your new creation on top.
They are quite literally the whimsical cherry on top!
And there you have it—your DIY Disco Ball Cherries are complete!
From turning plain styrofoam into glittery showstoppers to decorating your home with a unique twist, you’ve upgraded your decor game.
So, go ahead, put on your shiny pants, grab your lip gloss, and display those cherries where they will shine in your home!
Cheers!

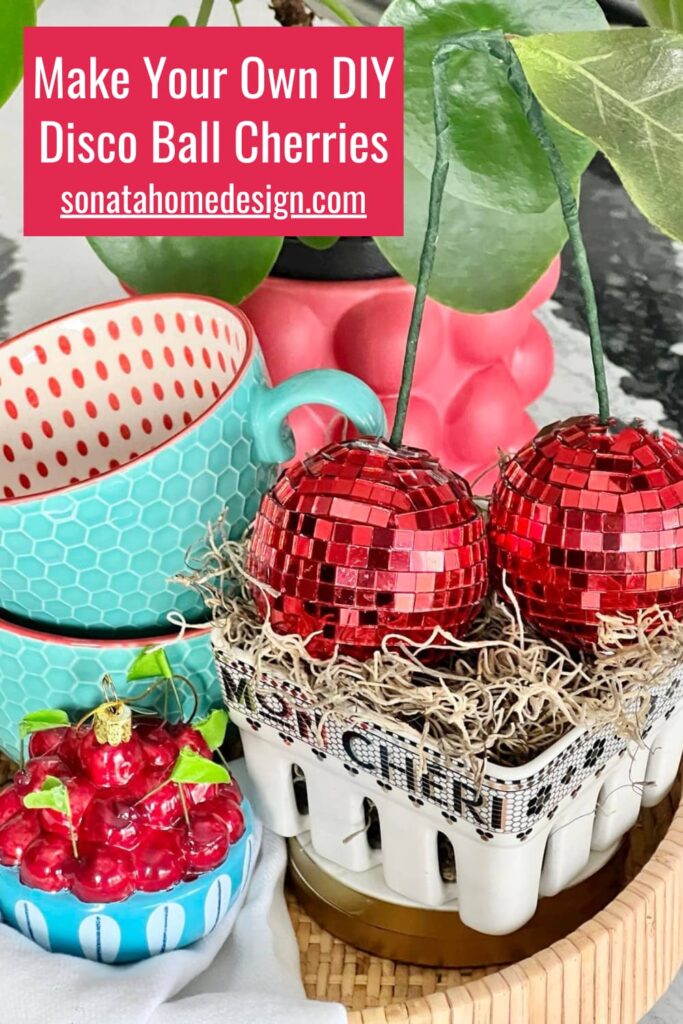
Don’t Forget to Pin It!
Pin the image below to your boards on Pinterest (just click the Pin button in the top left corner). You can also follow along with me on Pinterest!



These are so cute and creative Missy! love the pop of color and sparkle they give.
Thanks, Wendy! I’m enjoying them in the kitchen right now. Who knows where they will end up next!
You’ve combined 2 of my favourtie things – cherries and disco balls. These are so much fun.
If you’d ever like to pop by to share your creative projects at our weekly link up Handmade Monday you’d be very welcome.
Thank you so much, Julie! I will definitely link up with Handmade Monday. Thank you for the invitation!