DIY Valentine Table Decorations: An Easy Nibble and Nosh
Get ready to sprinkle a dash of love onto your Valentine’s Day celebration with some easy DIY Valentine table decorations!
Whether a romantic dinner for two or just a little gathering of sweet and savory tidbits to nibble and nosh, let’s set your table with some color, come style, and a pinch of whimsical creativity!
This blog contains affiliate links. This means a small commission is earned if you make a purchase by using this link. The price you pay will be the same whether you use the affiliate link or go directly to the vendor’s website using a non-affiliate link. As an Amazon associate, Sonata Home Design is a participant in the Amazon Services LLC Associates Program, an affiliate advertising program designed to provide a means for us to earn fees by linking to Amazon.com and affiliated sites.
Ah, Valentine’s Day – one of those special occasions that sneaks up on me faster than a surprise sale on chocolate!
Every year, I find myself doing the last-minute hustle to create an atmosphere of romance and love.
Now, don’t get me wrong, I love spreading the love, but the idea of heart-shaped everything makes me break into a sweat.
Call me Cupid’s rebellious sidekick, but my decorating style for Valentine’s Day doesn’t often include hearts. I would rather celebrate this special day through color.
Maybe a special dinner for family members using Valentine’s decor in a red color? Of course, this would be lovely!
Or, to shake things up a bit, maybe a gathering of my entire family doing what we do best…nibbling and noshing! (That’s a fun way of saying “snacking with no end in sight!)
Creating my own Valentine’s Day table decorations!
And using a non-traditional Valentine’s Day color palette of red, pink…and blue!
Setting a Nibble and Nosh Table with DIY Valentine Table Decorations
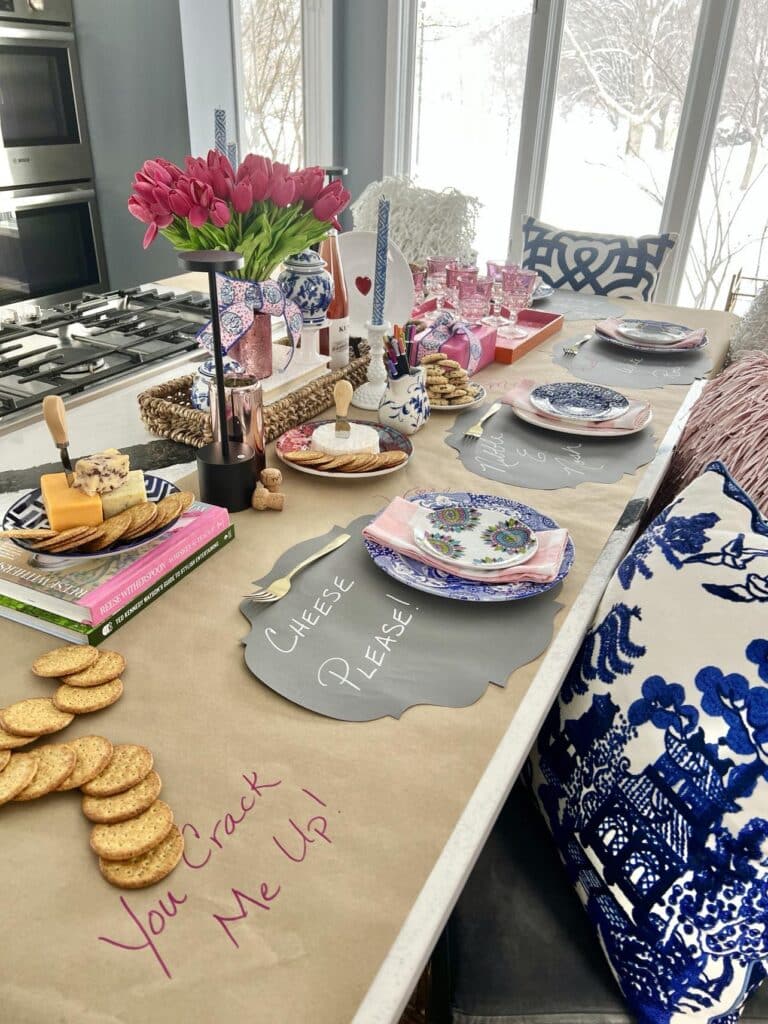
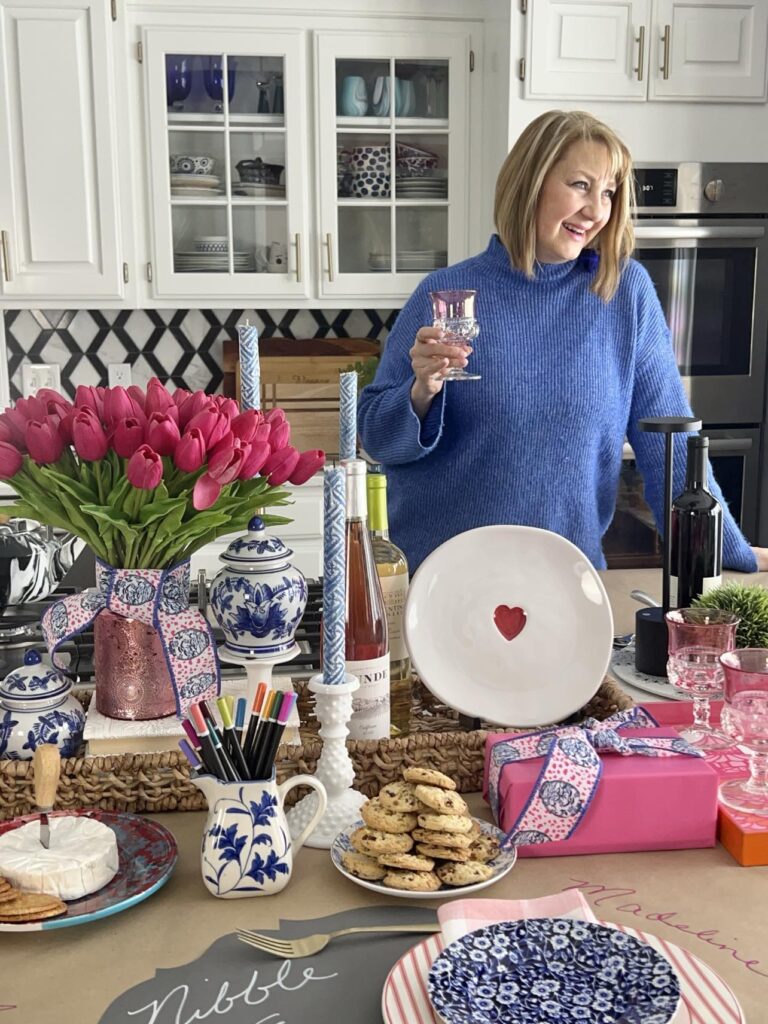
So, instead of decorating the fancy formal dining table beast, I thought, why not turn the kitchen island into our entertaining venue?
It’s like our culinary command center – my husband and I tag-teaming between cooking, serving, and sneakily replenishing snacks as the party rages on.
Now, picture this: a romantic tablescape masterpiece in the making. And what’s my first stroke of genius?
Drumroll, please… a piece of brown craft paper!
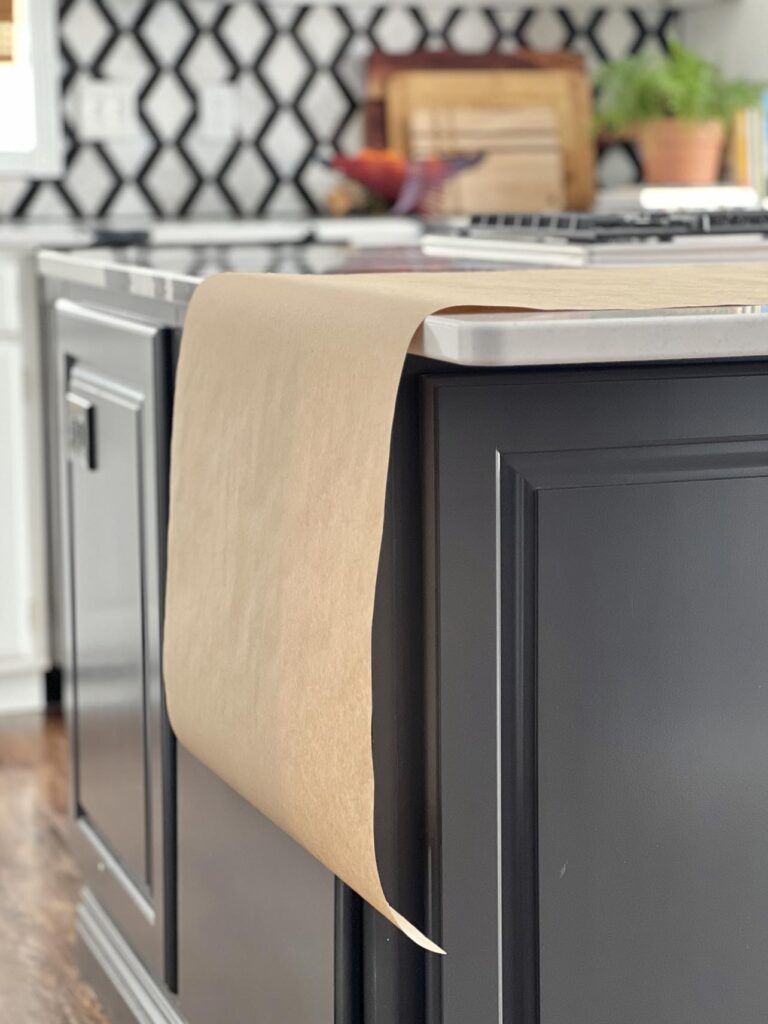
Yes, you heard it right. Forget about fancy tablecloths; I went rogue with craft paper along the kitchen island, hanging over the edge like it’s the coolest table runner in town.
I even threw in a short piece on one end to make room for the whole squad. (This would work just as well with a traditional table. Just roll the craft paper down the center of the table.
Creating A Wine Bar Centerpiece
Now, let’s talk about the star of the show – the centerpiece!
Sure, the classic move would be to flaunt some red roses, right? But here’s the thing: it’s practically Antarctica outside (okay, maybe not that extreme, but you get it), and I’m not about to brave the cold for fresh flowers at the grocery store. Besides, why be ordinary when you can be creative?
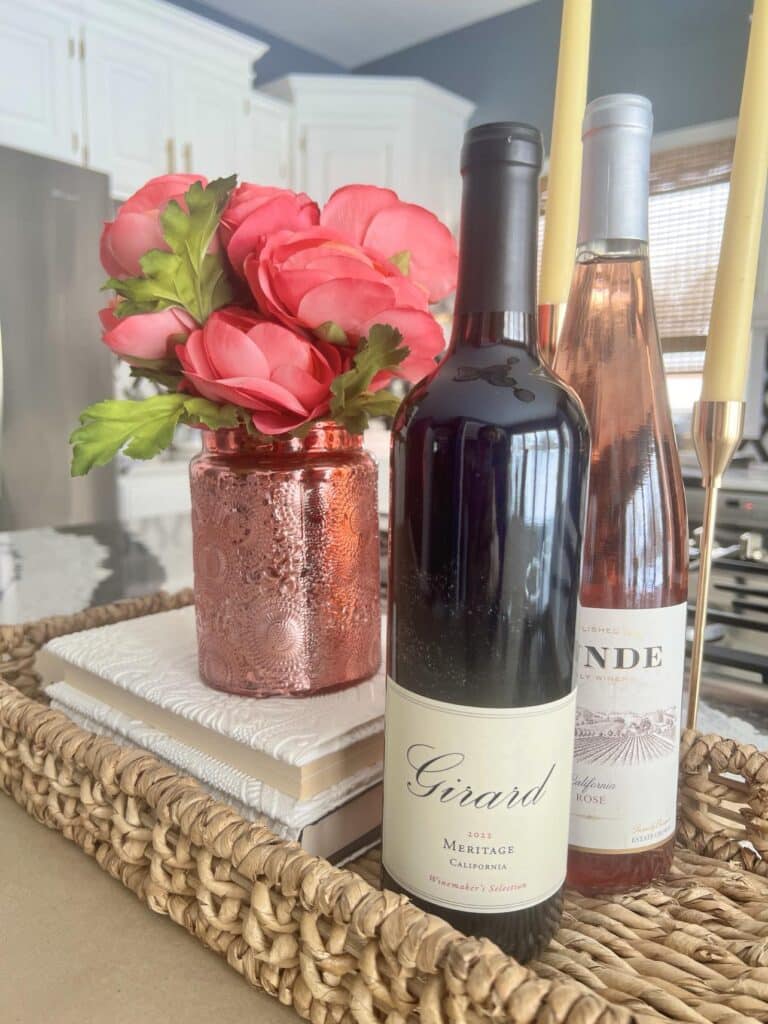
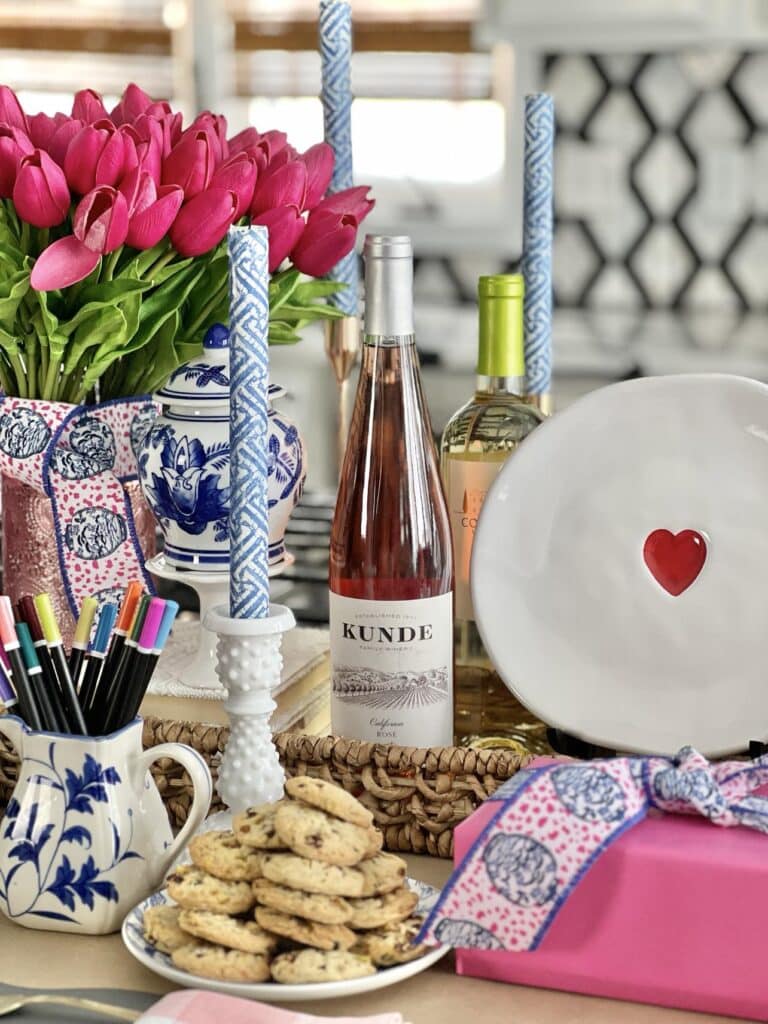
So, here’s my genius move: a functional centerpiece that doubles as a mini wine bar, right smack in the heart of the kitchen island!
Picture this: a long, narrow rattan tray basket, some books looking all fancy with wallpaper jackets (because why not?), creating the perfect pedestal for faux flowers.
Candle jars are an amazing upcycled resource for table setting and it is good to know how to clean candle jars.
This beautiful candle jar that used to hold one of my favorite candles has been cleaned and is now a stunning flower vase.
For my flowers, I started with faux pink ranunculus but later switched to tulips. (You know, floral mood swings!)
How to Create a Valentine Wine Glass Tray
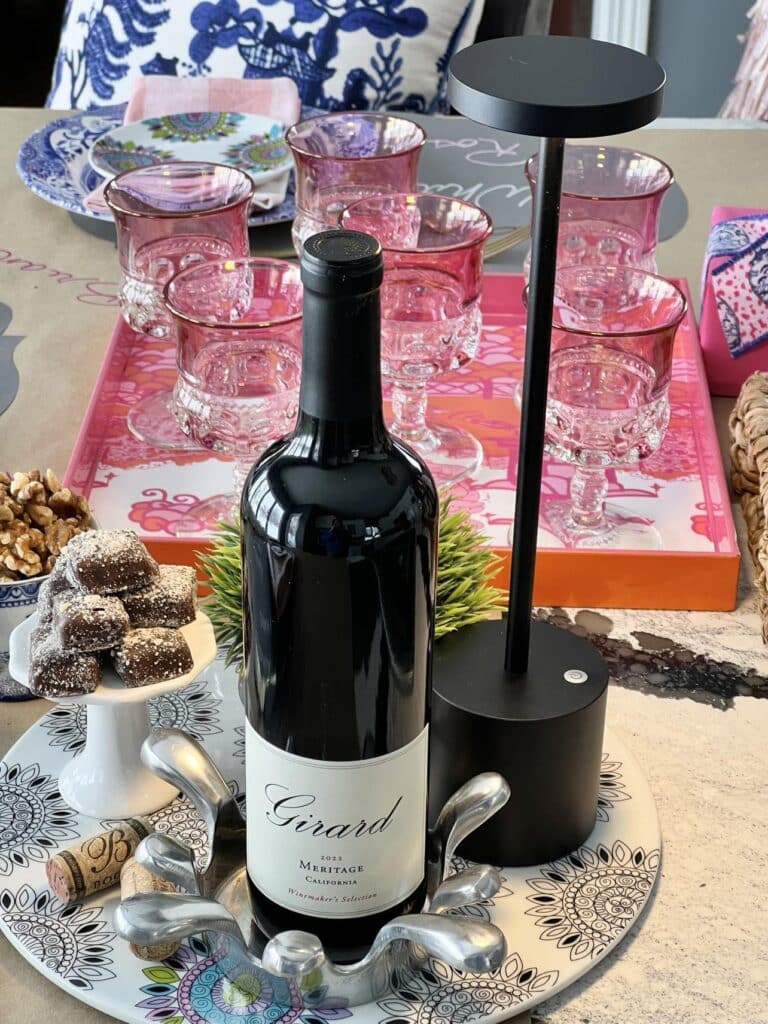
Now, let’s talk about these pink wine glasses that I practically rescued from the thrift store last summer – they are so elegant with different shades of pink glass.
And what better way to give them the spotlight than creating a serving tray fit for the pink elite?
All you need is a tray and some leftover wallpaper or thick gift-wrapping paper.
My tray? Oh, it’s another thrift store gem. A pink and tangerine tray with a side of scratches and watermarks. It definitely needed a little pick-me-up!
Enter the wallpaper, a rejected bathroom makeover sample that’s getting a second chance at life.
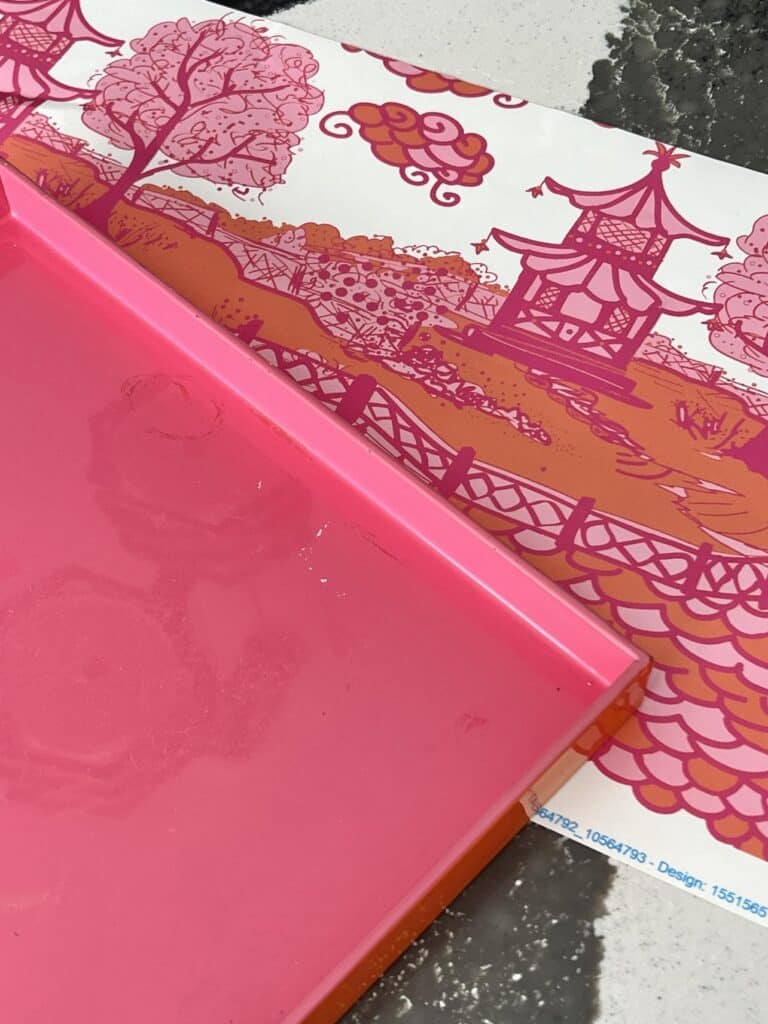
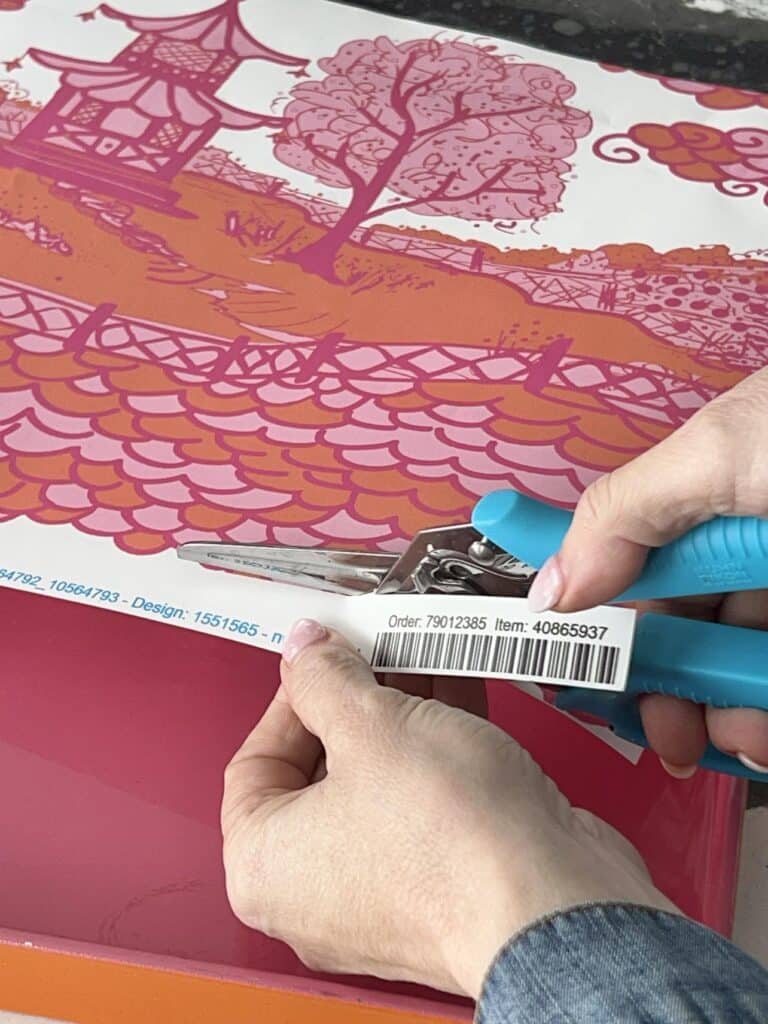
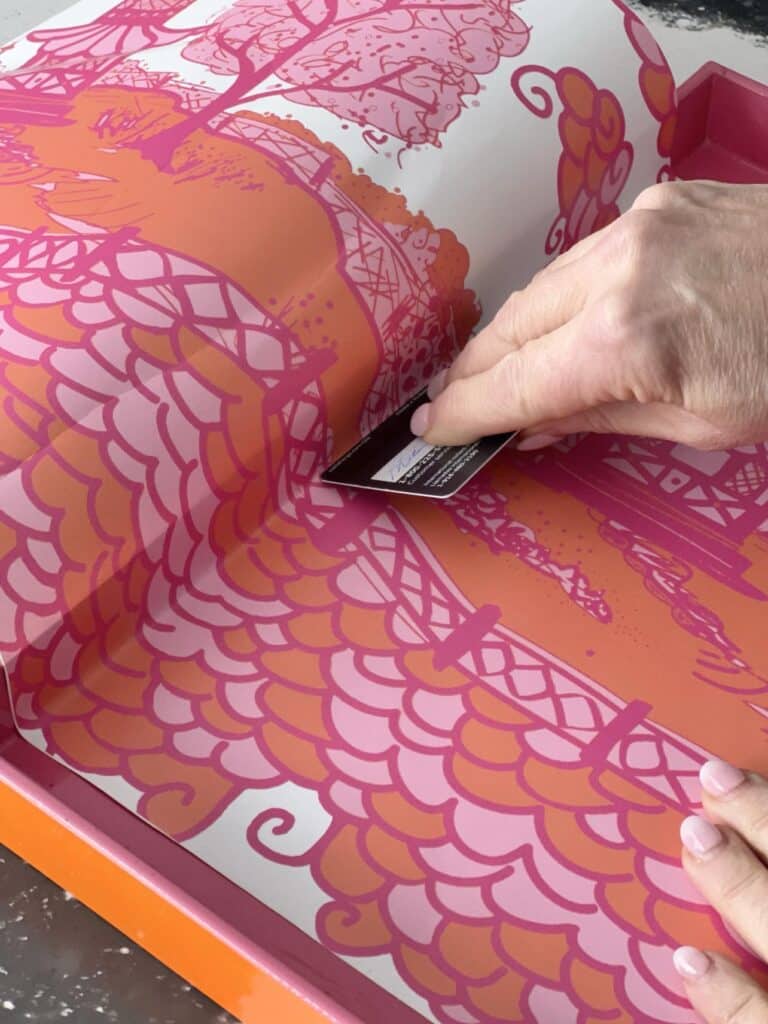
Simply trim it, fit it, press it against the tray’s seams – voila! You can go all fancy and glue it down, but me? I went for the slide-in move, ’cause who knows when I’ll feel the need for another tray makeover!
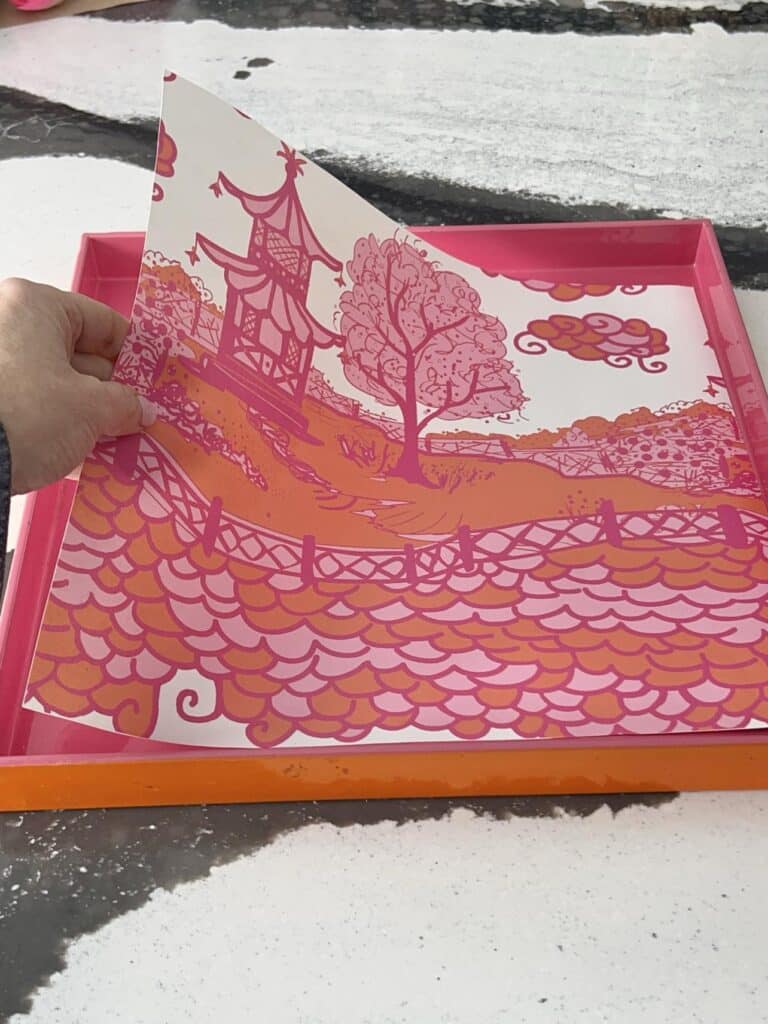
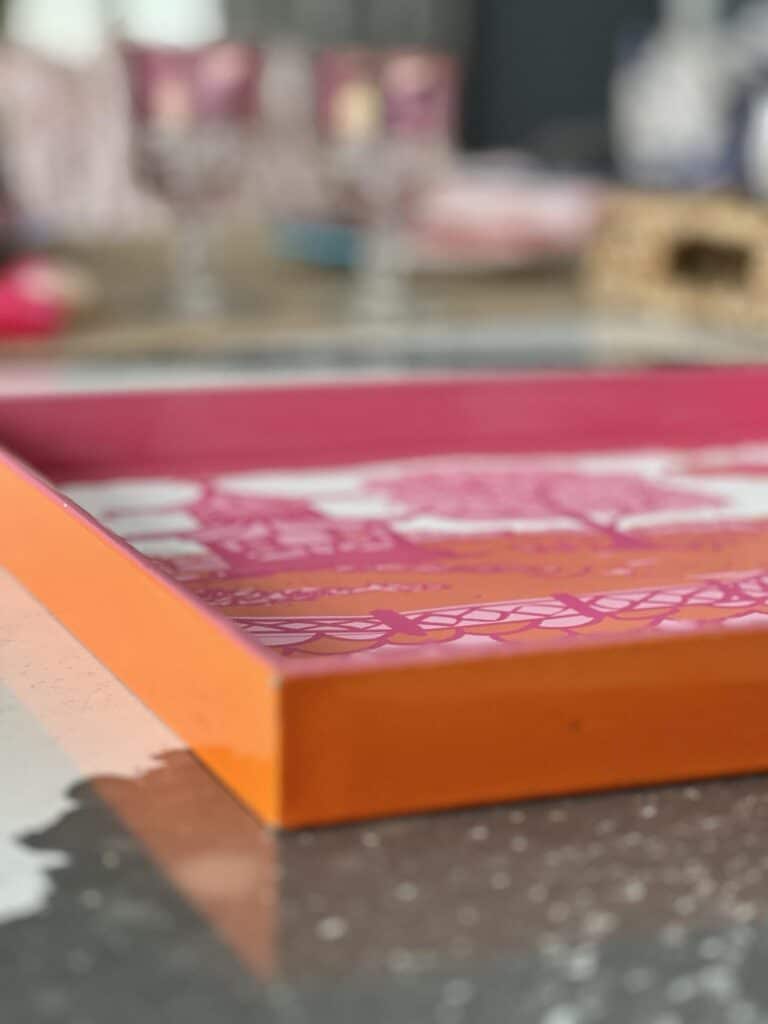
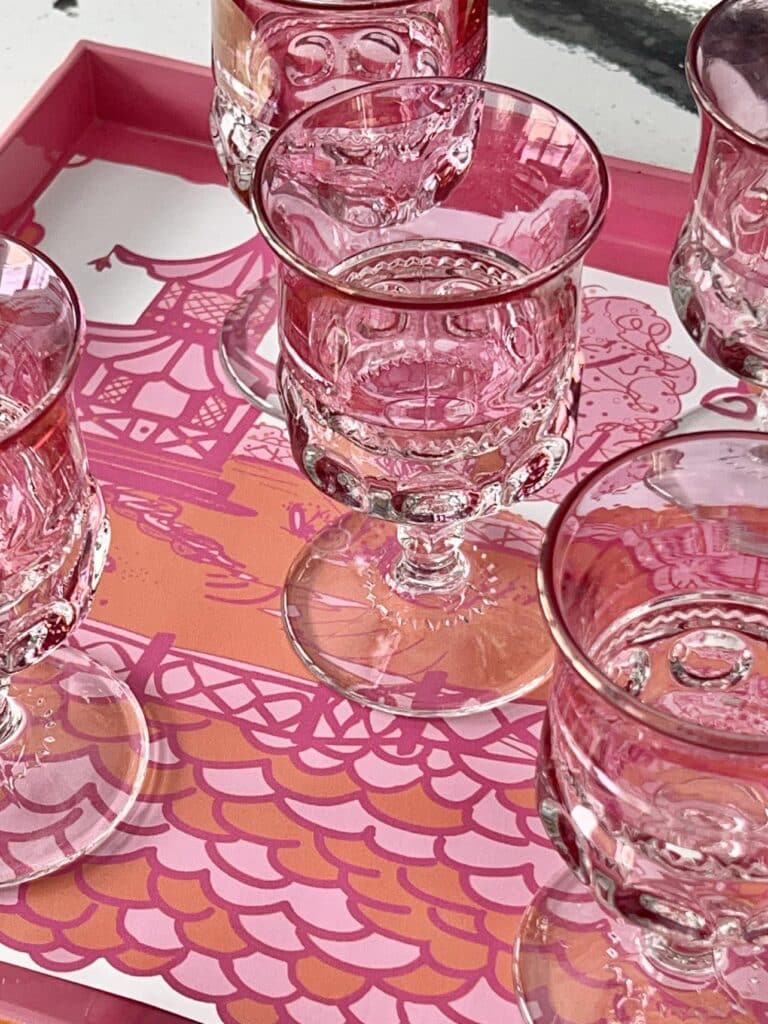
Displayed next to the wine bottle basket tray, the wine bar is complete!
Easy Valentine Table Decorations
Now, let’s talk about setting the stage for each person at the table – we’re going personal, whimsical, and keeping it easy, my kind of trio!
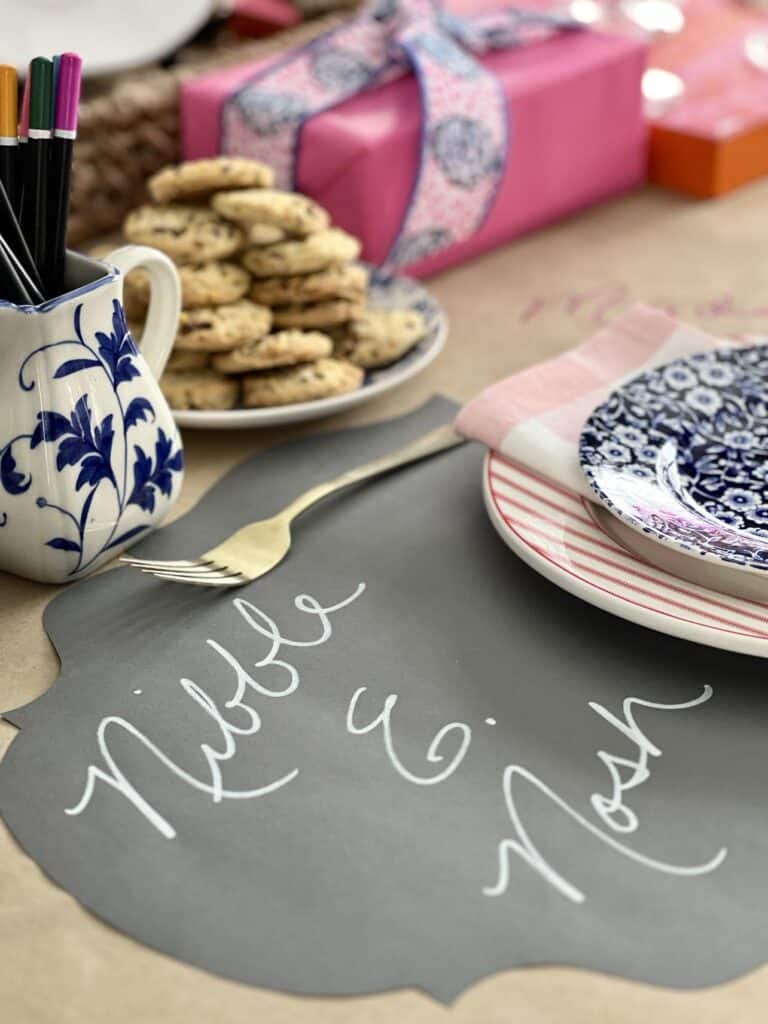
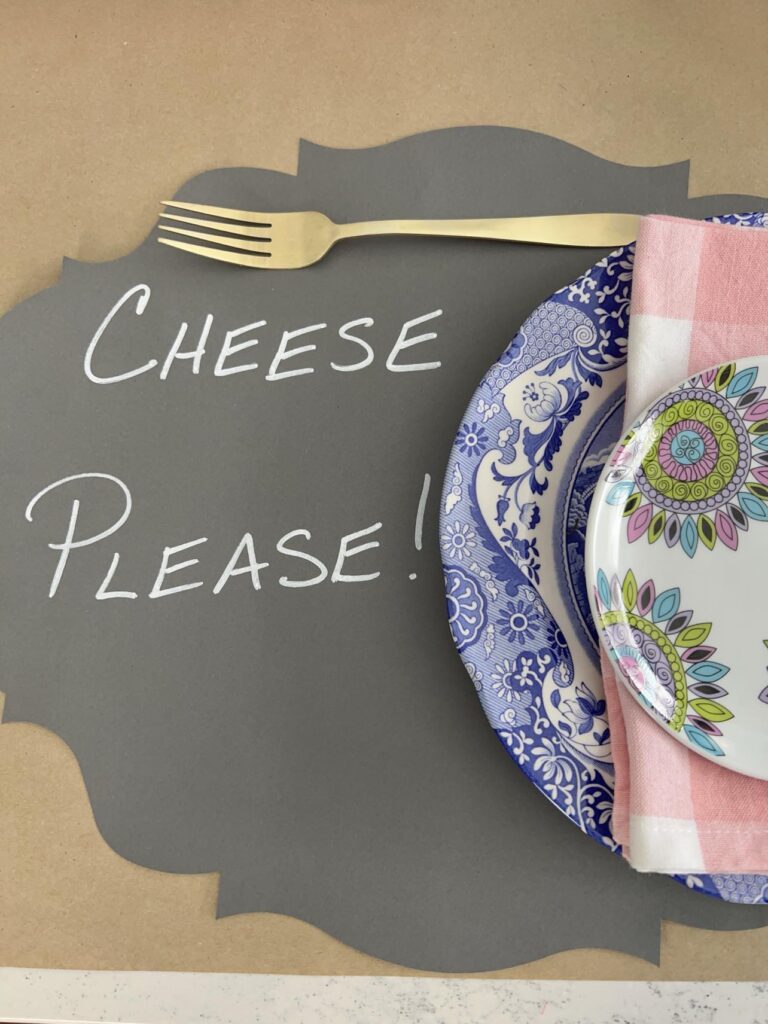
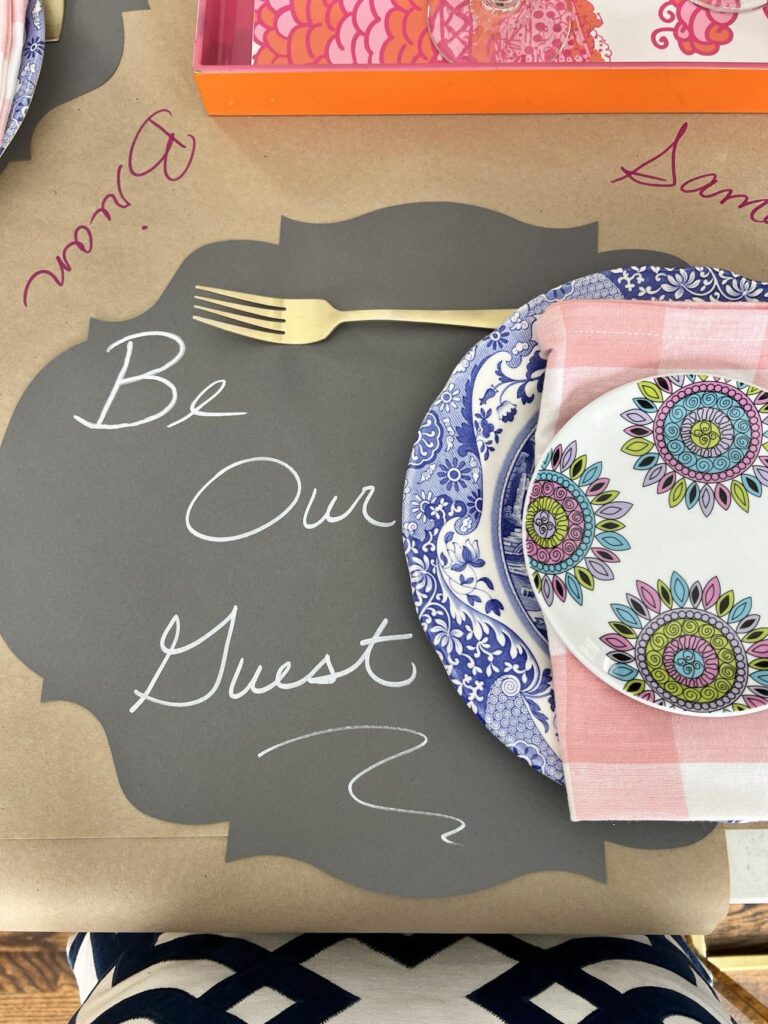
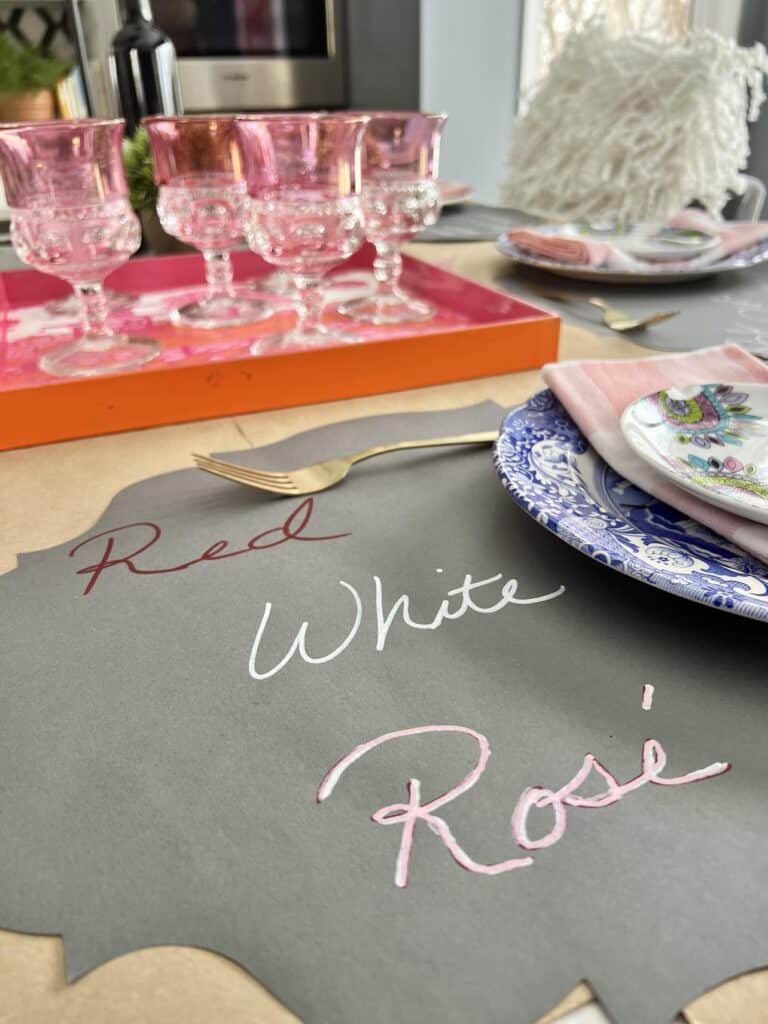
Here’s the secret sauce for this masterpiece: curvy paper placemats and a marker or chalk pen. Creating each place setting as a personal space is so much fun!
Now, my plate collection is like a chaotic family reunion – mismatched, but they somehow all get along. They’re united by one thing: color!
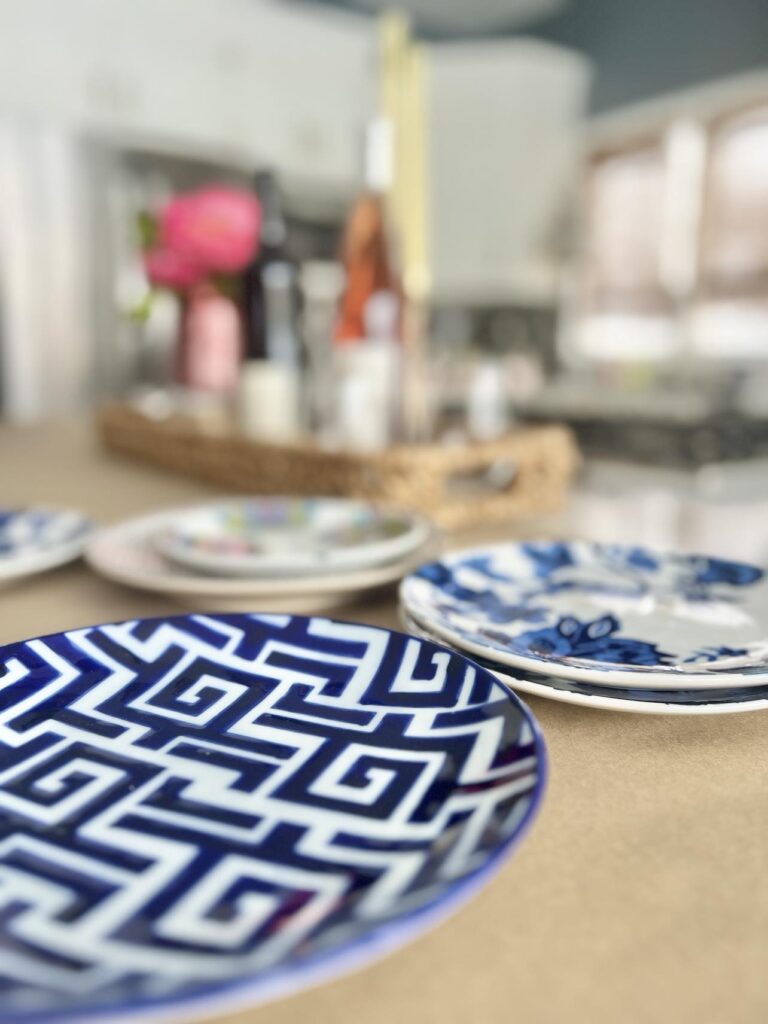
Blue and white patterns with the occasional rebel in pink or red.
Here’s the plot twist: instead of the classic center stage for the plates, I went avant-garde and placed them off-center to the right. And to the left? That’s prime real estate for a quirky phrase, a sentence, or a word that screams the essence of the person about to park their tush there.
Let the dinner table storytelling begin!
Who Sits Where?
For my daughter who likes to nibble off of other people’s plates (love you, darling!), “Nibble and Nosh”.
Her husband (my son-in-law), who tells the cheesiest jokes, gets a placemat that says “Cheese Please!”
For my daughter who travels from NYC to visit and once sang the role of “Belle” in “Beauty and the Beast”, I wrote, “Be Our Guest.”

For my husband who always opens the wine bottles, “Red, White, Rose'” is written in red, white, and pink markers for the different wines served.
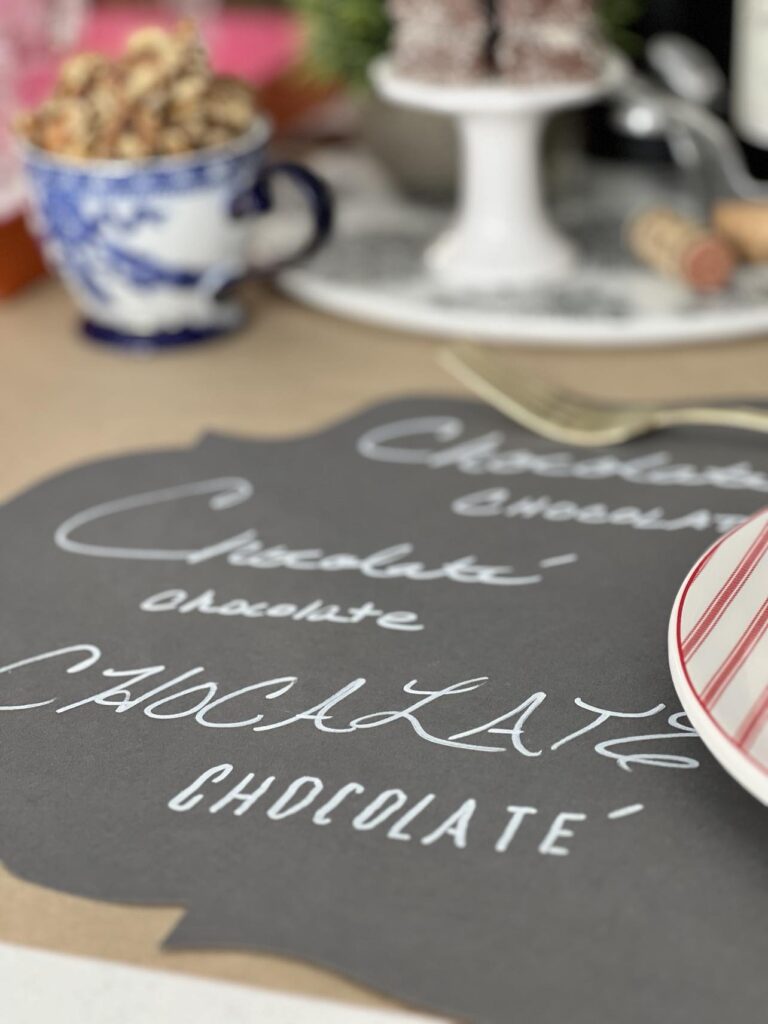
And for myself? Well, of course, the word “Chocolate” was written in as many different ways as my poor penmanship would allow!
In case they can’t figure out where they are supposed to sit, I wrote their names on the brown craft paper near their plates.
For an extra special touch, your guests get to decorate the table too! Place a small pitcher full of colored pencils or markers and let your guest have fun drawing, sketching, and unleashing their inner artist!
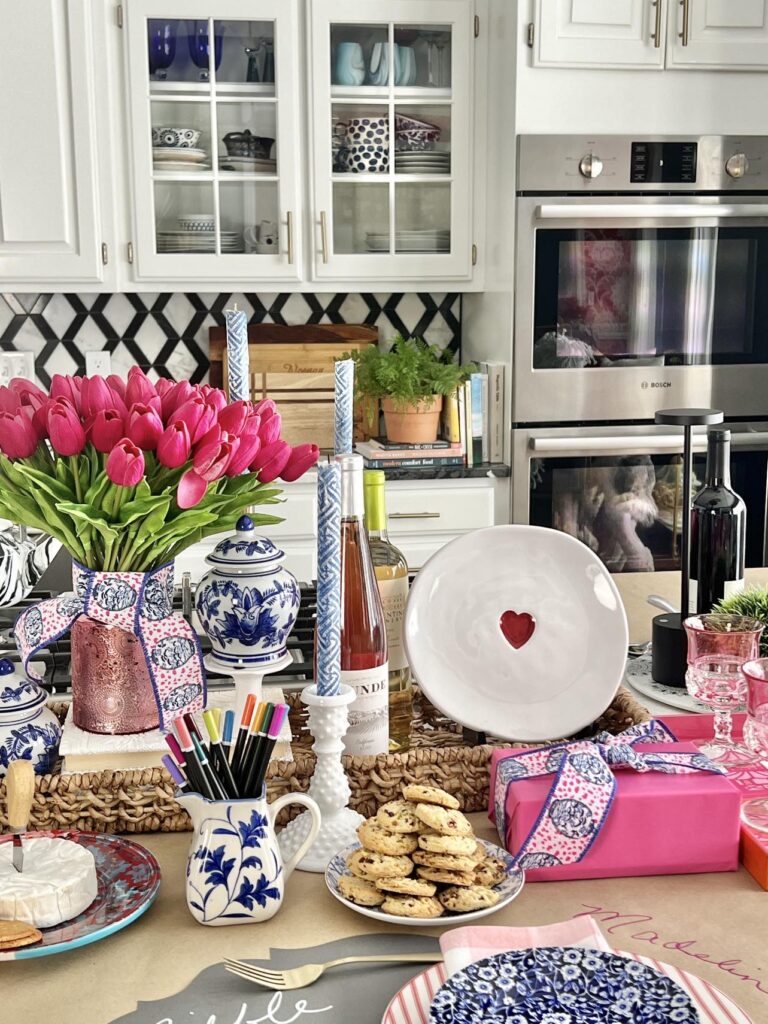
All that was left to do was lay napkins under the plates and place one lone fork horizontally across the top of the setting. (That’s all you need for a nibble and nosh!)
Some Nibbles to Nosh
Instead of serving a fancy meal, nibbles are the name of the game.
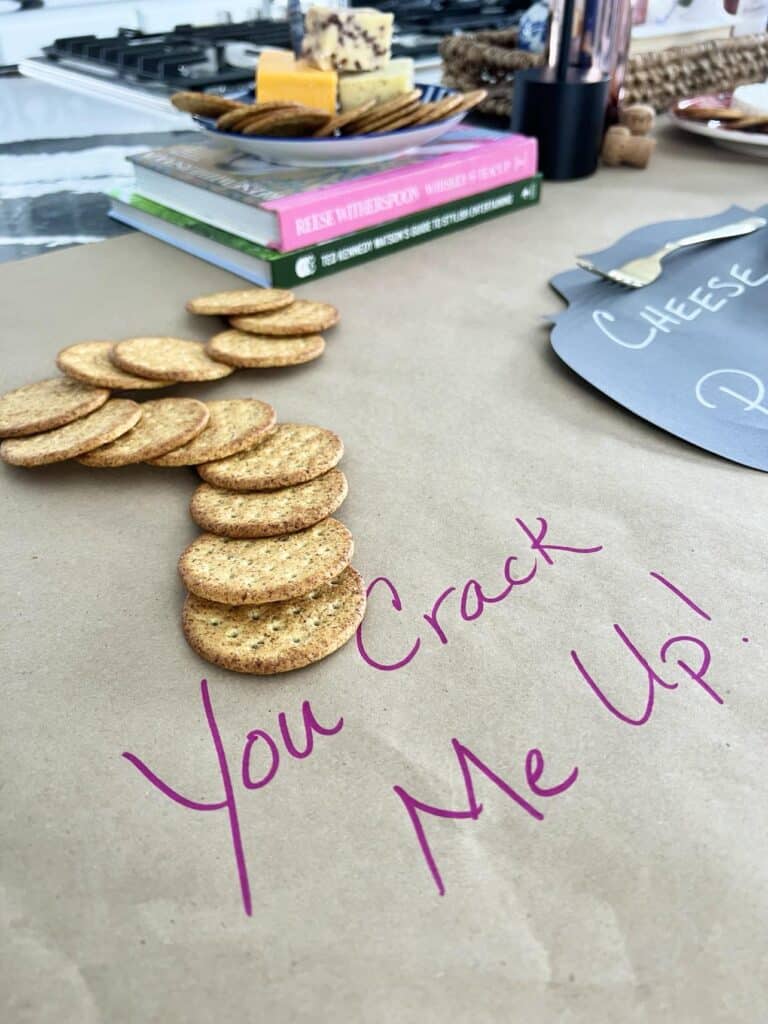
- Cheese and Crackers: Follow the cracker road that leads to the cheese! (Brie, Havarti Dill, and White Cranberry Cheddar are my favorites!)
- Cranberry pistachio cookies
- Bowls of fresh strawberries
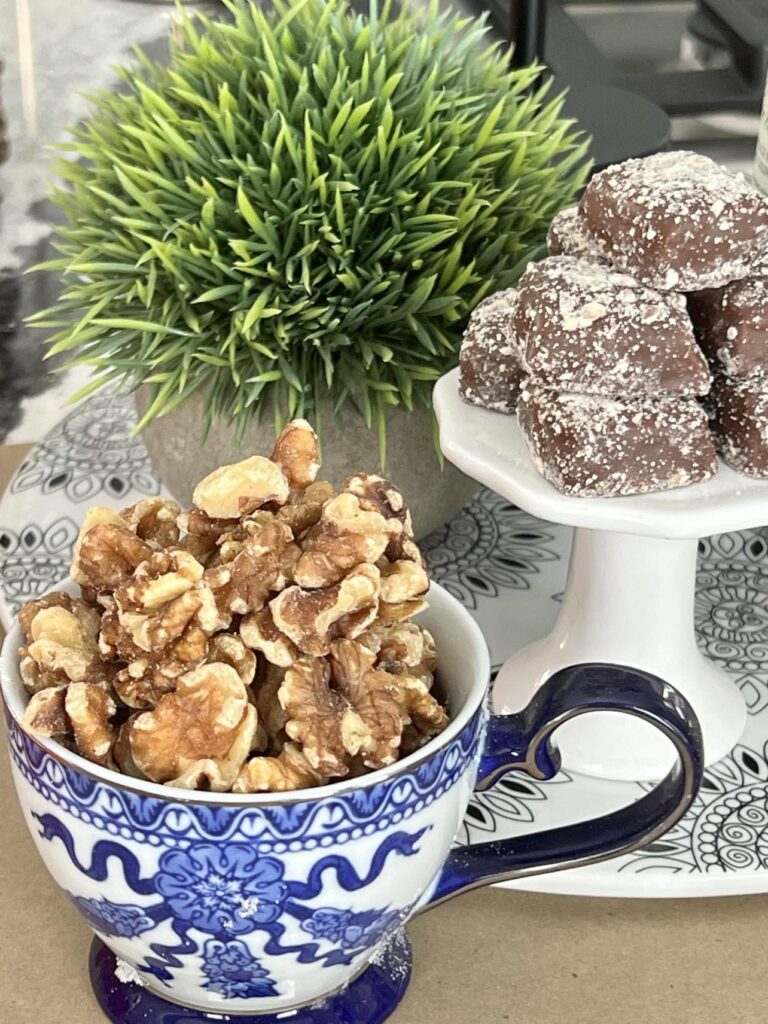
- Teacups full of walnuts.
- Almond Toffee given a place of honor on a small white pedestal.
- Bowls of fresh strawberries
Simple Valentine Table Decorations
Wait! There are no hearts!
While color and a great chalk marker are giving me all the love I need for this table, I’m not totally bereft of the symbol of this special day of love!
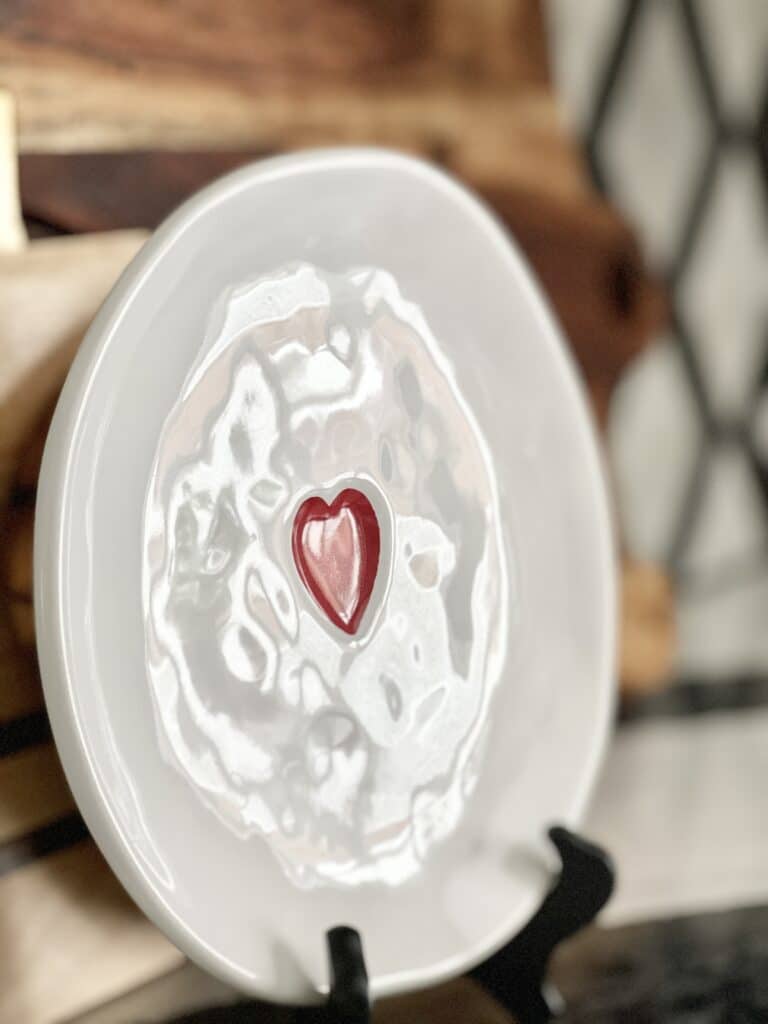
Did you notice the heart plate displayed prominently on an easel amidst all of the wine? One heart can say it aall!
But if you are looking to incorporate more incorporating hearts into your DIY Valentine Table Decorations, here are some to try!
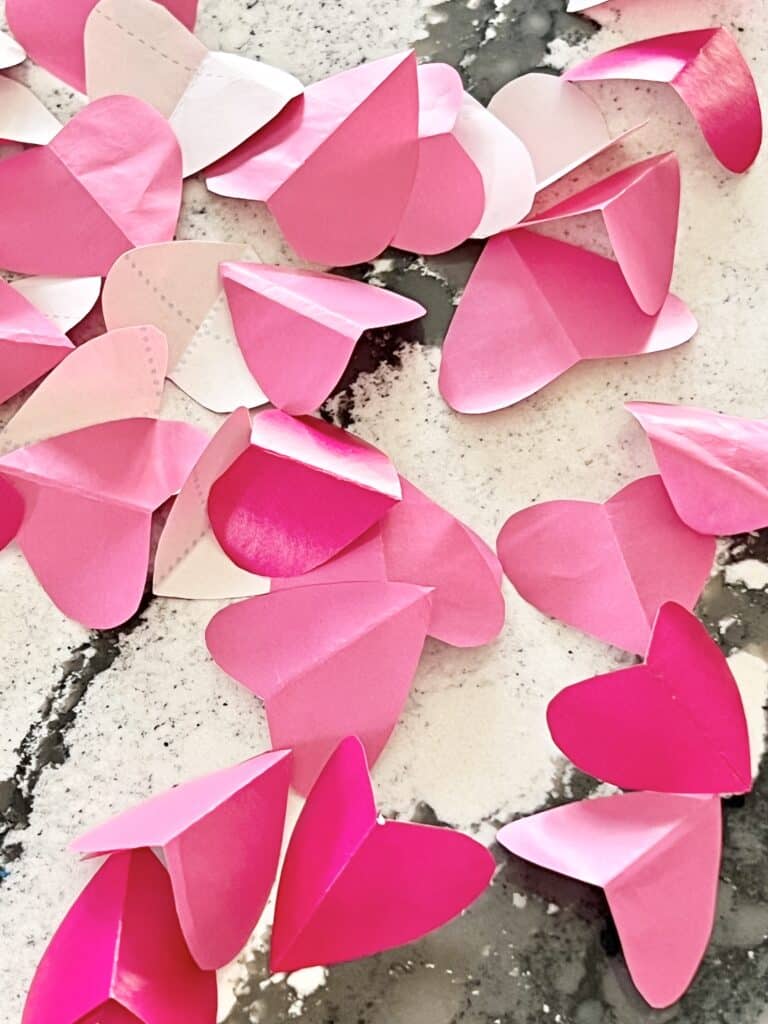
DIY Paper Hearts
This is so simple! Cut some hearts from pink and red wrapping paper or construction paper and sprinkle around your Valentine table. It is aa great way to briing simple and inexpensive color to your Valentine’s Day decorations. You could also sprinkle rose petals for an extra special pretty table!
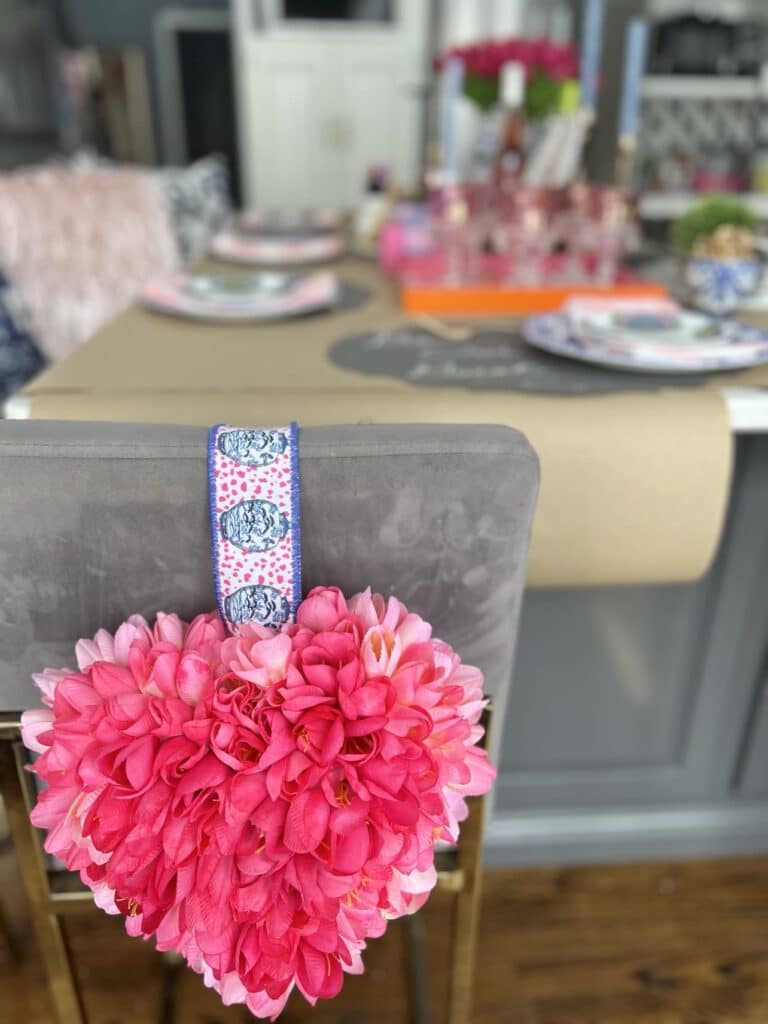
A DIY Valentine Heart with Tulips for Valentine’s Day
This DIY tulip project can be used as a Valentine door hanger or as Valentine home decor. Either way, it is the perfect way to give your room or table a romantic feel.
Using a styrofoam heart and faux tulips, you can create a 3-D floral fantasy heart. You can get all of the DIY details HERE.
I hung one on the back side of a bar stool for the Nibble and Nosh but it could hung or tucked anywhere!
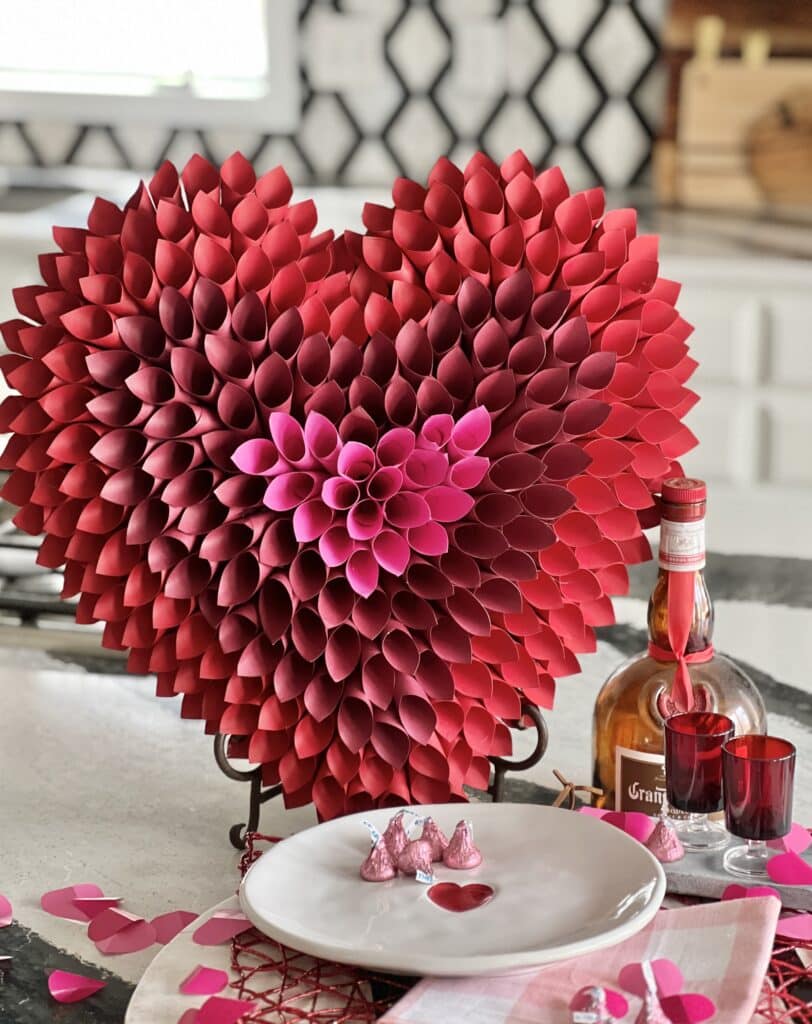
Paper Cone Valentine Heart
With some thick red paper, you might create a paper cone Valentine heart. After cutting paper into rectangles, you can twist them into small cones that are then assembled into a glorious textured heart for your Valentine’s table decoration. You can learn how by clicking HERE.
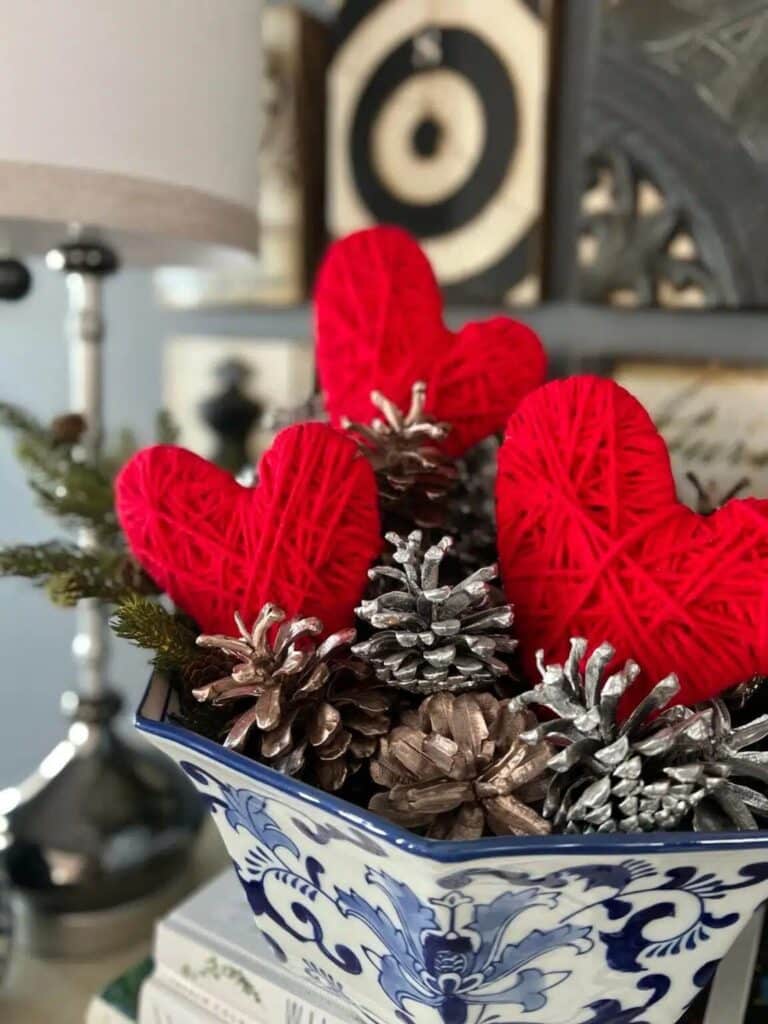
Yarn-Wrapped Paper Heart
Trace the shape of a heart onto a thick piece of poster board or cardboard. Then cut little notches along the outside of the cardboard heart.
Take a skein of red yarn or red twine and start wrapping it around the heart. Use the notches to anchor the yarn as you wrap. Wrap in every different direction for a fun and unique criss-cross look!
Time to Nibble and Nosh!
And there you have it! We’ve exchanged dinner for a fun Nibble and Nosh event with easy DIY Valentine’s Day decorations. From a craft paper table runner to wine glasses with their own VIP tray, whimsical placemats to guests’ artistic participation – this dinner party is relaxed, inviting, and full of Valentine love!
So, the next time someone tells you that setting the table is just about plates and forks, give them a little nibble of Valentine creativity. Because, my friends, we don’t just set the table; we create a symphony of style and laughter!
Cheers to creating and noshing in style!

Don’t Forget to Pin It!
Pin the image below to your boards on Pinterest (just click the Pin button in the top left corner). You can also follow along with me on Pinterest!
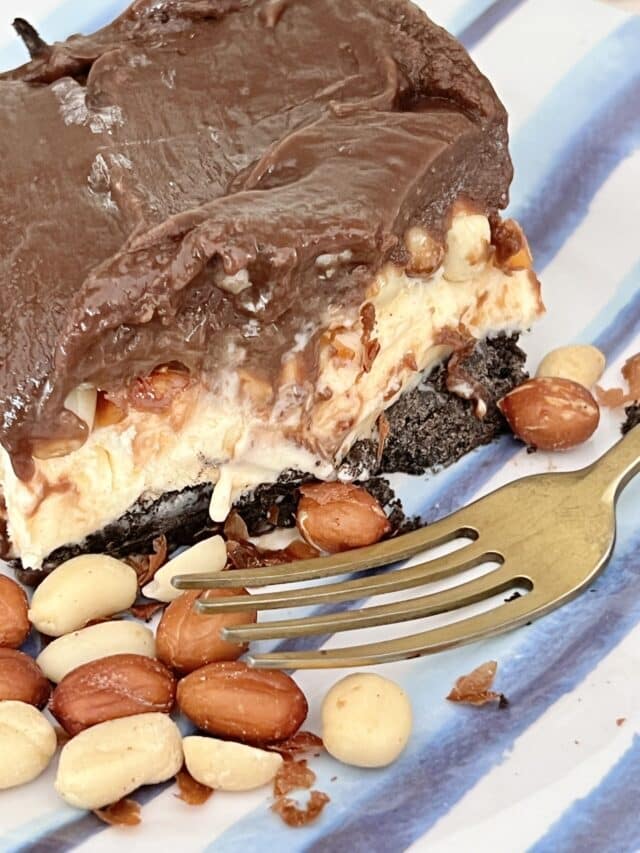
Sweets for the Sweet
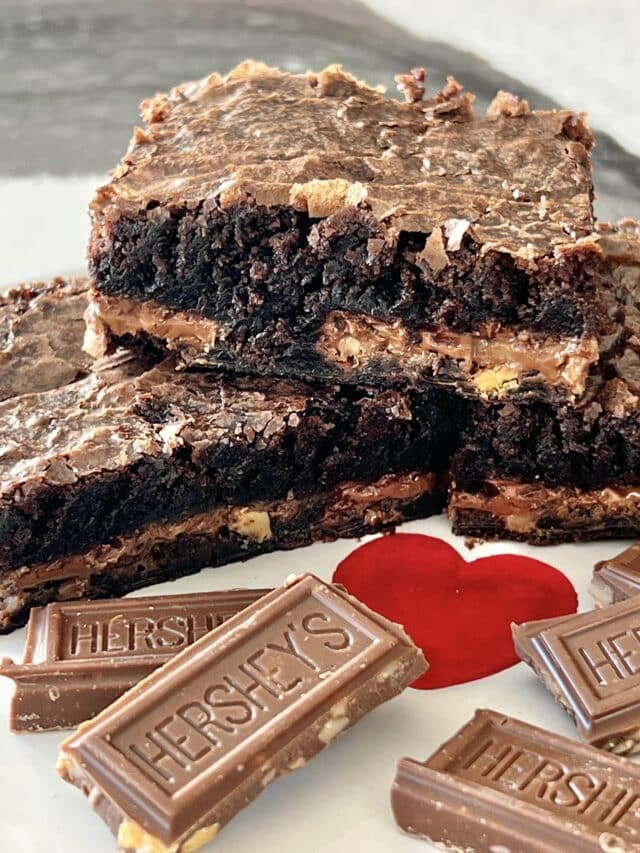
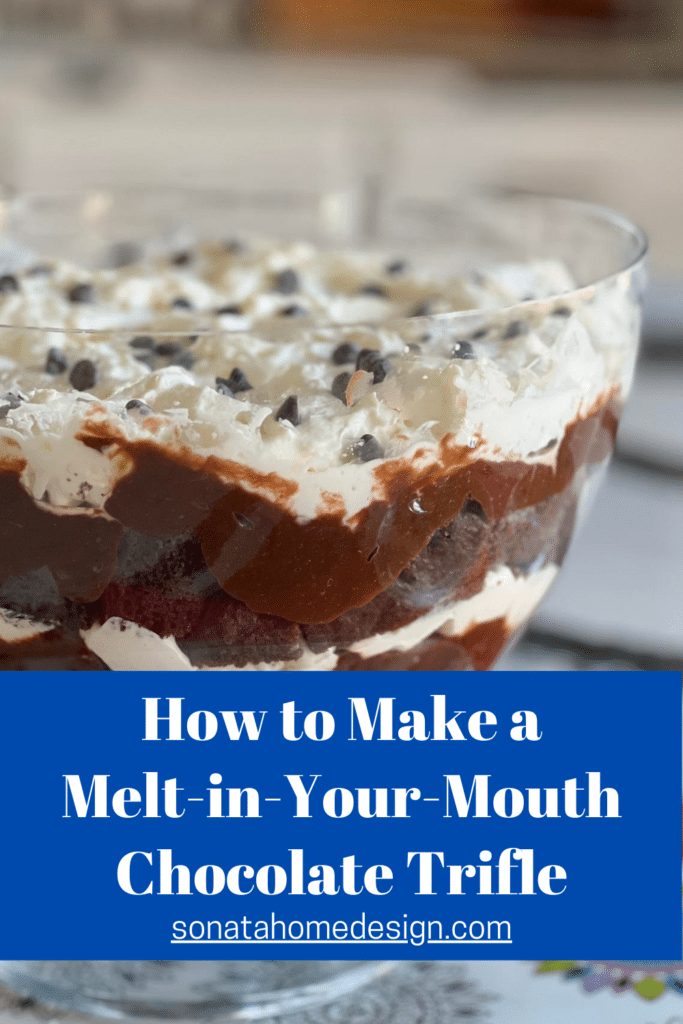
Melt in Your Mouth Chocolate Trifle


Missy I love this whole concept! Using brown paper for the table covering and then leaving all the personal messages to the guests – brilliant! Your styling is gorgeous too!
Thanks, Crystal! This was really geared toward my family and I know how they like to snack and “play!”
Love this idea Missy! way to think outside of the box. Every detail lis just perfect and so playful.
You are so sweet, Wendy! Thank you! I think we need a “Nibble and Nosh” the next time we are all together!
Adorable!! What a creative take on a Valentine’s day celebration! Love the use of kraft paper, too!!
Better than scribbling on a cocktail napkin! Thanks for stopping by!
oh my so many great things about this post and think they all have to do with love. That chocolate cake looks delicious as well. Come over see what we shared http://shopannies.blogspot.com
I absolutely love the idea of a Nibble & Nosh for Valentine’s Day, Missy! This is such a fun and creative twist to celebrating Feb. 14th! Love that you used your signature bold colors too!
Thank you, Kristy! Wouldn’t it be fun to have an in person Nibble and Nosh with our little group? Someday!
How delightful! Enjoy – it looks lovely! #AnythingGoes
Thank you so much, Lydia! Happy Valentine’s Day!