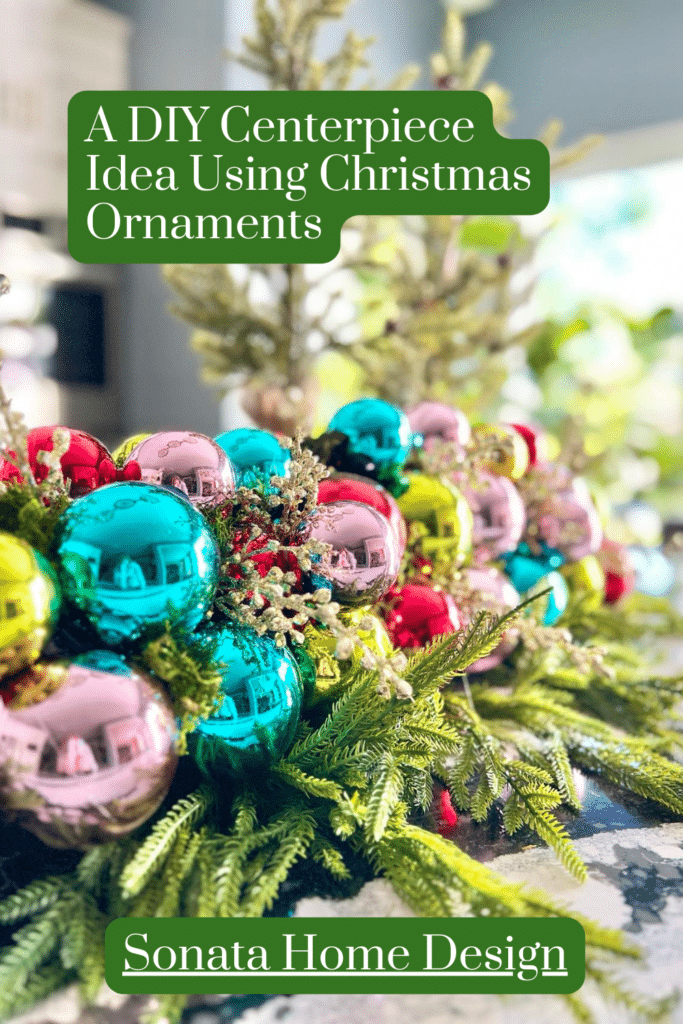
A DIY Centerpiece Idea Using Christmas Ball Ornaments
The holiday season is all about spreading joy, creating memories, and, of course, getting crafty! I am excited to share one of my favorite ideas for creating a DIY centerpiece using Christmas ball ornaments!
This creative project is not only an easy but also budget-friendly and fun way to use colorful ball ornaments and the ever-popular pool noodle!
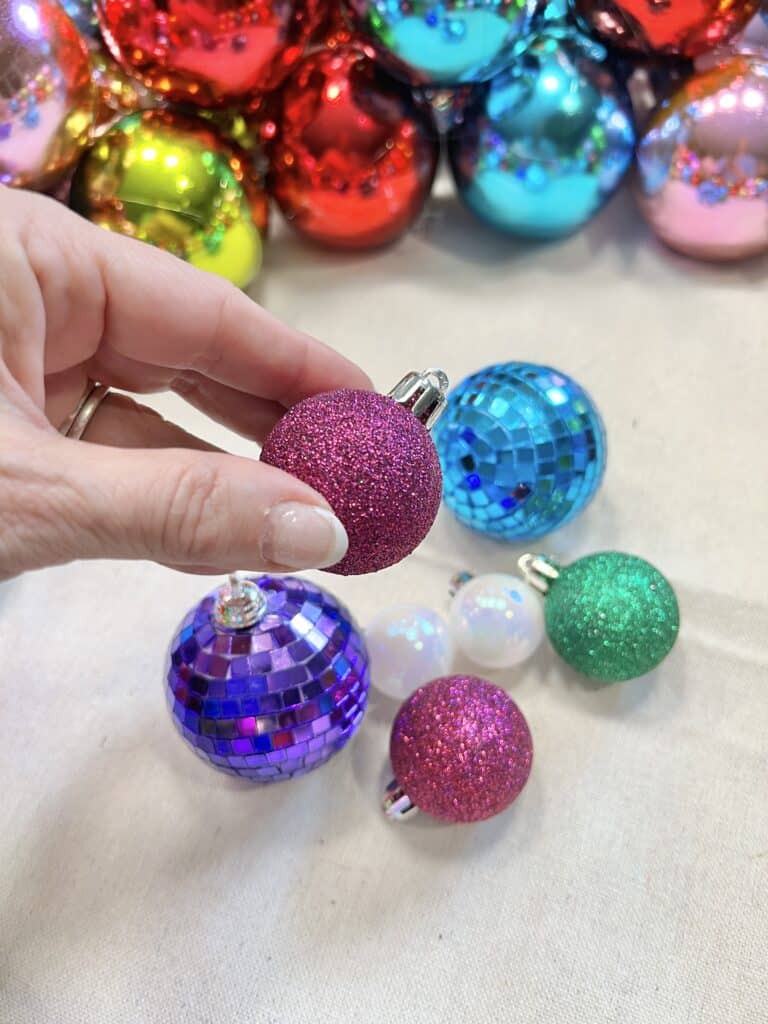
I finally have our main Christmas tree decorated and am now turning to decorating the rest of the house. I’m always looking for creative ways to tie in the color scheme of the Christmas tree.
I changed up the color scheme of the Christmas tree so now have lots of ornaments that need a decorative holiday home. Blue, pink, green, and red ornaments…these are the perfect colors for DIY Christmas decorations that can be moved throughout the house.
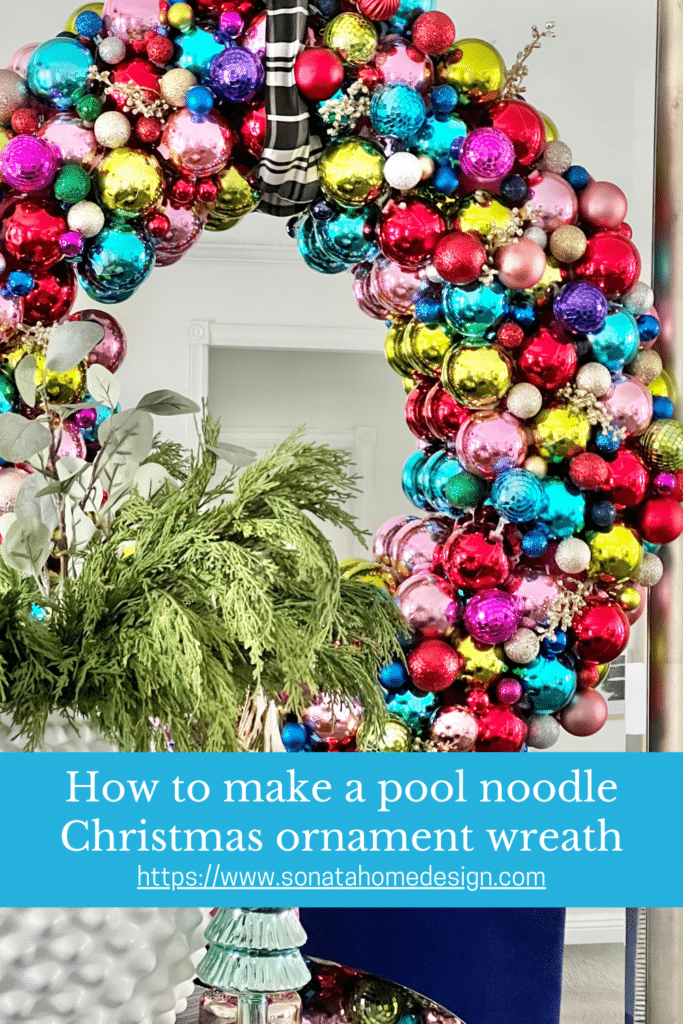
Last year, Christmas balls in different colors were my inspiration for creating a giant Christmas wreath using a pool noodle as the base. This wreath is still one of my favorite projects! But now it is time to give it a twist!
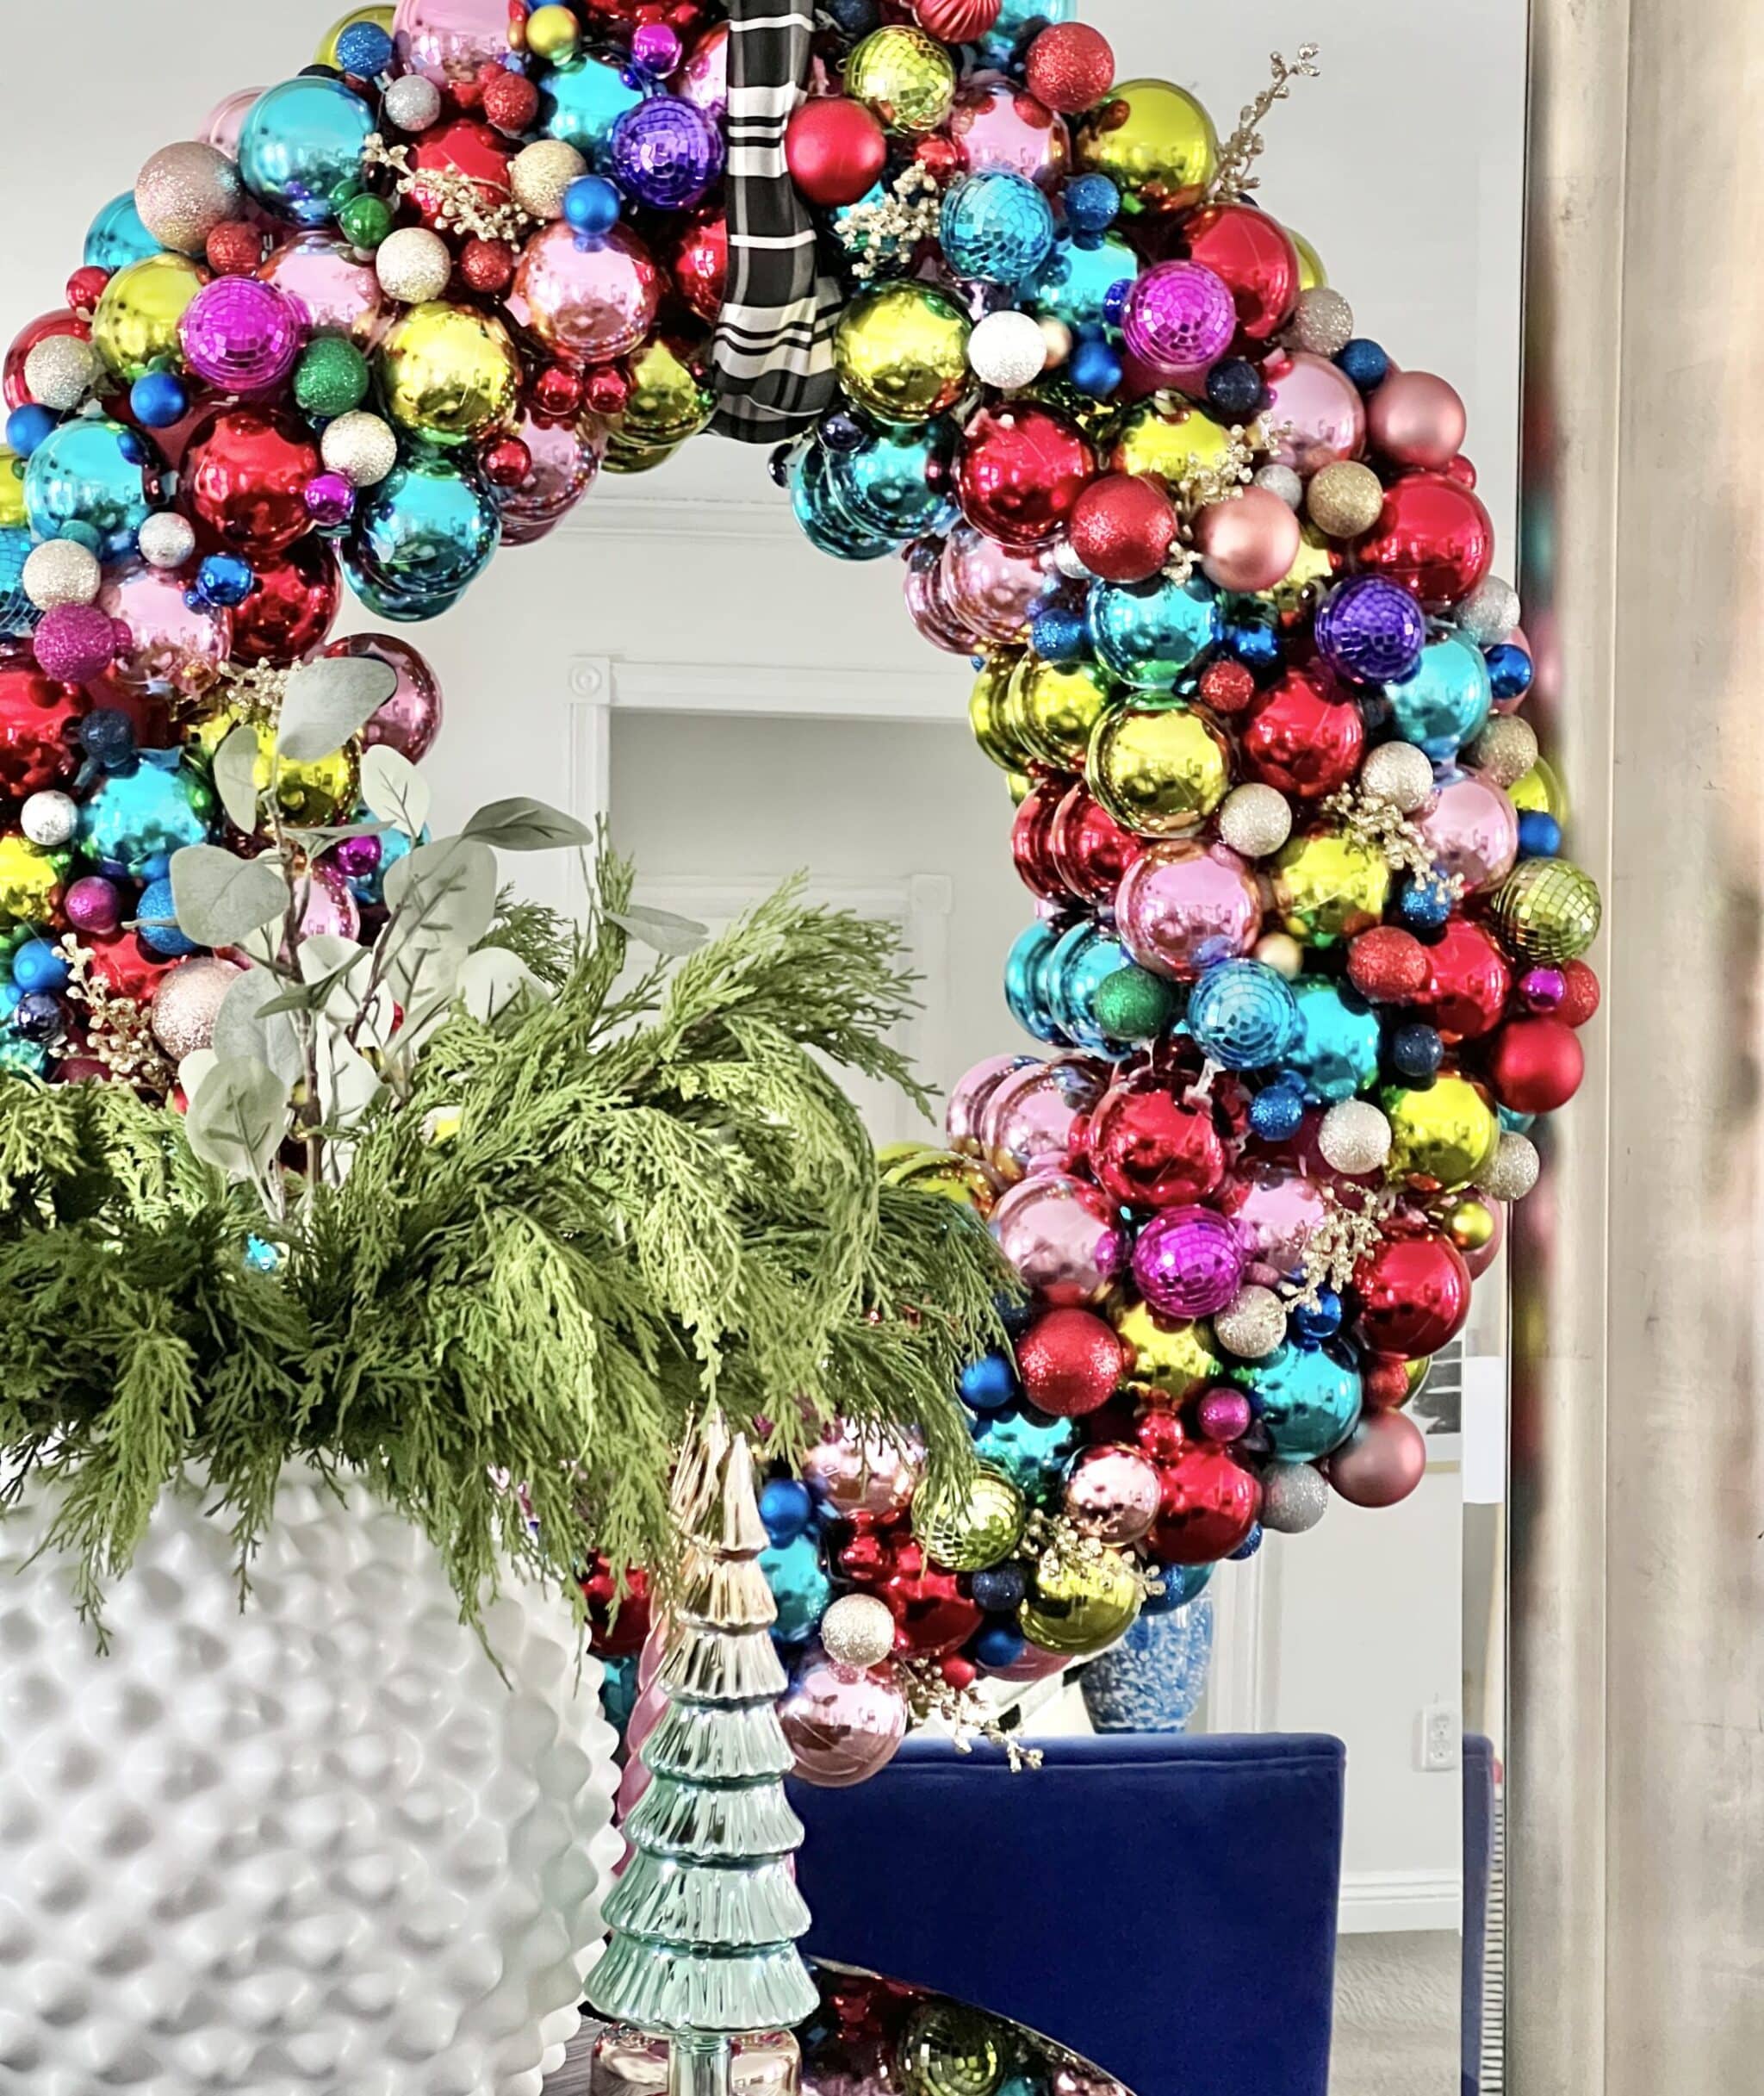
I decided to take the same pool noodle idea and create a smaller, portable centerpiece that can be displayed just about anywhere in the house. This is a quick and easy DIY and is a great project if you need Christmas ball ornament ideas.
Supply List for Christmas Ball Ornaments Centerpiece
Here is what you need:
- Christmas Ball Ornaments (color scheme of your choosing)
- Pool Noodle
- Wood Broomstick (Another type of handle will work…it is just a little harder to cut.)
- Handsaw
- Hot glue gun and glue sticks
- Decorative metallic picks
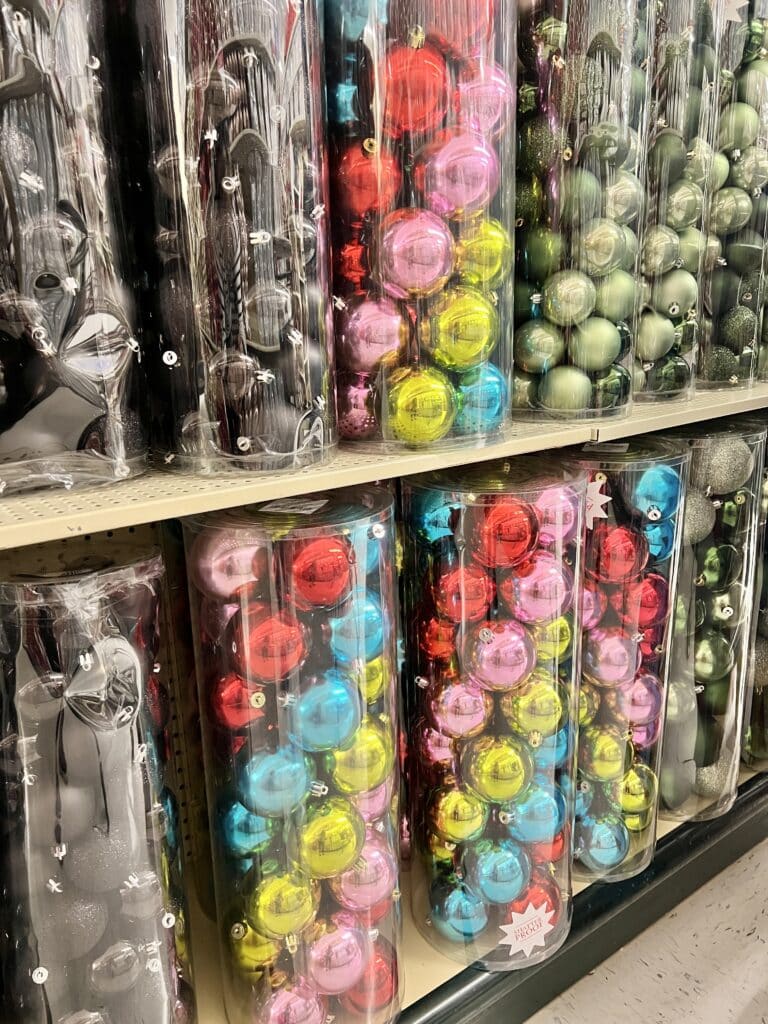
You can use old ornaments or you can purchase new ornaments for this project. I purchased most of my ornaments from a craft store when they were half-price and then supplemented them with ornaments from the dollar store.
How to Make a DIY Christmas Ball Centerpiece
Creating the Centerpiece Base
Let’s start with the pool noodle. The first thing to do is to cut it in half!
Of course, if you have a super long table, you can leave it as is. However, by cutting it in half, you will be able to use this on your dining table as well as other surfaces throughout your house.
As you know, pool noodles are wiggly-wobbly and need some structure when using it as a base. (I used a hula hoop when I made my pool noodle wreath!) To give this pool noodle some structure, we are going to use an old wood broomstick handle. (You could certainly use any other type of wood stick but a broomstick seemed to be a really great idea!)
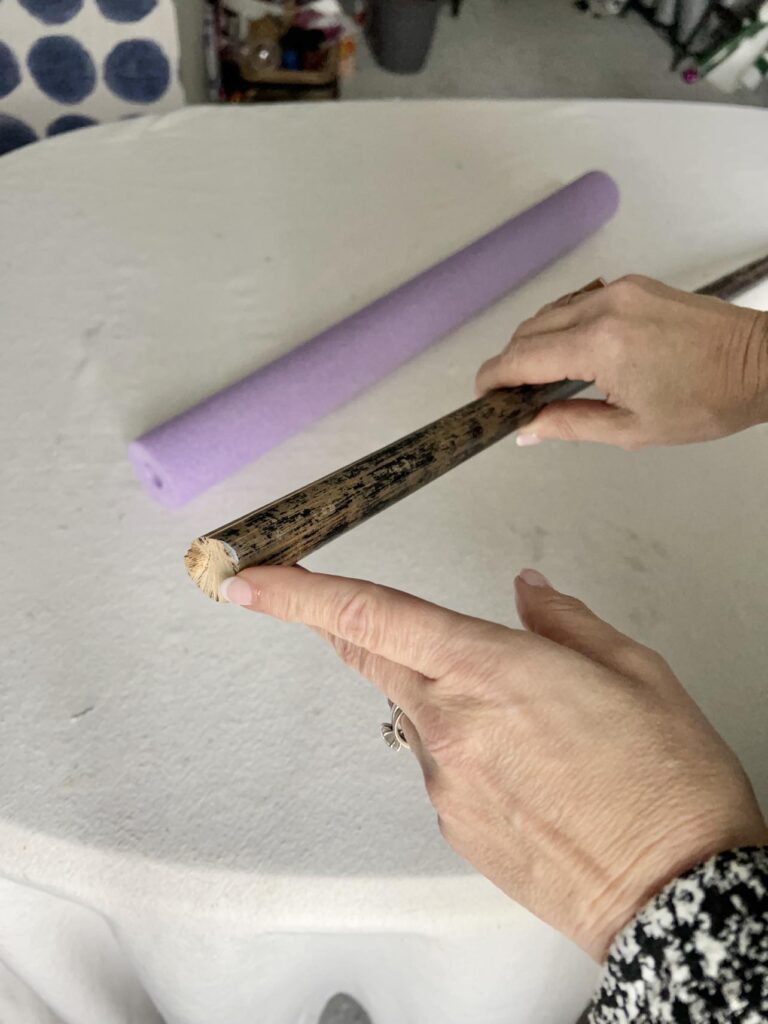
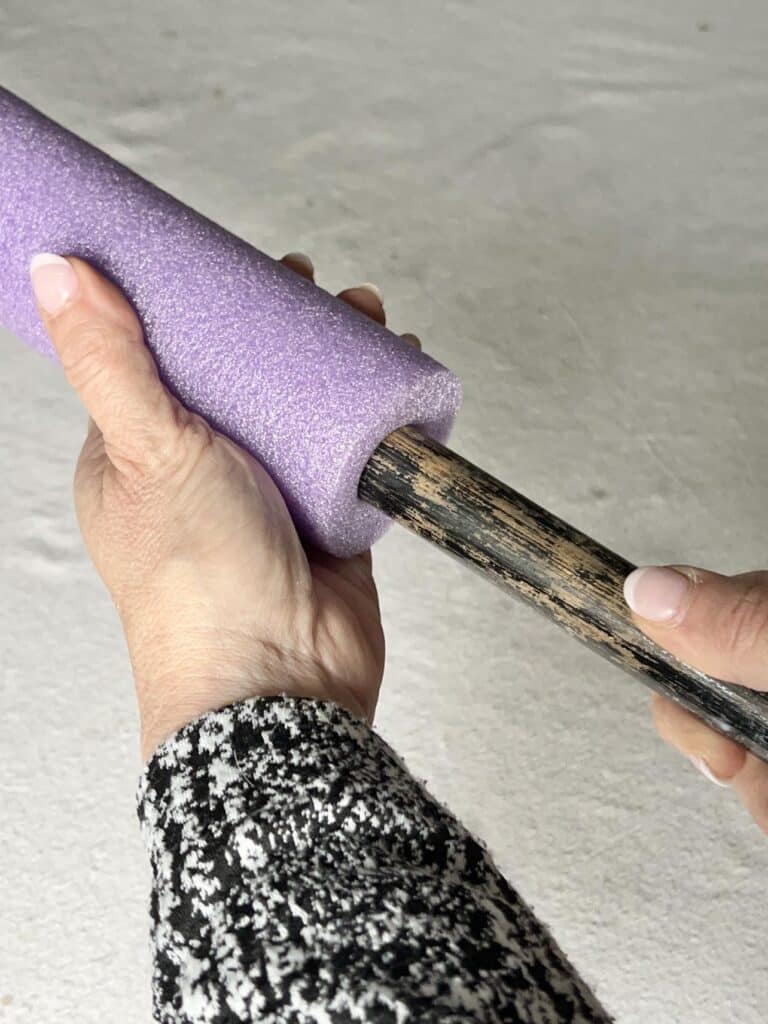
Using a handsaw, carefully cut the broomstick to the same length as your pool noodle. Then, push the broomstick into the center of the pool noodle.
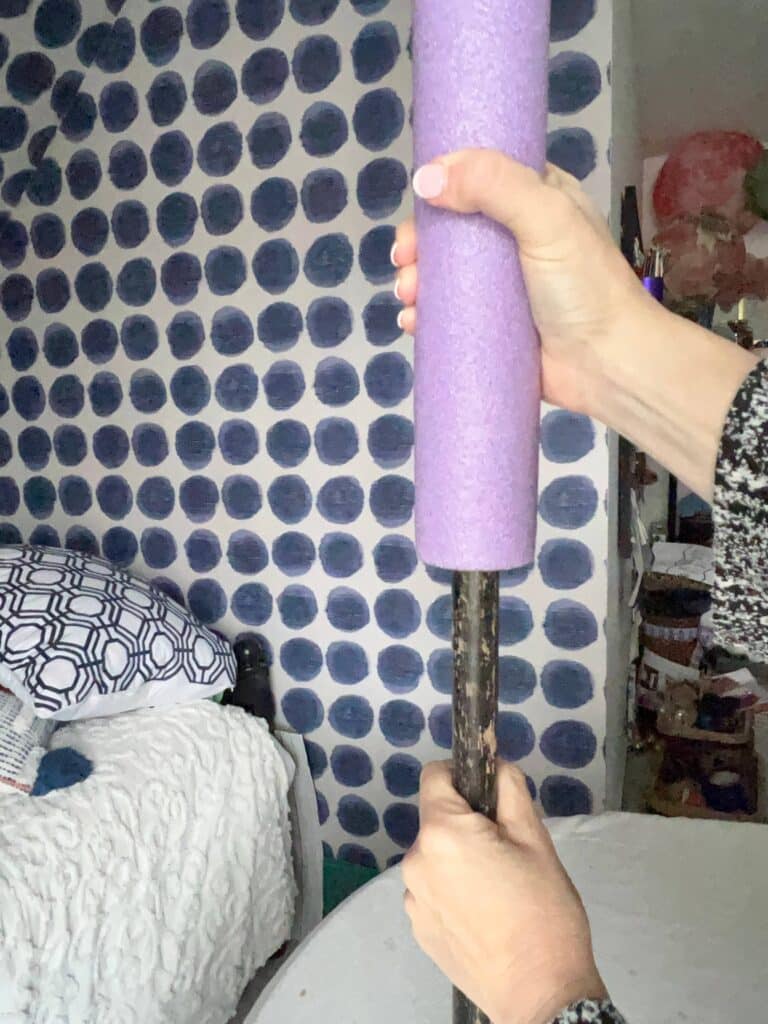
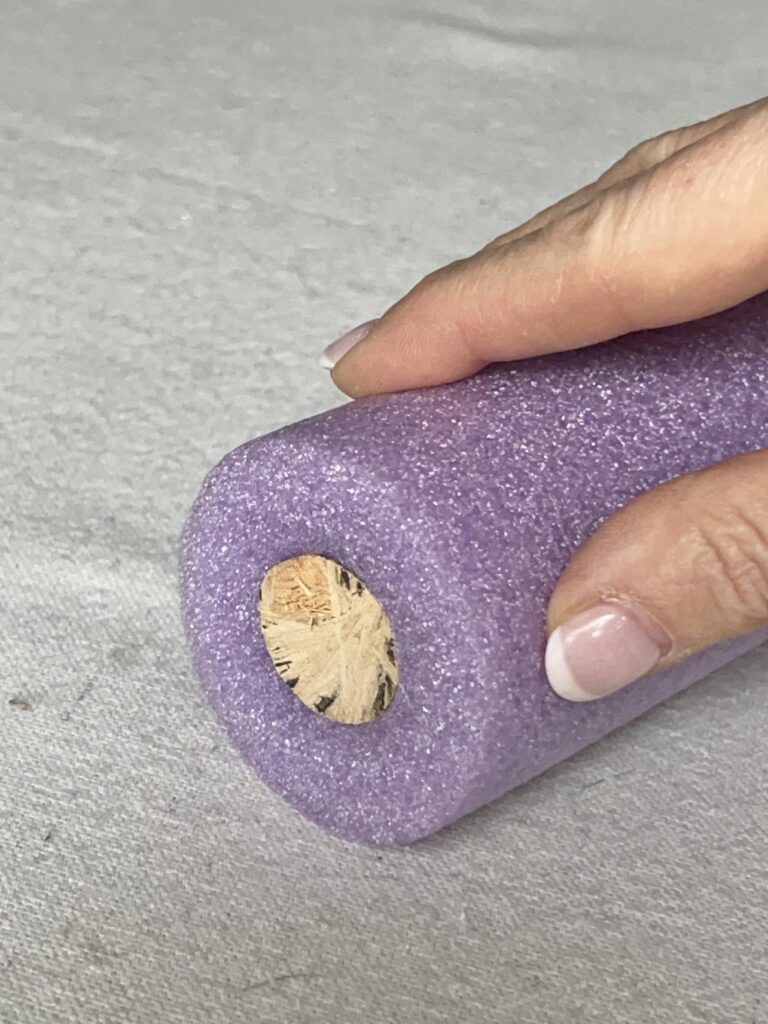
I’ll be honest, when I started to push the broomstick into the pool noodle, I thought this would be an easy task. After some twisting and pushing, I found that the easiest way is to place the broomstick end on the table and push down on the noodle to get it on.
Bicep workout aside…It is amazing how solid the pool noodle is with the wood stick inside!
A reader gave me a tip to spray the broomstick with WD-40…Brilliant idea!
Adding the Christmas Ball Ornaments
Using a glue gun, start to glue ball ornaments to the side of the pool noodle. I angled each ornament with the top of the ornament facing downward toward the noodle.
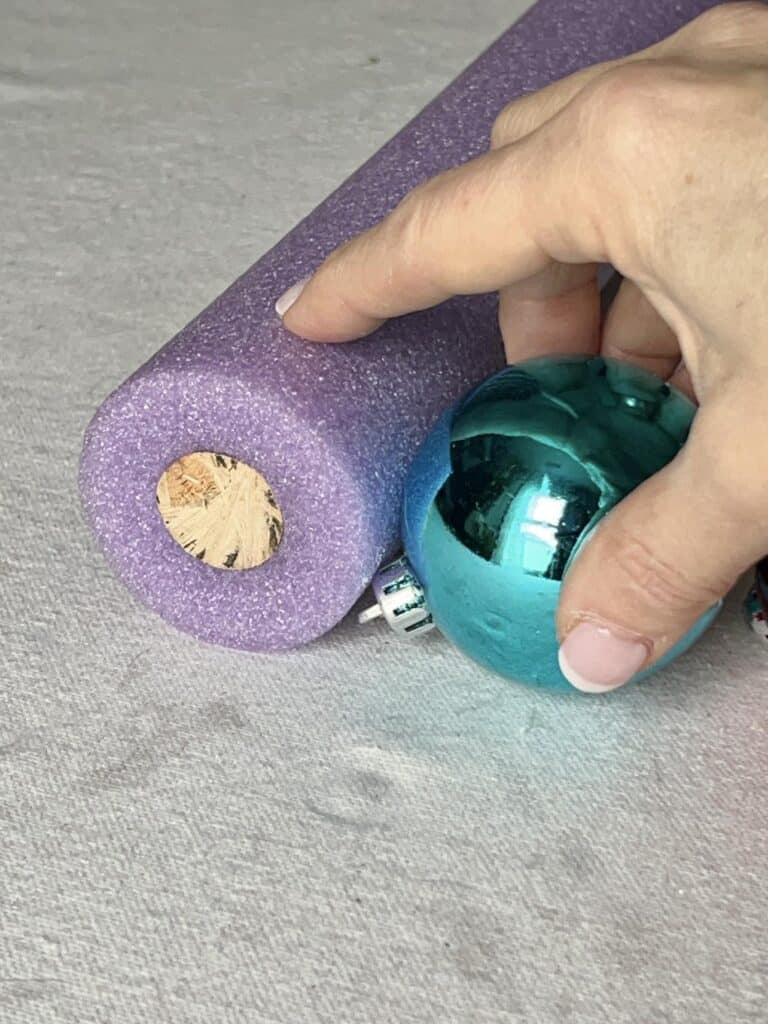
With just a dab of hot glue, the ornament top was attached but not seen from the top. Continue to glue ornaments to the sides and around the ends of the perimeter of the pool noodle. Every once in a while, add a thin line of hot glue between ornaments to make sure they are secure.
Once you have the perimeter covered with ornaments, start to stack and glue ornaments upward to create a gentle dome of ornaments. This is where you can play with the size of the ornaments, alternating large and small ornaments.
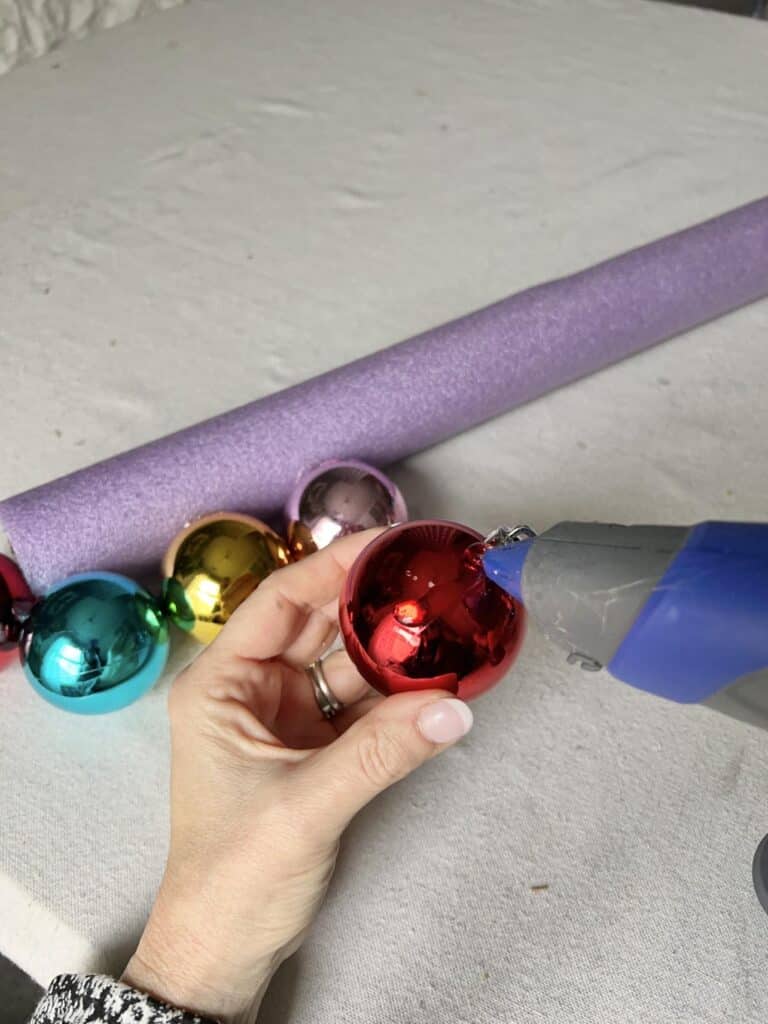
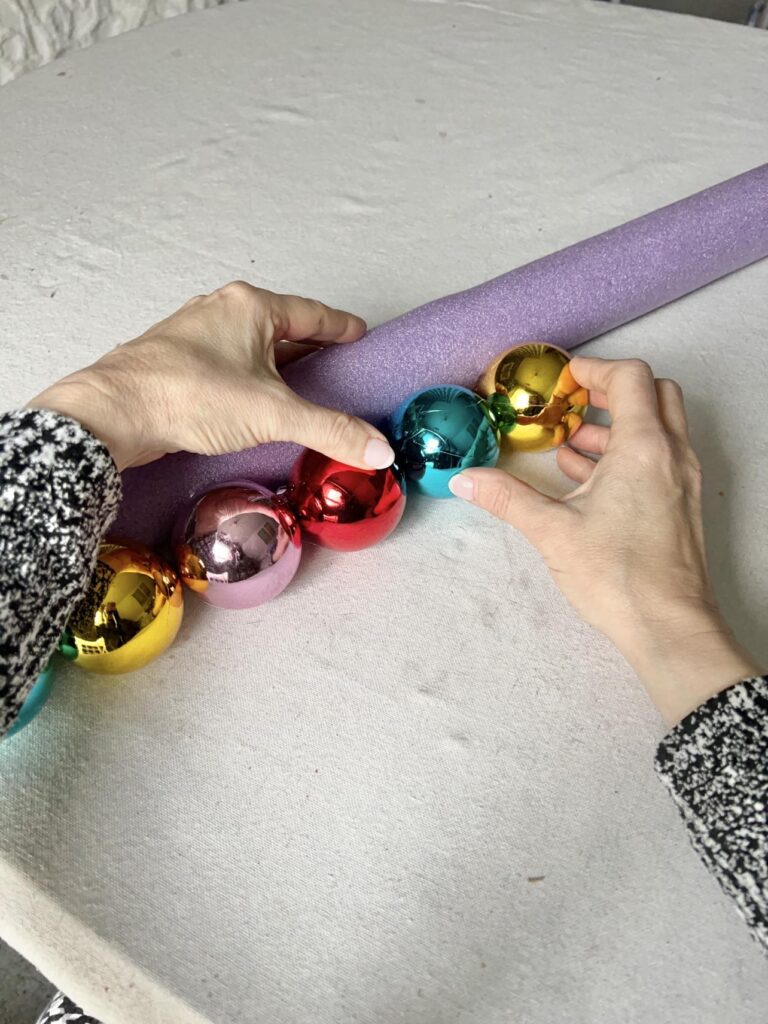
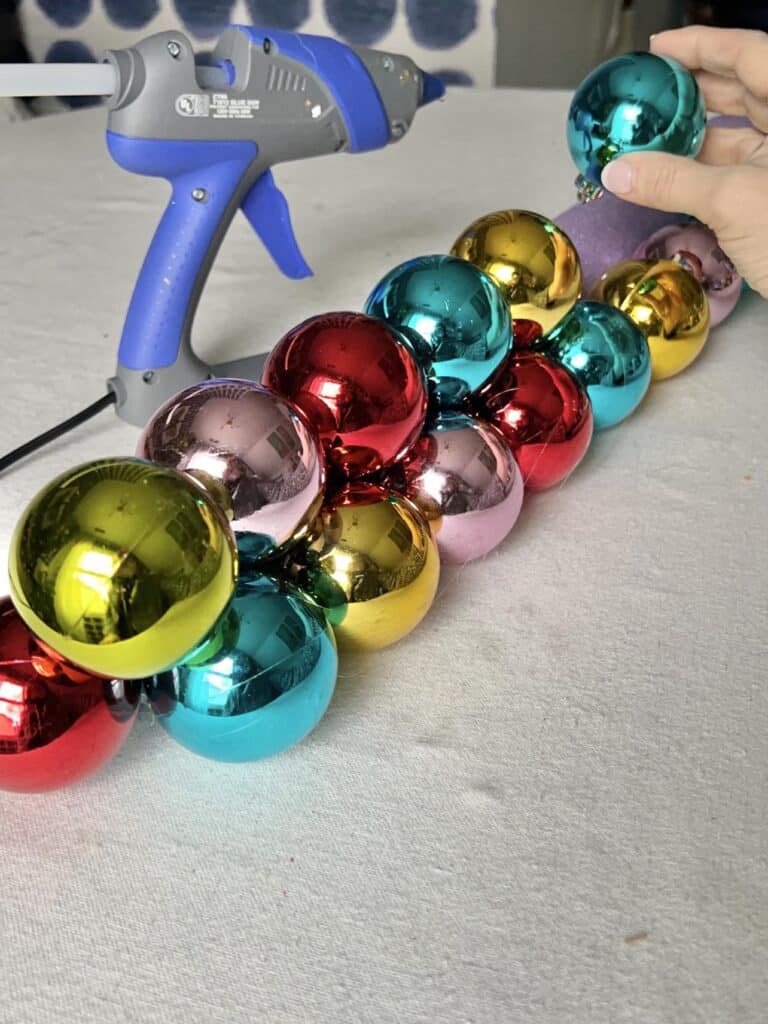
Continue gluing until the pool noodle is covered and you have the ornament cluster effect that you like.
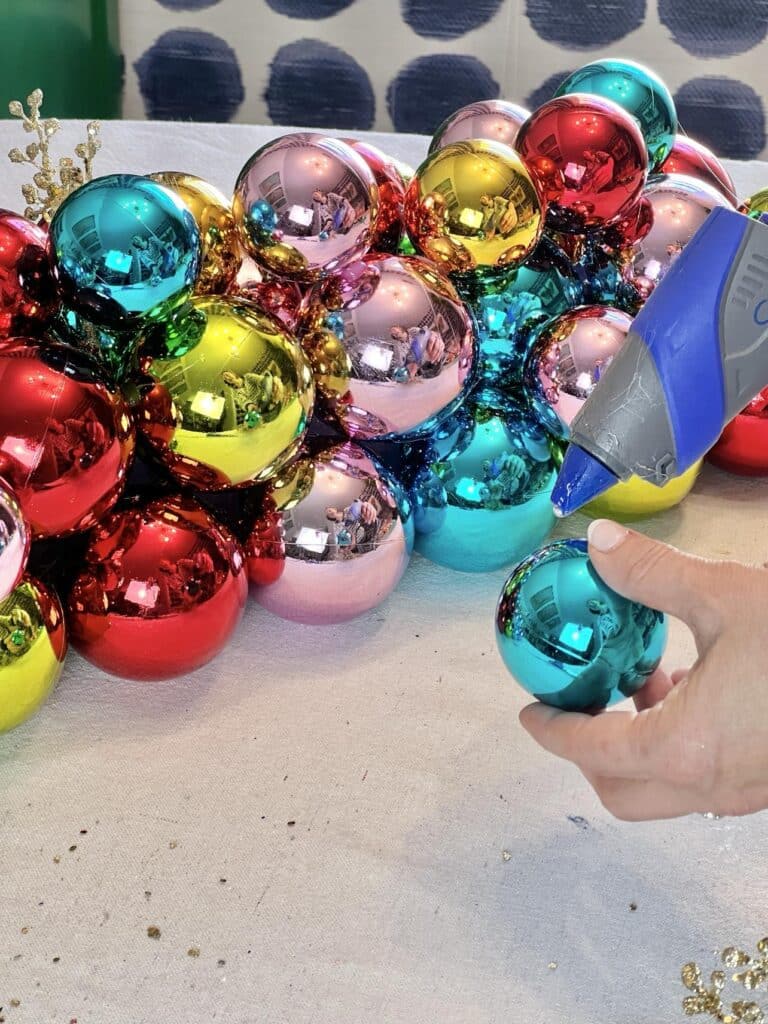
Embellishments
You can take it a step further by filling spaces between ornaments with small metallic stems and clumps of green moss.
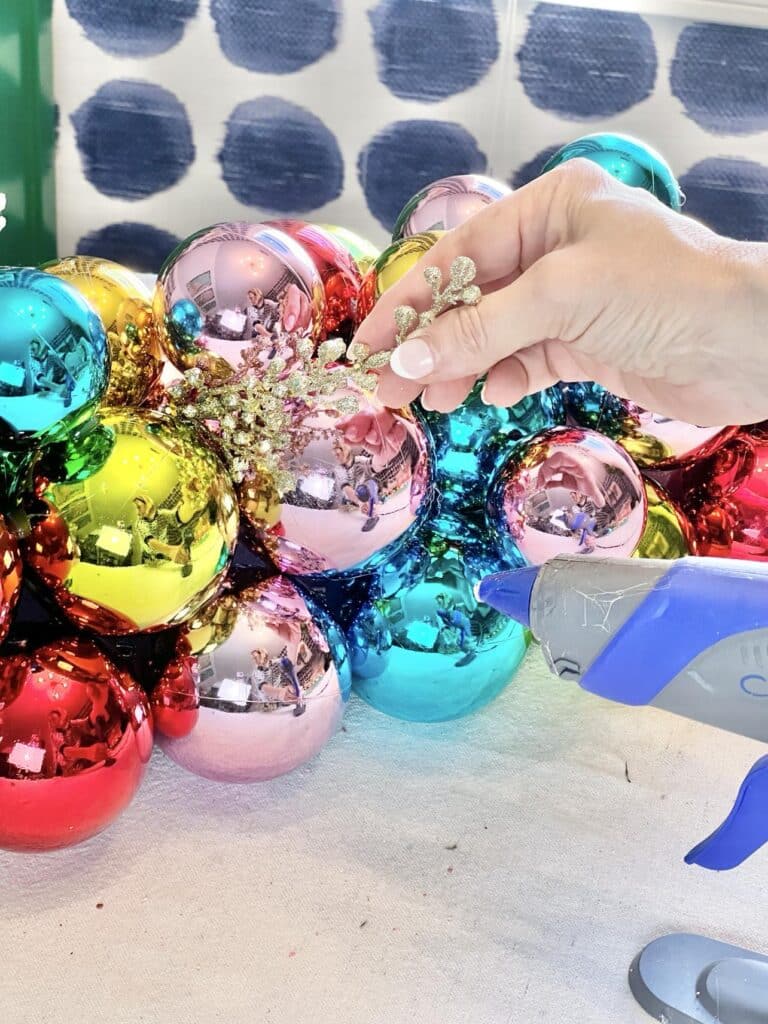
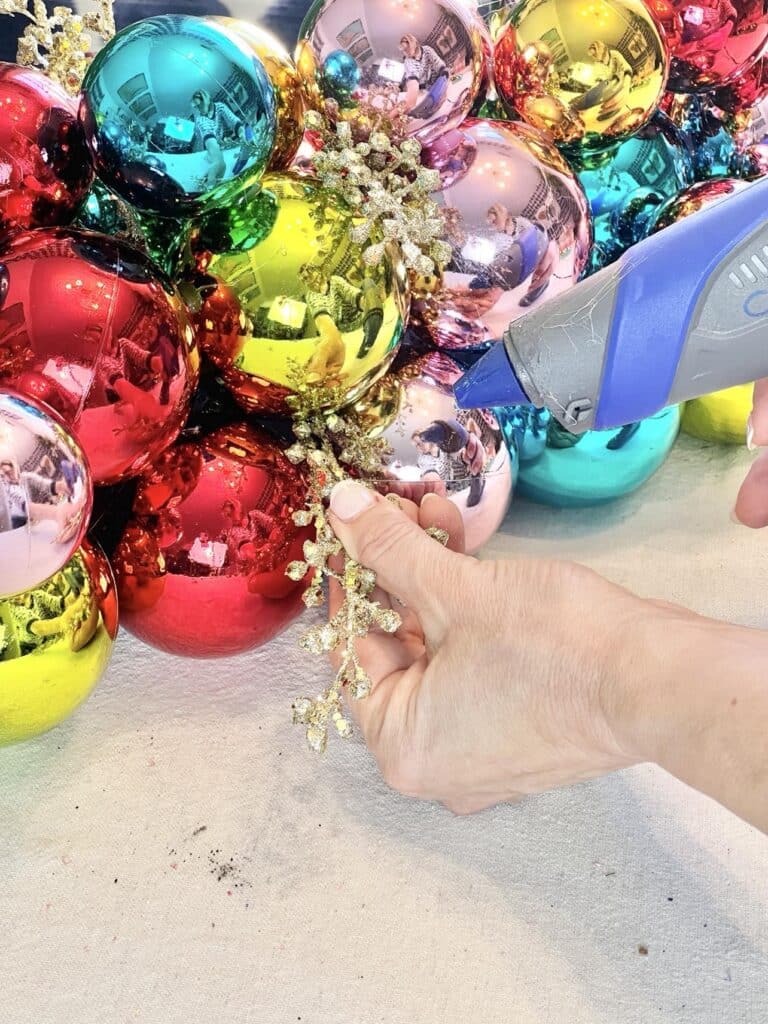
The metallic and organic combination gives the centerpiece an added layer of texture that gives the project depth and dimension.
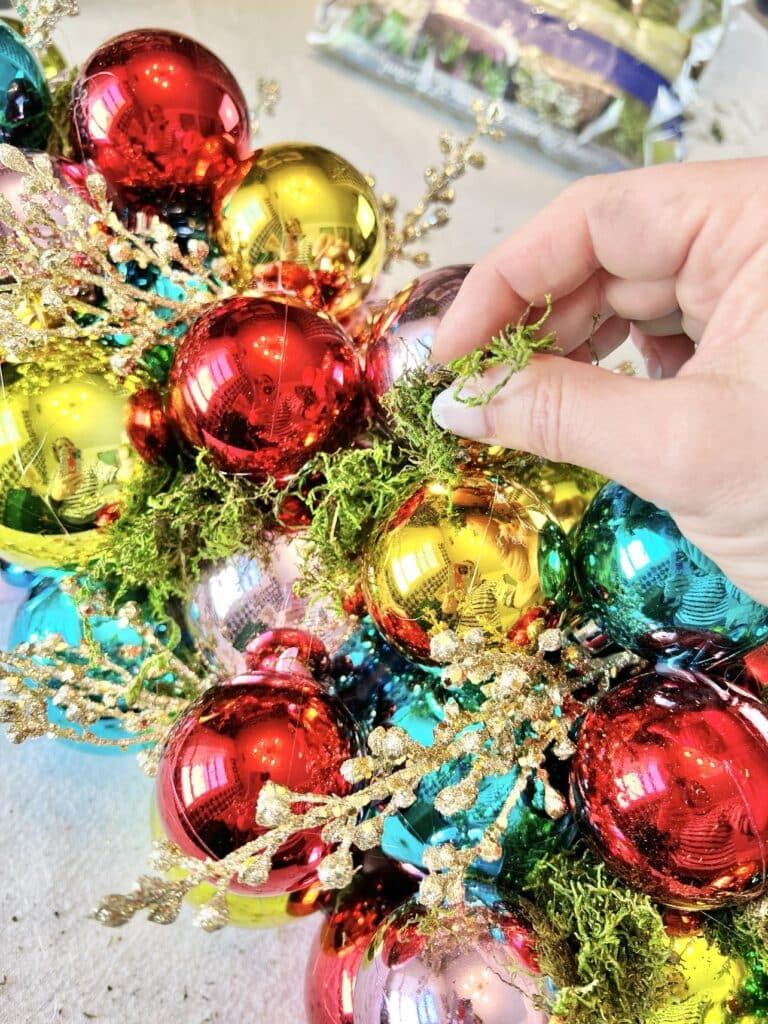
Some other embellishment ideas could include:
- Gold Leaf
- Diamond Dust
- Faux Snow
- Acrylic paint
- Mod Podge applique
Ideas for Decorating with Your Christmas Ornament Balls Centerpiece
There are so many different ways that you can use your new holiday decor!
Festive Dining Focal Point
Certainly, the dining table is the absolute spot to showcase a brand-new Christmas centerpiece!
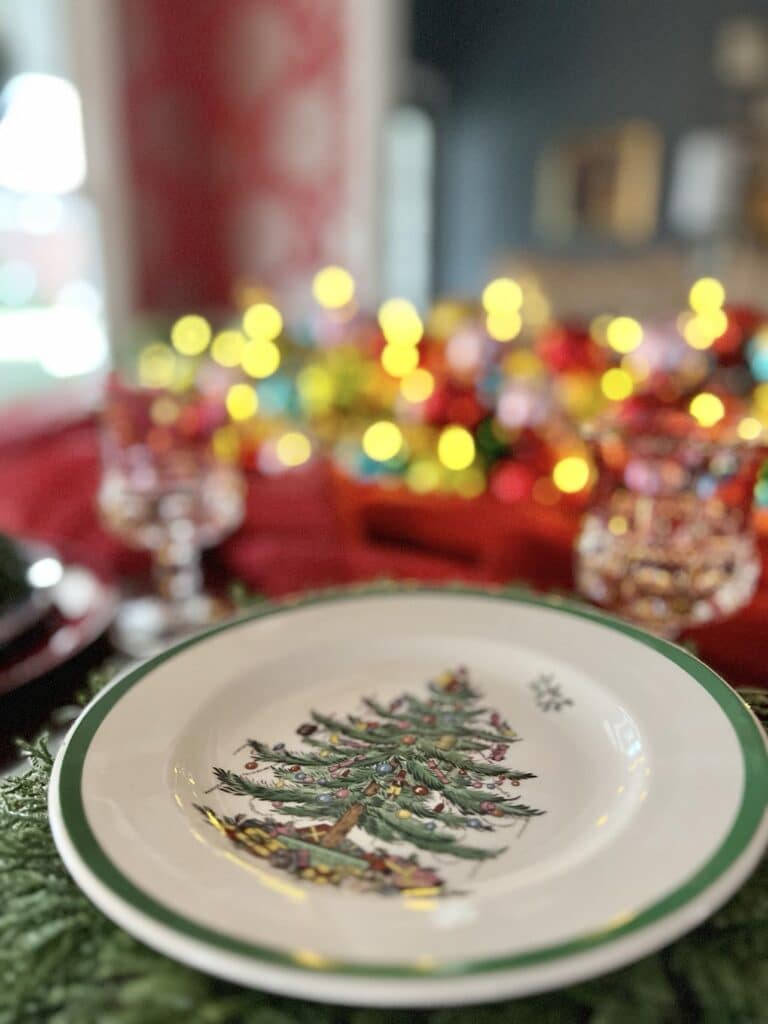
I went for a cozy touch by draping some translucent red fabric right at the heart of our dining table, creating the perfect backdrop for the ornament centerpiece to steal the show. And you know what adds that extra dash of holiday magic? A string of twinkling battery-operated lights! Picture this – as the evening sets in and the lights are dimmed, our table comes alive with the festive spirit.
To tie it all together, I mirrored the vibrant colors from the ornament balls in the layered dinnerware on the table. It’s like a symphony of colors and textures, creating a visual feast that’s as inviting as it is festive.
Now, with the table all decked out in its holiday best, we’re ready for the magic of Christmas Eve!
Cheerful Greetings: Transforming the Front Hall for the Season
Creating a dazzling holiday display in your front entryway is like sprinkling a bit of magic to warmly welcome family and friends.
Taking a cue from the delightful dining room tablescape idea, I decided to add a delightful twist this time. Under the centerpiece, I nestled a layer of evergreen, introducing a touch of organic texture that brings the festive spirit to life. It’s like bringing a bit of the outdoors inside, right into the heart of your home.
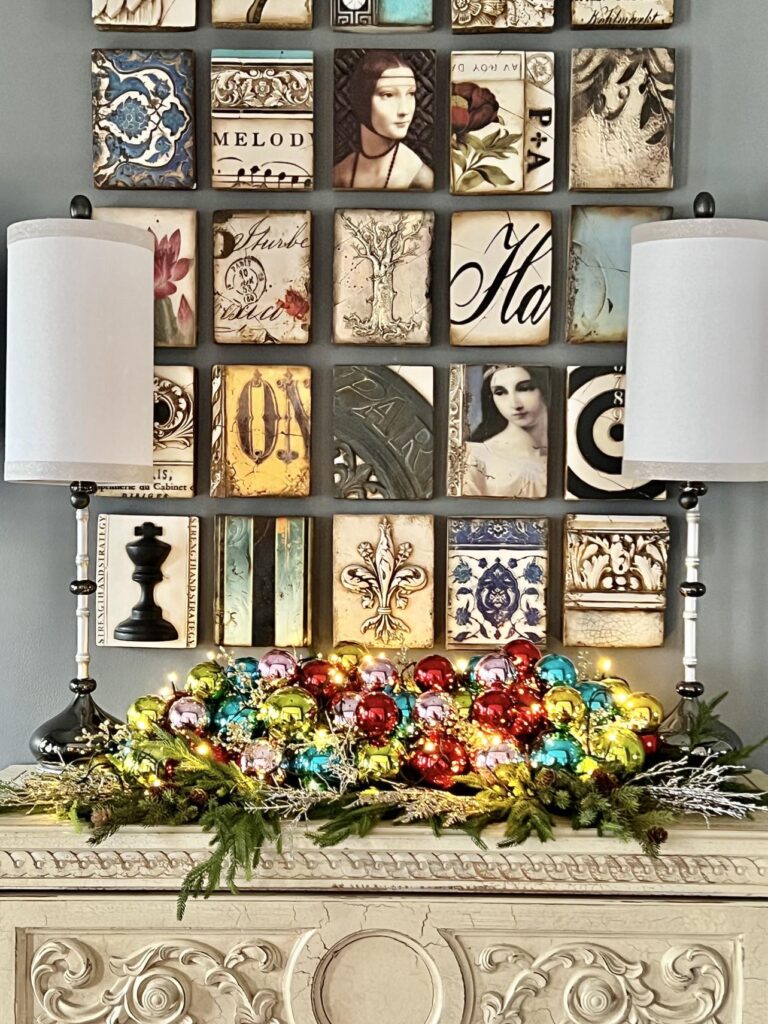
The carefully chosen centerpiece and the vibrant evergreen backdrop work together to transform your entryway into a cozy holiday haven. Every little detail contributes to the festive atmosphere, creating a magical entryway that sets the perfect tone for the holiday season!
A Festive Fireplace Mantel Display
I absolutely love showcasing this centerpiece, especially on our cozy fireplace mantel!
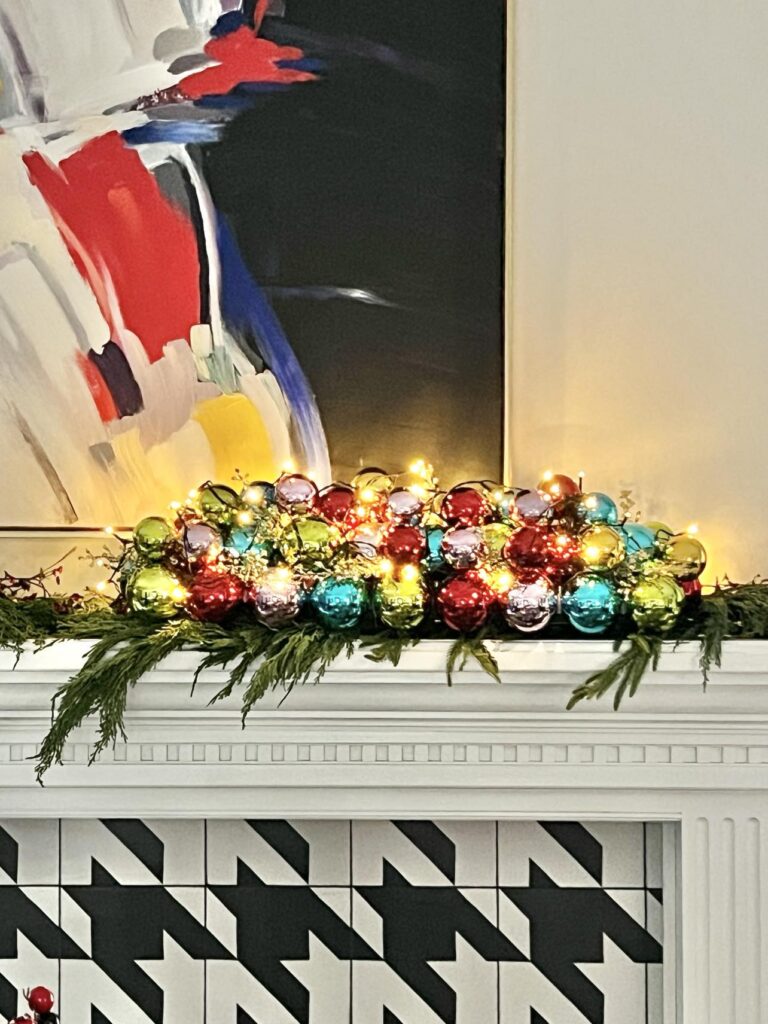
Believe it or not, our mantel is on the narrower side, but guess what? This centerpiece fits like it was made for it, turning our mantel into a dramatic focal point that steals the show. To up the cozy factor, I like to sprinkle in some fairy lights and place a couple of nutcrackers around – it’s like adding a sprinkle of magic to this small yet impactful project.

And here’s a fun idea – you can nestle in a few more handmade ornaments or other glass ball ornaments that perfectly complement the plastic ball ornament centerpiece. It’s all about creating a charming holiday haven right on our mantel!
Christmas Kitchen Cheer
Oh, let me tell you, the kitchen is my favorite place when it comes to Christmas decorations – it’s the ultimate hub where we spend most of our time!
There’s something so magical about infusing the heart of our home with that festive spirit. And you know where the magic happens? Right on our kitchen island!
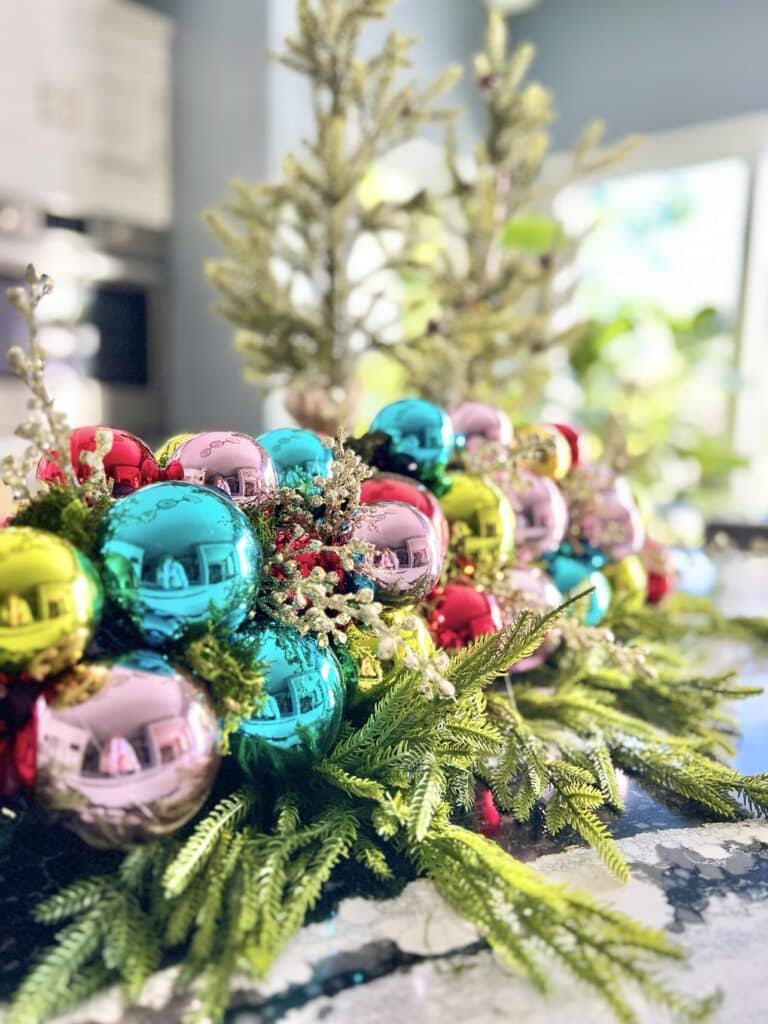
This beautiful ornament centerpiece takes center stage, turning the kitchen into this enchanting holiday haven where we cook up scrumptious meals, share hearty laughs, and simply enjoy each other’s company. It’s the perfect recipe for holiday joy!
And here’s the best part – you can jazz it up even more! Surround the centerpiece with additional DIY ornaments to make it extra festive, or if you’re feeling the less-is-more vibe, just leave it as is. Either way, the kitchen becomes this warm and inviting space that truly captures the essence of the season!
Holiday Home Sparkle
I hope you’re feeling as inspired and excited as I am to bring a touch of holiday magic into your home! I’ll bet you have some clever ways you would display this ball ornament decor piece!
Whether you choose to create a captivating centerpiece with Christmas ball ornaments on your dining table, transform your mantel into a winter wonderland, or let the heart of your home shine with a beautiful arrangement on the kitchen island, this is the perfect craft project to bring a personal touch to your holiday decor.
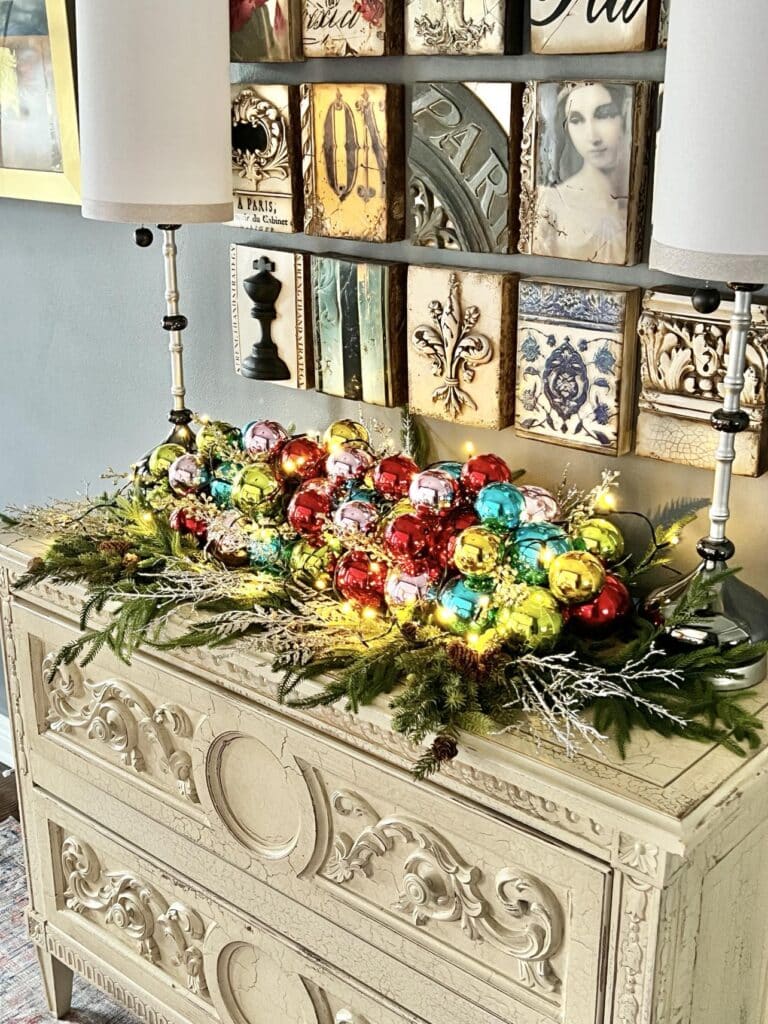
Get your family members involved in making this project. Kids of all ages will love it!
From twinkling lights to vibrant colors, Christmas ornaments contribute to the warmth and joy that define this magical time of year. So, let your creativity soar with a few ornaments and a pool noodle!
Wishing you a season filled with laughter, love, and the unmistakable magic of Christmas!
Merry Christmas!

Don’t Forget to Pin It!
Pin the image below to your boards on Pinterest (just click the Pin button in the top left corner). You can also follow along with me on Pinterest!
More Holiday DIY Projects
Christmas Ornament Pool Noodle Wreath
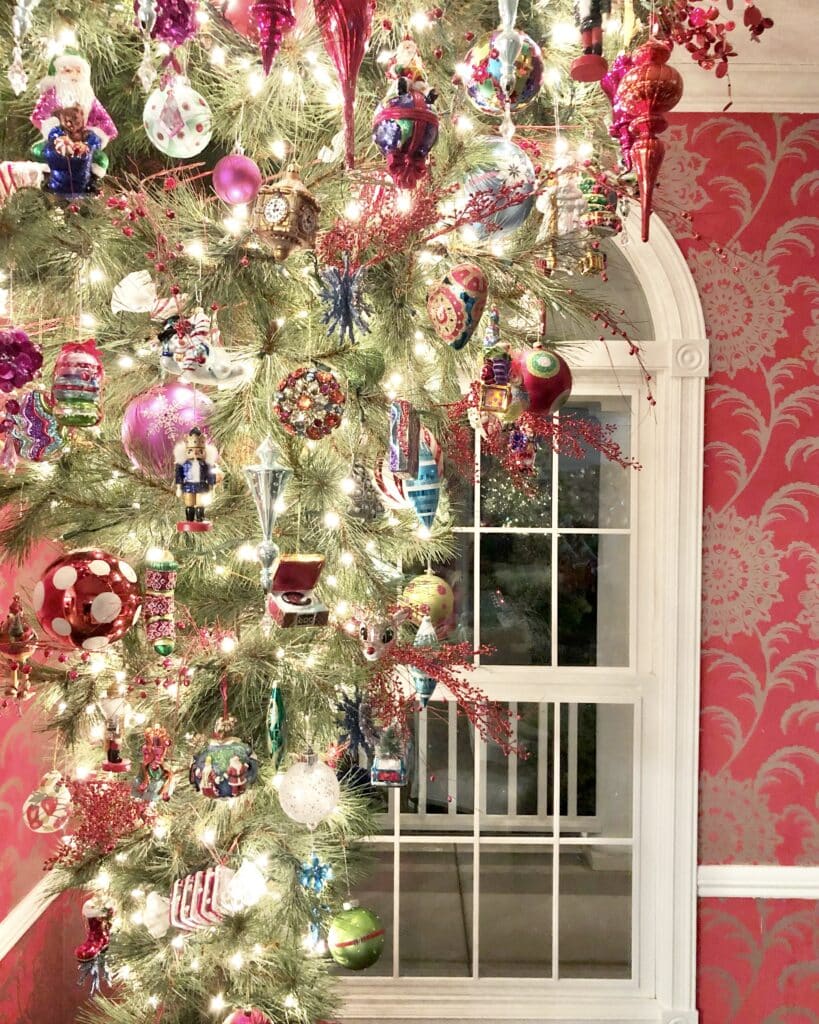
How to Decorate an Upside Down Christmas Tree




That is beautiful!
This is so, super cute! I love it, what a great idea! I’d love to have you share this at my weekly link up, Tell It To Me Tuesday. You can find this weeks here: https://perfectlyimperfect-lwl.com/tell-it-to-me-tuesday-25-12-5-23-link-party/
It’s so pretty, Missy! I love your colorful centerpiece.
This is so fun Missy! love the bright colors and how the lights make is shimmer.
So colorful and fun! Merry Christmas,Missy.
Hey Missy, this came out so beautifully. I love the bright colors and fell in love with the look and length of it. It would look beautiful on any table, entry way or even a kitchen island. Great job.
Missy your ornament centerpiece idea is one of the best I’ve seen! So magical and festive! I really love how beautiful it looks on the mantel! Happy Christmas!
Wow! Who knew this gorgeously abundant ornament centerpiece started with a pool noodle! Such a stunner!
Thanks Donna! It was so fun to make and so fun to display at Christmas!