An Easy DIY Candle Idea for Your Dining Table
Looking for a quick and easy way to add some ambiance to your next gathering? Check out this DIY candle idea! It’s simple to make and will give your party that extra touch of elegance.
All you need are a few simple supplies and in no time you’ll have a set of beautiful candles to decorate your home with. So gather your materials and let’s get started!
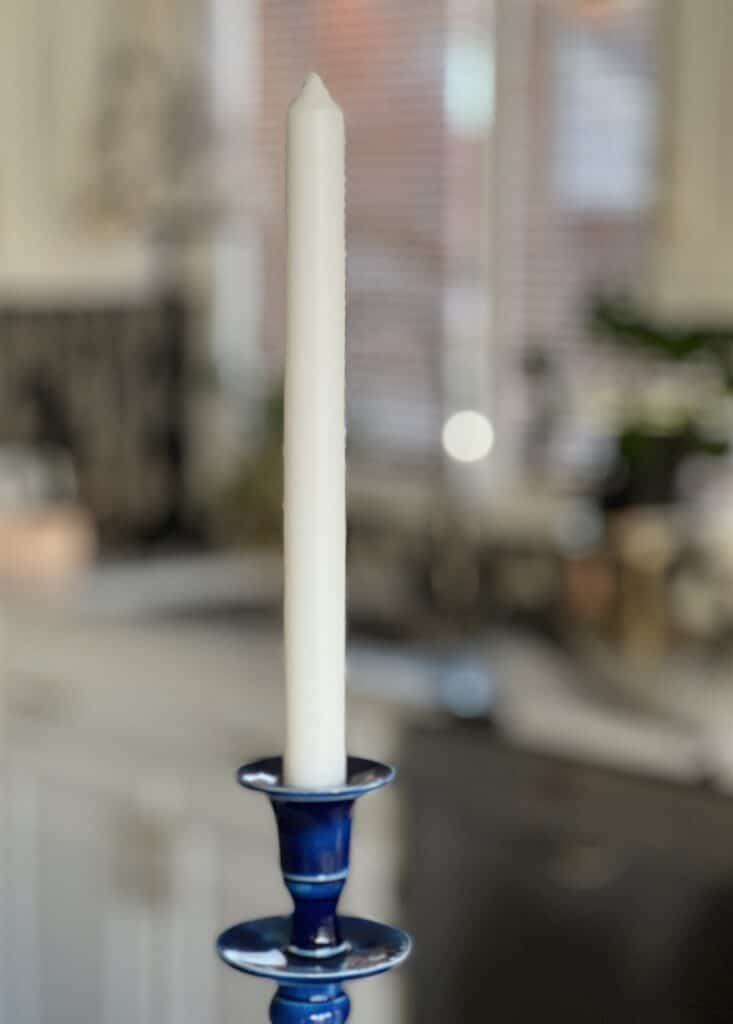
As a child, my job was always to snuff out the candles.
The fancy dinner was over and I was given the most magical of tools…the candle snuffer!
When you are little, this is a BIG deal!
I took my job very seriously.
No wax was getting on the dinner-rumpled tablecloth on my watch!
Taper candles always add a bit of elegance to a table or centerpiece.
Tall, slender, graceful…dare I say these are attributes to which I aspire?
(I’ve got the “tall” bit down!)
How about tall, slender, graceful…with a shot of color and pattern?
Here is an easy DIY candle idea to add a little spark to your home decor!
Why Do We Use Candles on Tables?
For as long as there have been tables, there have been candles on them.
In fact, the tradition of using candles on the table dates back to ancient times!
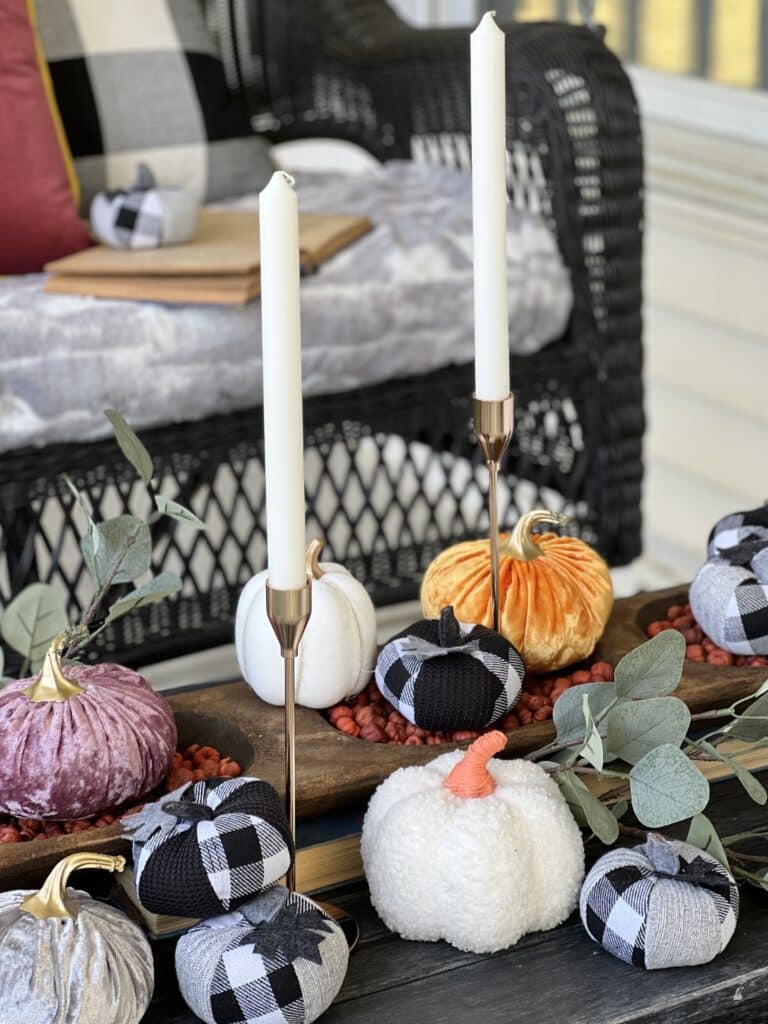
The earliest candles were made of beeswax and were used to light homes and public places. Later, candles were made of tallow, a type of animal fat, and were used to light lamps and lanterns.
Candles became increasingly popular in the Middle Ages when they were used to light churches and castles.
(Maybe this is why I love candles…I was obviously meant to live in a castle!)
Today, candles are used for a variety of purposes, from lighting birthday cakes to providing ambiance at a romantic dinner.
But no matter what the reason, candles always add a touch of warmth and elegance to any setting.
An Easy DIY Candle Idea
You will need the following for this DIY candle project:
- Taper or Stick Candle (a non-angled taper works best)
- Paper Napkin
- Scissors
- Iron
To start this DIY, separate the layers of a patterned paper napkin. A smaller pattern will work best for this project but choose a fun pattern that you love! There are so many beautiful paper napkin patterns!
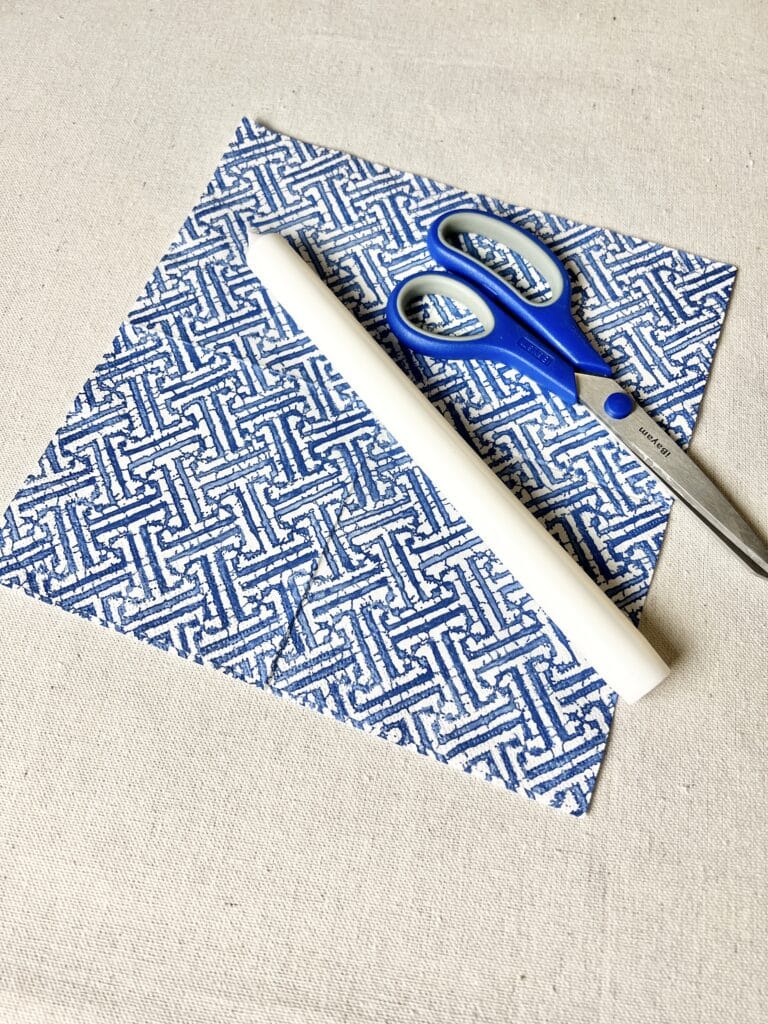
Once separated, cut the paper napkin as needed to fit the length of your candle. Mine just needed a little trimming for this particular taper. Next cut the napkin to fit the diameter of your candle.
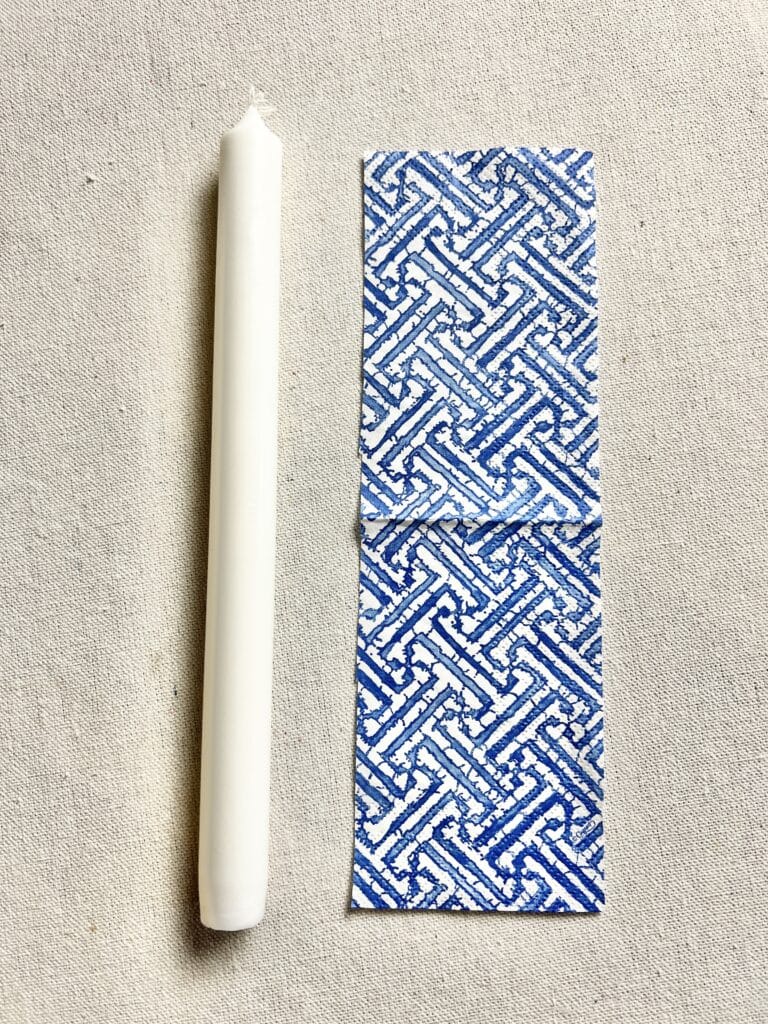
Now, we are going to actually iron the paper napkin onto the taper!
Heat an iron to medium-low heat. If in doubt as to whether the iron is too hot, it is better to start cooler and increase the temperature as needed.
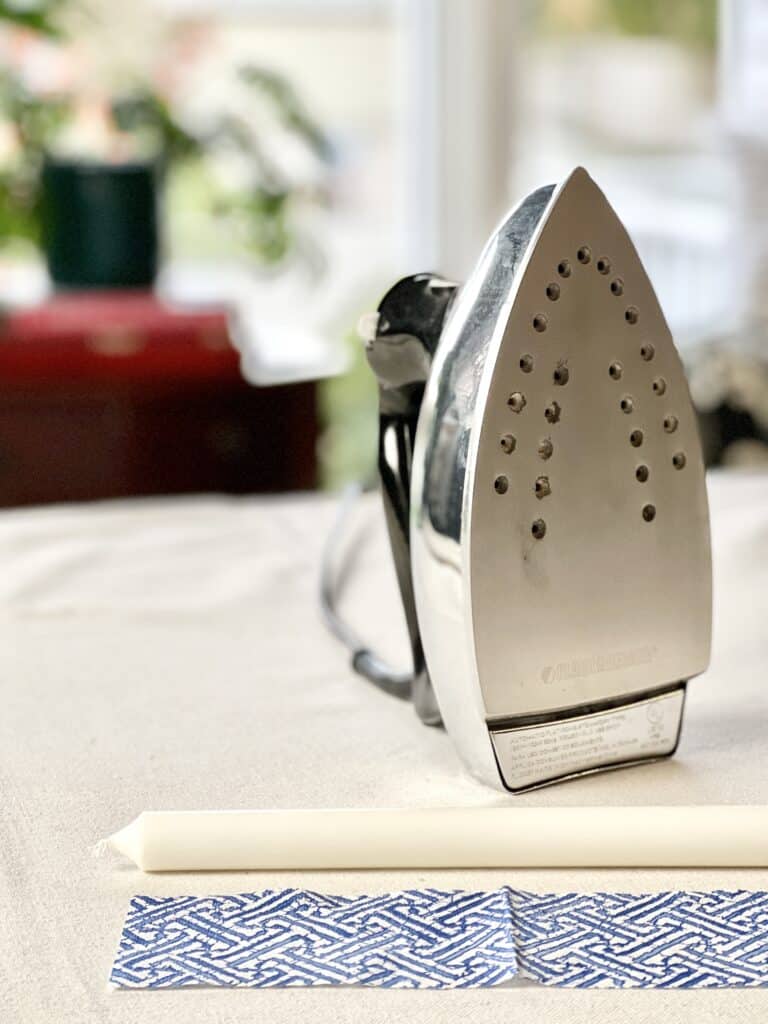
Now, wrap the napkin around the candle and gently press it against the iron plate.
Emphasis on the word gently…don’t push too hard or you might have a waxy, drippy mess!
With this in mind, slowly and consistently, move the napkin-wrapped candle across the heat ….rolling the candle bit by bit as you work your way across.
Keep rolling until the candle is completely wrapped in the napkin. If you see a spot that has not adhered, just go back and “spot heat” it on the iron.
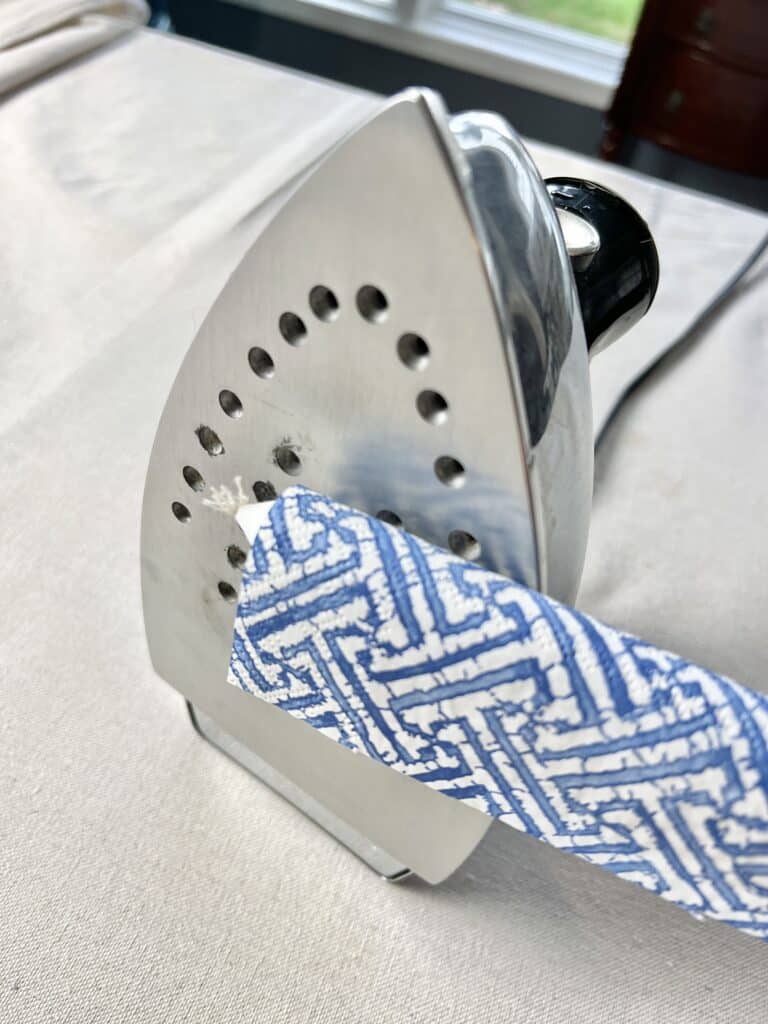
Once the candle has completely cooled, you can start to have fun using them in your home decor!
Ideas on How to Use My DIY Candles?
Important: If you choose to light these candles, do not leave them unattended. I have had no problem with my paper-wrapped candles burning simultaneously with the candle wax. However, this is paper material we are dealing with and caution should be used any time a flame is involved. (I tested mine first but am always in the room when they are lit.)
These candles are lovely on any tablescape!
Namely, they are lovely because YOU chose the pattern and it reflects YOUR personality!
Whether as one single taper (how very “Lady and the Tramp!”)…
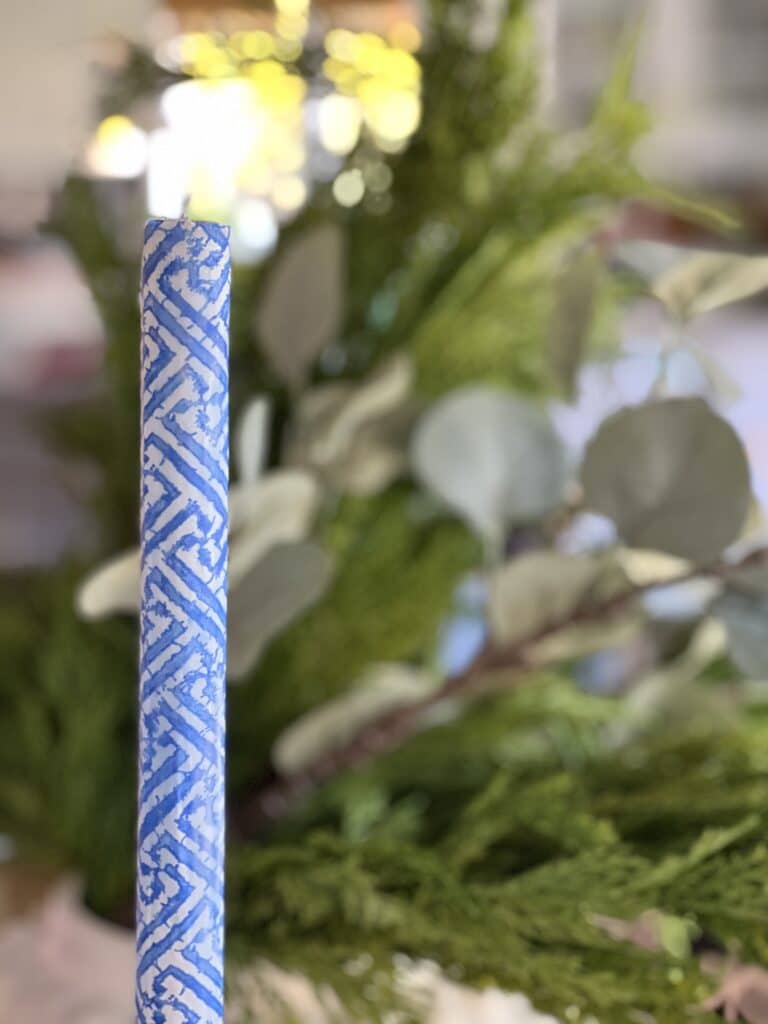
Layered with other colors and patterns…
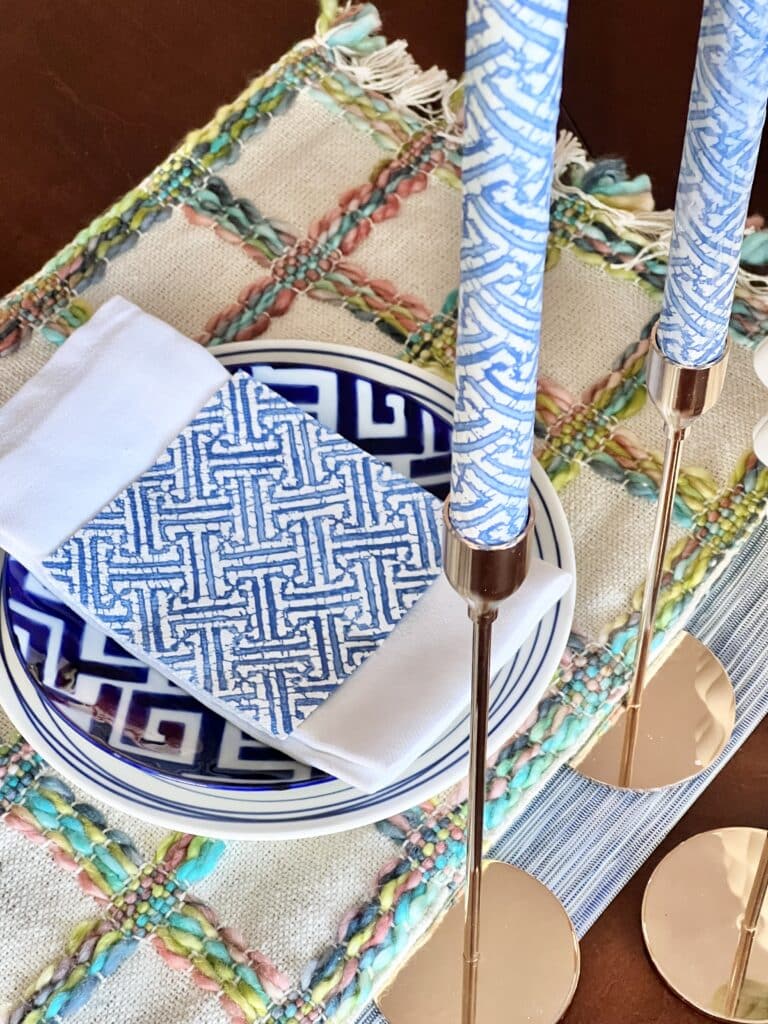
Or, as a lovely centerpiece with a full trio…
these candles will bring color and pattern to your table.
Just see if your guests don’t mention them with a fun compliment!
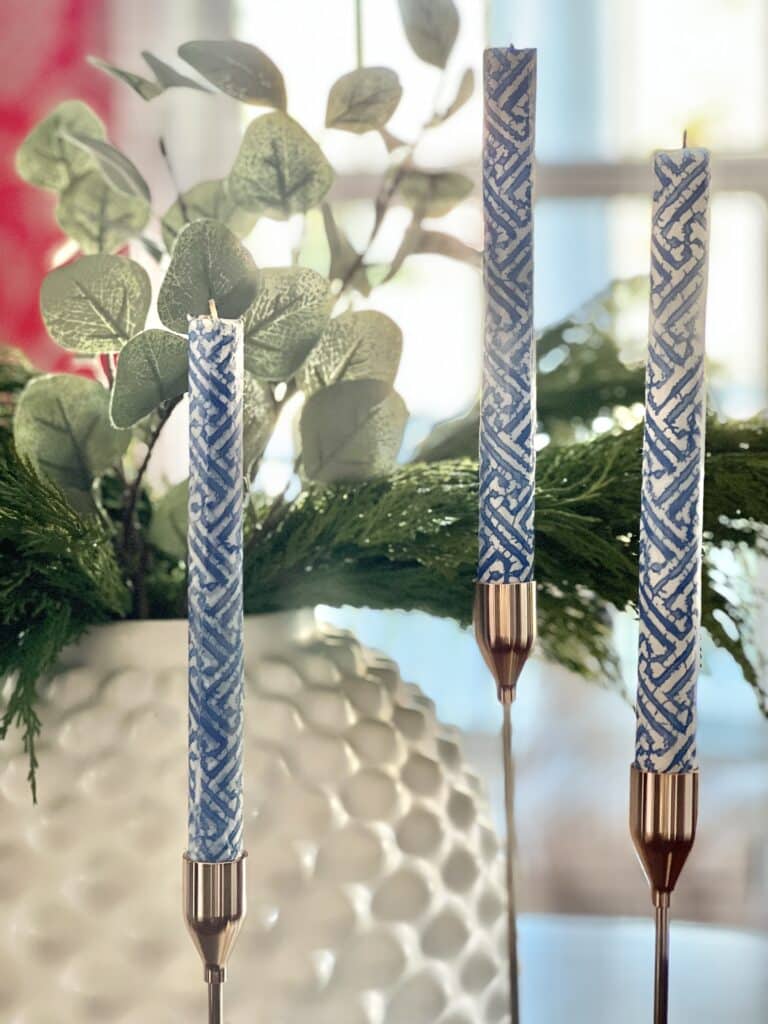
You could even group them somewhere other than the table.
I always love to see some pretty candles on a fireplace mantel!
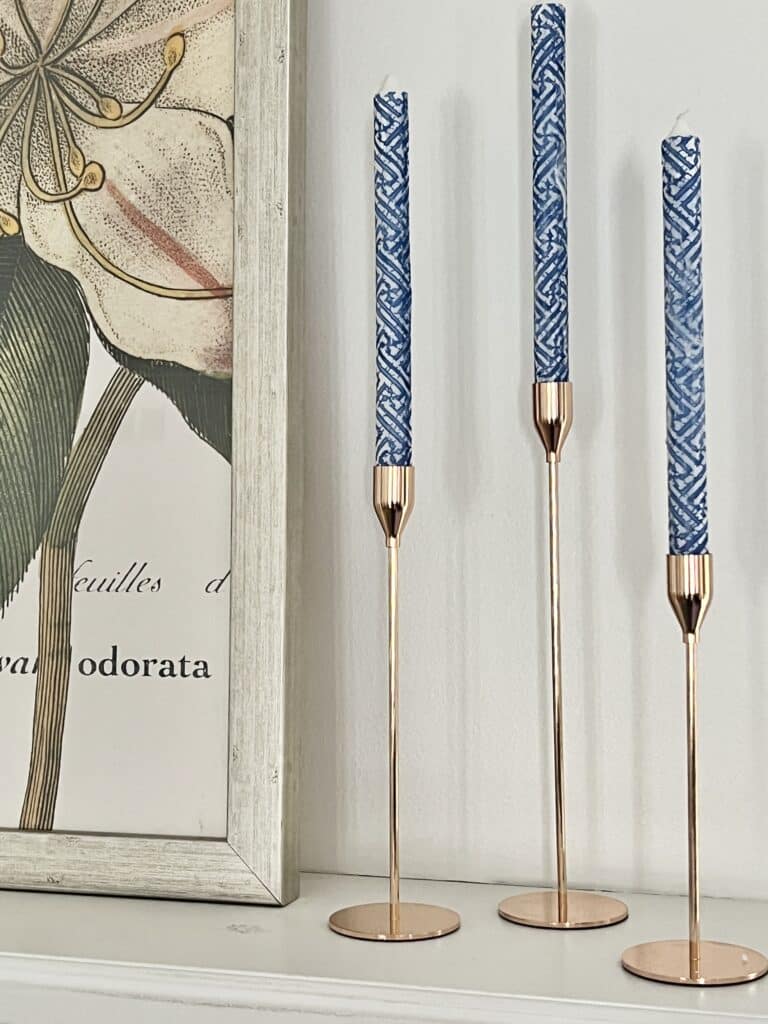
If you’re looking for a quick and easy way to add some personality to your table setting, look no further than these DIY-decorated candles!
By using patterned paper napkins as the basis for your design, you can create unique candles that will perfectly match your decor. So grab some paper napkins and start ironing! – I can’t wait to see what amazing designs you come up with!
Cheers!

Here are a couple of my other favorite candle projects!
How to Make a Sweater Weather Candle Wrap
9 Steps from Candle Lid to Coaster
Don’t Forget to Pin It!


Missy this is such a cool idea. It’s totally uping the candle lighting game. ✨️
Thanks, Susan! I do look better by candlelight…the more the better! LOL!
Cleaver as cleaver can be! Can’t wait to try this! I might get carried away and do dozens 😂
That would be a spectacular display, Michelle! Go for it! =)
This is such a good idea! No more boring taper candles these are soooo pretty 🙂
Thank you so much, Tanya! Yes, I think the possibilities are endless! Thanks so much for reading and commenting!
Fantastic idea. I’m not to comfortable with burning candle with paper wrap. However I’d be totally open to using cut out elements of napkin on candle scattered on candle (smaller amount of paper burning at one time). May I suggest put foil over iron to keep wax off sole plate. Easy clean up. I’d also do over a silicone mat (oven liners are fantastic for this and hot glue projects and other messy projects; cheap and lasts a long time) to reduce clean up time and more time to enjoy beauty you own two hands created. Thanks for sharing
Great suggestions, Karen! Thank you so much for sharing!
Since I am truly afraid of fire but love this idea, I’m going to use this with my battery operated ones and spray adhesive. Since they are so plain, this will make a definite difference! Thanks for the idea!
Hi Sandi, I think this would work really well with battery-operated candles and spray adhesive! Please share when you are finished…I would love to see it! Thanks so much, friend!
Hi,
Love this idea! It is so practical… You can change your colour scheme as wanted with very little expense! I have one question, though – does the paper burn down with the candle, or does it need trimming as the candle burns down?
Hi Ina! I’m so glad you like this project! Most of the time, I have found that the paper burns down with the candle but occasionally I do need to trim it. It might have something to do with the type of candle that you use. (There are so many different kinds out there!) As always, be very careful with burning the candle. I’ve not had problems but I always want to add caution to any project that involves a flame! Thanks Ina!