Make a Tabletop Fire Pit in 3 Easy Steps
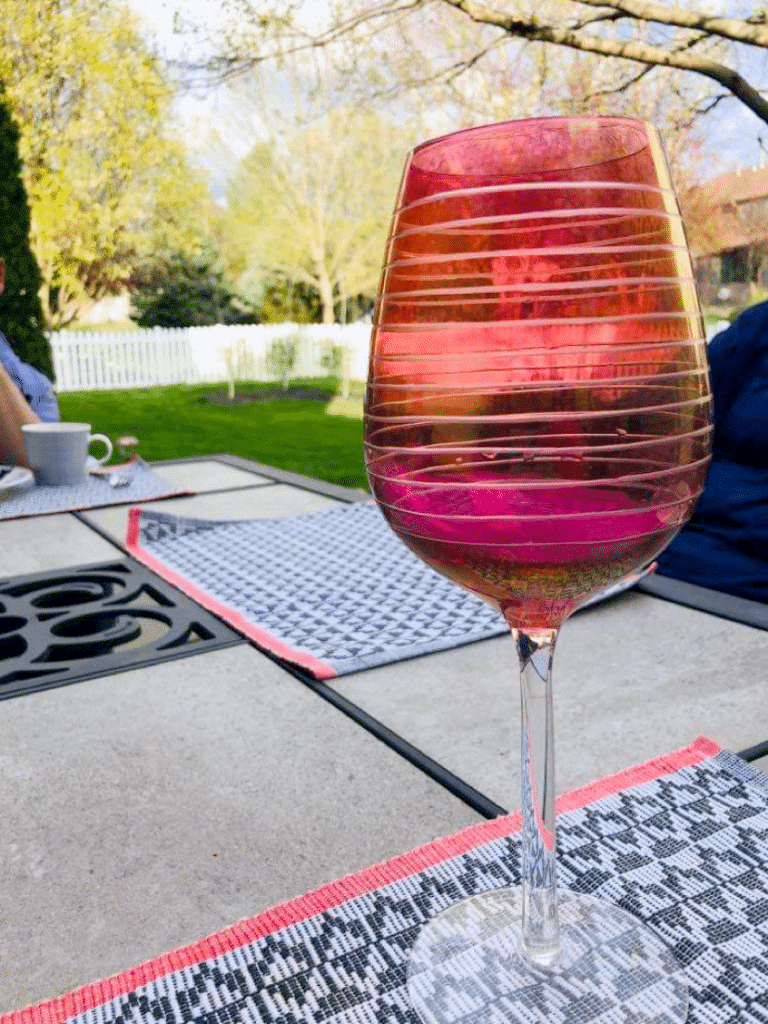
Are you in full out summer mode?
You know…hangin’ outdoors, picnics, vacations,
…beach visits, outdoor concerts, and camping (In my case, it would need to be glamping!),
…and gathering around a fire pit.
Pause, please!
Not all of us have the luxury of hanging out by the backyard fire pit.
Why? No room. Just no room for it.
I’m not complaining…much.
Our backyard is a summer haven. Green grass, lilac bushes, and perennials.
However, the best part of our backyard (and biggest hindrance to a fire pit) is…
…the tree.
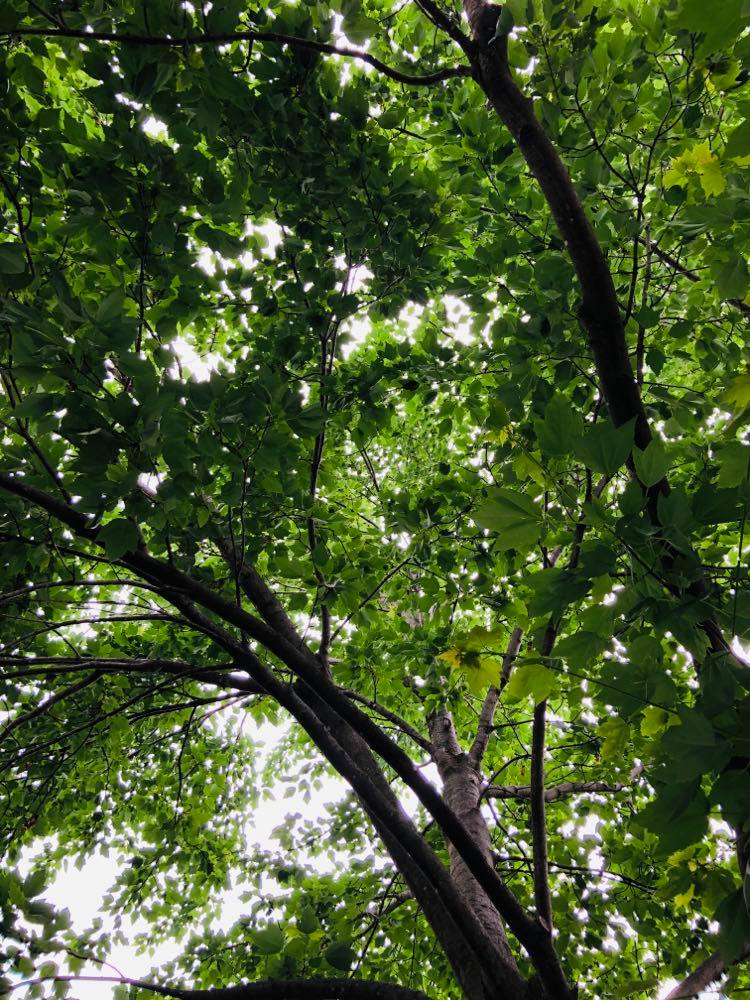
We have a beautiful maple tree that sits just to the side of the patio and gives glorious shade to both the patio and half the yard.
This tree is our early morning coffee friend, wine tasting buddy, and dinnertime companion.
In case you didn’t know, I have a bit of a tree obsession.
As in, I have been known to LITERALLY hug a tree.

Yeah. It’s a thing.

I just LOVE trees!
Our patio tree is so beloved, I should probably give her a name. (Yes, the tree is a “she!)
Mabel the Maple? Shady Sadie? Has Heard every Heart-To-Heart Hannah?
My only regret with Mabel/Sadie/Hannah, because of the size of the yard and the expansive tree canopy, is that we have never been able to have a fire pit.
Whether in a fireplace or fire pit, don’t you just love the crackle of a fire?
When you think about it, a fire pit invites gathering, lounging and conversation. It also provides ambiance, atmosphere, and hypnotic flames.
But, a regular sized fire pit is probably a fire hazard.
Poof! There goes the ambiance….and our tree, and our house!
But wait…I have an idea! (I am so excited about this!)
How about a tabletop fire pit! Small, compact, and manageable.
BAM!
Not only did I make a tabletop fire pit, but I made one in THREE EASY STEPS!
Here’s where you get excited, too!
Come make one with me…
Supplies you will need
- Ceramic planter (something that will sit atop your table without overtaking it!)
- Lava rock (can be found at your local hardware store)
- (2.8 oz) gel fuel cans (keep additional on hand for future ambient moments.)
- Long handle lighter (Safety first!)
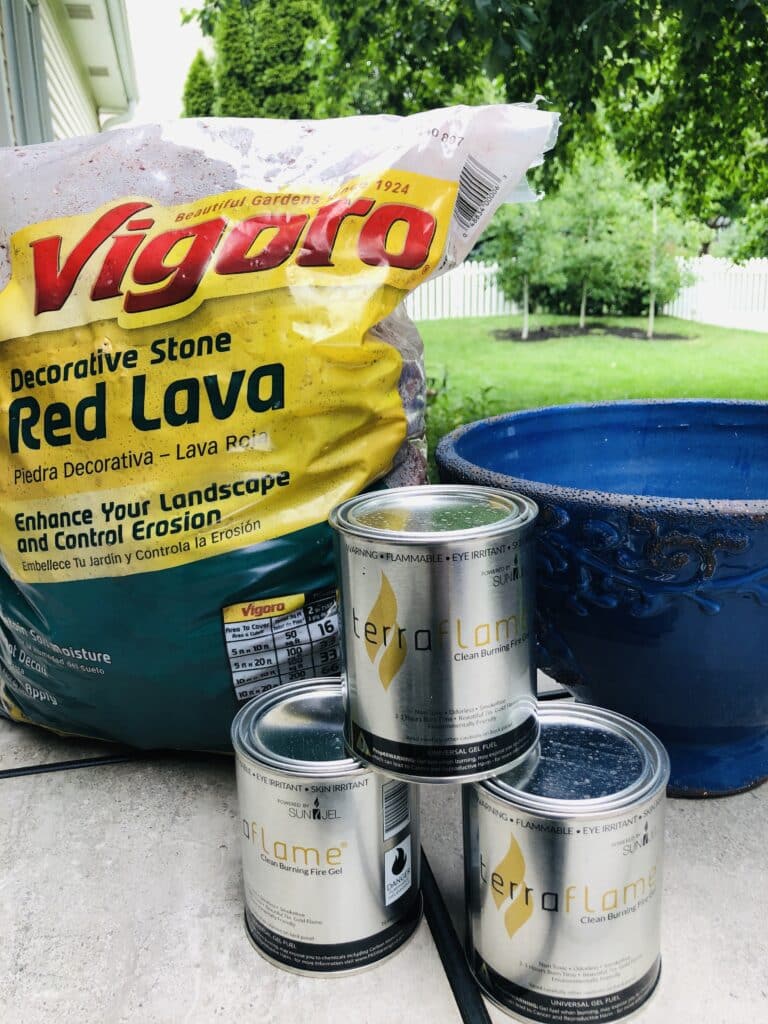
Always a lover of blue, the planter I chose is just the right size for our table. Choose one that fits with your outdoor summertime vibes. Here are a few that I found…



Easy Step #1
Fill your pot or planter with a solid first layer of the lava rock. Spread evenly in the bottom of the pot.
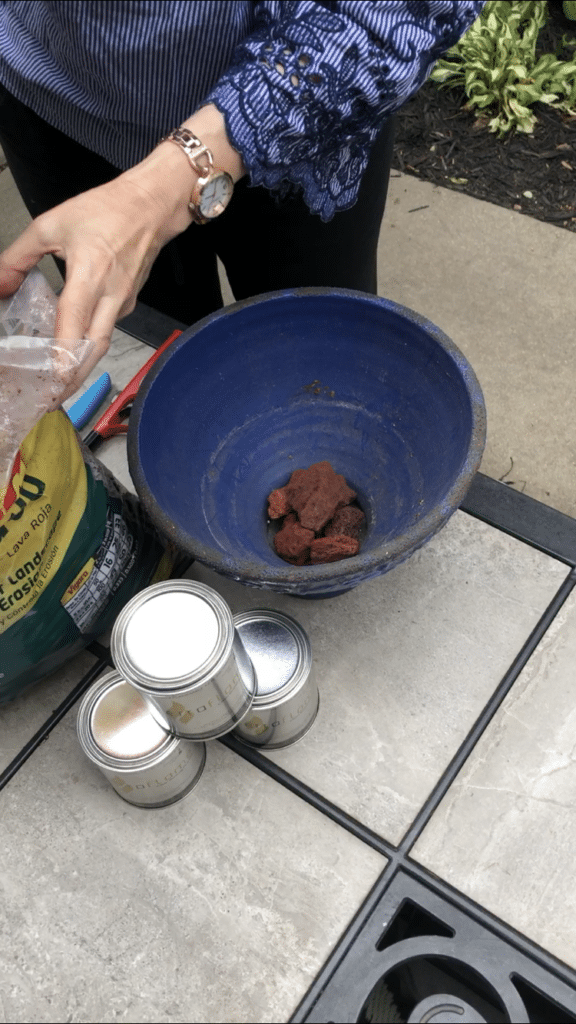
Easier Step #2
Ok. That was easy. It gets even easier!
Place a gel can (keep the lid on for now) on top of the lava rock. Fill the pot to the top with the rest of the lava rock.
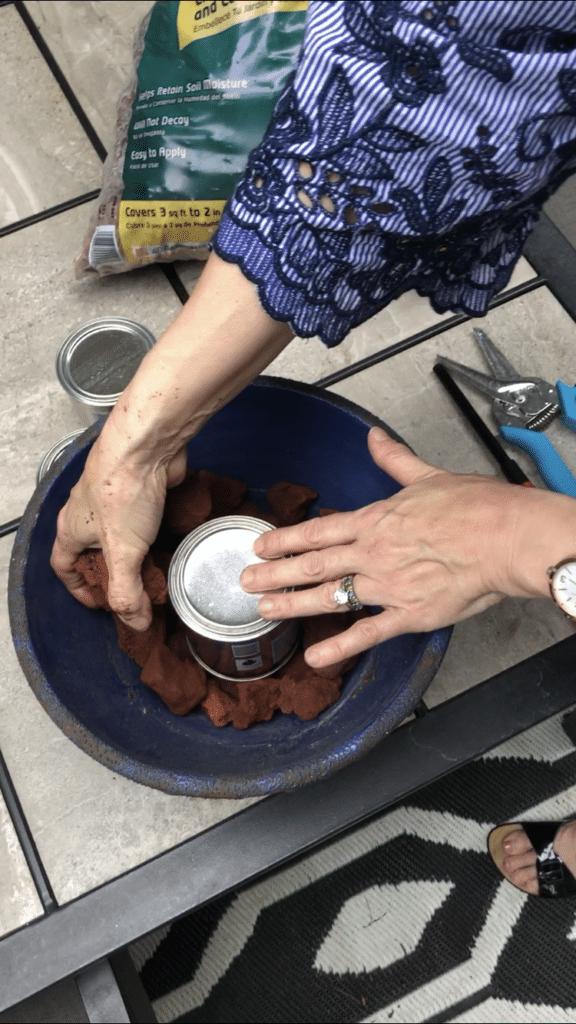
Easiest Step #3
Can you HANDLE how simple this is!
Take the lids off and light it up with your long handle lighter!
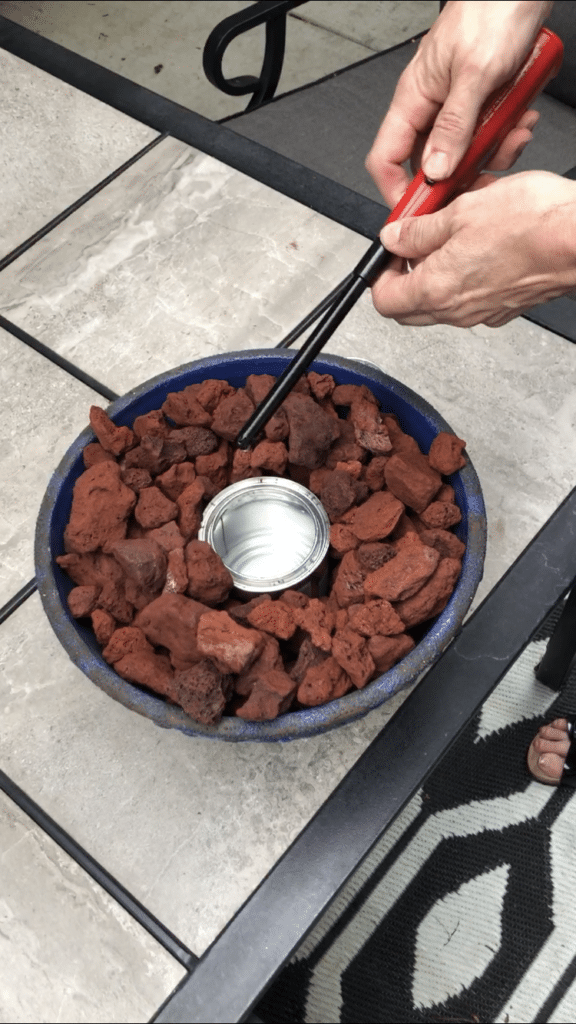
There you have it!
Three easy steps in a about three minutes time!
A Few Details
Once you light it up, the fire pit flame will last for about 90 minutes. If there is no wind, it can last up to 2 hours.
To extinguish the flame, simply cover the gel can with the lid.
Tip: I used some tongs to place the lid back on as the flame is HOT!
As with any flame, please use all safety precautions. This is not meant for children to light or play with.
A Happy Ending
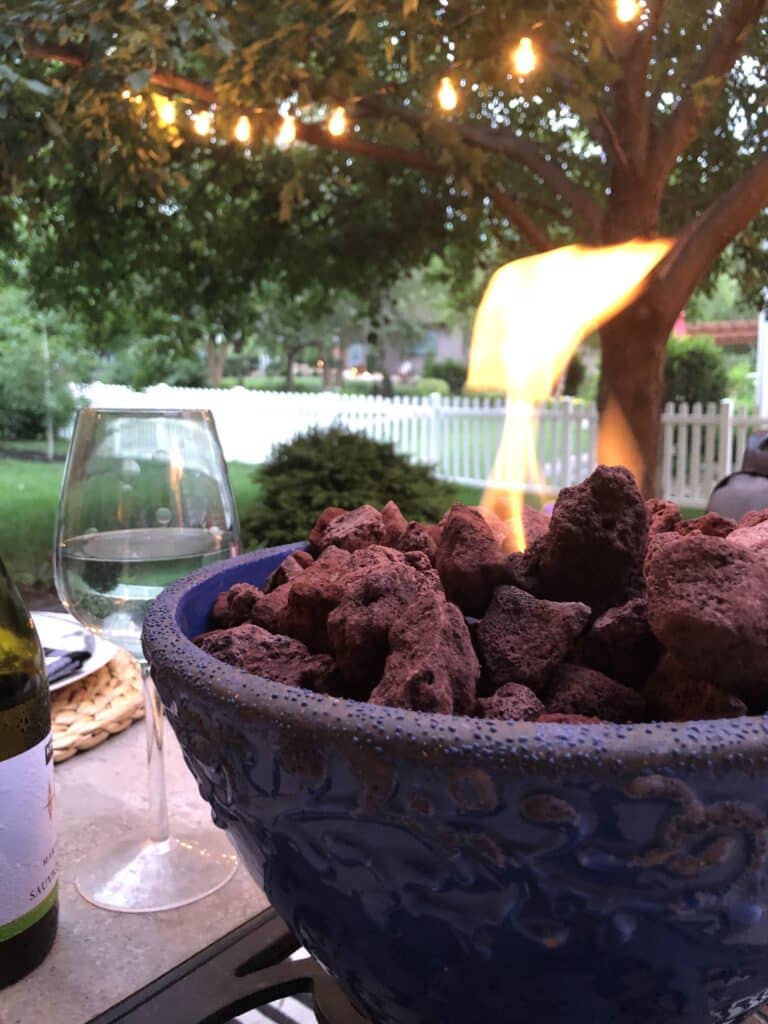
Now we can have our beautiful tree AND a fire pit at the same time!
It gets even better as the sun goes down!
What is it about that little flame? It makes me want to linger.
Don’t you think we could all do with a little more lingering?
And more trees?
And more fire pits under trees?
I knew you would!
Cheers!

Disclaimer: This post contains affiliates.


I would have never thought of this!!! Thanks so much for sharing this awesome DIY that I am definitley going to try:)
Happy summer!!!
Hi Maria,
Thank you so much! We have really been enjoying it on our patio table. Super easy and quick! Thank you for reading and commenting!