How to Make an Easy DIY American Flag Banner
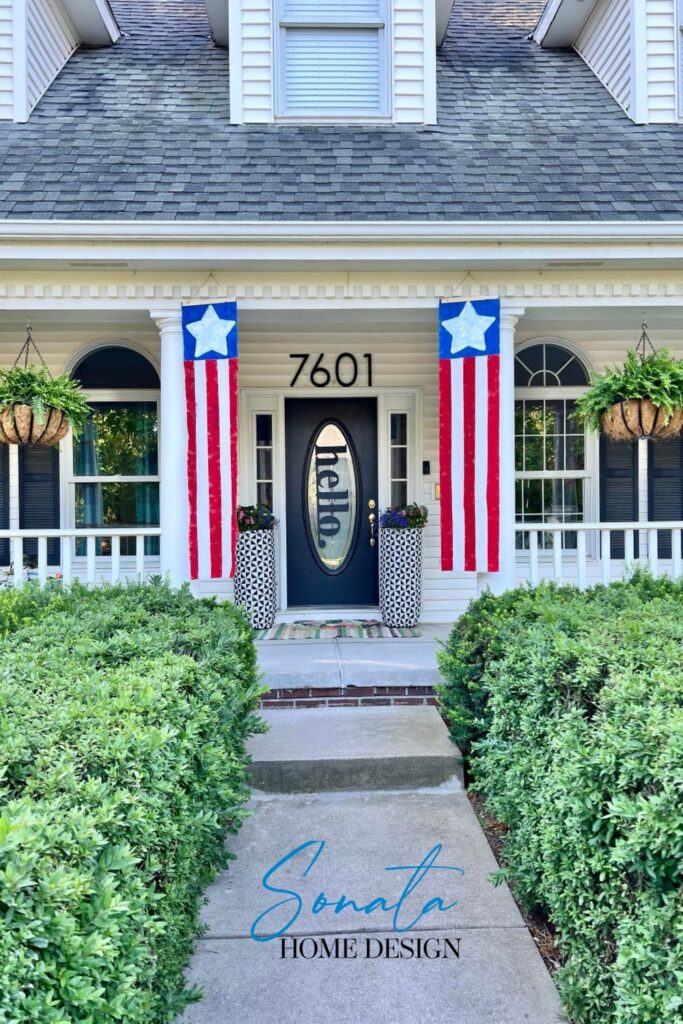
It’s summertime! Celebrate with a bang (or a sparkler!) and show your American pride with this easy DIY flag banner project. Made from a drop cloth, this project is easy to make and adds a personal touch to your patriotic decor.
This blog contains affiliate links. This means a small commission is earned if you make a purchase by using this link. The price you pay will be the same whether you use the affiliate link or go directly to the vendor’s website using a non-affiliate link. As an Amazon Influencer, I earn from qualifying purchases.
Parade Stars and Stripes
I have wonderful memories of the American flag.
And not just for the 4th of July!
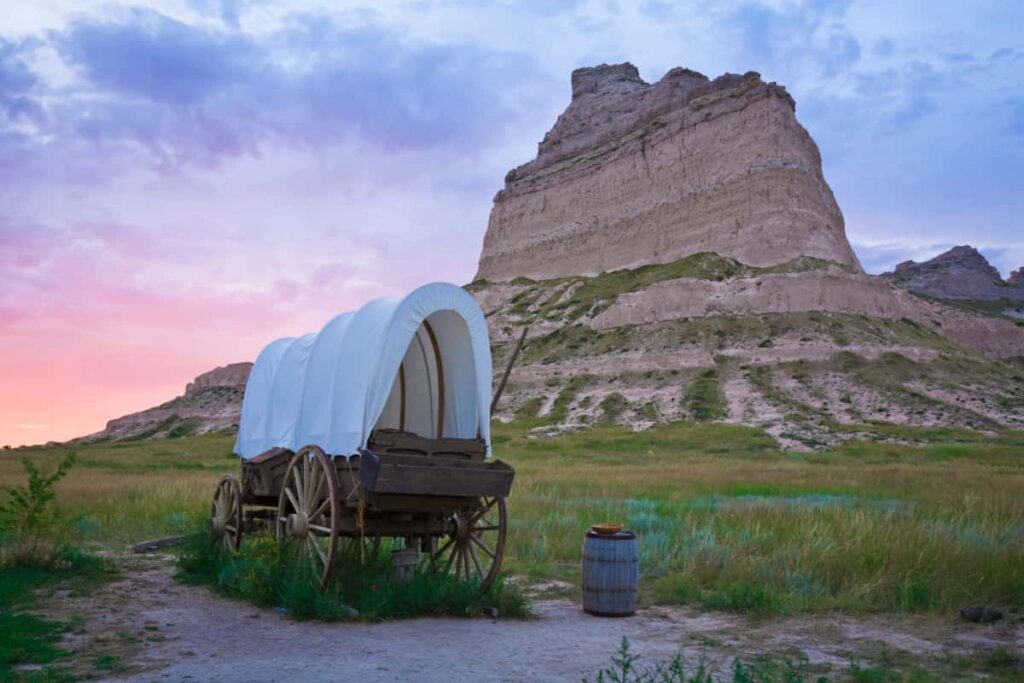
Growing up in the small town of Gering, Nebraska, I got to experience the annual summertime Oregon Trail Days every July.
It was a celebration of the Oregon Trail and the path that it took by my hometown.
The celebration always consisted of two days of parades. There was the day for the kiddie parade and one for the “grownup” parade. At various ages, I participated in both!
As a child, I rode my trike with plastic tassels on the handlebars, dressed as a pioneer girl and walked beside the stagecoach my friends and I created from a cardboard box and wagon, or just stood on the sidelines and scrambled for candy thrown from by the Shriners.
As a teenager, I played the french horn in the marching band, danced in the street in my drill team outfit, and threw candy to kids from the Job’s Daughters float. (In a small town, you belong to everything!)
Flags were EVERYWHERE!
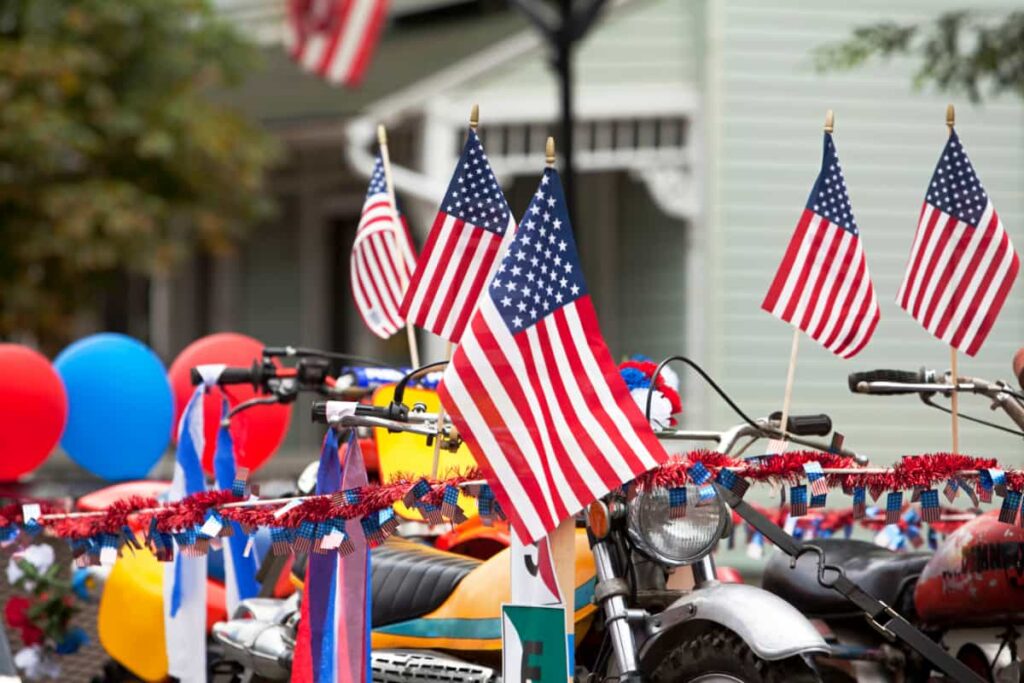
So, from an early age, I learned not only respect for the American flag but that the visual impact of the flag is strong!
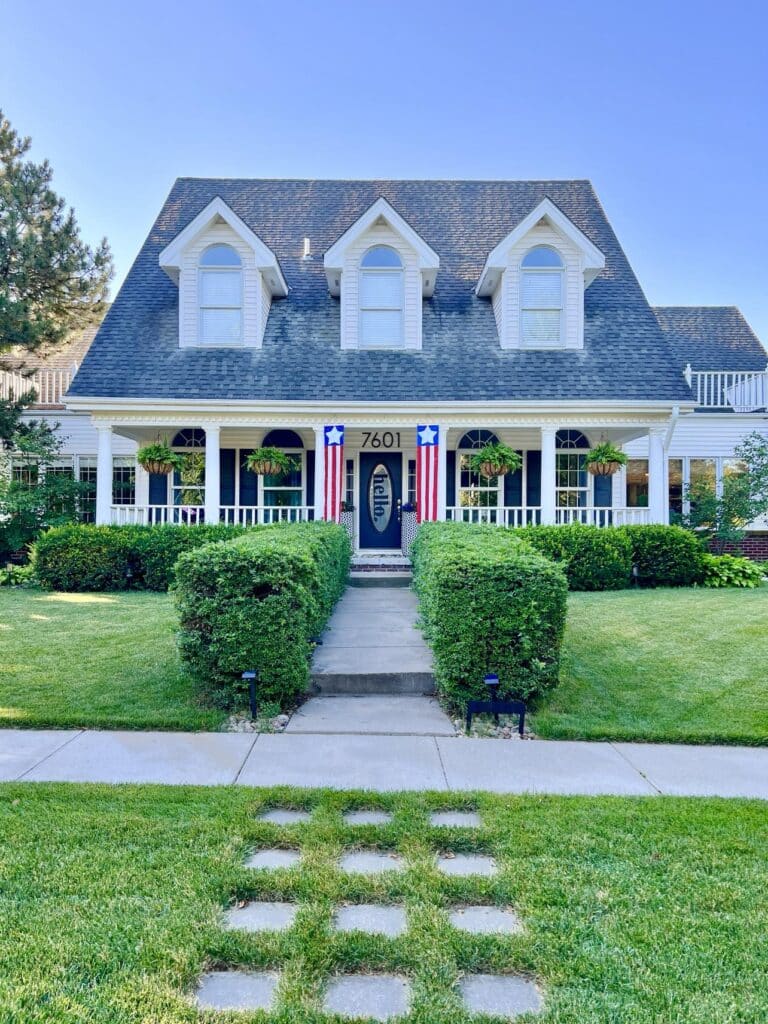
I love hanging the flag outside our home. And making your own flag banners is super easy, fun, and a perfect way to show your American spirit!
Supply List
The fun part of this project is that we’ll be using a plain drop cloth. And there is no need for a sewing machine! Here is what you will need:
- Dropcloth
- Scissors
- Painter’s tape
- Ruler or measuring tape
- Red, white, and blue acrylic paint
- Small paint roller
- Foam brush
- Star-shaped pattern (I used a star-shaped plate!)
- Two paint stir sticks
- Hot glue gun and sticks
- Drill
- Jute twine
Let’s make an easy DIY American Flag Banner!
1. Rip and tear!
First, grab your dropcloth and find a corner. Make a small cut there, and then…RIP! That’s right! Rip the fabric from top to bottom so you have a raw edge.
Next, measure 15 inches from that edge and make another cut.
You guessed it…Rip this side too!
Rip the length of the dropcloth to create one long, skinny piece of fabric. Do this again so you have two 15″ strips with raw edges.
You can cut fabric with scissors if you like, but ripping is so much more fun!
2. From Triangle to Square!
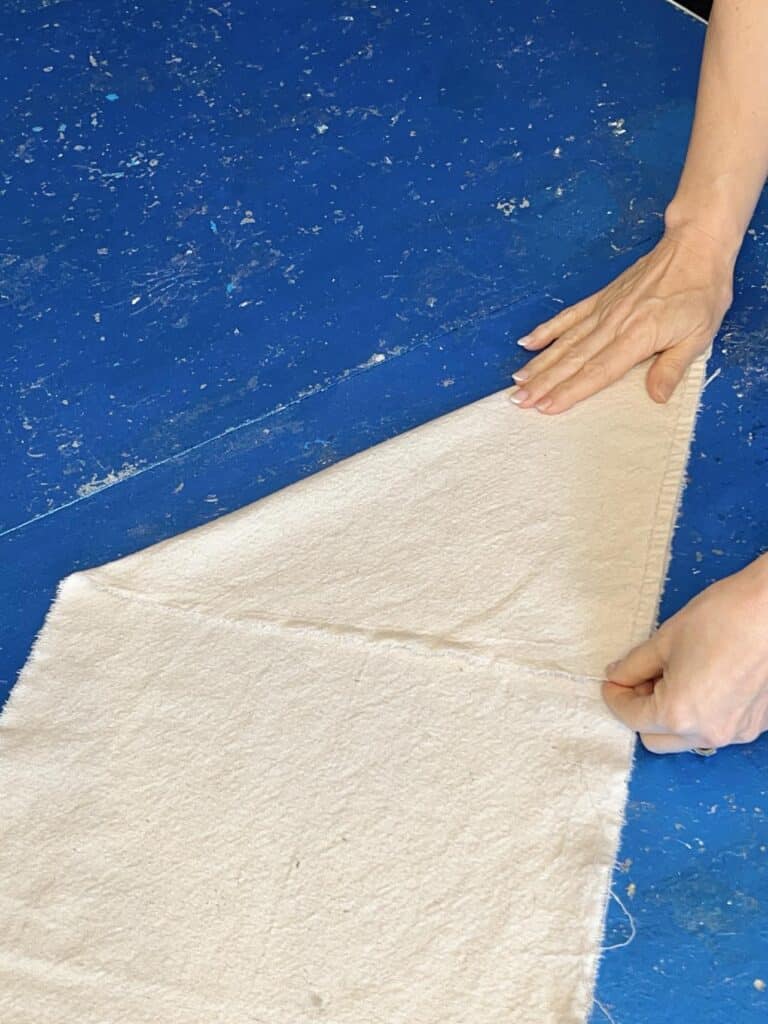
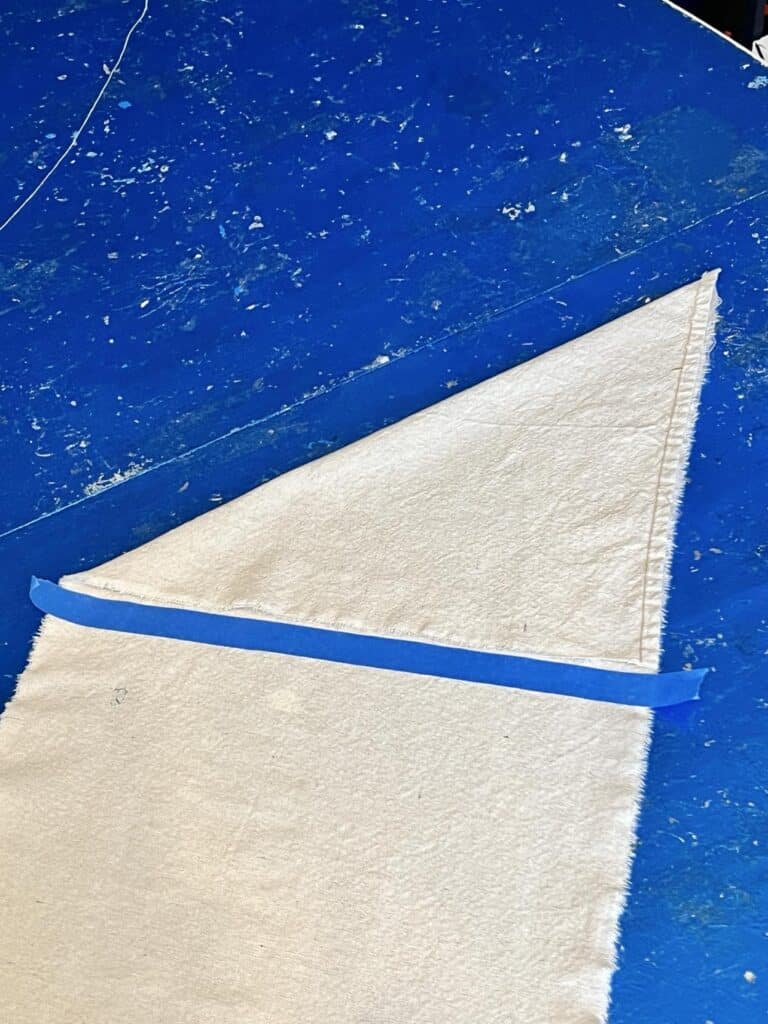
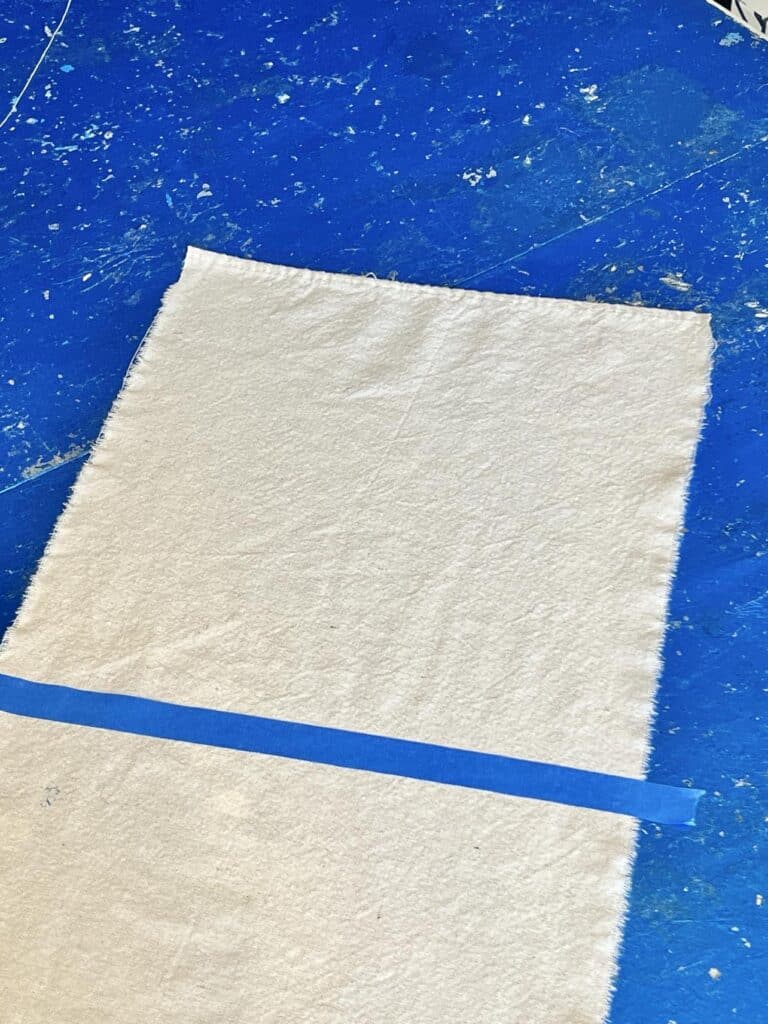
Lay a strip down flat. Fold the top left corner down and over to the opposite side of the fabric to make a triangle shape. Place a piece of painter’s tape along the bottom edge of triangle. Now, lift up that corner – you’ve just made a neat square!
Don’t you love when you use what you learned in geometry class!
3. Painting the Blue Box
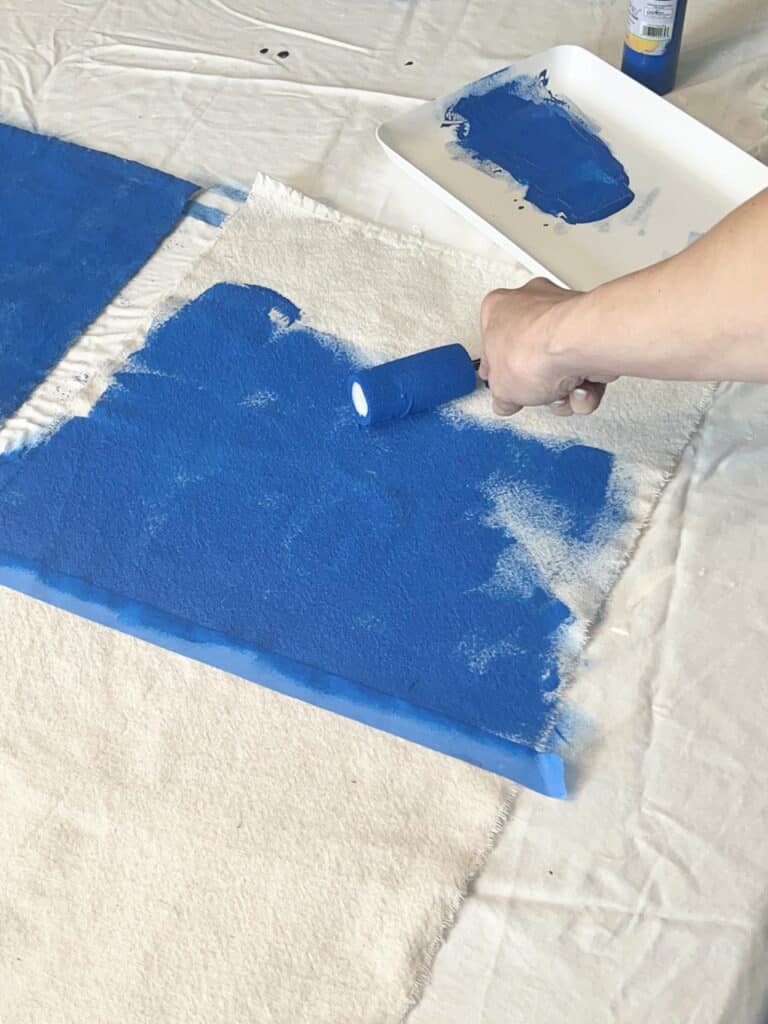
Grab your blue acrylic paint and paint the entire square you just made.
A small foam roller will be your best friend here – it’s much easier than with a brush! (Believe me, I tried it and struggled!) Once it’s all painted blue, let it dry completely.
4. DIY Stripes for Your Flag Banner
Time for the red and white stripes!
Under the blue square, use a ruler to mark dots every three inches across the 15-inch width. Keep moving the ruler down the fabric strip, making those handy dots every three inches.
Now you will need to tape off stripes for your flag. For this banner, you will have 3 red stripes and 2 white stripes.
Place the tape vertically along the markings that you made so that the space for white stripes is completely covered with painters tape. You’ll end up with alternating red and white stripes.
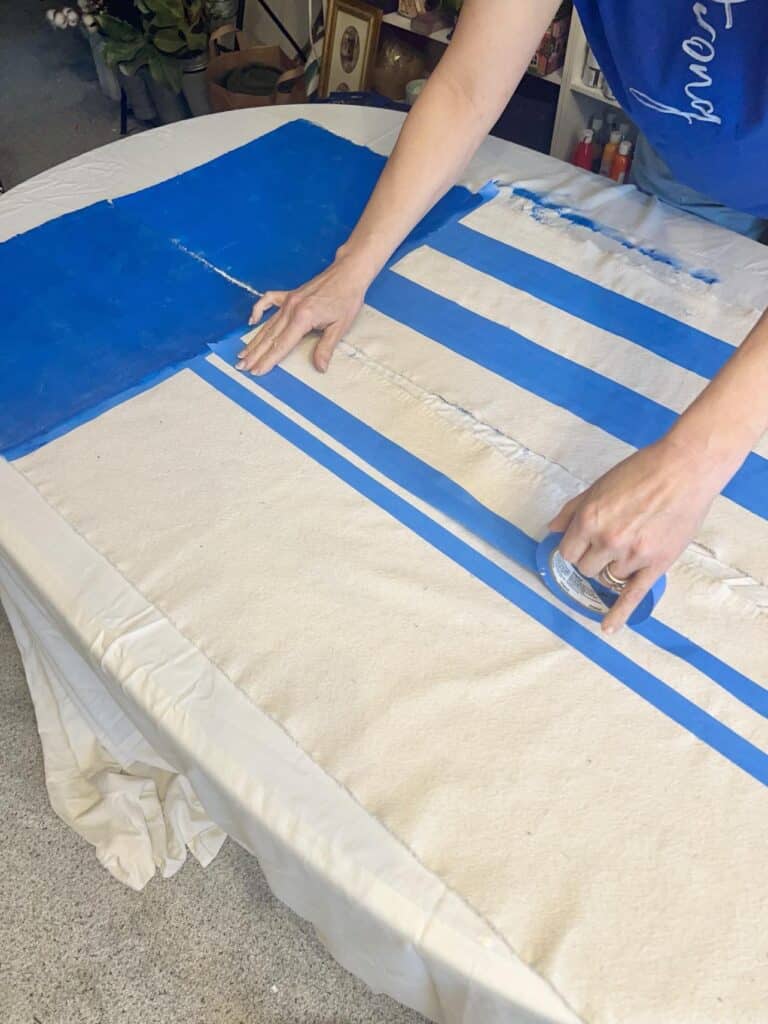
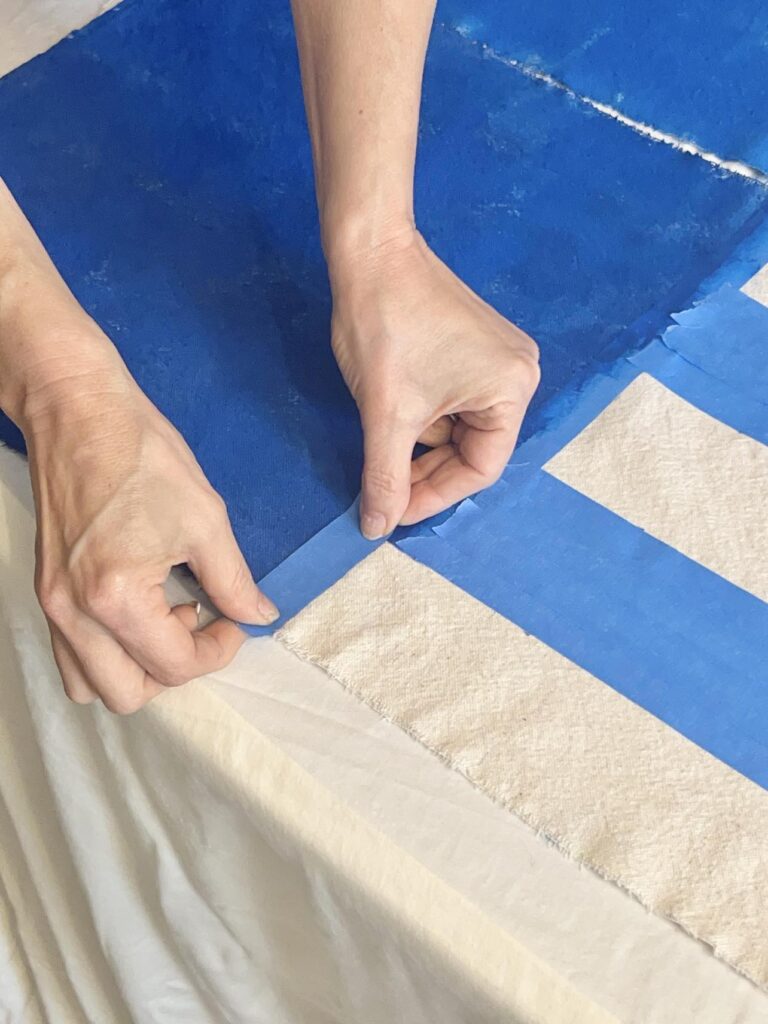
Here’s a little tip: once the stripes are taped off, carefully move some of the tape that’s under the blue square so you uncover the full unpainted stripe. Just shift the tape to cover the blue edge. That way, you can paint the red stripes without getting any paint on the blue box.
5. Painting the Flag Banner Stripes
Grab your red acrylic paint and, depending on how you like it, paint the stripes a solid color or let some of the fabric show through for a more rustic look.
Again, a small paint roller makes this so easy!
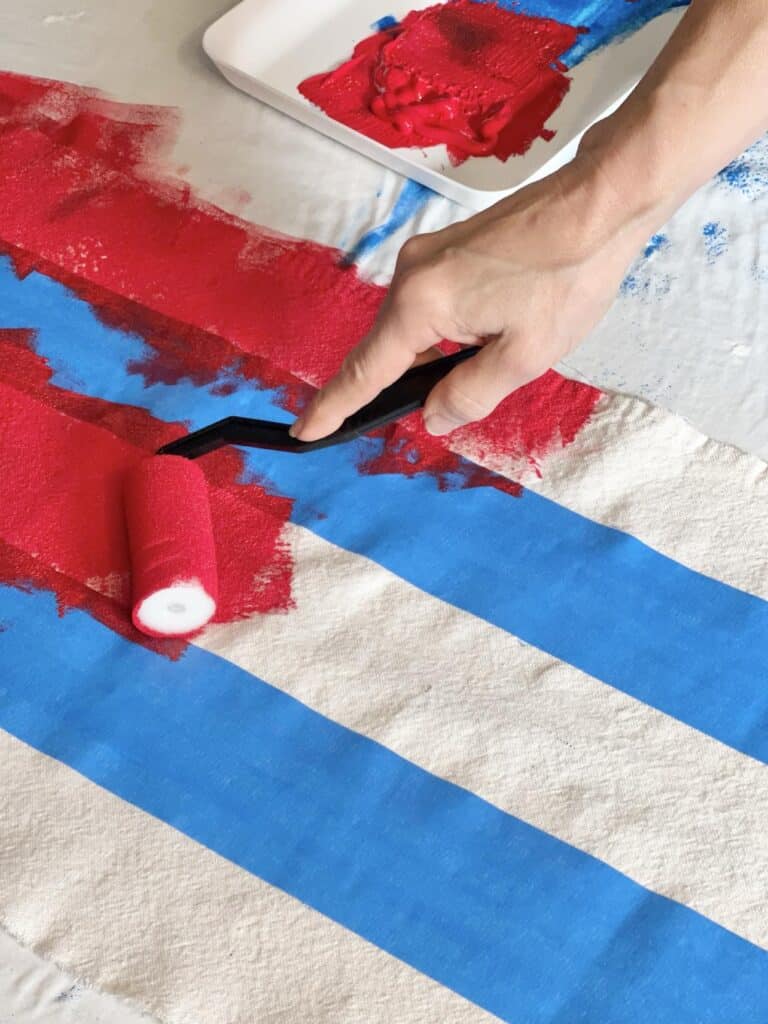
While the paint is still wet, carefully peel off the painter’s tape. Be careful – you don’t want to smudge the wet paint from the tape!
6. Star time!
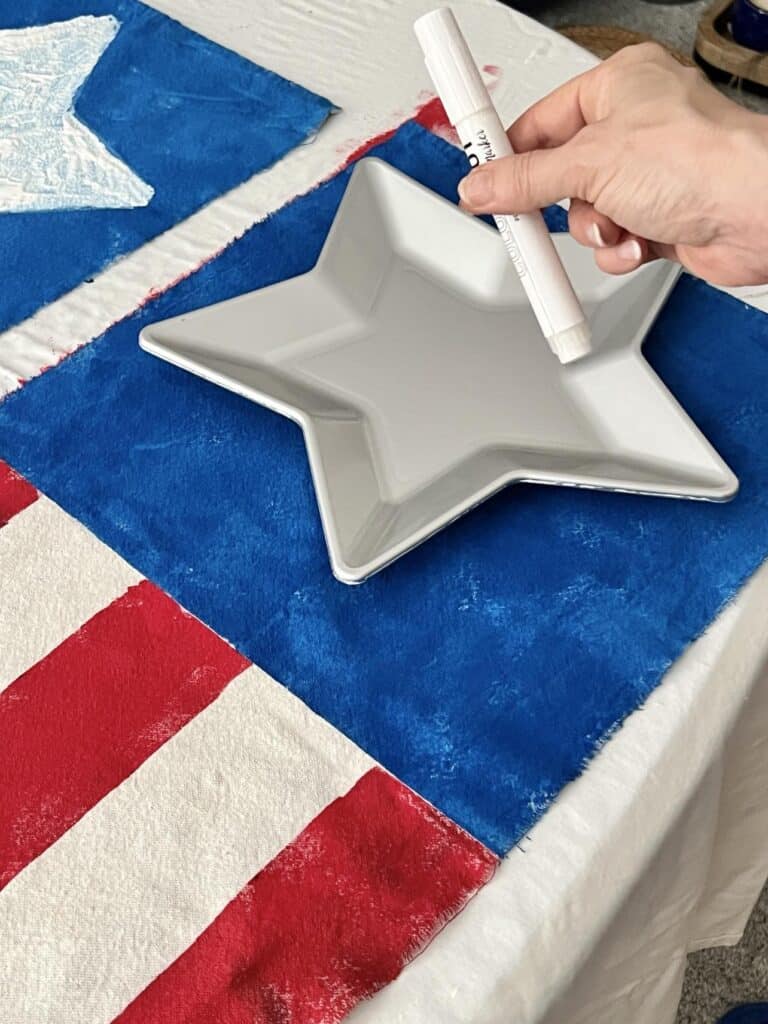
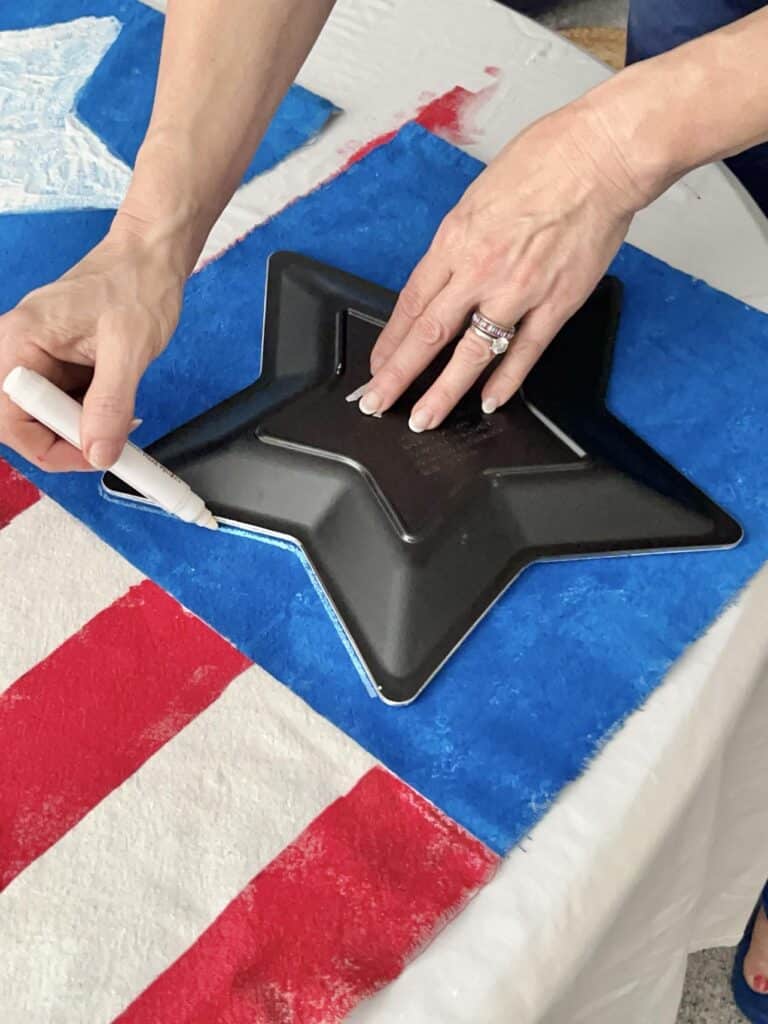
Find something star-shaped. I used a star shaped plate that I had picked up at the dollar store. It was worth paying $1.25 so I had a decent star pattern!
Center it on the blue square and use a white paint marker to lightly trace around it.
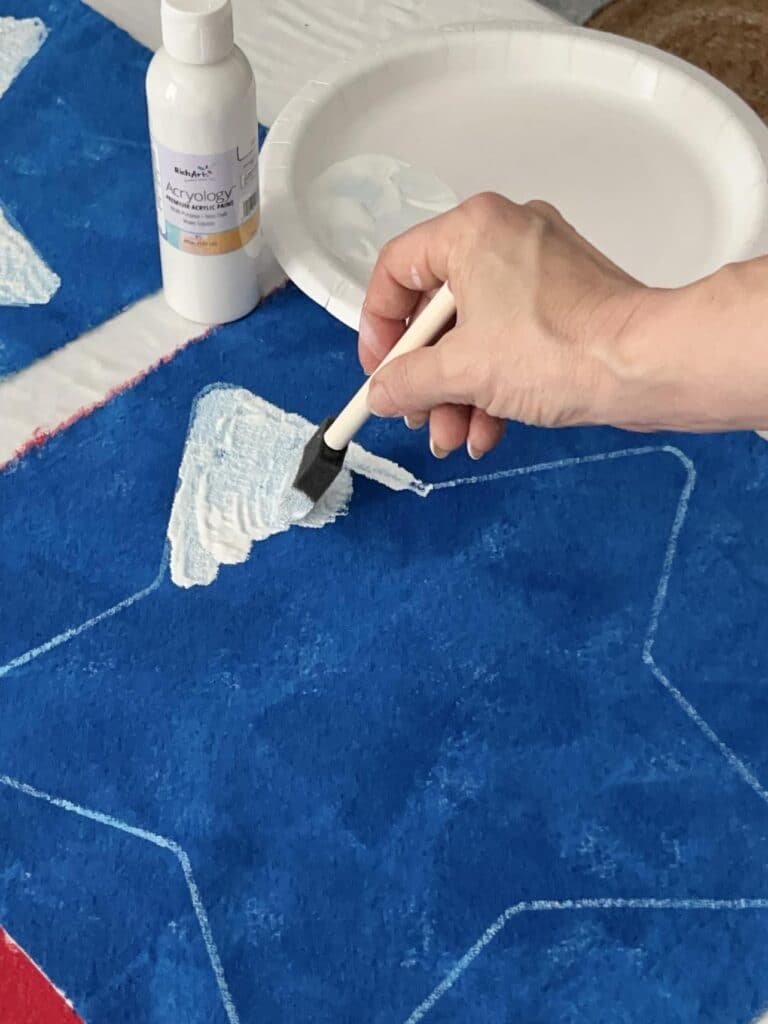
Then, paint the inside the star with white acrylic paint. I did use a foam brush for this, dabbing the paint up and down to fill the space with textured paint look.
Let everything dry completely.
7. Build the Flag Banner Hanger
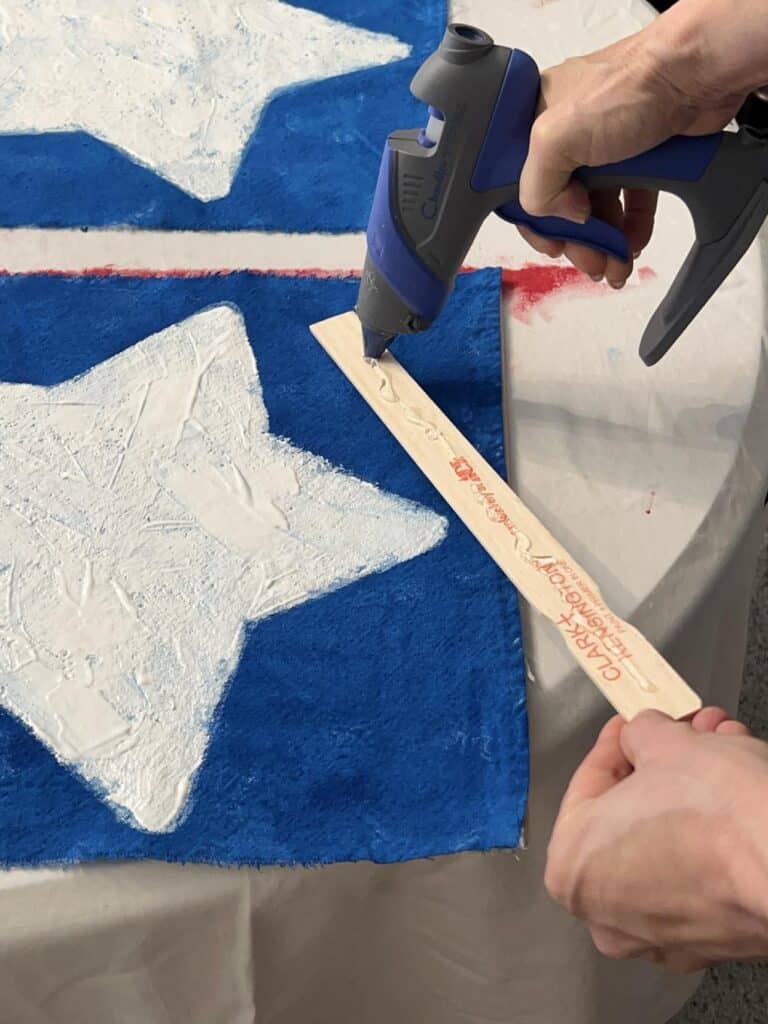
We’re almost done! Grab two paint stir sticks and hot glue them to either side of the top of the banner.
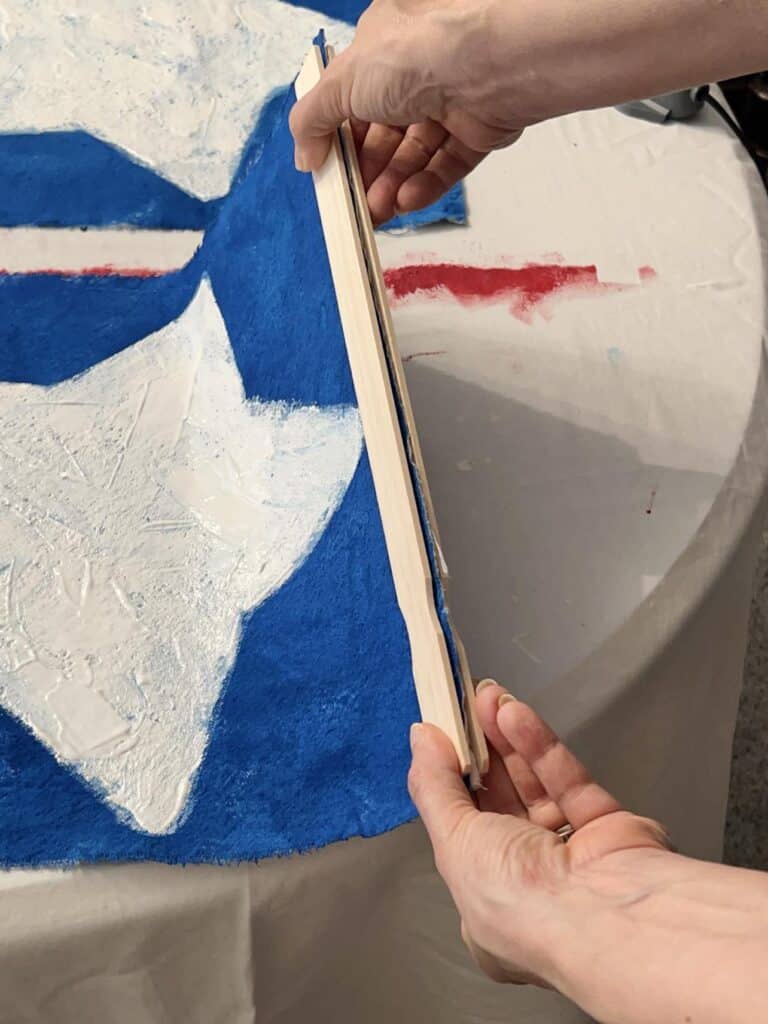
Then, drill a hole on each end of the glued sticks, thread some jute twine through the holes, and tie knots to create a handy hanger.
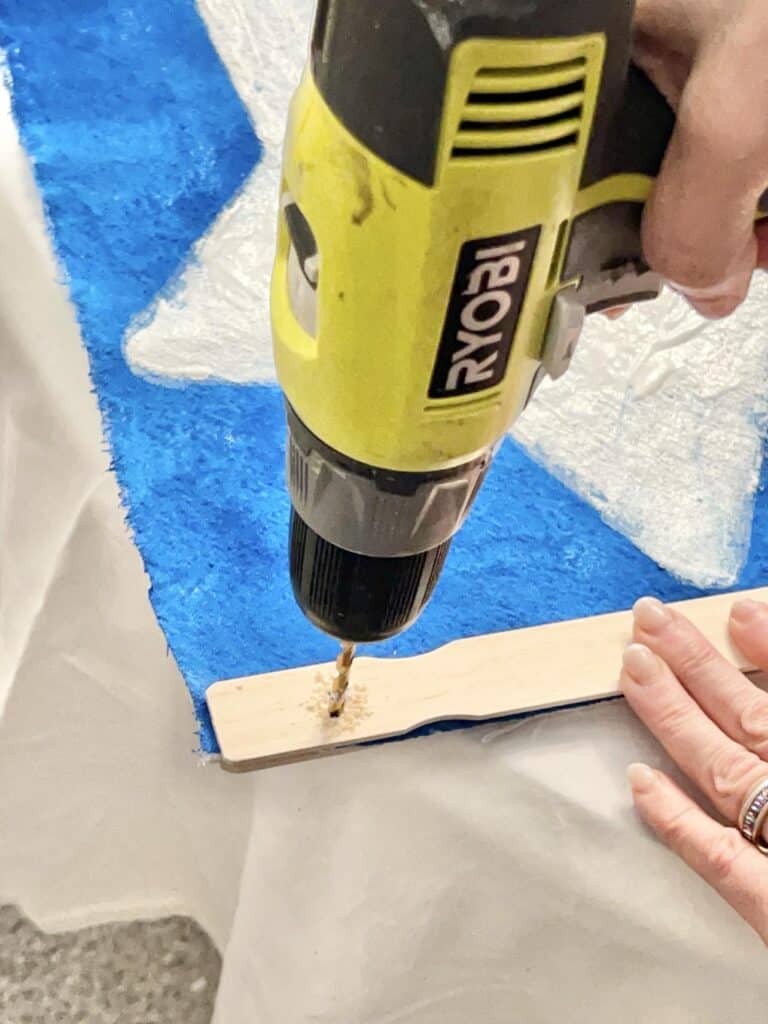
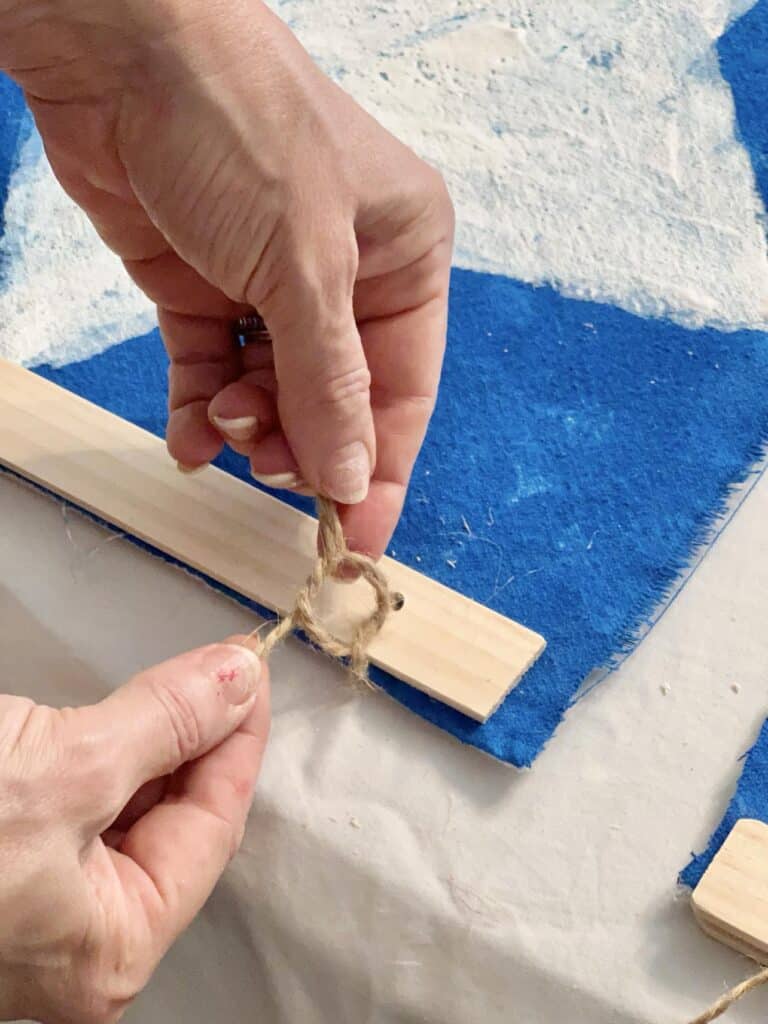
There you have it! Hang your beautiful, homemade American flag banner proudly indoors or outdoors!
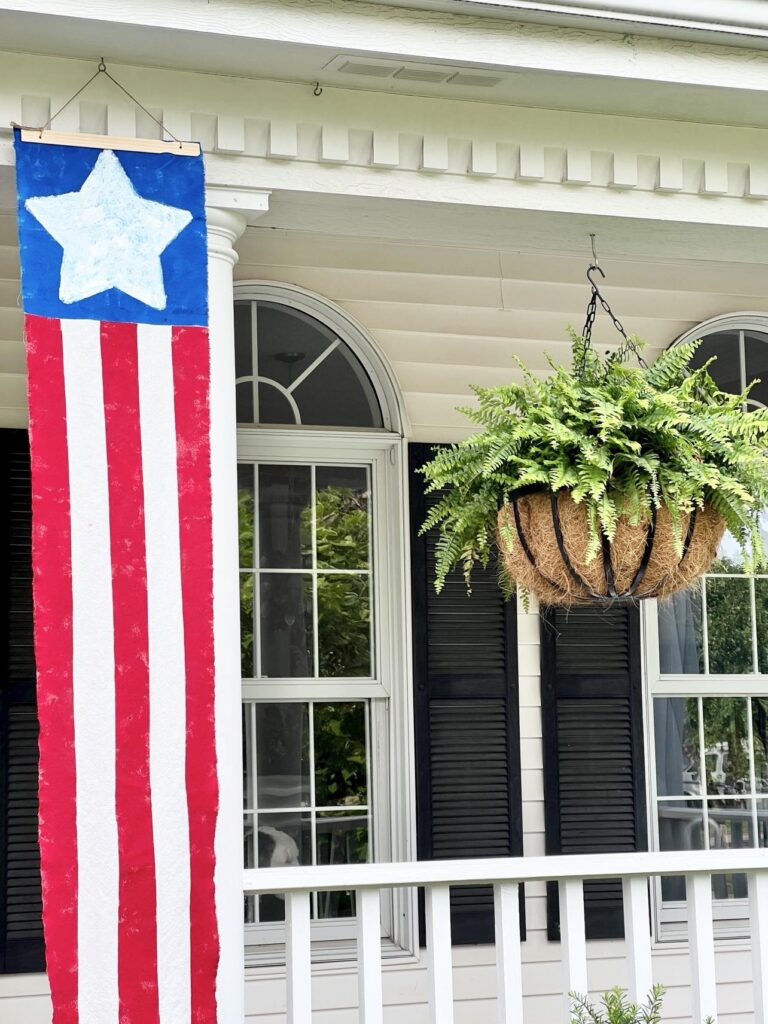
These banners are conversation starters! There are many moments when a neighbor or someone walking their dog mentions the banners and how perfect they are for summer!
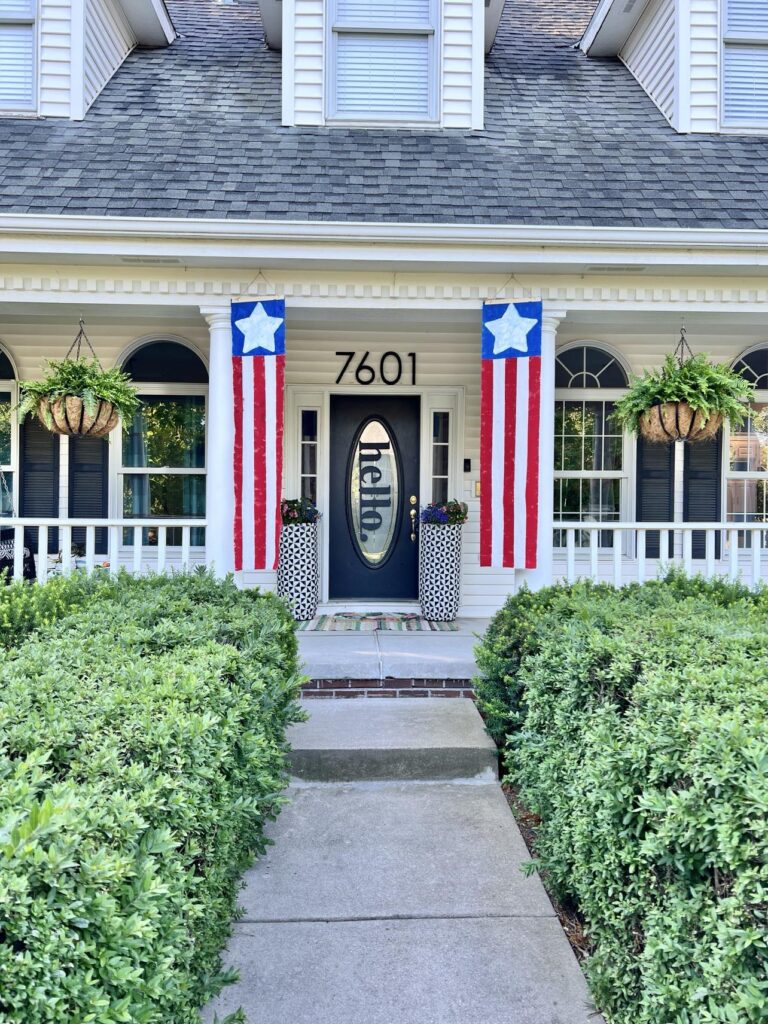
Display your completed banner with pride!
It’s a perfect way to show off your American spirit and add a touch of homemade charm to your decorations.
Cheers!

Don’t Forget to Pin It!
Pin the image below to your boards on Pinterest (just click the Pin button in the top left corner). You can also follow along with me on Pinterest!
